12 DIY Paper Fans Wall Decor Ideas for Festive Rooms
I still remember the first time I made a paper fan for my living room wall, and I was shocked at how something so simple could change the whole vibe of the room. I had a stack of leftover scrapbook paper and an hour before guests arrived, and what started as a backup plan turned into my favorite decorating trick. Now I keep a little stash of pretty paper just for this, because once you start making these fans, you genuinely cannot stop.
There is something so satisfying about folding a flat piece of paper and watching it transform into a dimensional burst of color on your wall. I have made these for birthday parties, baby showers, and even just a random Tuesday when my apartment felt too plain. You and I both know that feeling when a room needs something but you cannot quite name what, and nine times out of ten, paper fans are the answer.
What I love most is that this craft costs almost nothing but looks like you hired a professional decorator. We are talking about scraps of paper, a few minutes of folding, and maybe some glue, and suddenly your wall tells a story. If you have ever felt overwhelmed by Pinterest boards full of elaborate decor ideas, this one is here to remind you that simple can still be stunning. Here are some more paper craft ideas;
- 20 Paper Lantern Crafts Ideas
- 30 Paper Flower Wall Decor Ideas
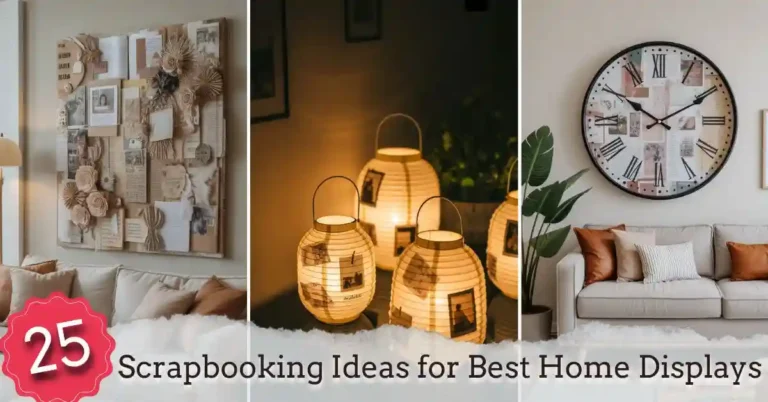
- 25 Scrapbooking Ideas
- 20 DIY Paper Craft Home Accent Ideas
1. Classic Half Circle DIY Paper Fans
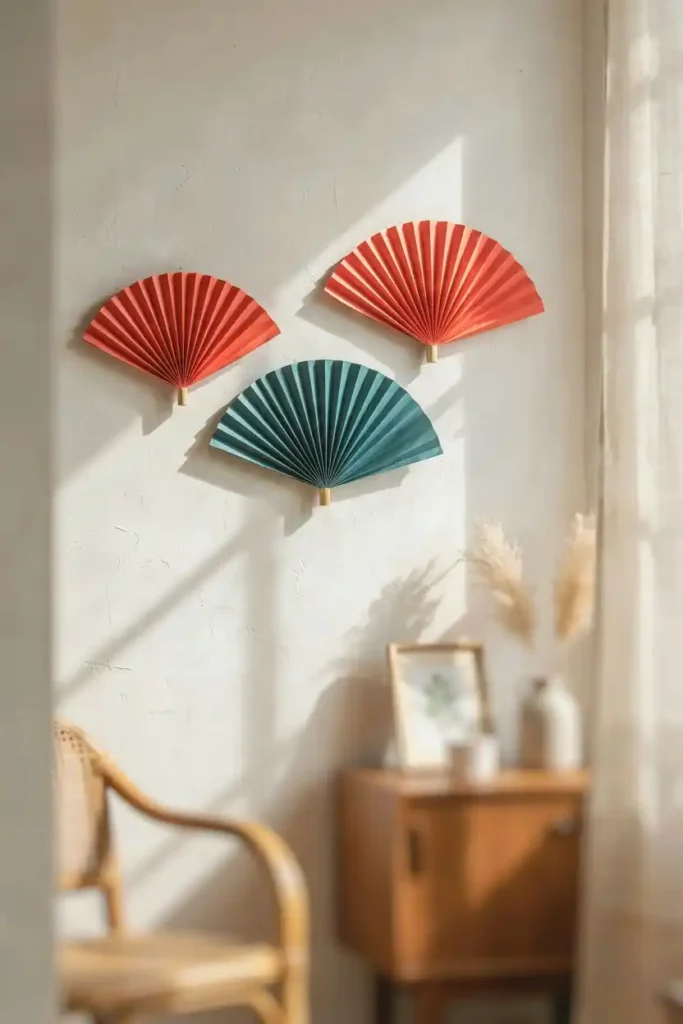
I made my very first set of these using plain construction paper, and I was amazed at how full and dramatic they looked once mounted. You fold the paper accordion style, then glue the two ends together to form a half circle shape that pops right off the wall. These work for literally any occasion, from birthdays to baby showers, and they suit beginners who want guaranteed success on their first try. My tip is to use a bone folder or even the edge of a credit card to get those creases crisp and even every single time.
2. Ombre Paper Fan Cluster
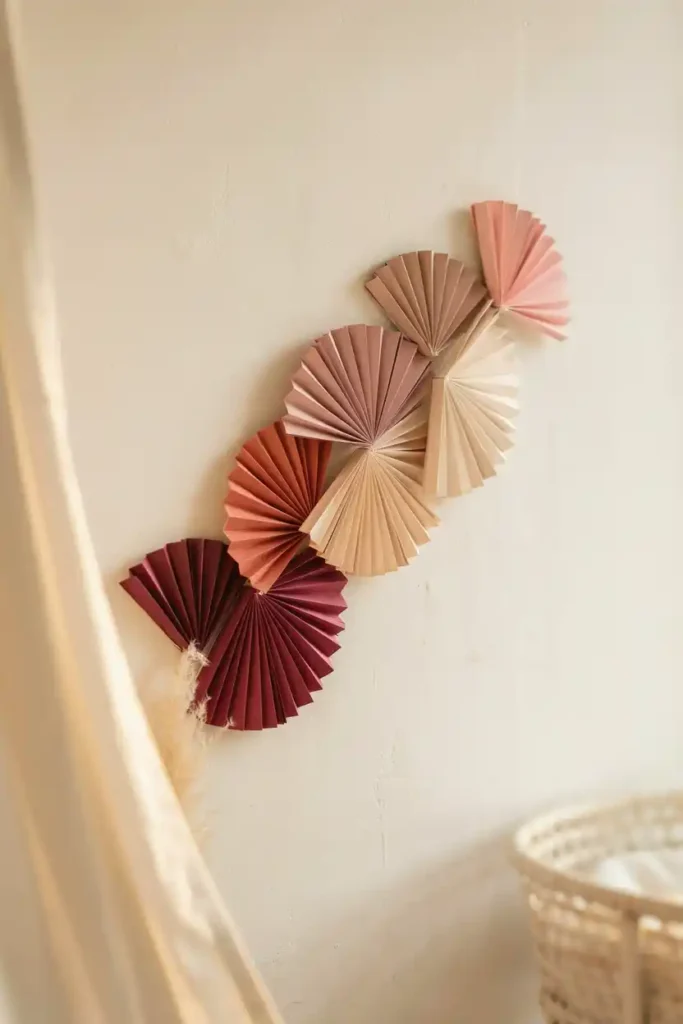
This one became my go to for baby showers because the gentle color gradient feels so soft and celebratory without screaming for attention. You start with your darkest paper shade and gradually move into lighter tones, mounting them together so the eye drifts naturally across the wall. I think this style suits anyone who loves a more polished, color coordinated look over random mismatched patterns. A helpful trick is to test your paper order on the floor first before committing to glue, since ombre only works if the sequence flows right.
3. Tissue Paper Fan Medallions
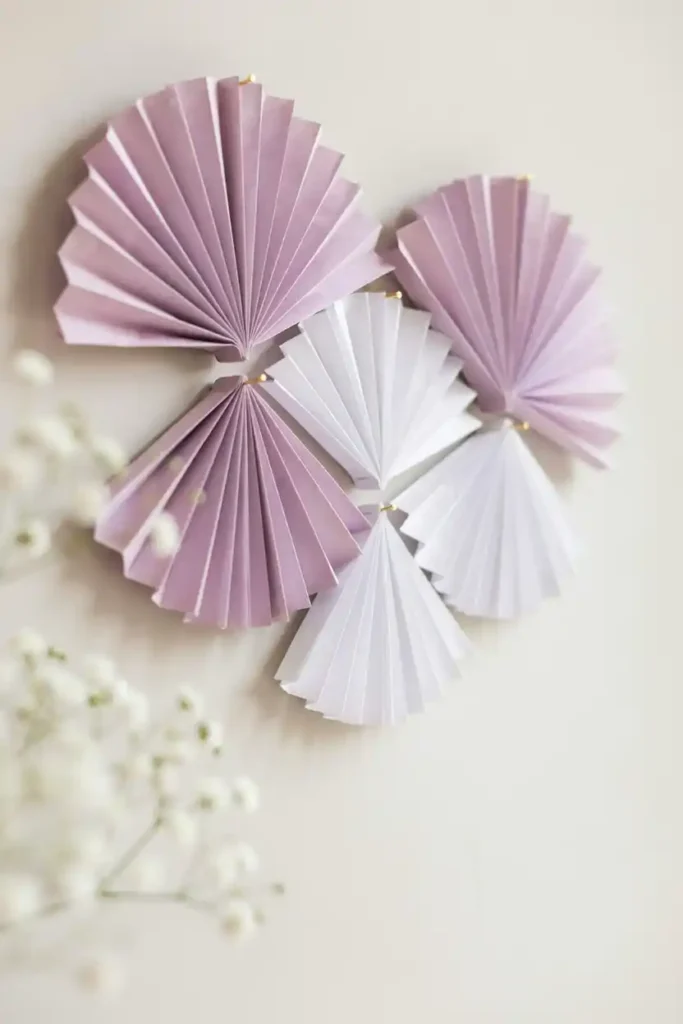
I discovered these when I needed something light and airy for a summer party, and tissue paper turned out to be the perfect material. You layer several sheets together before folding so the fan opens up fuller and more delicate looking than regular cardstock ever could. This style works beautifully for anyone wanting an ethereal, almost flower like effect without buying actual paper flowers. Just be gentle when handling tissue paper since it tears easily, and I always keep extra sheets on hand for mistakes.
4. Glitter Edge Paper Fans
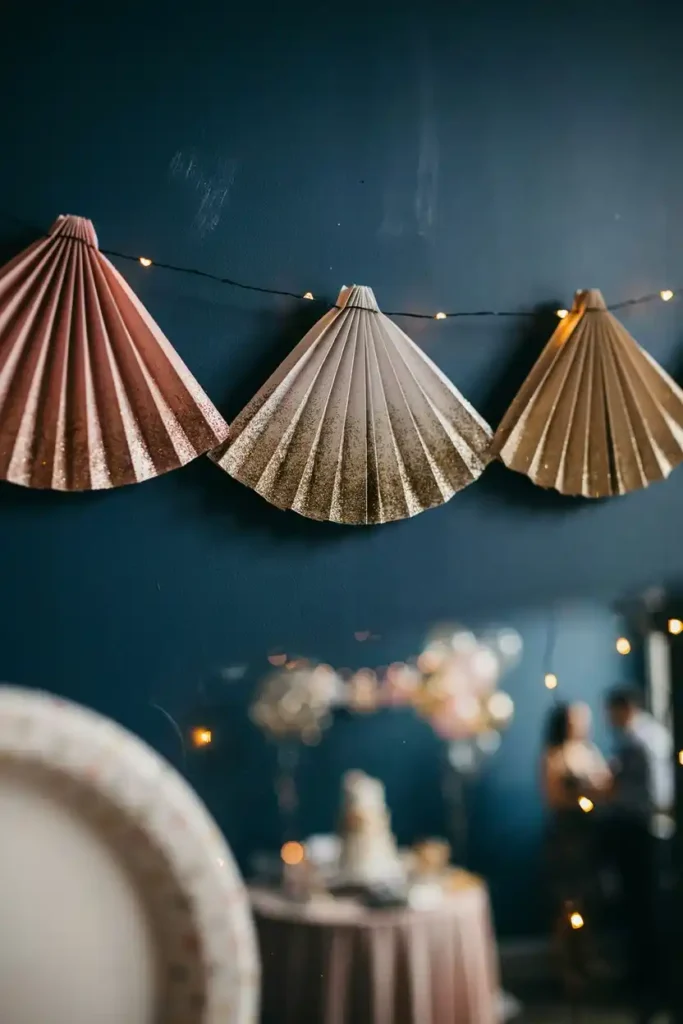
My daughter begged me to make these sparkly versions for her birthday, and now I cannot imagine a party wall without a little shimmer. You simply run a glue stick along the curved edge of each finished fan and dip it into fine glitter before the glue dries completely. These are ideal for anyone hosting a celebration that needs extra glam, especially New Year parties or milestone birthdays. I learned the hard way to do this step outside or over newspaper, because glitter has a way of finding every corner of your home.
5. Mini Paper Fan Garland
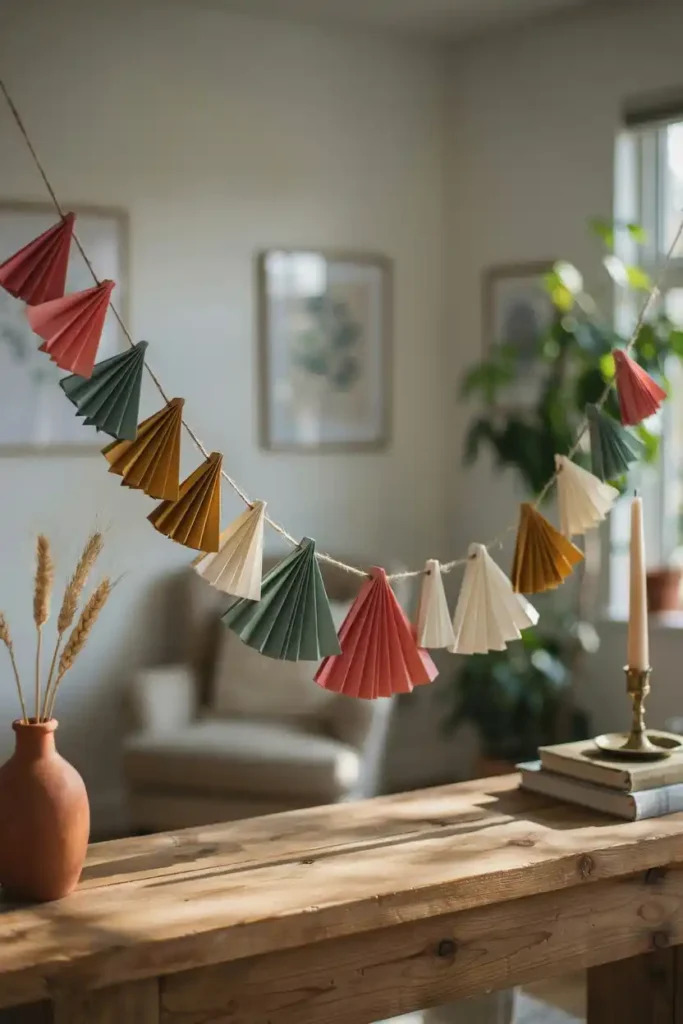
I strung these tiny fans onto twine one rainy afternoon, and the finished garland ended up draping across three different parties that same month. You make several small fans in coordinating colors, then attach them along a length of string or ribbon using hot glue or a needle and thread. This option suits people who want decor that doubles as both wall art and a portable accent for mantels or doorways. My advice is to keep the fans small and lightweight so the garland does not sag in the middle over time.
6. Metallic Foil Paper Fans
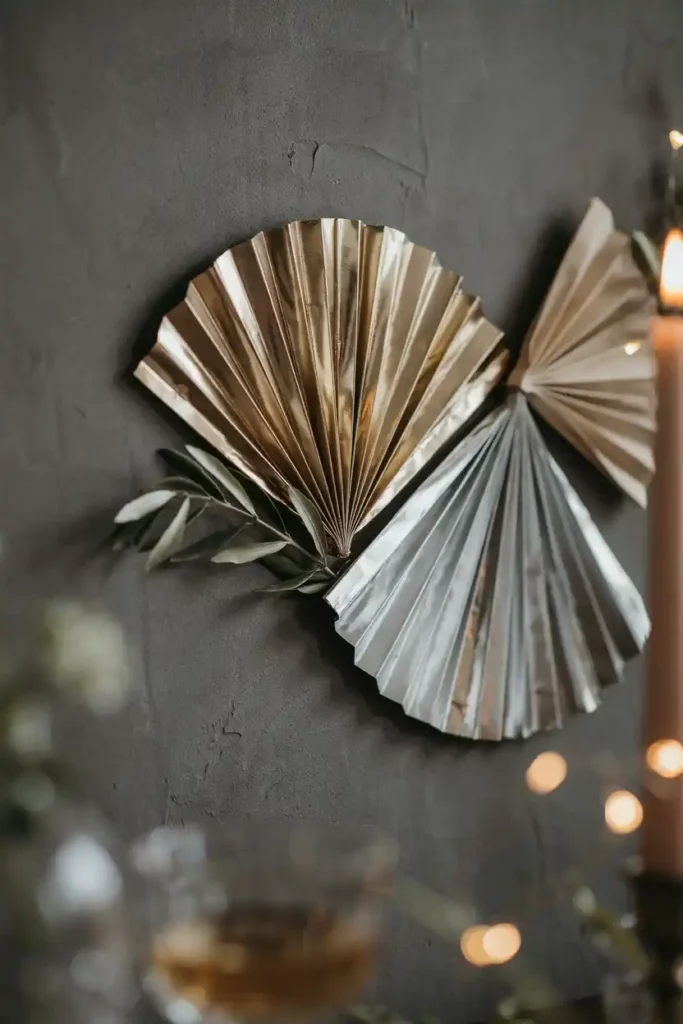
When I wanted something that photographed well for an anniversary dinner, metallic foil paper completely changed the final look of my display. You fold foil paper just like regular paper, but the reflective surface catches light in a way that makes the whole arrangement feel elevated and intentional. This style works especially well for anyone planning an elegant evening event or a milestone celebration that calls for a touch of shine. I always recommend folding slowly with foil since it creases differently and can crack if you rush the process.
7. Layered Paper Fan Sunburst
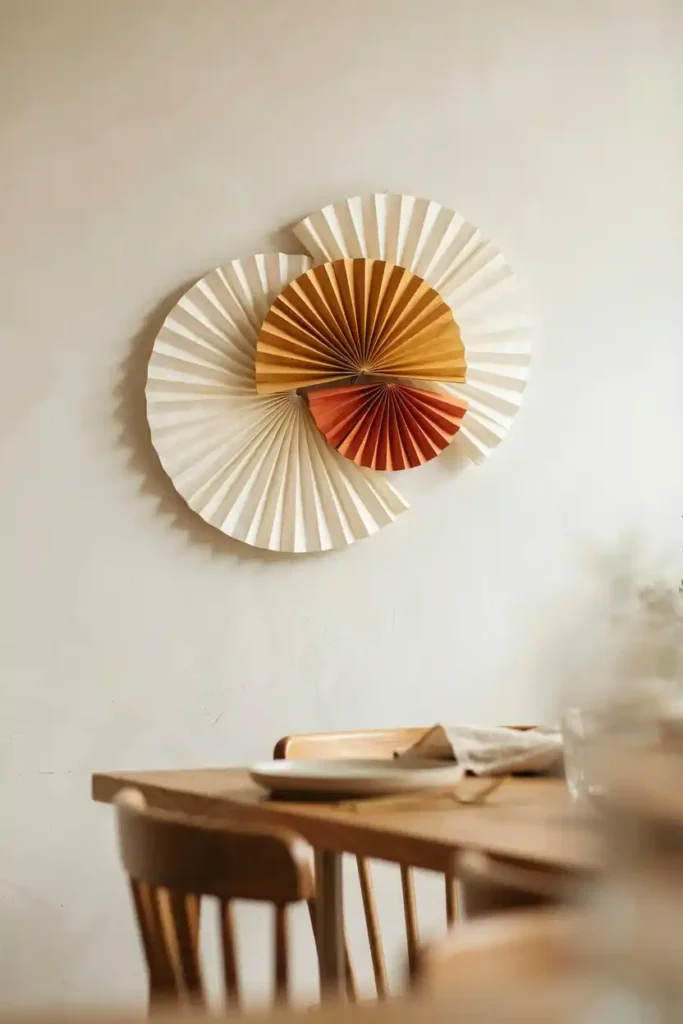
This design became my signature piece after I layered three different sized fans behind one another to create a sunburst effect on my dining room wall. You arrange a large fan as the base, then add a medium and small fan on top, slightly offset so all the colors and textures show through. I think this suits anyone craving a statement piece that works as a year round accent rather than something seasonal. My tip is to use complementary colors rather than matching ones, since contrast is what makes this layered look pop.
8. Pastel Paper Fan Backdrop
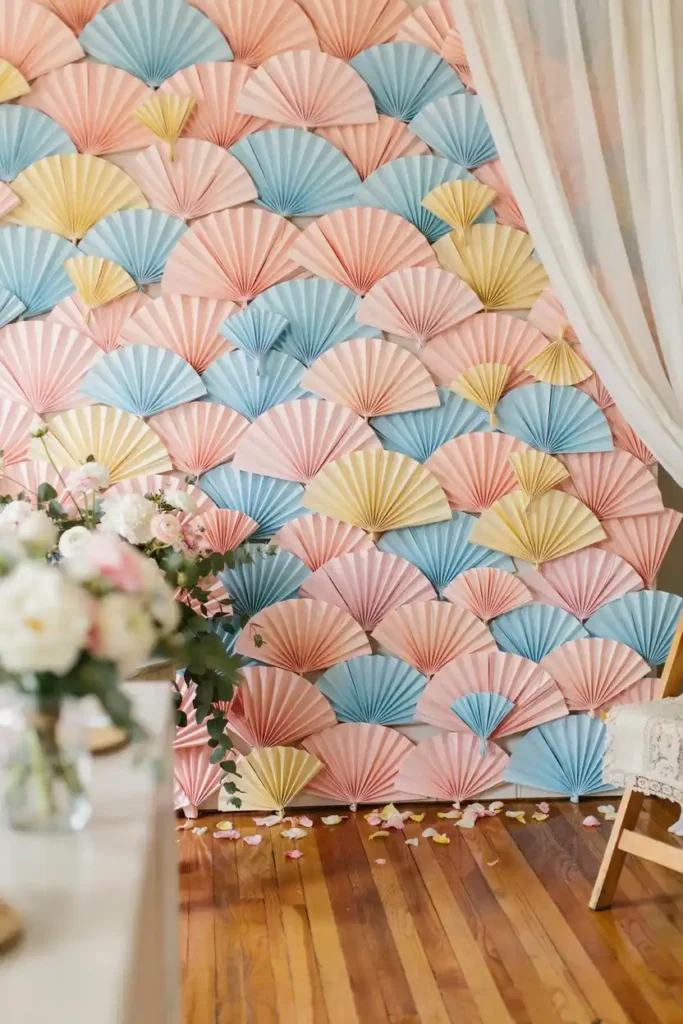
I built an entire backdrop wall using only pastel fans for a friend’s bridal shower, and it became the most photographed corner of the entire event. You arrange dozens of fans in varying sizes across a blank wall, mixing soft pinks, blues, and yellows for a dreamy, cohesive feel. This option is perfect for anyone planning a photo booth moment or a celebration that leans soft and feminine. I suggest sketching your layout on paper first, because spacing dozens of fans evenly takes more planning than you expect.
9. Geometric Patterned Paper Fans
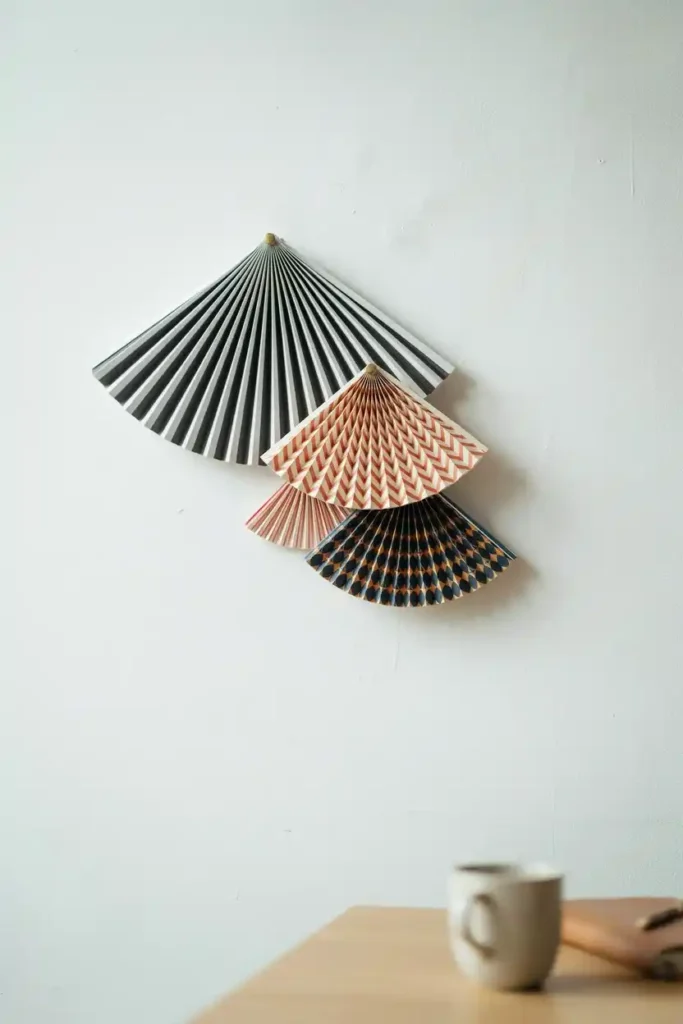
I switched from solid colors to bold geometric prints when I wanted my home office wall to feel more like art and less like a kids party leftover. You choose patterned scrapbook paper with stripes, chevrons, or dots, then fold and mount it exactly like a basic fan for unexpected visual interest. This style suits anyone who wants their decor to double as a conversation piece rather than blend into the background. My honest tip is to fold along the pattern lines when possible, since this keeps the design from looking chaotic once opened.
10. Black and Gold Paper Fans
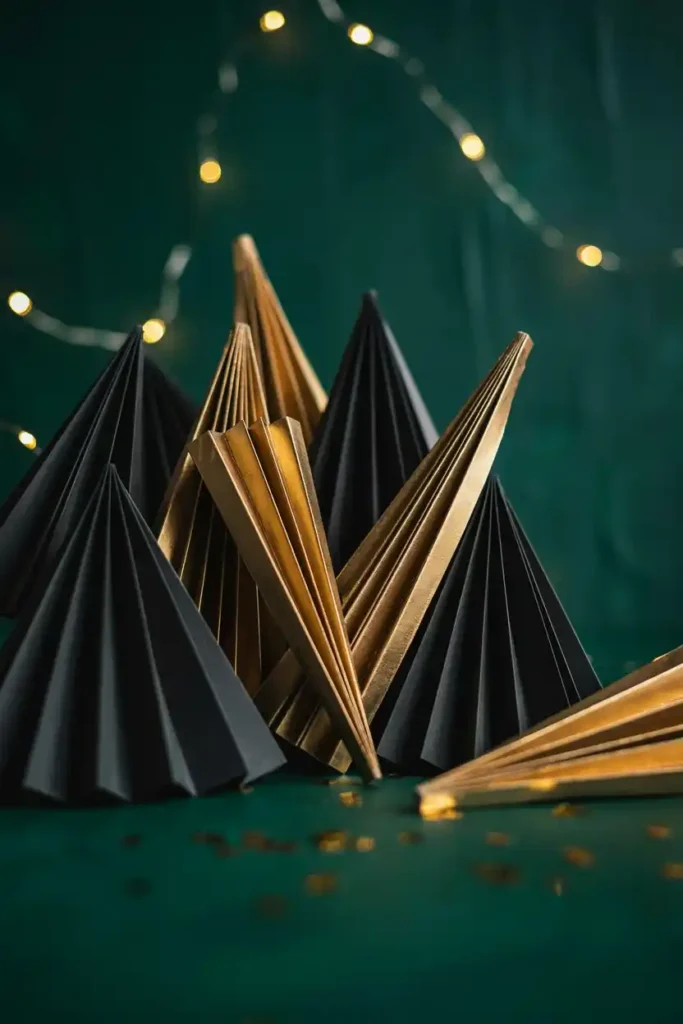
I made these for a New Year gathering, and the dramatic color combination instantly made our plain apartment wall feel like it belonged in a magazine. You pair matte black paper with gold accented sheets, alternating them in a cluster to create contrast that feels both bold and sophisticated. This works wonderfully for anyone hosting formal celebrations, anniversaries, or anything where you want a touch of luxury without much cost. I always add one or two solid gold fans in the center, since that placement naturally draws the eye first.
11. Floral Print Paper Fans
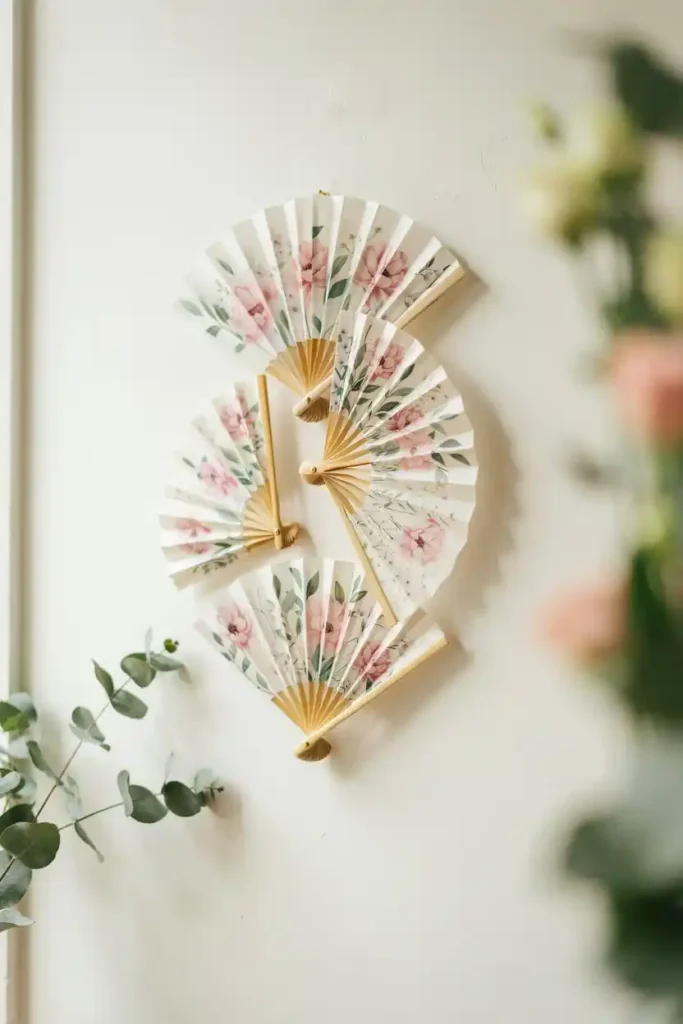
When spring rolled around, I swapped my usual solids for floral printed paper, and the entire room suddenly smelled like change even though paper has no scent at all. You fold patterned floral sheets the same way as classic fans, letting the print itself do most of the decorative work without extra embellishment. This option is ideal for anyone wanting a garden party feel indoors, especially for bridal or baby showers in warmer months. My tip is to choose prints with a clear directional pattern, since fanning them out reveals the design in a more intentional way.
12. Oversized Statement Paper Fan
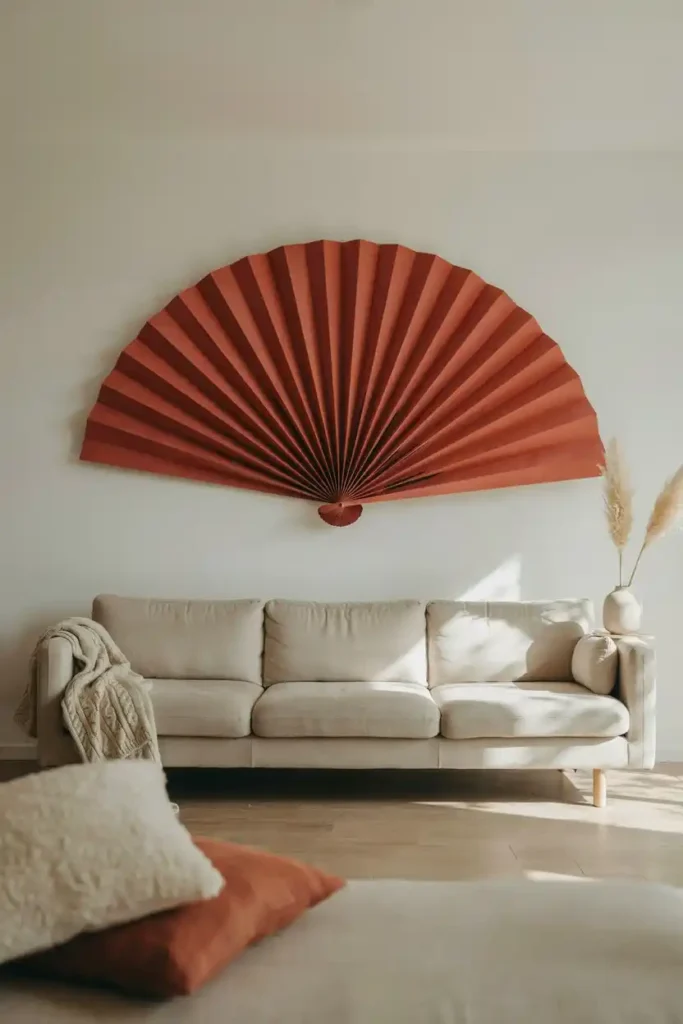
I saved my largest sheet of poster board for this one, and the finished fan ended up taking up nearly half my accent wall on its own. You scale up the classic folding technique using poster board or large craft paper, creating one dramatic fan instead of dozens of smaller ones. This suits anyone who prefers a minimalist approach but still wants a striking focal point above a bed or sofa. I recommend reinforcing the center fold with tape before gluing, since larger paper needs extra support to hold its shape.
Whatever the occasion, the formula stays the same: pick a palette, fold a stack, and mount with intention rather than scattering. Start with the classic half-circle to learn the fold, then let the event dictate the rest — ombre for showers, black and gold for New Year’s, oversized for the blank wall that’s been bothering you for months. Paper is cheap; the confidence it builds isn’t.