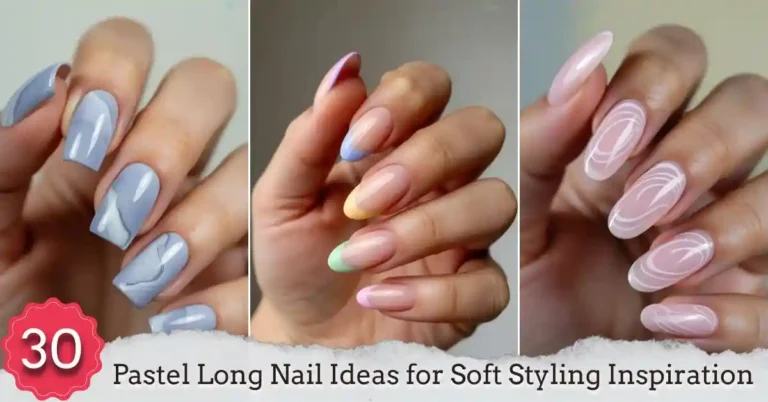
25 Simple Nail Design Ideas You Can Do at Home
The best at-home manicures share one trait: they look harder than they are. A steady hand helps, but the real secret is picking designs with built-in forgiveness — dots, stripes, gradients — where a wobble reads as texture instead of a mistake. These 25 nail design ideas all fit that brief: each takes under 30 minutes, needs nothing fancier than a dotting tool and striping tape, and works on short nails as well as long ones.
1: Classic French Tips With a Modern Twist
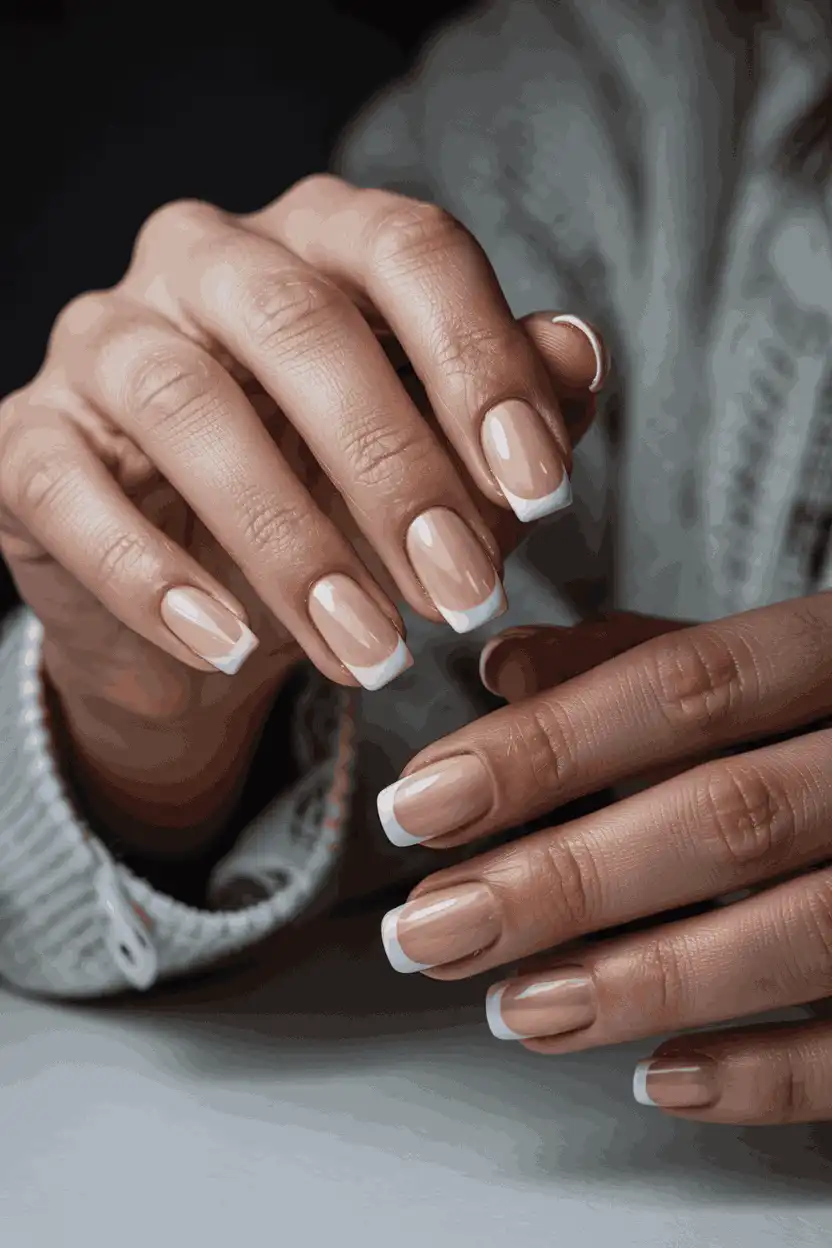
The French tip never really left — it just got less fussy. Swap the thick white smile line for a thin colored edge: black for edge, sage green for softness, metallic gold for evenings. Paint the tip with the brush nearly flat against the nail, then clean up the smile line with a small angled brush dipped in acetone.
Thin edges are the key to the modern version — a 2mm tip in pastel or chrome reads current where the old chunky white band reads dated. This is also the most forgiving “fancy” manicure: the tip sits at the free edge, so regrowth stays invisible for two weeks.

2: Soft Gradient Nails for a Gentle Blend
The sponge gradient looks like airbrushing but takes five minutes. Paint two or three stripes of polish side by side on a makeup sponge, dab it onto the nail two or three times, then clean the cuticles with an acetone-dipped brush. Sheer jellies blend best; opaque cremes can go streaky.
Because the color melts instead of stopping at a hard line, gradients hide chips better than solid polish — a tiny nick disappears into the blend. Add a single dot or thin stripe on top if you want dimension without learning a second technique.
3: Minimal Dot Patterns for a Clean Look
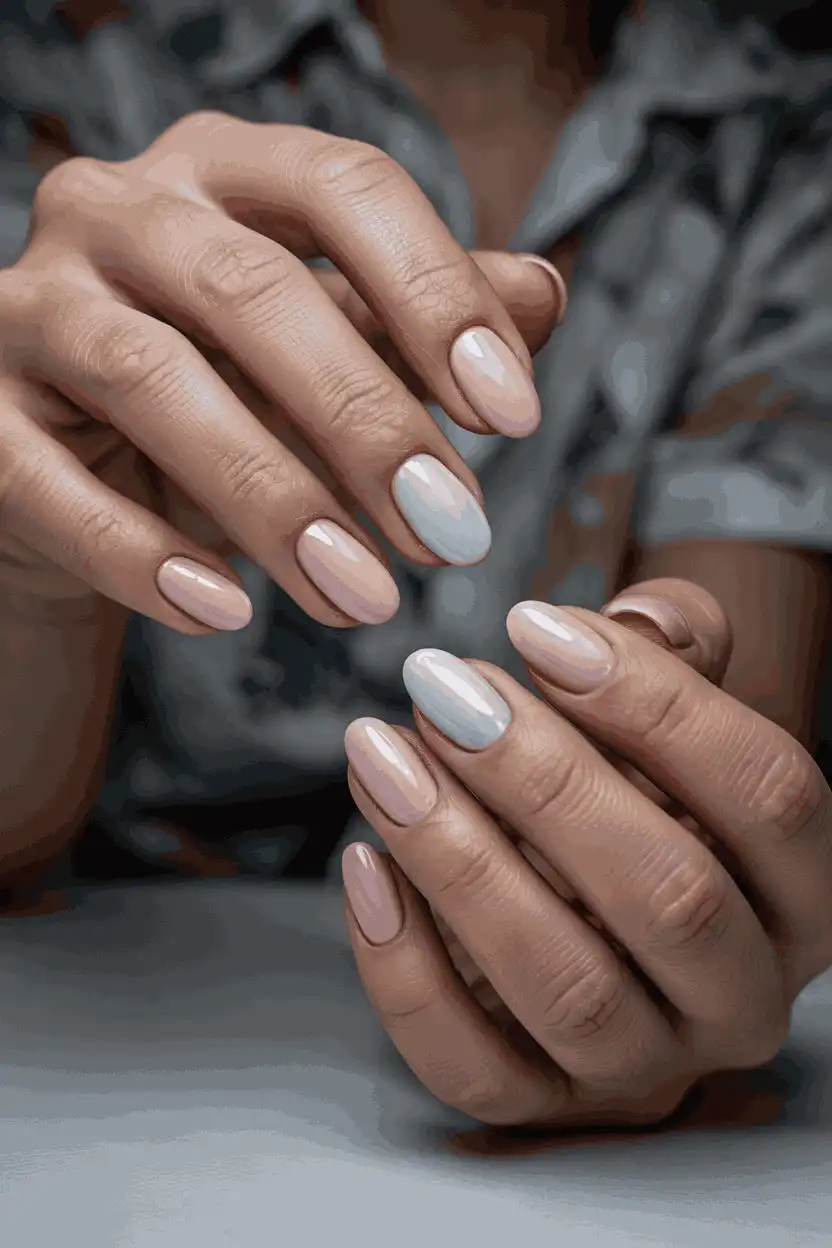
Dots are the gateway design: one dot near the cuticle, or three in a row down the center, and the nail looks finished. A dotting tool costs a few dollars, but the rounded end of a bobby pin works — just wipe it between dots so the sizes stay even.
Even spacing is what separates “neat” from “messy” — dip once, stamp twice at most, then re-dip. Dots sit beautifully on short nails because the pattern scales down without losing its shape; try a single metallic dot on a nude base for the minimalist version.

4: Single-Stripe Nails for a Crisp Finish
One stripe, placed with intent, beats a busy pattern. Lay a strip of nail striping tape (or regular Scotch tape pressed on the back of your hand first to dull the stick) down the center, paint over it, and peel while the polish is still tacky for the crispest edge.
High contrast does the work here: black on white, white on navy, gold on burgundy. A vertical stripe visually lengthens short nails; a horizontal one near the tip mimics a French without the fuss. Seal with top coat or the tape edge lifts within a day.
5: Soft Nude Shades for Everyday Simplicity
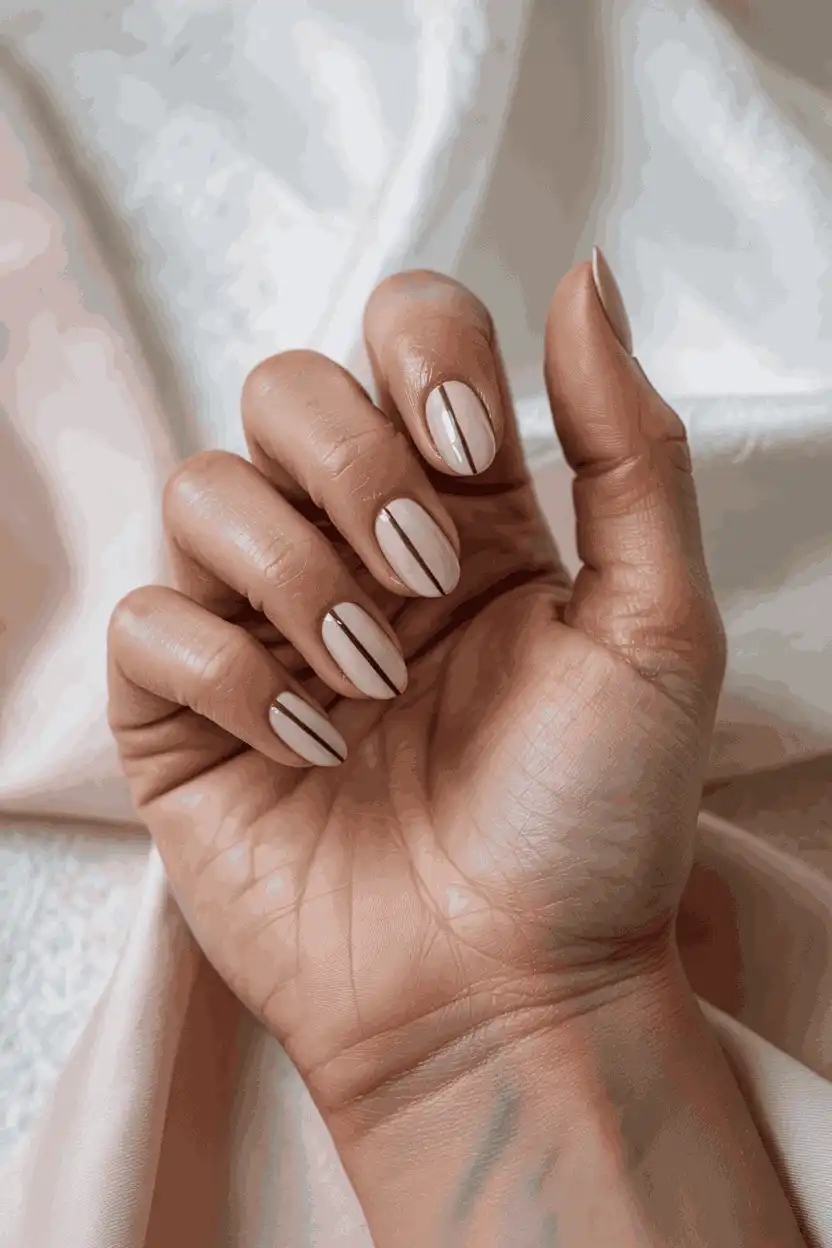
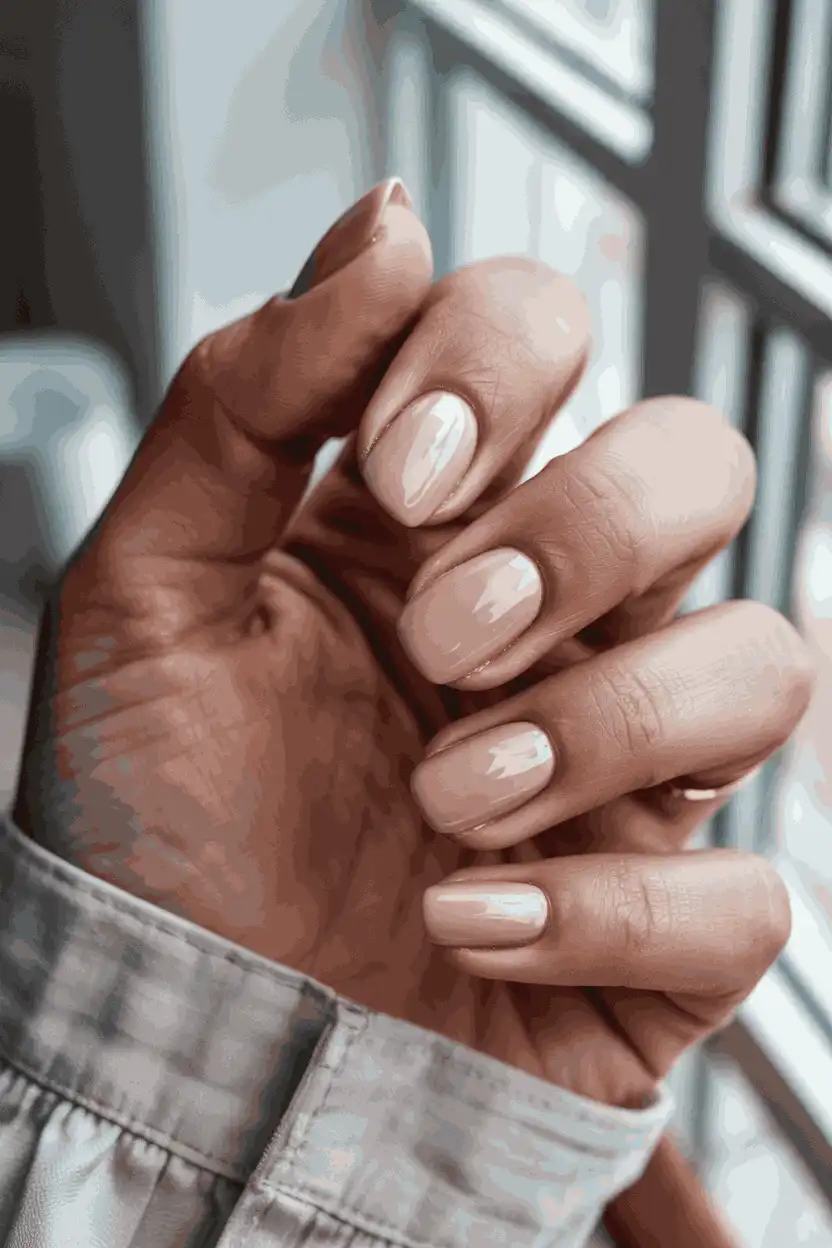
Nude isn’t one color — it’s whatever matches your skin’s undertone. Pink-nudes flatter cool skin, peachy-nudes warm skin; the wrong nude makes hands look washed out. Two thin coats plus top coat, and the manicure goes with literally everything you own.
The nude base is a canvas: add one micro-dot, a tiny heart on the ring finger, or a whisper of glitter at the cuticle. Because the base is quiet, a single accent reads as deliberate rather than random — the easiest “designed” look there is.
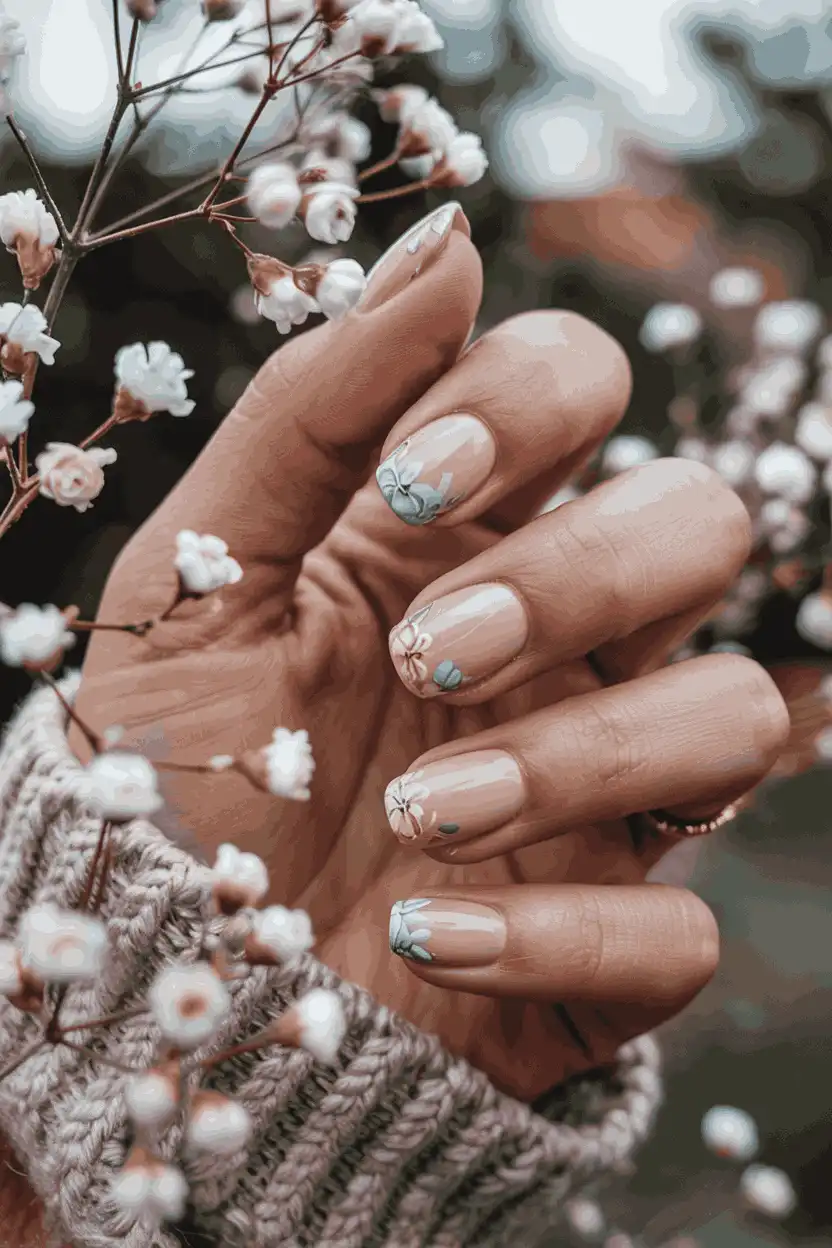
6: Tiny Floral Accents for a Delicate Style
Five dots in a circle make a flower — that’s the whole technique. Place a center dot, then five petals around it with a dotting tool, dragging each petal slightly outward with a toothpick for shape. Keep flowers to one or two nails per hand; a full set of ten reads busy.
Sheer or pastel bases let tiny florals breathe: blush pink, milky white, pale sage. Paint the flowers in a contrasting creme (white on sage, navy on blush) so the small scale still reads from across the table. One flower per nail, centered or near the cuticle.
7: Polka Dot Nails for Playful Simplicity
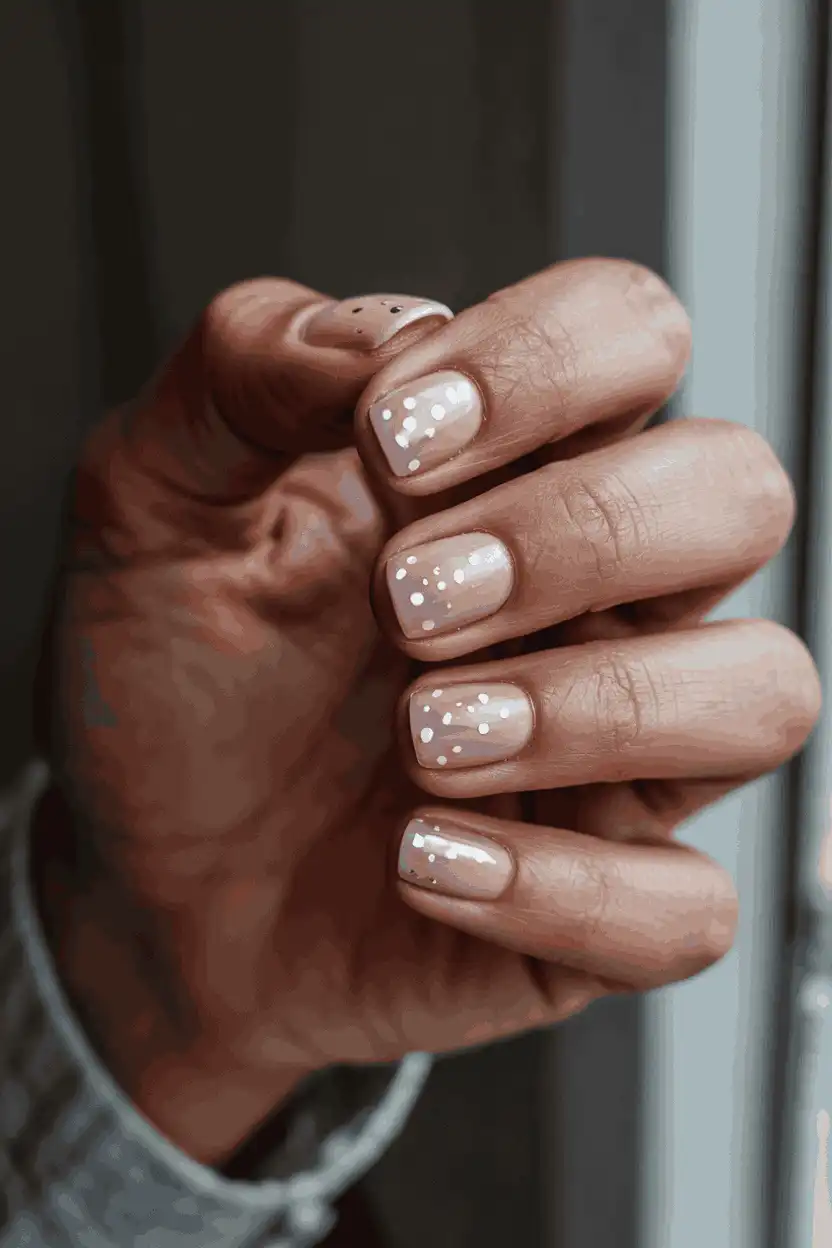
Polka dots are dots with commitment: cover the nail in an even grid. The trick is a light touch — press, don’t drag — and a plan: start at the cuticle and work toward the tip so spacing stays regular. Two colors max; three turns it into confetti.
Scale the dots to the nail: tiny dots on short nails, bigger ones on long. A tone-on-tone version (matte dots on a glossy base, or vice versa) keeps the playfulness acceptable for grown-up settings. Cleanup is minimal since dots sit away from the cuticle.
8: Two-Tone Nails for a Bold Contrast
Half the nail one color, half another — split straight down the middle, diagonally, or horizontally. Paint the full nail in the lighter shade first, let it dry completely (twenty minutes, not five), then tape and paint the second half. Rushing the dry time is the only way this goes wrong.
Color choice is the design: black and nude is graphic, sage and cream is soft, red and pink is playful. The split flatters every nail length because it’s pure geometry — no art skills required, just a steady piece of tape.

9: Soft Pastel Nails for a Gentle Finish
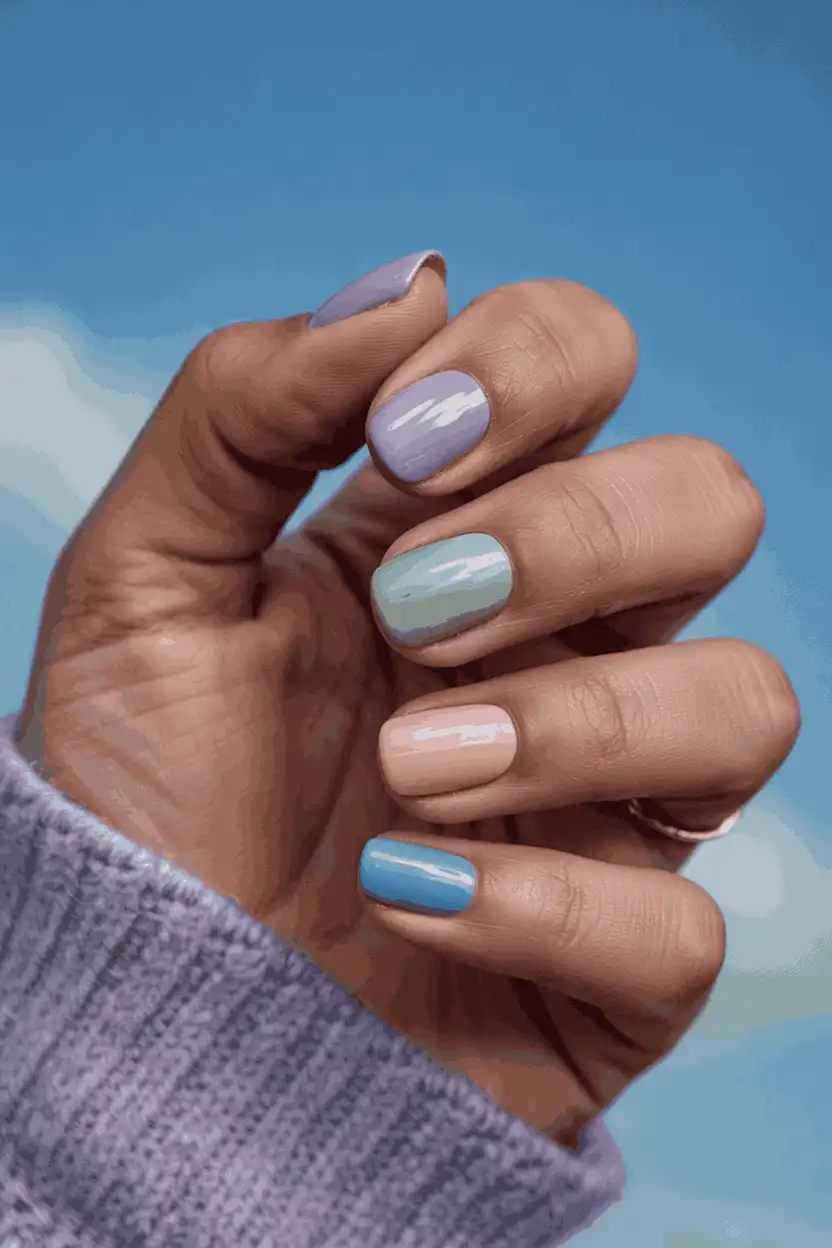
Pastels are the low-effort way to look polished: soft shades hide application streaks and tip wear better than dark colors. Mint, lilac, baby blue, butter yellow — pick one per nail for a skittle manicure, or commit to a single shade for ten days.
The one-color-per-nail version (a “skittle”) adds variety with zero technique: just line up five complementary pastels. Keep the finish consistent — all creme or all shimmer — so the set reads as one manicure instead of five leftover bottles.
10: Single Accent Nail for Subtle Creativity
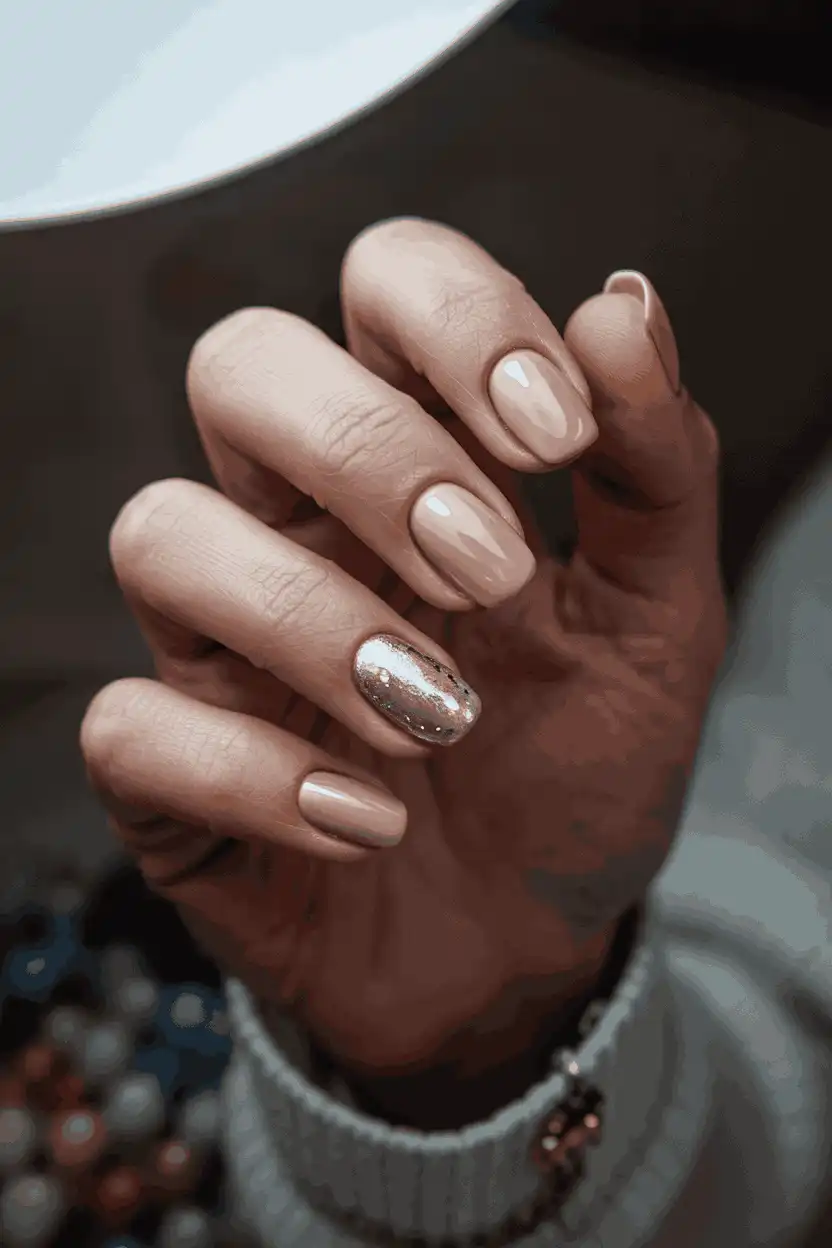
Paint nine nails in your base color, then give the ring finger a different treatment: glitter, a contrasting creme, a single stripe. The accent nail carries the whole design, which means the other nine can be a simple two-coat job you could do half-asleep.
This is the short-nail secret weapon — one bold nail draws the eye and makes the whole hand look styled. Keep the accent on the ring finger by tradition, or the thumb for visibility; either way, one is enough.
11: Soft Glitter Tips for a Light Sparkle
Glitter only at the tips gives the sparkle without the full-disco commitment. Sponge it on rather than brushing — dabbing builds coverage while brushing drags it thin. Two dabbed layers over a nude base read festive; over black they read evening.
Tip glitter grows out gracefully since the sparkle sits at the free edge, not the cuticle — no harsh regrowth line. It also survives the holiday dish-washing season better than full glitter, which chips at the cuticle first.
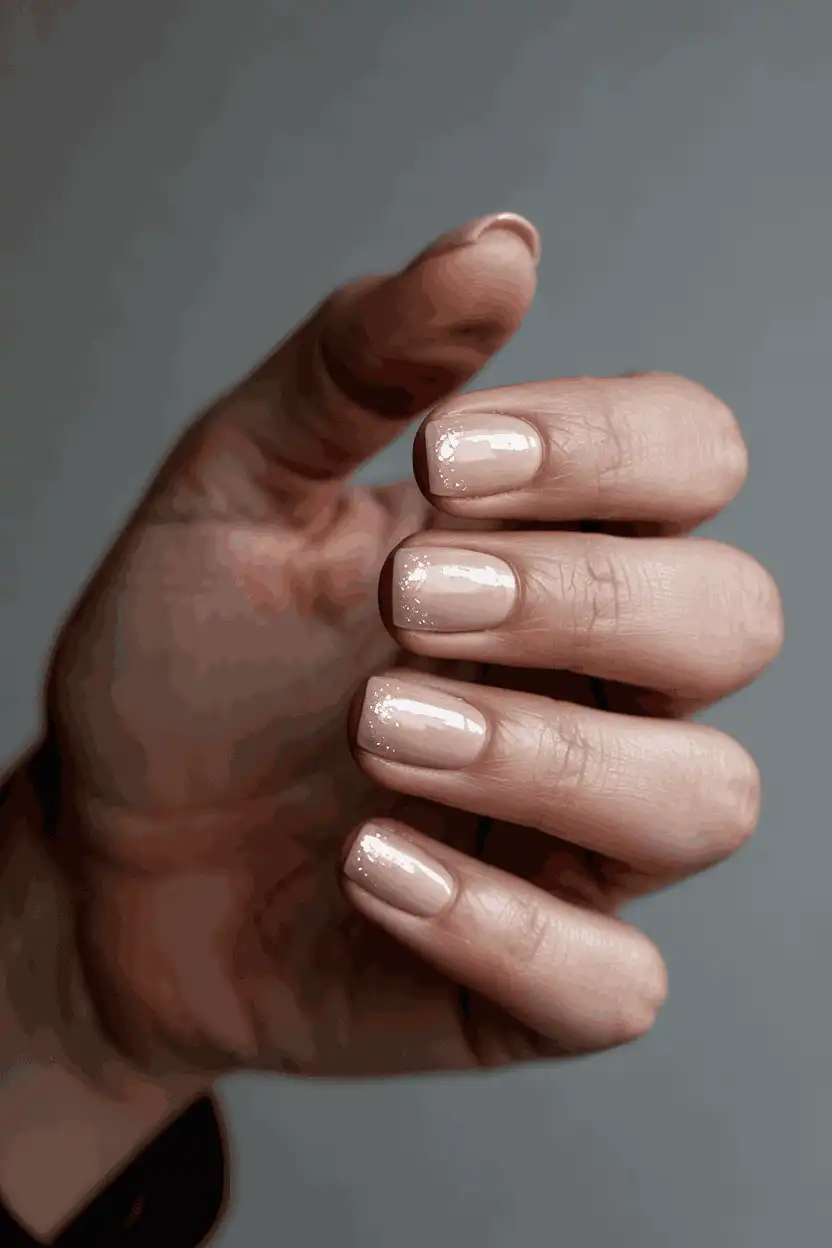
12: Diagonal Color-Block Nails for an Easy Shape
Tape off a diagonal and paint two or three color blocks: the angle does all the visual work. Press the tape edge down firmly with an orangewood stick so polish can’t bleed underneath, and peel the tape while the second color is still wet.
Pick colors with real contrast — navy and white, rust and cream — or the divide disappears. The diagonal line is slimming on wide nails and adds edge to almond shapes; it photographs especially well because the geometry reads even in a small thumbnail.
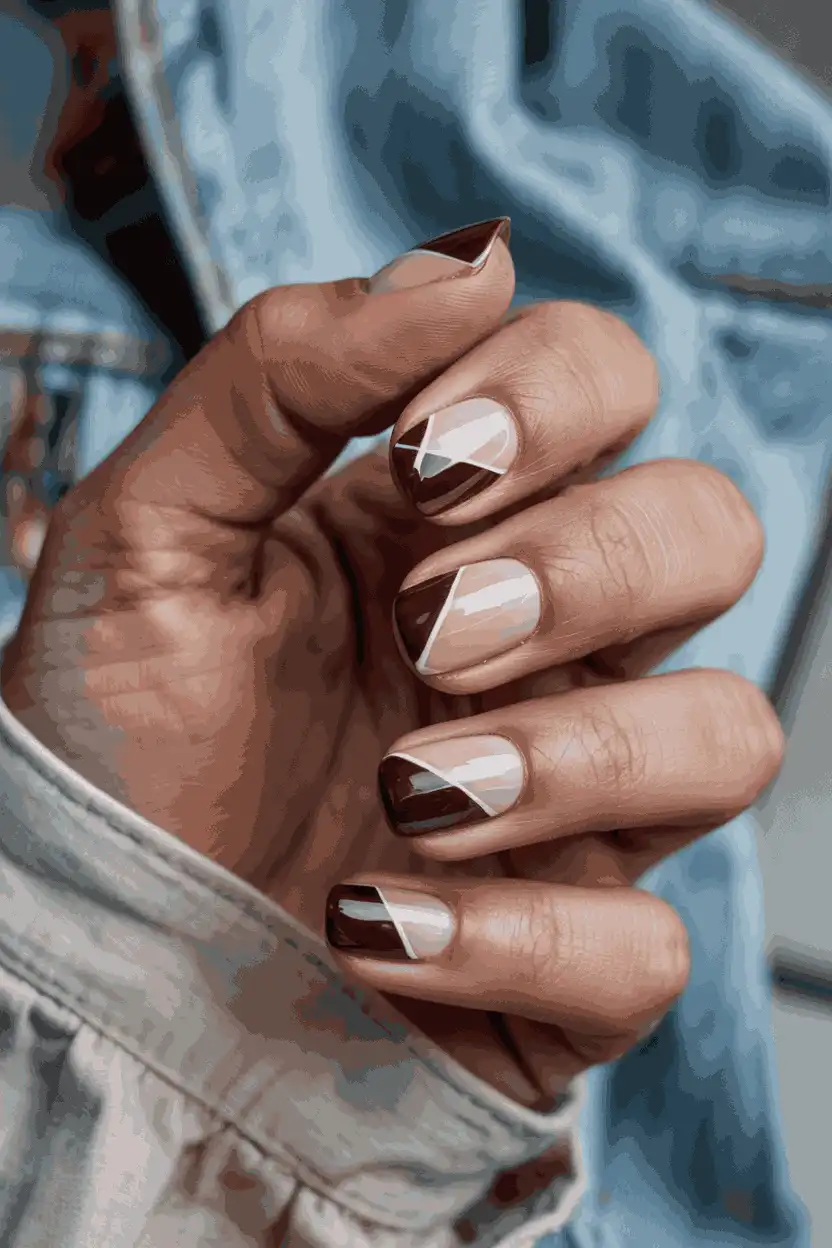
13: Soft Heart Accents for a Romantic Touch
Two dots side by side plus a small triangle below make a heart — stamp it with a dotting tool near the cuticle or dead center. Keep hearts tiny (2–3mm); oversized hearts on small nails look like blobs. One per hand is romantic; ten is Valentine’s overload.
Placement changes the mood: near the cuticle is subtle, center-nail is sweet, at the tip is playful. A white heart on a sheer pink base is the classic; try black hearts on nude for the cooler version.
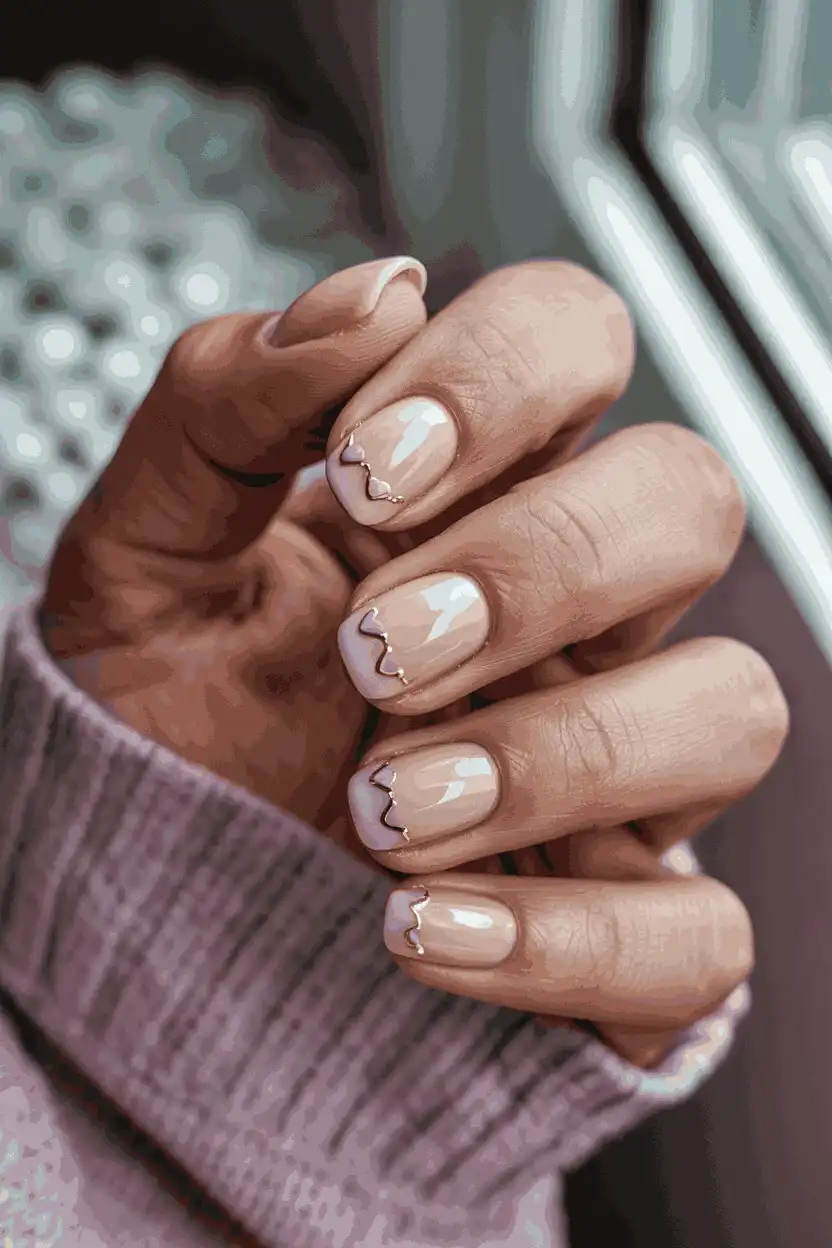
14: Subtle Line Art for a Minimal Look
Line art is just doodling with a long, thin brush: one continuous wavy line, a small abstract face, a single stem. Load the brush lightly — too much polish floods the line — and rest your pinky on the table for stability. Imperfection is the aesthetic.
Sheer or negative-space bases keep line art modern: the skin showing through is part of the design. Black lines on bare nails suit formal settings; white lines on a sheer nude are softer for everyday.

15: Micro Glitter Nails for a Soft Glow
Micro-glitter (the fine stuff, not chunky hexagons) mixed into a clear top coat gives a lit-from-within shimmer. One coat over any base color; two if you want it to read in daylight. It needs no precise placement, which is the whole point.
Because the particles are tiny, micro-glitter removes with normal acetone — no foil soaking like chunky glitter. Layer it over soft pink or milky white for daytime, over deep plum for evening.
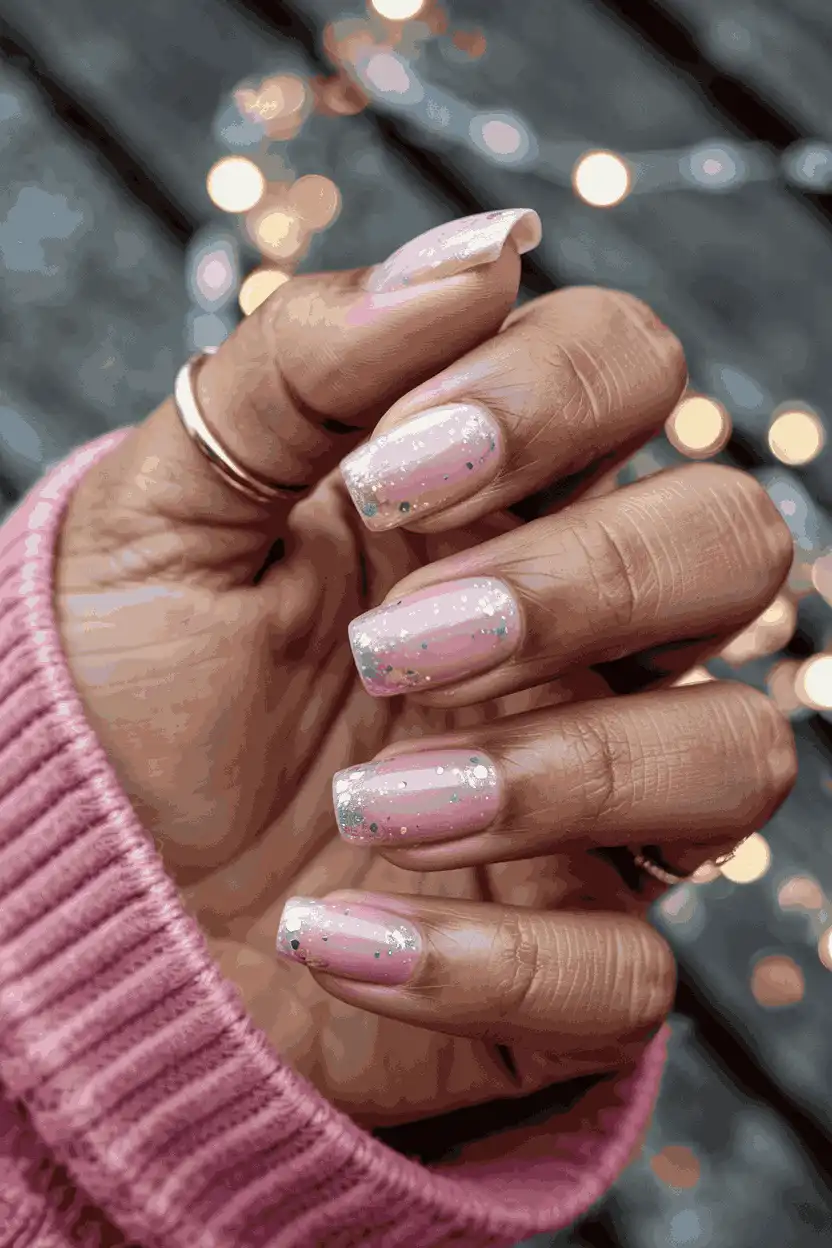
16: Taupe and Neutral Shades for Everyday Wear
Taupe is the professional’s nude: gray-brown, quiet, and immune to dress codes. It flatters most skin tones because it sits between warm and cool — if regular nudes wash you out, taupe usually doesn’t.
Add interest without leaving the neutral family: a matte top coat on taupe, or a single fine gold stripe at the cuticle. The look stays office-safe but never boring.

17: Tiny Star Designs for a Subtle Shine
Stars are the moment for decals: metallic star stickers on a dark base (navy, forest, black) take ten seconds per nail and look precise in a way hand-painting rarely does. Seal with two layers of top coat or the edges lift.
One or two star nails per hand keeps it celestial rather than crafty. Gold stars on deep green read holiday; silver on pale blue reads winter without committing to a theme.

18: Neutral Base With Chrome Accents
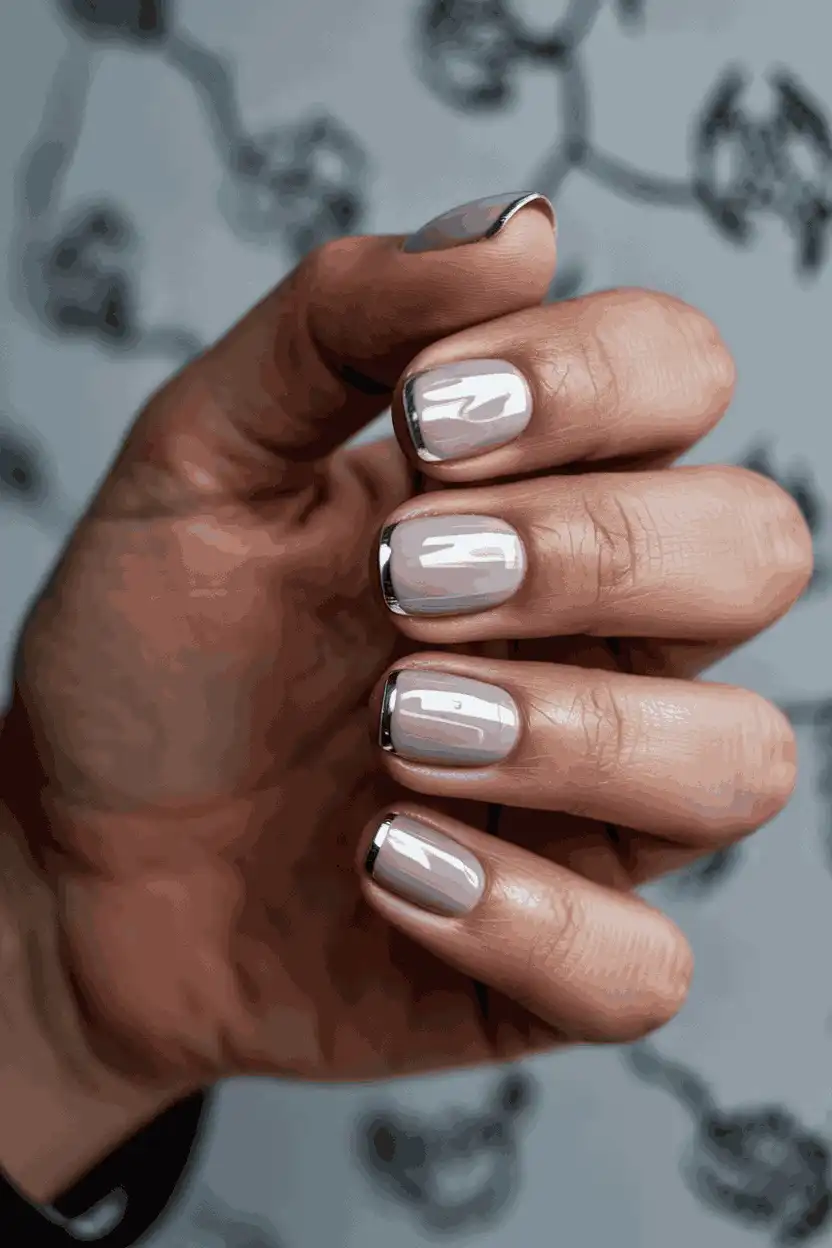
Chrome powder over a neutral base is the “expensive nails” shortcut: the mirror shine makes even plain beige look salon-done. Burnish the powder into a no-wipe top coat with a silicone tool, then seal it — unsealed chrome dulls within a day.
Keep the base light (white, sheer pink, beige) so the chrome reads bright rather than murky. Chrome lines or dots, rather than full coverage, give the futuristic hit with half the upkeep.
19: Light Swirl Nails for Soft Movement
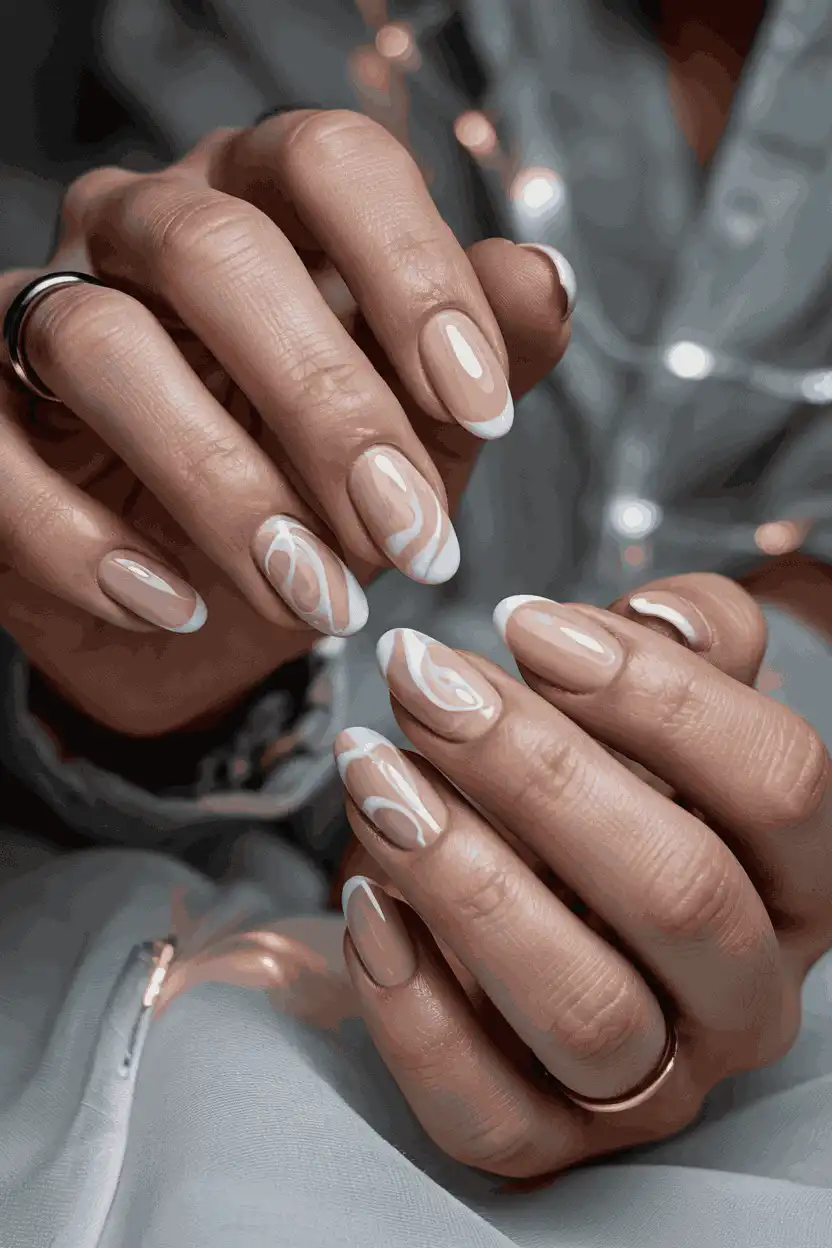
Swirls forgive everything: load a thin brush, paint loose S-curves, and let them cross. The organic shapes mean no two nails match, which is the charm — aim for “marbled,” not “identical.” Work one nail at a time so the polish doesn’t skin over.
Two tones swirled together (white into sage, pink into nude) read soft; high-contrast swirls (black into white) read mod. Thin lines keep it delicate on short nails; thicker ones suit long almond or coffin shapes.
20: Mini Checkerboard for a Tiny Pattern
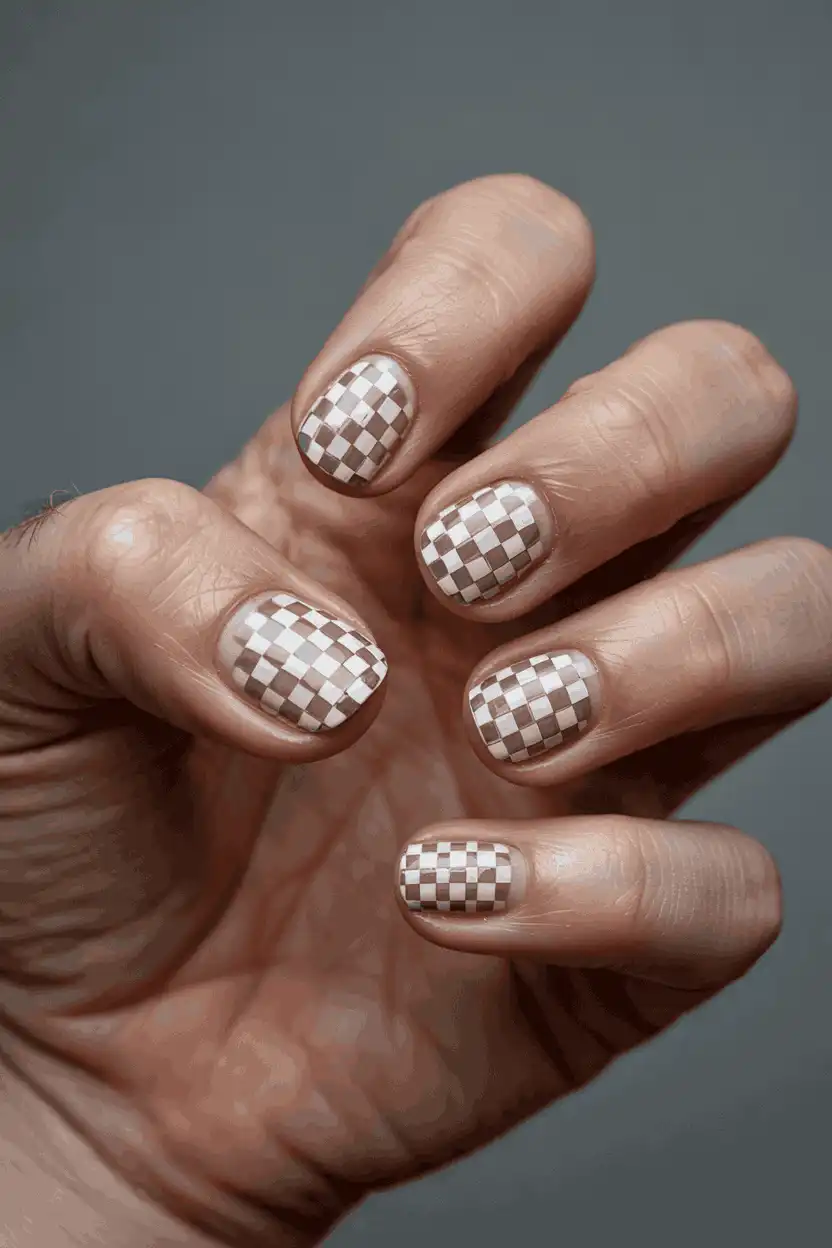
The checkerboard shrinks well: paint a base color, then stamp small squares with a dotting tool or the corner of a makeup sponge. Keep squares under 3mm on short nails — full-size checks overwhelm a small canvas.
Black and white is the classic, but sage and cream or pink and red feel fresher. Precision matters more here than in swirls, so use tape guides if freehand squares wobble.
21: Barely-There French Fade
The French fade (baby-boomer nails) melts white into pink with a sponge instead of a hard line. Dab white at the tip and sheer pink at the base, meeting in the middle, then blur the boundary with a clean sponge. It photographs like a filter.
Because there’s no hard edge, grow-out is invisible — this is the lowest-maintenance “fancy” manicure. It suits short nails especially well since the blend needs no length to work.
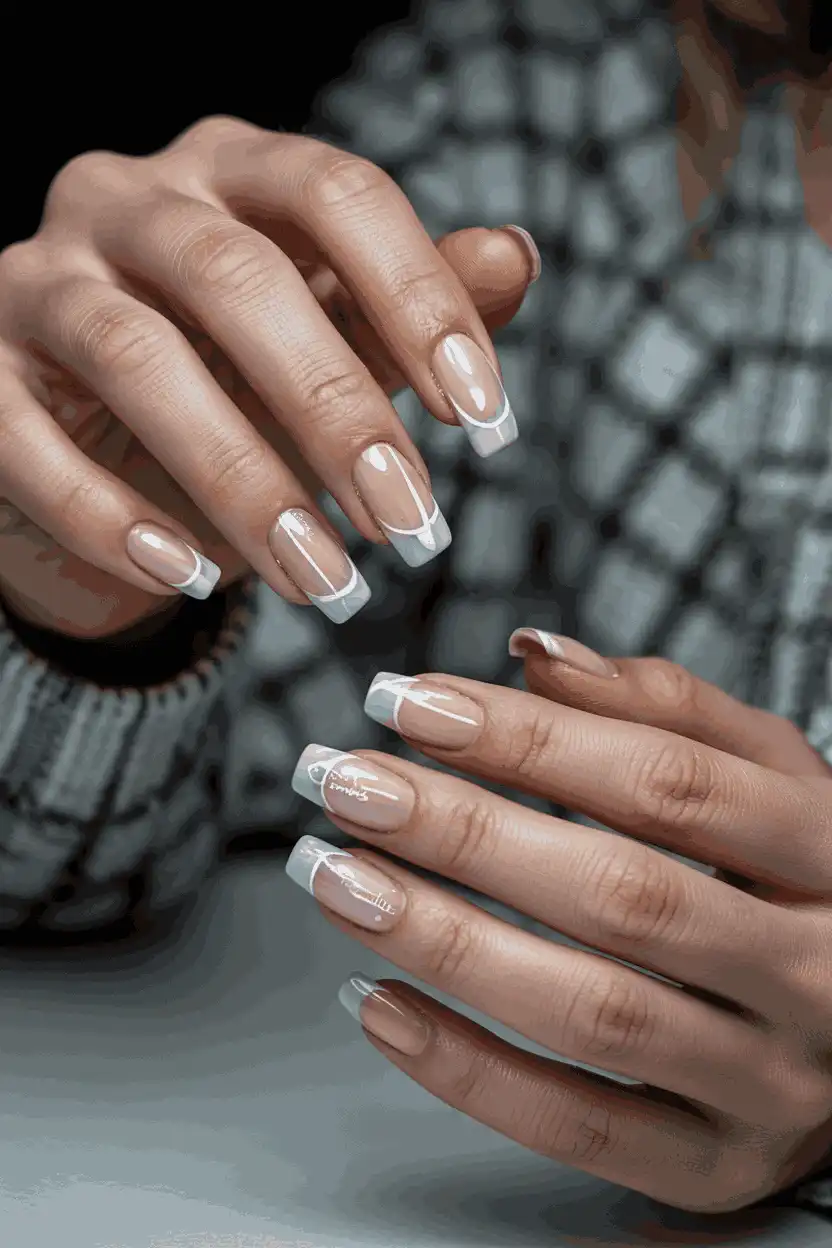
22: White Lines on Clear Nails
Clear or sheer-nude base, thin white lines: geometric, negative-space, and endlessly wearable. Striping tape keeps the lines razor-straight; freehand them for an organic feel. The transparency is what makes it modern.
White on clear suits every season because there’s no color to clash — it’s the manicure equivalent of a white shirt. Keep nails short to medium; very long clear nails with line art can look sparse.
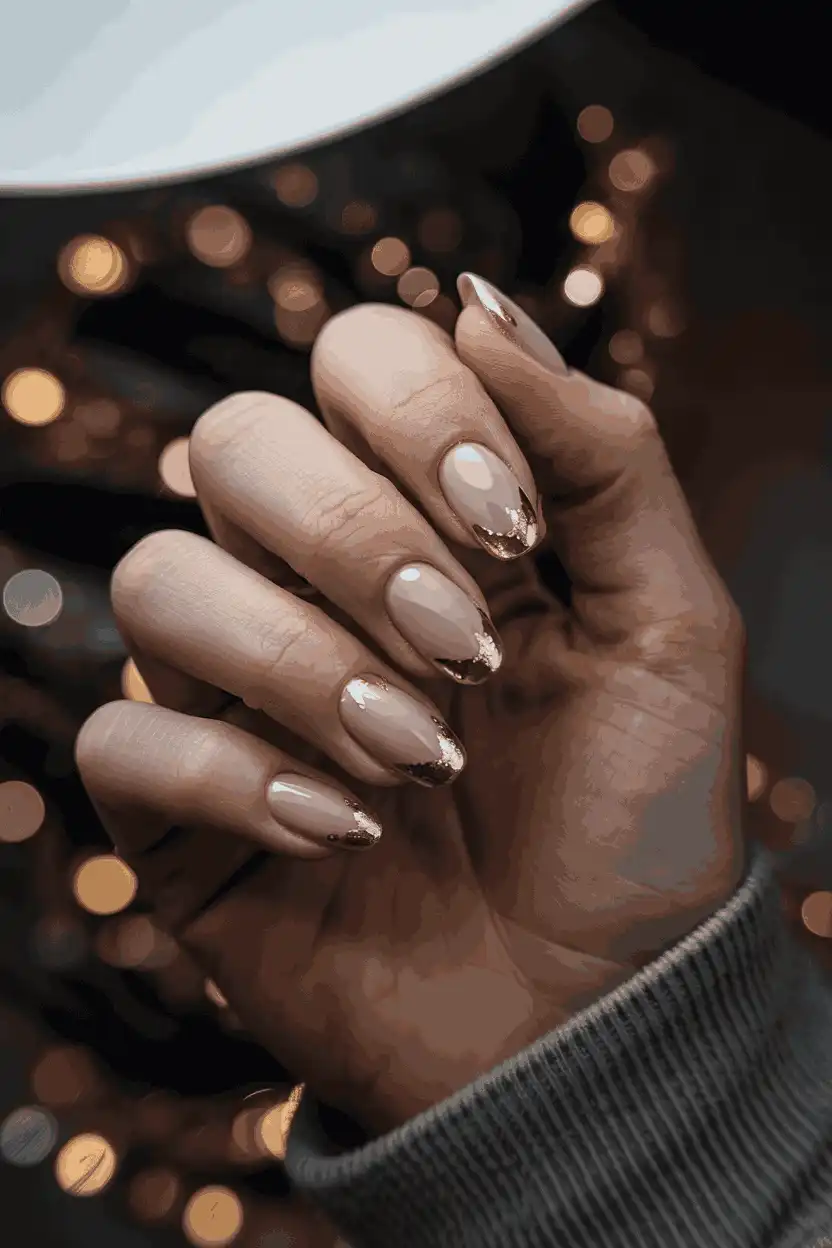
23: Gold Foil Touch for a Light Metallic Effect
Tear gold foil into confetti-sized pieces and press them onto tacky polish with tweezers — near the cuticle, scattered, or as a single accent. No two placements match, which is exactly why it looks expensive.
Foil over nude or blush keeps it delicate; over black it goes dramatic. Seal with a thick top coat — foil edges catch on everything if left unsealed, and they’ll peel within hours.
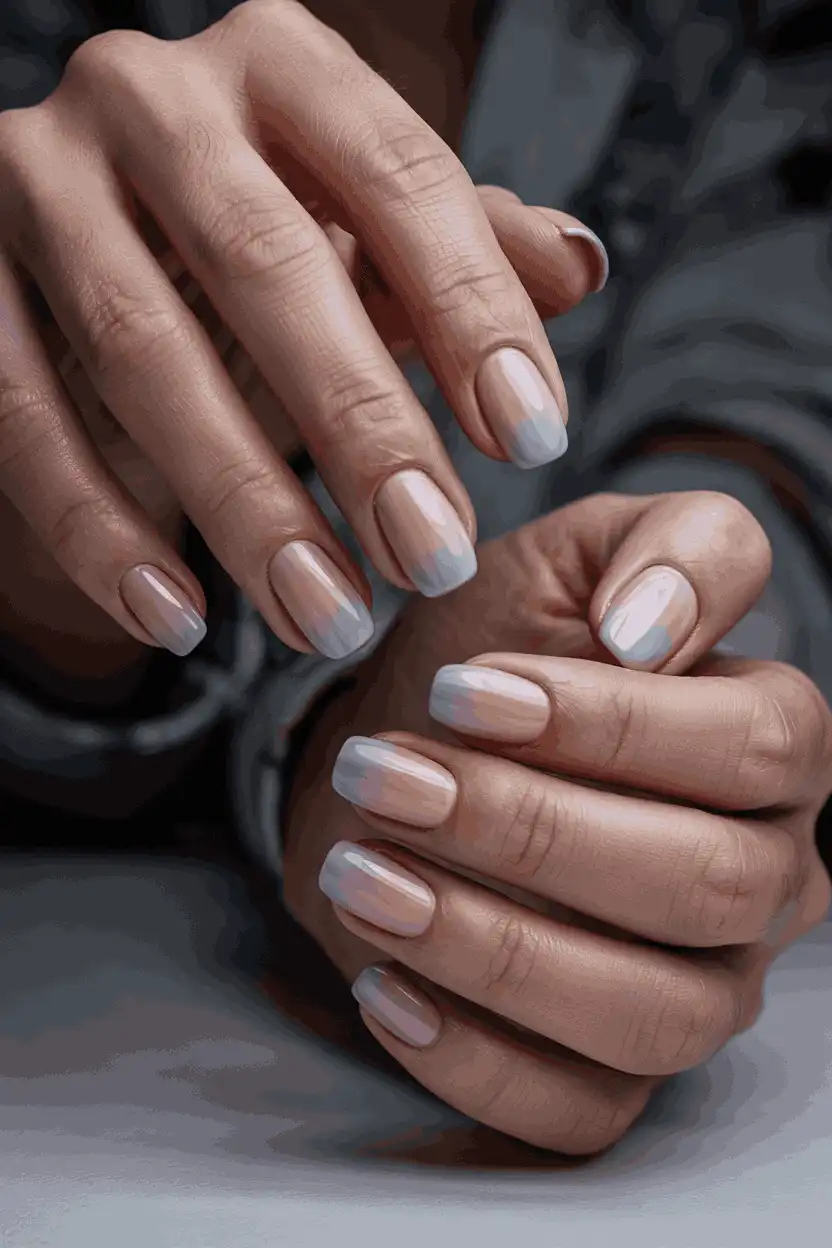
24: Soft Ombre Tips for Natural Depth
Ombre tips blend two shades from the free edge downward: sponge the darker shade at the tip, fading into the base. It’s the gradient’s subtler cousin — all the depth, none of the full-nail commitment.
Soft pink into white is the bridal classic; try mauve into nude for everyday. The technique works on fingers and toes alike since it needs no precision — the sponge does the blending.
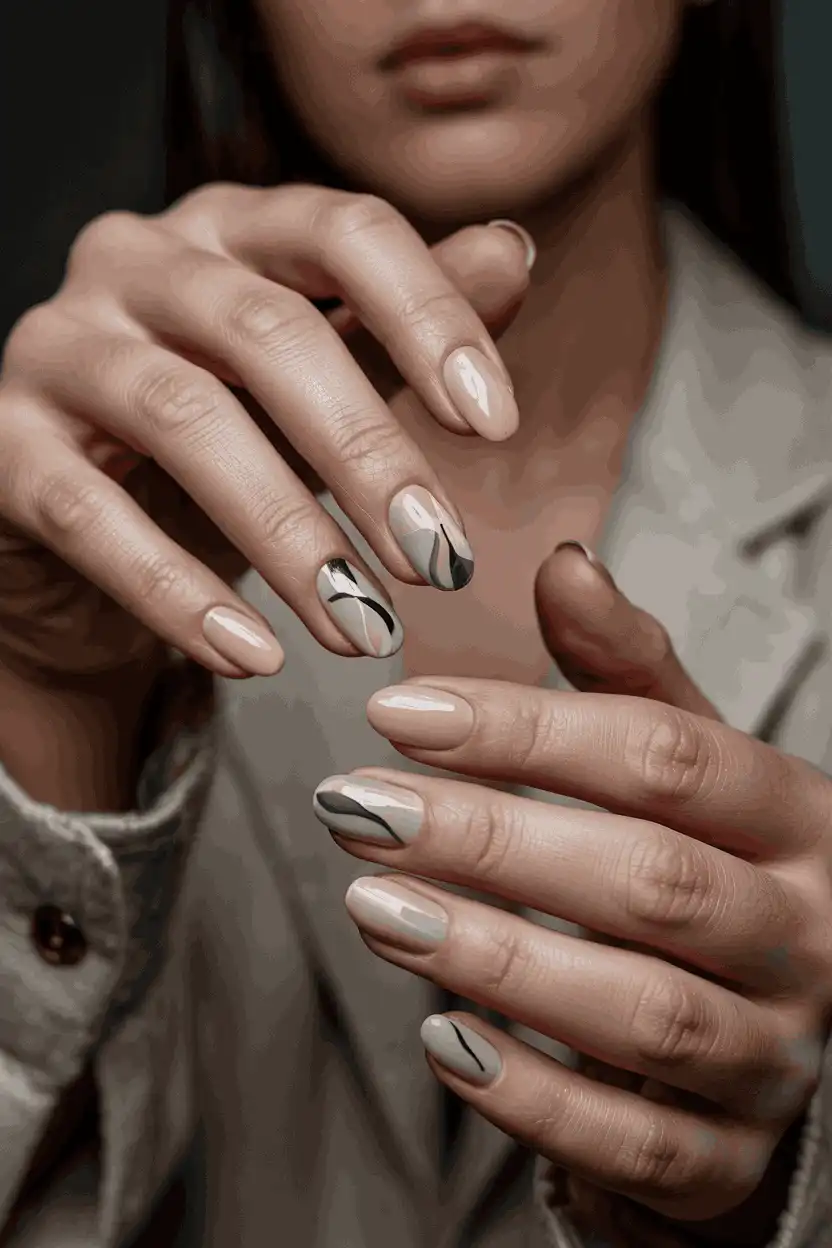
25: Simple Paint Strokes for an Artistic Touch
Dry-brush strokes: wipe most of the polish off the brush, then drag it lightly across the nail for wispy, abstract marks. One or two colors on a neutral base; the streaky, unfinished quality is the entire look.
Because the strokes are meant to look spontaneous, this is the fastest “artistic” manicure — five minutes for ten nails. Stop at two or three strokes per nail; overworking it turns abstract into muddy.
For more inspiration, browse My Premium Ideas for fashion trends, Nail Ideas, Hair style Ideas and more — bookmark the site to catch the latest posts.
FAQs for Simple Nail Design