Introduction
Some of my favourite Christmases cost almost nothing to decorate for. I still remember the year money was so tight that I nearly skipped decorating altogether — then I spent one Saturday with a bag of pinecones from the yard, a roll of twine, and the paper snowflakes my kids cut at the kitchen table, and our little living room ended up looking warmer than it ever had with store-bought stuff. That is the whole secret of diy christmas decor: it is not about spending less and settling for less, it is about making things that actually mean something in your home. These 25 DIY Christmas decor ideas on a budget are the ones I have genuinely made, remade, and lived with — from dried orange garlands that smell like December itself to a thrift-store ornament rescue that still hangs on my tree. Every idea here costs a few dollars at most, and most use things you probably already own.
1. Paper Snowflake Garland
Start with the simplest win in the whole list. Fold white copy paper or old book pages into triangles, snip out shapes, and string the snowflakes together on twine for a garland that looks far more delicate than it has any right to. I hang mine across the mantel and down the staircase banister, mixing in a few flakes cut from brown kraft paper so it does not look too stark. The trick is varying the sizes — big bold flakes at the ends, smaller fiddly ones in the middle — and ironing them flat on low heat under a tea towel so they hang straight instead of curling. My daughter once spent an entire snow day cutting a hundred of them, and we have reused that same garland three years running. It costs literally nothing if you already have paper and string.
What you need
White paper, scissors, and twine or fishing line. A hole punch helps for threading, but a needle works fine.
2. Dried Orange Slice Garland
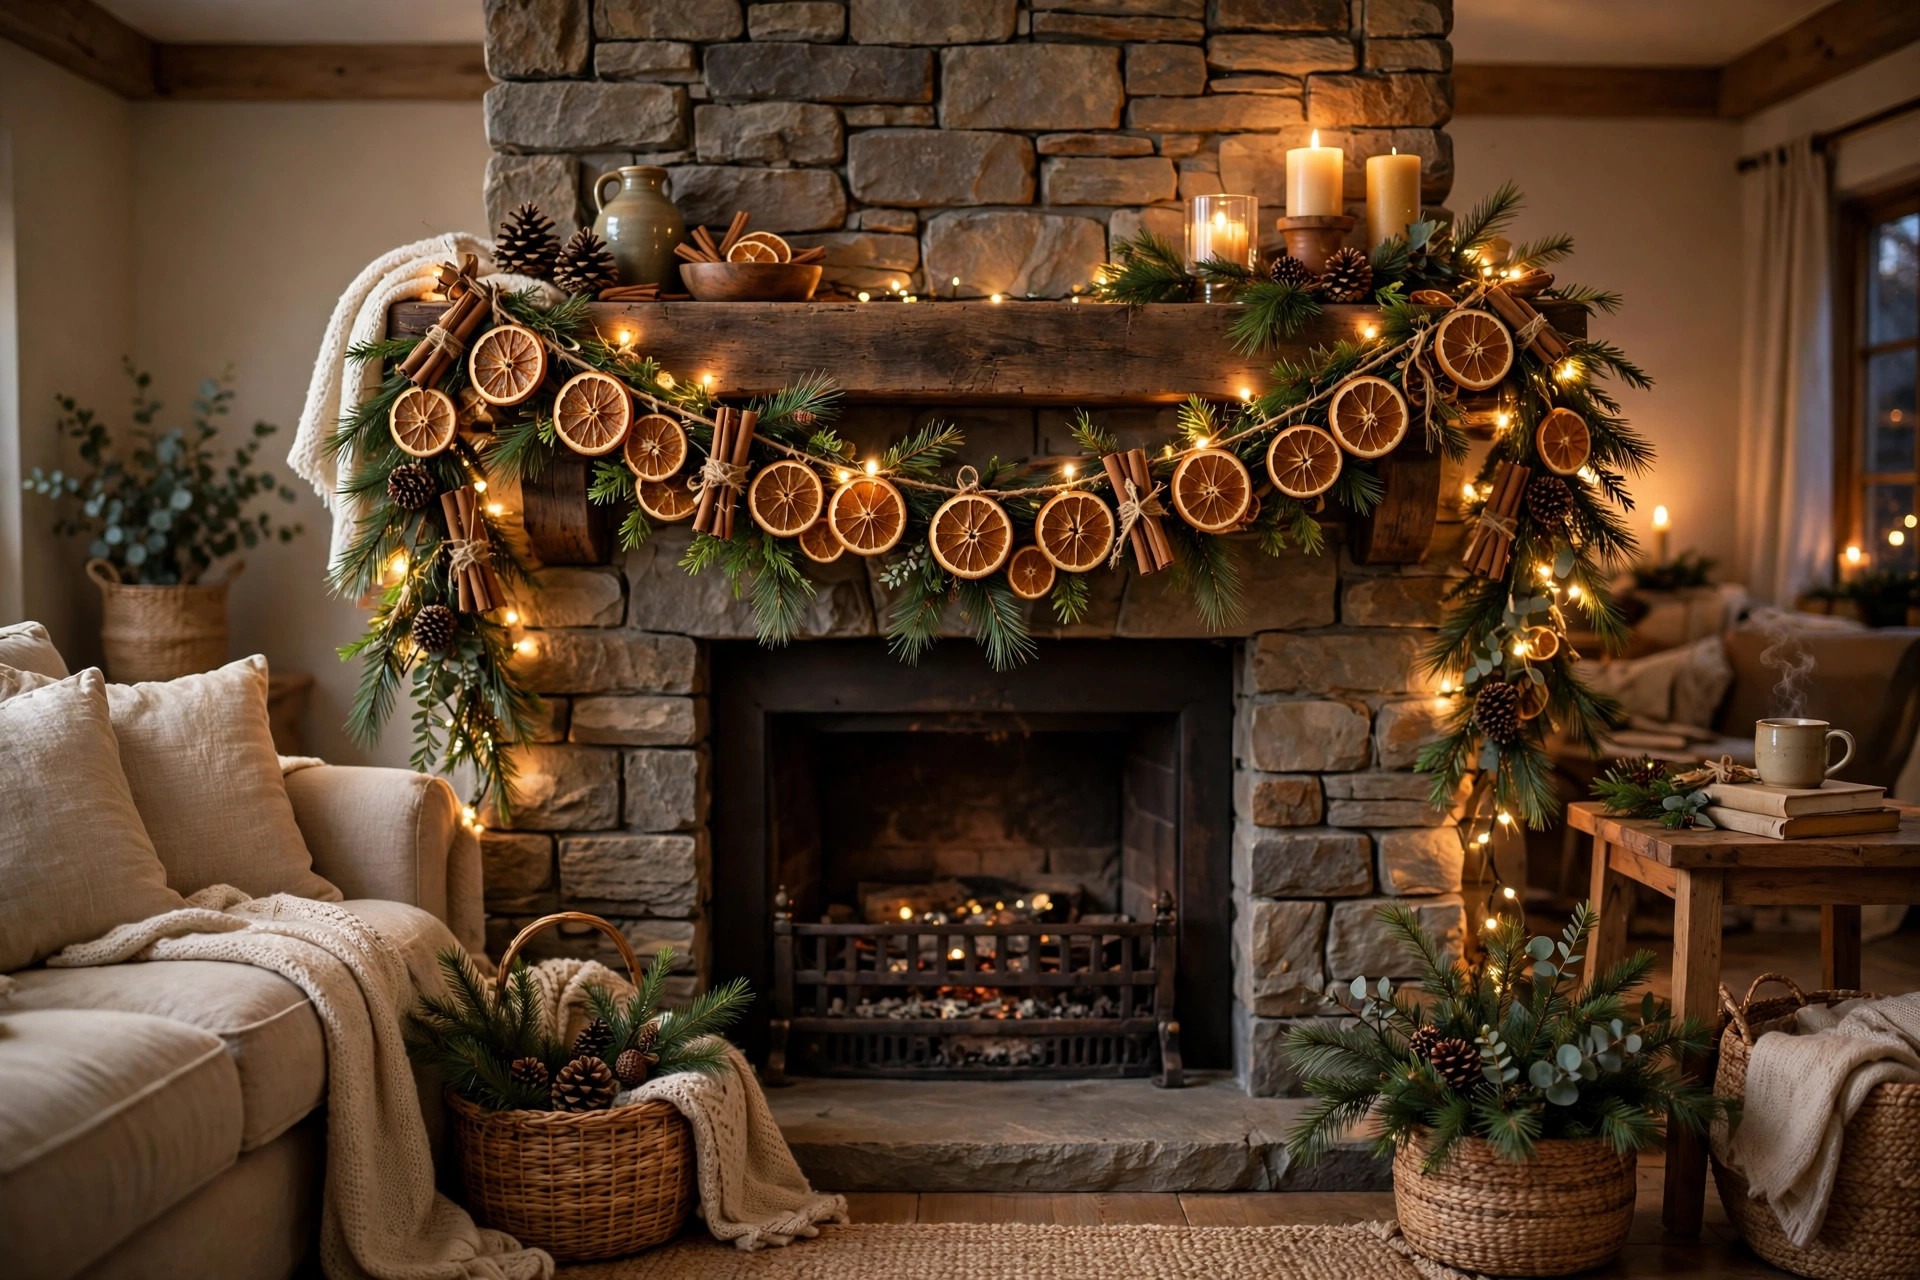
If there is one project that makes your whole house smell like Christmas, this is it. Slice oranges about a quarter-inch thick, pat them dry, and bake them low — around 200°F — for two to three hours, flipping halfway, until they turn translucent and leathery. String them on twine with cinnamon sticks and a few sprigs of rosemary, and hang the garland on the tree, the mantel, or across a window. The slices glow like stained glass when backlit by fairy lights, and honestly they look like something from a boutique. I dried my first batch too hot and they went brown and crispy, so keep the oven low and be patient. A dozen oranges makes a generous garland, and the leftovers go straight onto wrapped gifts as toppers.
3. Mason Jar Luminaries
Mason jars are the unsung heroes of budget decorating, and luminaries are the easiest way to use them. Smear the inside of a jar with a thin coat of Mod Podge, roll Epsom salt around inside for a frosted finish, and drop in a battery tea light. A cluster of three on a windowsill or down the middle of the dinner table gives off the softest winter glow. I tie a bit of jute twine and a sprig of pine around the neck of each jar, which takes about thirty seconds and makes them look finished rather than improvised. One honest warning: use battery candles, not real ones, especially if you have kids or a curious cat. Mine knocked a jar off the sill last year and I was very glad it was only a tea light rattling around.
4. Pinecone Ornaments
Free is my favourite price, and pinecones are free if you know where to look. I gather mine from a park near our house every October — a carrier bag full, no shame — then bake them at 200°F for half an hour to open them up and evict any tiny residents. A dab of white craft paint on the tips reads as snow, a loop of twine through the top makes a hanger, and suddenly you have ornaments that look genuinely rustic. For a fancier version, I dip the tips in gold paint or roll them in fine glitter over a paper plate. They also work wired onto a wreath or piled in a bowl with fairy lights. If you want more ornament projects like this, my DIY Christmas ornament ideas has a whole section on nature finds.

5. Scrap Ribbon Bows
Before you buy ribbon, check your own stash. I keep a shoebox of ribbon scraps — ends of gift wrap ribbon, fabric store remnants, last year’s bows that survived — and every December I turn them into layered bows for the tree, the wreath, and the backs of dining chairs. The method is forgiving: loop a wide piece into a bow, layer a narrower piece on top, pinch the middle with florist wire, and fluff. Mismatched ribbons actually look better than a matched set here, because the mix reads as collected rather than bought. A pack of florist wire from Dollar Tree costs about a dollar and lasts me years. I tied these bows onto plain dollar-store ornaments one year and guests genuinely asked which shop I had bought them from.
6. Burlap Table Runner
A length of burlap down the middle of the table is the fastest way to make Christmas dinner feel like an occasion. Burlap by the yard is cheap at any fabric store, and you do not even need to sew it — just cut it to length, pull a few threads from each end for a frayed edge, and lay it over your usual tablecloth or straight onto wood. I scatter pine sprigs, a few pinecones, and battery tea lights along mine, and it instantly looks like a farmhouse magazine spread. Stains wipe off burlap surprisingly well, and at the end of the season I shake it out and fold it away for next year. Mine is on its fourth Christmas now. For the rest of the room, my Christmas living room decor ideas pair well with this rustic table.

7. Twig Star Ornaments
Walk outside, snap five straight-ish twigs to roughly the same length, and you are halfway to a star. Lay them out in a five-pointed star shape on the table, hot-glue the joints where they cross, and add a twine loop for hanging. I make a batch of these every year while watching Christmas movies, and they are weirdly addictive — no two come out the same, and the wonky ones have the most charm. A light dusting of white spray paint makes them look snowy, or leave them natural for a woodland tree. They are sturdy enough for little hands to hang, which matters in my house. Tie a few together with a sprig of rosemary and you have a gift topper that beats anything from a roll of wrapping paper.
How I styled it
I hang the twig stars on the lower branches where the kids can reach them, and save the glass ornaments for up top. Nobody cries when a twig star falls off.
8. Popcorn and Cranberry Garland
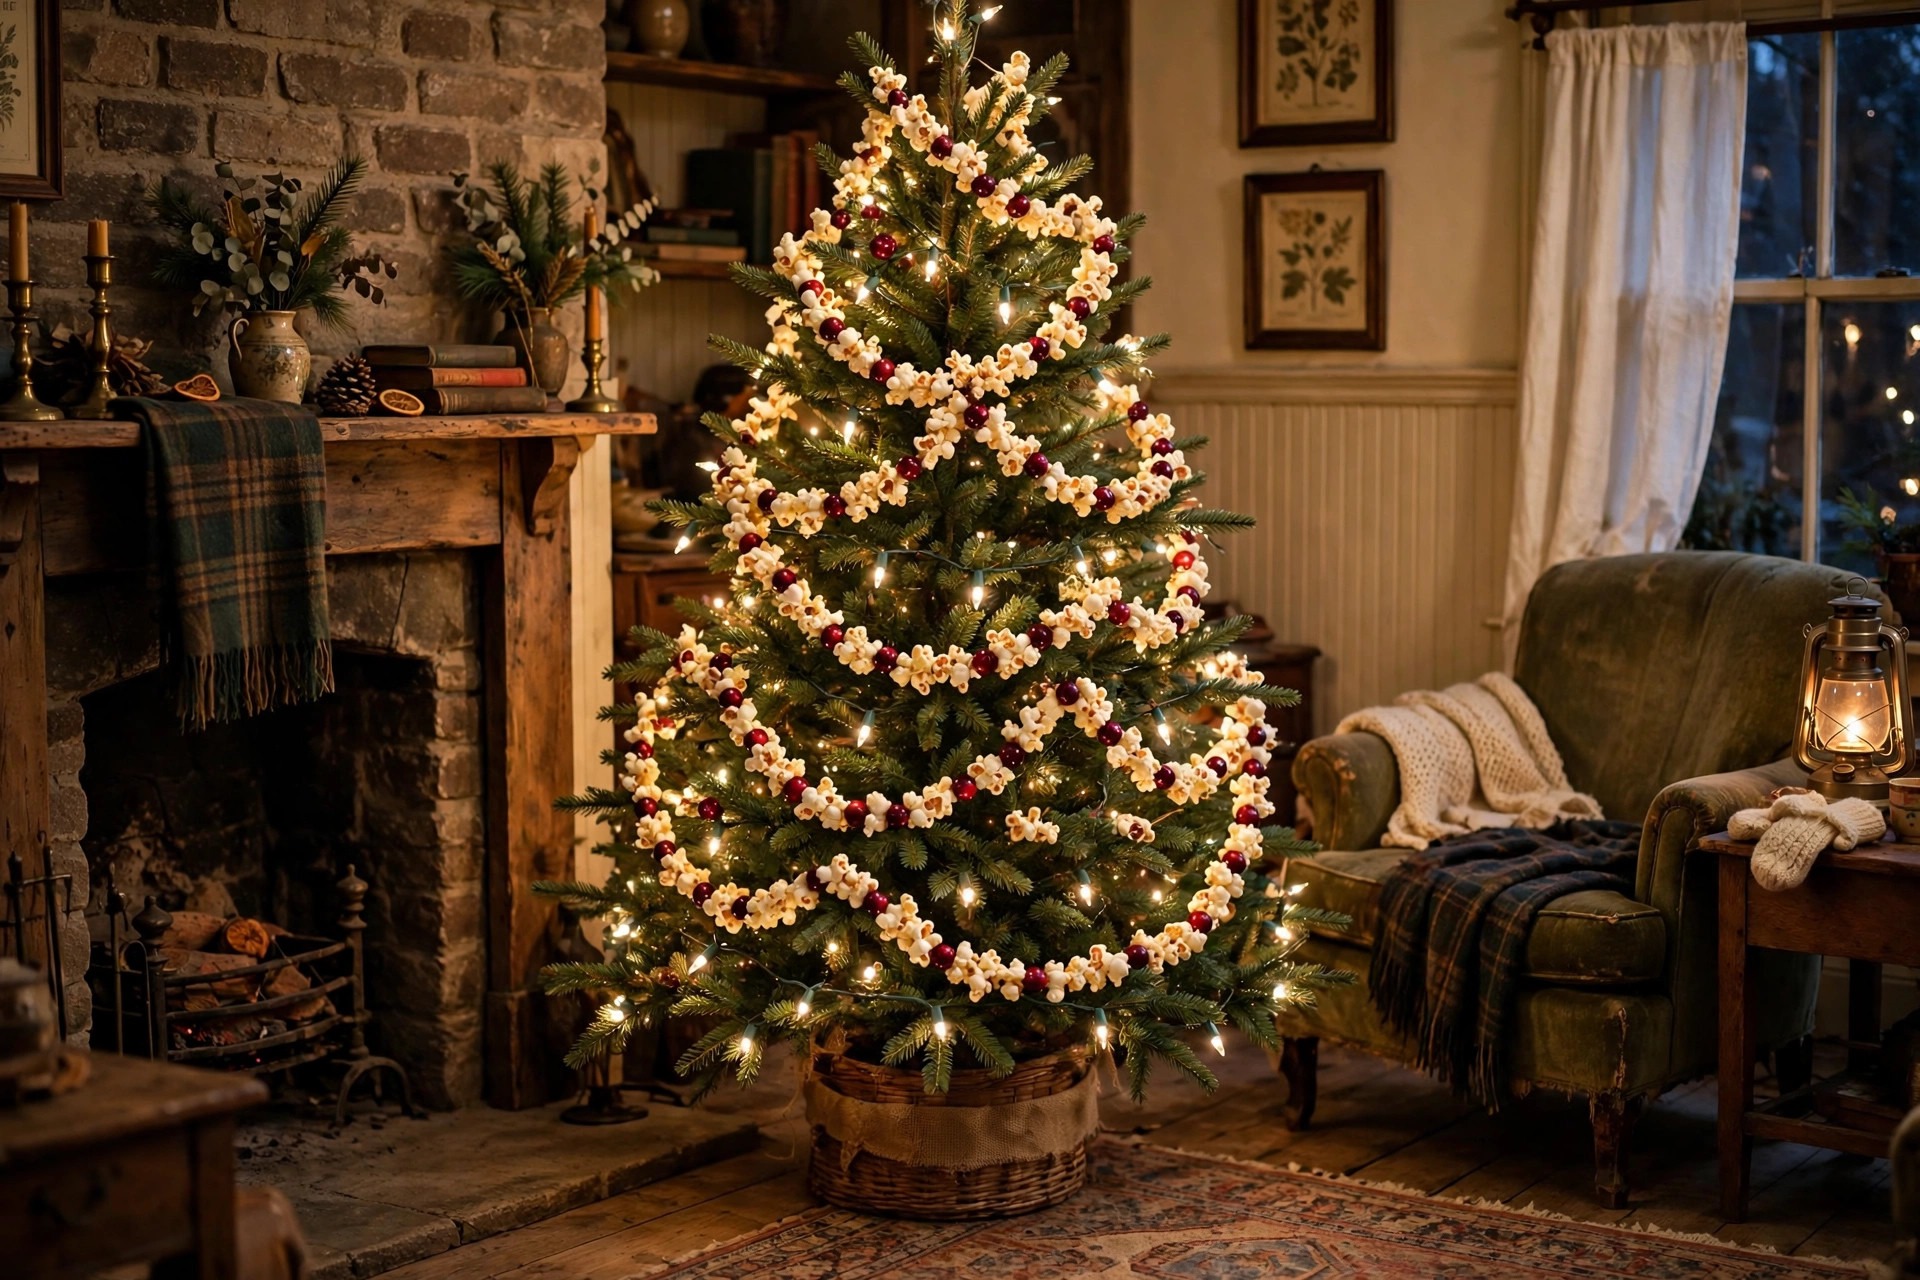
This one is pure nostalgia for me. Pop a big bowl of plain popcorn, thread a needle with sturdy string, and alternate popcorn and fresh cranberries until the garland is as long as you want it. It takes a while — put on a film and settle in — but the result is charmingly old-fashioned on a tree or a mantel, and it costs less than a coffee. Two practical notes from experience: use day-old popcorn, which is sturdier and less likely to crumble, and keep the garland away from pets, because cranberries on a string are apparently irresistible to dogs. Mine lasted one evening before the dog discovered it. I still make it every year, just higher up the tree now.
9. Thrift-Store Ornament Rescue
Thrift stores in November are full of bags of tired old ornaments for a dollar or two, and most of them just need a little love. I buy the ugliest bag I can find, then sort ruthlessly: anything with a good shape gets a coat of spray paint in matte white, gold, or deep green, and suddenly a box of dated ornaments looks like a curated set. Krylon and Rust-Oleum both make good metallic sprays that cover in one coat. Add new hanging loops from ribbon scraps and nobody will ever guess the origin story. My best haul ever was a bag of plain glass balls for fifty cents that, sprayed champagne gold, now anchor my whole tree. Check the back shelves too — that is where the good stuff hides.
10. Cinnamon Stick Bundles
Tie three cinnamon sticks together with twine, tuck in a sprig of pine or rosemary, and you have an ornament, a napkin ring, and a gift topper all in one project. A bulk bag of cinnamon sticks from a warehouse store or the spice aisle costs a few dollars and makes dozens of bundles. They smell wonderful for weeks, which is half the point — I hang a few on the tree near the front door so the scent hits you when you walk in. If you want them fancier, add a tiny dried orange slice or a star anise to the bundle. One caution: keep them out of reach of small children and pets, since cinnamon sticks splinter if chewed. Otherwise, this is the easiest win on the list.

11. Stamped Kraft Paper Gift Wrap
Here is a trick that makes your gifts look like part of the decor: wrap everything in plain brown kraft paper, then stamp it with a potato stamp or a cheap craft stamp in white or red ink. Stars, trees, and snowflakes are all easy shapes. A roll of kraft paper costs a few dollars and covers an entire family’s gifts, and the wrapped presents stacked under the tree become a display in their own right. I stamp while watching TV the week before Christmas, and the kids now have strong opinions about which stamp goes on whose gift. Tie each parcel with twine and a sprig of pine or a cinnamon bundle from idea 10, and you will never buy printed wrapping paper again. It also photographs beautifully.
12. Simmer-Pot Centrepiece Jars
Fill a big glass jar or a low bowl with water, orange slices, cranberries, cinnamon sticks, and a few cloves, and you have a centrepiece that looks like a snow globe and smells like a bakery. I set one on the coffee table with a battery tea light behind it so the cranberries glow. The same mix goes on the stove as a simmer pot when guests arrive — just pour it into a saucepan, add water, and let it barely simmer. The jar version lasts about a week if you change the water every couple of days, and the ingredients cost less than a single scented candle. This is my go-to when I want the house to feel festive fast, like when someone texts that they are dropping by in an hour.

13. Felt Ornaments
Felt is wonderfully forgiving — no fraying, no hemming, and a sheet costs well under a dollar at Michaels or Hobby Lobby. Cut two identical shapes (trees, stars, mittens, gingerbread people), blanket-stitch or hot-glue them together around the edges, stuff lightly with cotton balls, and add a hanging loop. My felt ornaments are the ones the kids fight over every year, partly because they made half of them. A cookie cutter makes a perfect template if freehand shapes feel intimidating. I keep a little felt kit in a zip bag — felt sheets, embroidery thread, a needle — and it comes out every December like a tradition of its own. They also make sweet gifts for teachers and neighbours.
14. Chalkboard Countdown Sign
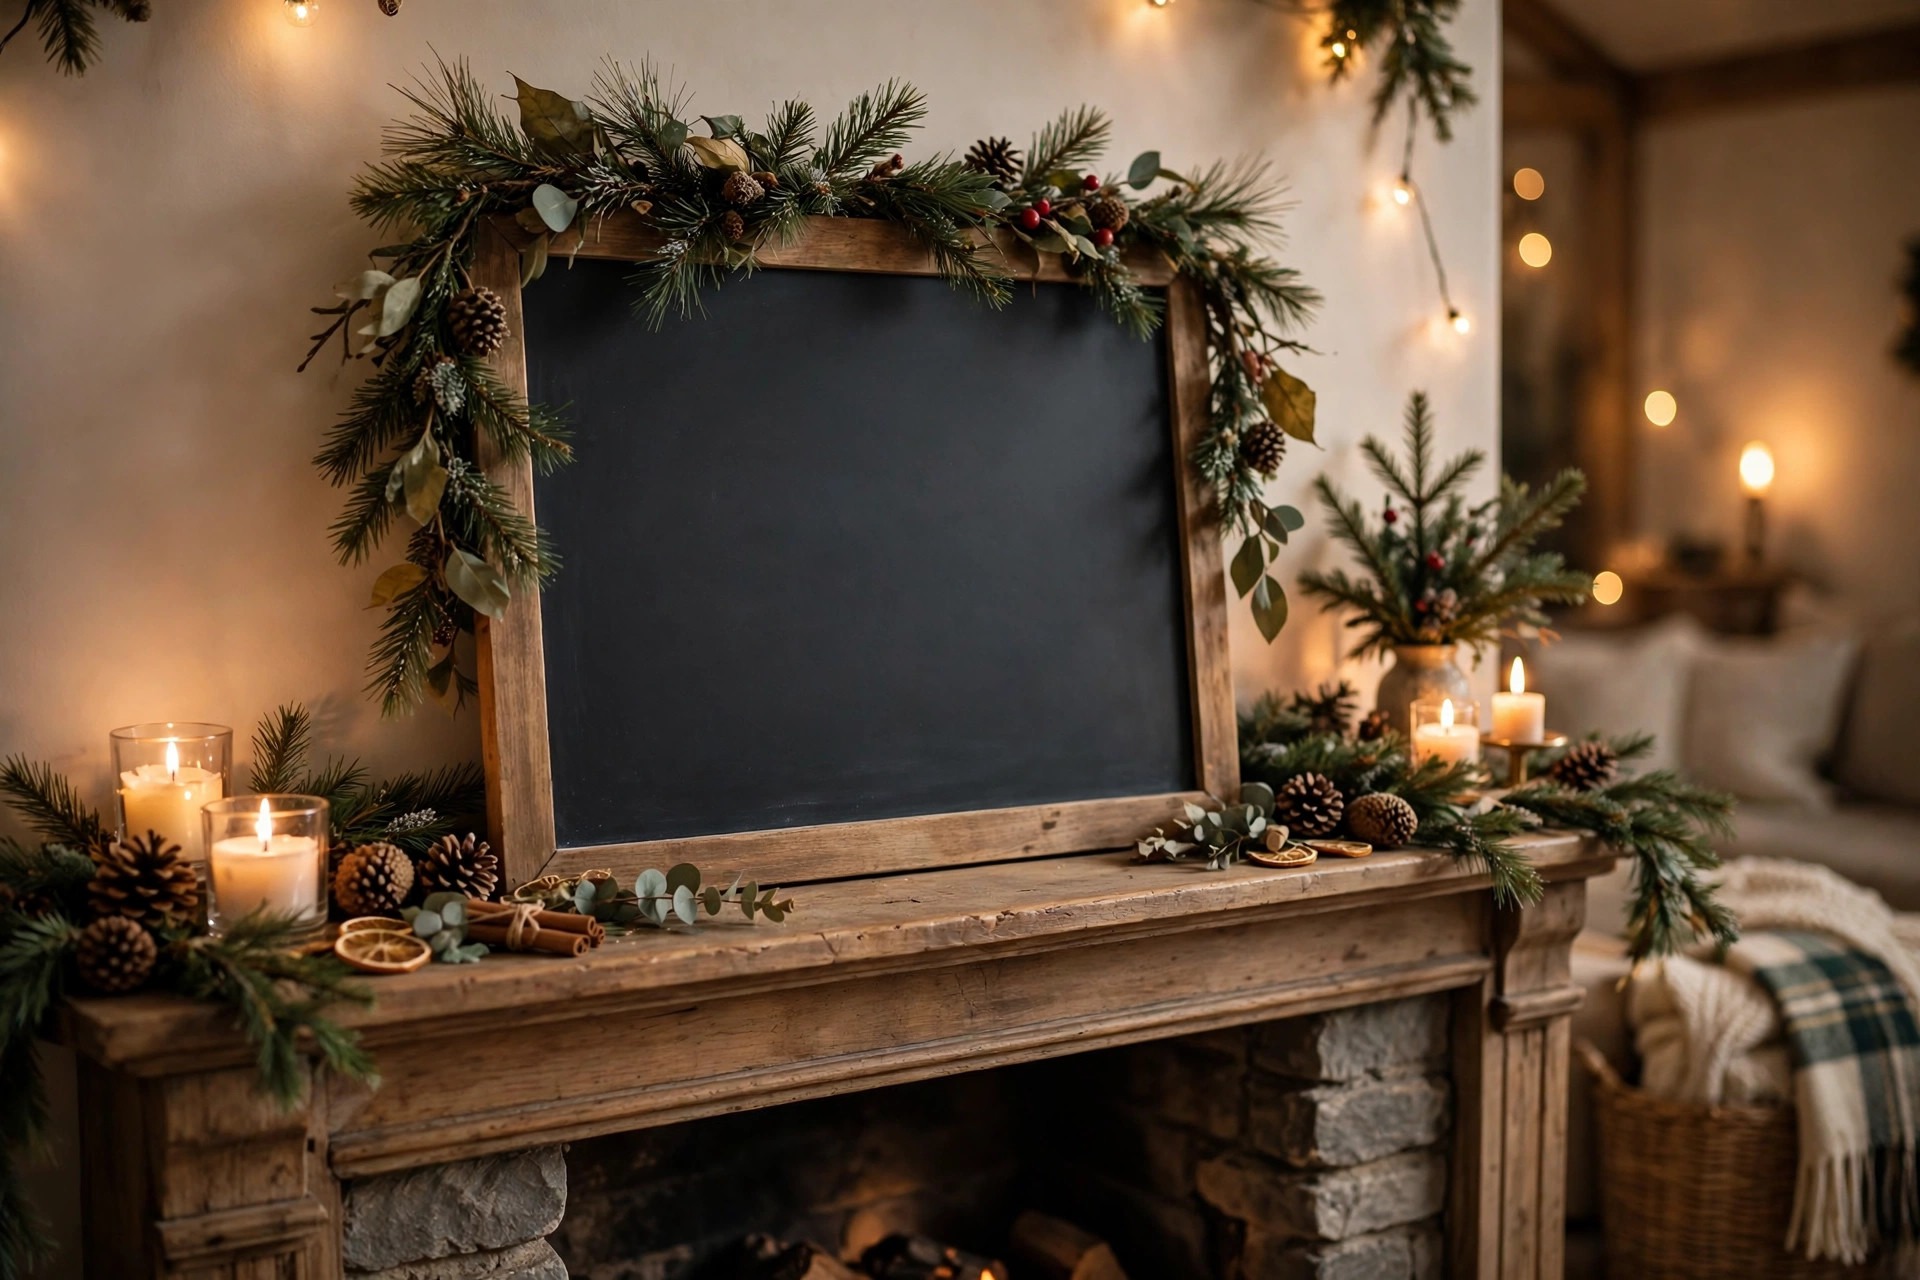
A small chalkboard from Dollar Tree, a piece of chalk, and some hand-lettering turn into a Christmas countdown the whole family checks every morning. I write “Days until Christmas” at the top in my best attempt at fancy lettering — it is not perfect, and that is part of its charm — and update the number daily. Dress the frame with a bit of garland or a small bow and lean it on the mantel or hang it by the door. If chalk dust bothers you, a chalk marker gives cleaner lines and wipes off with a damp cloth. My kids took over the daily number-changing duty years ago, and honestly, watching them race to update it is one of my favourite December rituals. Cheap, personal, and interactive.
15. Book Page Wreath
If you have a damaged paperback nobody will read again — a thrift-store find with a broken spine is perfect — you can make a wreath that looks far more expensive than it is. Roll pages into cones, hot-glue them in overlapping rows onto a cardboard ring, and fluff them out until the ring disappears. A spritz of gold spray paint on the outer edges, or a few red berries tucked in, finishes it. Mine hangs on the front door every year and has survived three winters. It pairs beautifully with a porch display; if you are dressing the outside too, my Christmas front porch decor ideas has more budget-friendly porch projects. Just do not use a book you love — use one that was headed for recycling anyway.
What you need
One old paperback, a cardboard ring cut from a cereal box, a hot glue gun, and gold spray paint if you want the gilded edges.
16. Painted Wine Bottle Candle Holders
Do not throw away empty wine bottles in December. Soak off the labels, spray-paint the bottles in matte white, gold, or deep green, and you have elegant candle holders for the mantel or the dinner table. A taper candle in the neck (battery tapers if you have kids around) and a bit of pine garland around the base, and the whole arrangement looks like it came from a home store. I made a set of three in different heights one year — one tall, one medium, one short — and they are still my go-to centrepiece. Peel the labels with hot soapy water and a bit of patience; a razor scraper helps with stubborn glue. If you want a matching garland to wind around them, my Christmas garland ideas has several that cost almost nothing.

17. Salt Dough Ornaments
Salt dough is the craft I return to every single year: one cup of flour, half a cup of salt, half a cup of water, kneaded into a dough you roll out and cut with cookie cutters. Bake low until hard, paint with acrylics, seal with a coat of Mod Podge, and thread ribbon through the hole you poked before baking. The kids make handprints and snowmen; I make stars and trees and initial ornaments for stockings. They last for years if kept dry — we still hang ornaments my daughter made at age four. A batch costs well under a dollar. If you want a full guide to handmade ornaments beyond dough, my DIY Christmas ornament ideas covers felt, paper, and nature finds too. Date the back of each one; future you will be glad.
18. Evergreen Clippings in Jars
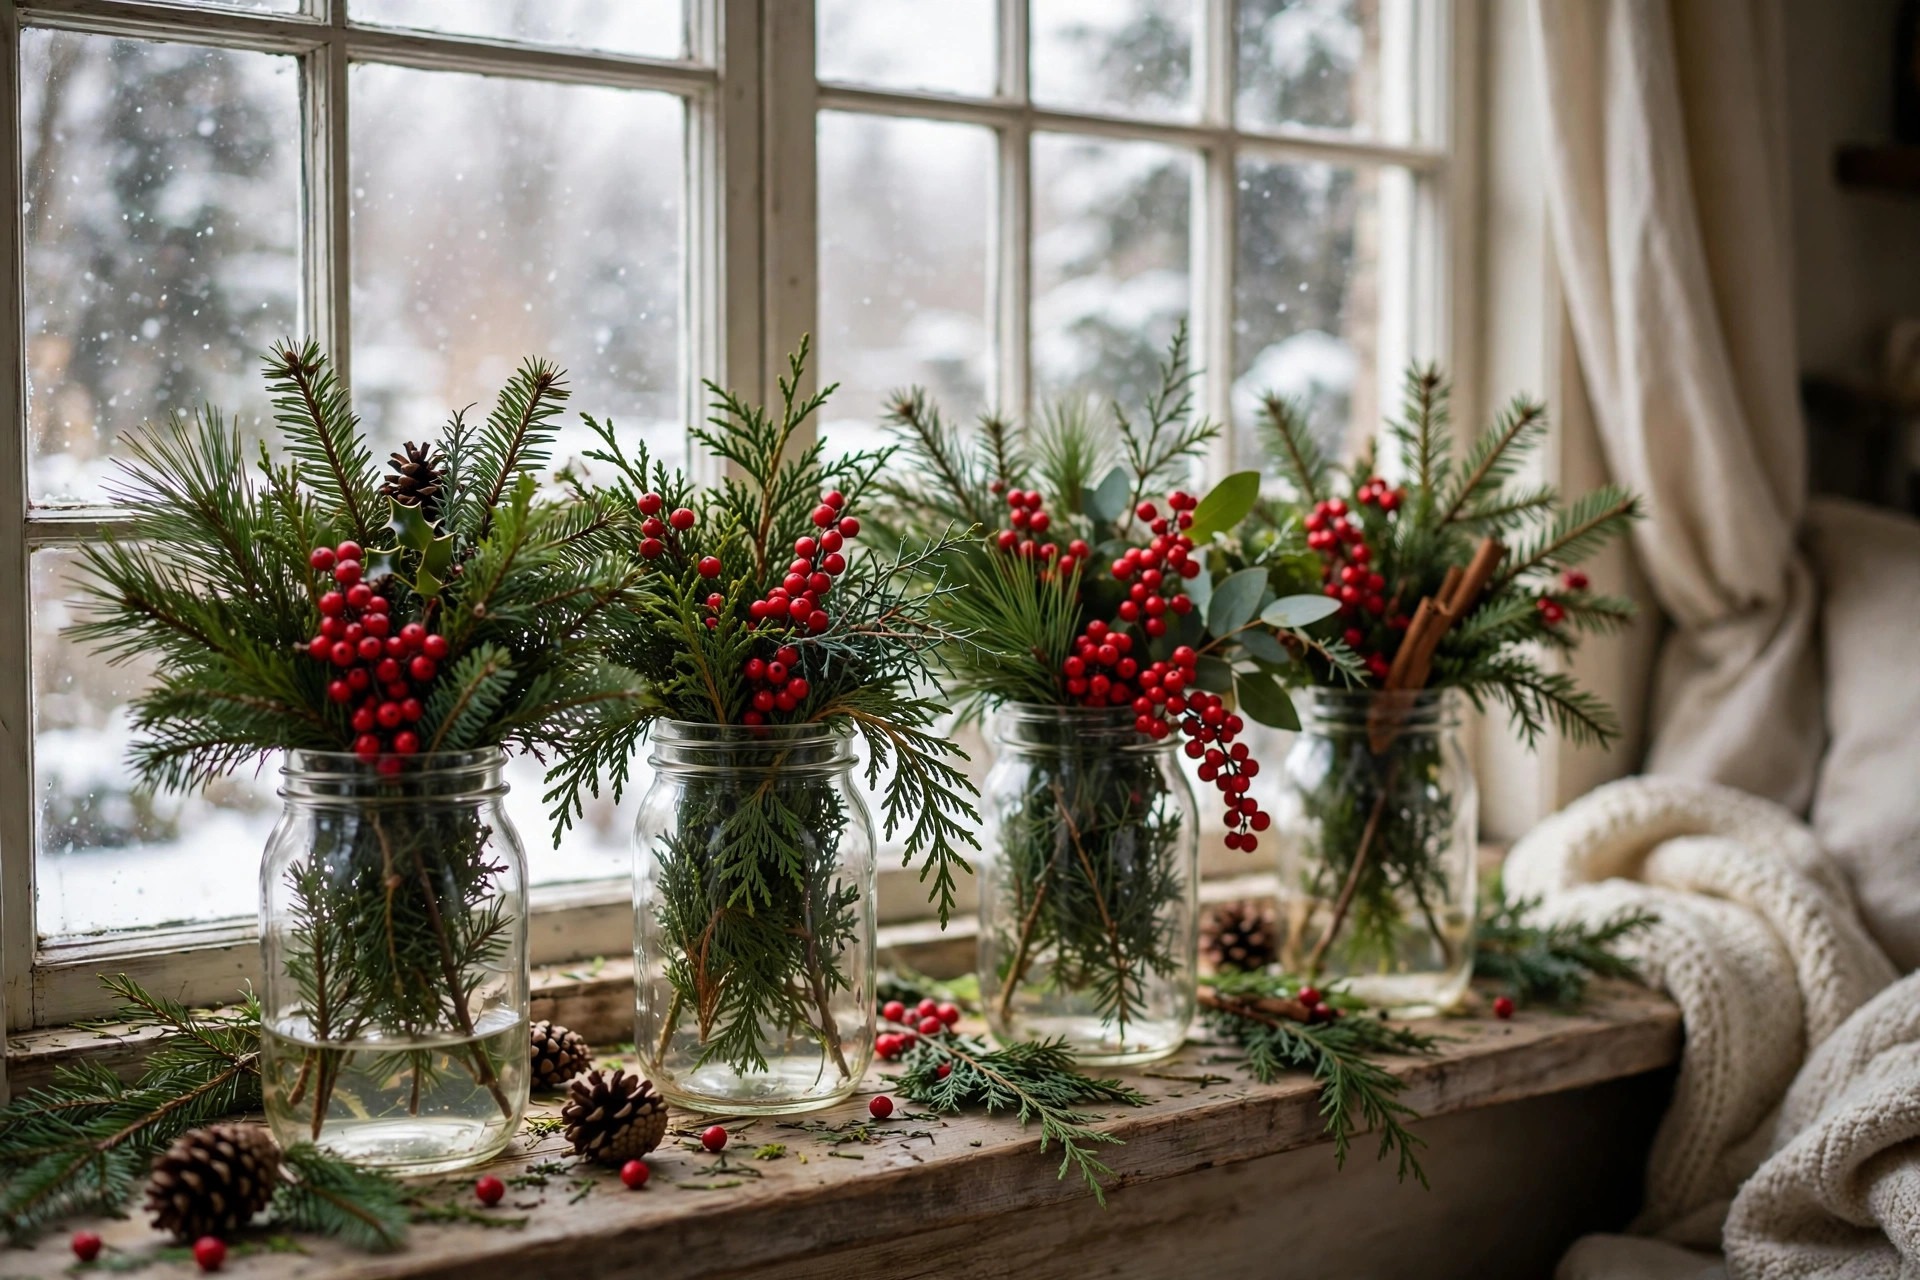
You do not need to buy garland to get that fresh-pine look. After Christmas tree lots trim their trees, many will give you the cut branches free if you ask nicely — I have never been turned down. Snip the clippings into short sprigs, stand them in mason jars, old jam jars, or any glass you have, and add water like flowers. A row of them along a windowsill or the mantel smells wonderful and looks intentionally rustic. Add a few red berries (craft berries from the dollar store if you do not have real ones) and a battery tea light behind the jars for evening glow. When the clippings dry out, they go straight onto the compost. Free, fragrant, and zero waste.
19. Fairy Lights in Bottles and Jars
A string of battery fairy lights stuffed into a glass bottle or jar is the laziest beautiful decoration I own. Cork lights — the kind with a cork-shaped battery pack — are made for wine bottles, and a standard string works in any wide-mouthed jar. I keep three on the mantel all December: one in a green bottle, one in a clear jar with pinecones at the bottom, one in a blue bottle I found at a thrift store. The light refracts through the glass and throws the prettiest patterns on the wall. A set of fairy lights costs a couple of dollars at Dollar Tree or on Amazon, and the batteries last the whole season on a timer. It is the first thing I set up and the last thing I take down.
20. Paper Bag Luminaries
Brown paper lunch bags, a pair of scissors, and battery tea lights make luminaries that line a walkway or a porch rail like something out of a storybook. Fold the top of each bag down about two inches, cut a few simple shapes (stars, trees, diamonds) into the sides with a craft knife or small scissors, drop in a tea light, and set them out along the path. The cut shapes glow when the light is on, and a row of them makes the front of the house look magical for the price of a bag of lunch sacks. I weigh mine down with a scoop of sand or pebbles so a winter breeze does not send them flying — learned that one the hard way after chasing bags down the street. For more porch ideas, see my Christmas front porch decor ideas.

21. Old Sweater Stockings
That stretched-out sweater in the back of the closet has one last job. Cut a stocking shape from the body of the sweater — the ribbed cuff becomes the stocking cuff, which is a lovely shortcut — sew or hot-glue the edges together, and add a loop for hanging. Cable-knit sweaters make the prettiest stockings, and a felt initial stitched on the front personalises each one. I made a set from a single oversized thrift-store sweater for about three dollars, and they look like the expensive knit stockings in catalogues. If sewing is not your thing, fabric glue or a careful hot-glue seam works fine for stockings that hold light treats. Wash the sweater first, unless you enjoy a faint whiff of mothballs with your Christmas morning.
22. Cookie Cutter Ornaments
Metal cookie cutters are ornaments waiting to happen. Thread a ribbon through the top of a star, tree, or gingerbread-man cutter, add a tiny bow, and hang it straight on the tree — the shape is already perfect, and the metal catches the light. For a fuller look, I wrap the cutter in twine or glue a bit of felt inside the frame so it reads as a filled shape rather than an outline. A set of cutters from Dollar Tree costs a dollar and makes a dozen ornaments. They also work as napkin rings at the dinner table, which means one purchase decorates twice. Mine live in a zip bag with the other ornaments and come out every year without fail.
23. Scrap Fabric Strip Garland
If you sew, you have a scrap bin. Cut fabric into strips about an inch wide and six inches long, and tie them one by one onto a length of twine, pushing them close together until the twine disappears under a fluffy, ragged garland. Christmas prints, old flannel shirts, even worn-out tea towels all work — the mix of patterns is the charm. I made a red-and-cream one from an old duvet cover and it is genuinely one of my favourite decorations, soft and shabby in the best way. It takes an evening in front of the TV to tie enough strips for a mantel, but it is the kind of mindless, satisfying work I actually look forward to. No sewing required at all.
How I styled it
I hang the fabric garland on the mantel with the ends trailing onto the hearth, and tuck a few pine sprigs behind it so the green peeks through the fabric.
24. Pinecone Wreath
A wreath made entirely of pinecones looks like it cost forty dollars and takes about an hour. Hot-glue pinecones onto a foam or straw wreath form — start from the outside edge and work inward, varying the sizes and angles so it looks full rather than flat — then add a bow and a few berries or a dusting of fake snow. I wired a loop of twine to the back for hanging, and the wreath has survived four Decembers on my front door. Foraged pinecones keep the cost at the price of the wreath form, which is a few dollars at a craft store. If you want a softer look, mix in a few dried orange slices or cinnamon bundles from earlier ideas. It is the project I recommend most to friends who say they are not crafty.
25. Mason Jar Winter Village
Save the best for last: turn a few mason jars of different sizes into a glowing winter village on a windowsill or a shelf. Put a pinch of fake snow or Epsom salt in the bottom of each jar, add a tiny bottle-brush tree or a little house (dollar-store miniatures work perfectly), screw on the lid or leave it open, and tuck a battery tea light behind or inside. At dusk, the whole village glows, and it looks like something you would pay real money for. I built my first village with my kids on a rainy afternoon, and it is the decoration they ask for first every year. Cluster three jars of different heights together, add a string of fairy lights behind them, and step back. That little glowing village is pure Christmas, made for pennies.
Styling Tips
- Pick two or three colours and repeat them everywhere — red, gold, and natural wood is my go-to — so a mix of handmade pieces still looks pulled together.
- Put your handmade decorations where people actually look: the mantel, the tree, the dinner table, and the front door earn the effort; spare bedrooms do not.
- Light everything. Battery fairy lights and tea lights make even the simplest paper or pinecone project look ten times more expensive after dark.
- Make in batches while watching a film. Most of these projects are quicker the second time, and a production line of ornaments beats one perfect ornament.
- Mix one or two store-bought anchor pieces with your handmade ones — a good wreath or a set of lights — so the handmade pieces shine instead of carrying the whole room.
- Store finished projects carefully in labelled boxes, because half the budget win is reusing them next year instead of starting from scratch.
Frequently Asked Questions
How can I decorate for Christmas on a budget? Start with what is free: foraged pinecones and evergreen clippings, paper you already own, and jars from the recycling bin. Then spend small amounts where they show most — a string of fairy lights, a bag of cinnamon sticks, a can of spray paint. Make decorations in batches (garlands, ornaments, luminaries) rather than buying individual pieces, and reuse everything next year. Most of the ideas in this article cost under five dollars each.
What is the cheapest way to decorate for Christmas? Paper snowflakes, popcorn garland, and foraged pinecones cost essentially nothing, and a single string of fairy lights transforms a whole room for a couple of dollars. If I had to pick one purchase, it would be lights — they make every other cheap decoration look expensive. Ask tree lots for free branch trimmings, and check thrift stores for ornament bags before buying anything new.
How do you make DIY Christmas decor look expensive? Stick to a tight colour palette, use natural materials like wood, pine, and dried citrus, and finish every piece — hide glue spots, trim stray threads, and add a ribbon or bow. Lighting is the real secret: warm fairy lights and candles make simple materials glow. Group decorations in odd numbers and vary heights, which reads as intentional rather than improvised. A coat of metallic spray paint also instantly upgrades thrifted or handmade pieces.
When do Christmas decorations go on sale? The deepest discounts land right after Christmas — December 26 through January — when stores clear seasonal stock at 50 to 90 percent off. That is when I buy next year’s lights, ribbon, and ornament sets. Smaller sales appear in early November and on Black Friday, but the post-Christmas clearance is where the real bargains live. Buy basics that never go out of style (white lights, gold ribbon, plain ornaments) rather than trendy pieces you may not want next year.
Final Thoughts
Here is what I have learned after years of decorating on a budget: the handmade pieces are the ones people remember. Nobody asks about the expensive baubles; they ask about the pinecone ornaments, the dried orange garland, the little glowing village on the windowsill. Pick three or four ideas from this list, gather your supplies on a Saturday, and make an afternoon of it — put on some music, rope in whoever is around, and enjoy the making as much as the result. And if you fall in love with the handmade look, my cottage Christmas decor ideas show how the same natural, cosy approach works for a whole room. Your home does not need a big budget to feel like Christmas. It just needs a little time, a little light, and a few things made by hand.