Introduction
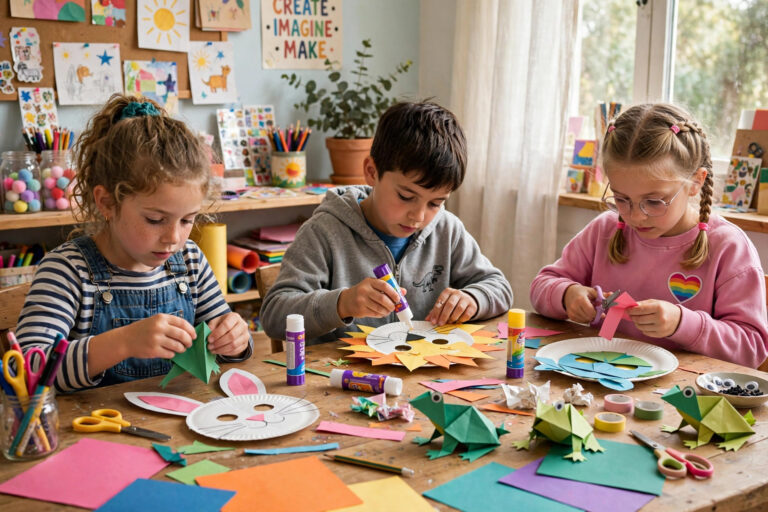
Every December my tree tells the story of the last decade of craft tables — salt dough handprints, one lopsided reindeer, and glitter that migrated into places glitter should never be. That is the real magic of DIY Christmas ornaments: they cost almost nothing, they look charming precisely because a human made them, and they turn an ordinary afternoon into a tradition. Making Christmas ornaments at home is simpler than most people expect — most of the projects below need only scissors, some form of glue, and a free hour. This collection of 22 handmade Christmas ornament ideas covers every style, from rustic cinnamon-and-twine to sparkly modern, with supplies you can grab at Dollar Tree or Michaels. Whether you are after classic Christmas ornament crafts or a fresh take on DIY Christmas balls, there is something here for every tree and every skill level.
1. Salt Dough Handprint Ornaments
Salt dough is the gateway craft of handmade Christmas ornaments, and for good reason — the ingredients are already in your kitchen. Mix one cup of flour, half a cup of salt, and half a cup of water, roll the dough about a quarter-inch thick, and cut shapes with cookie cutters or press in little handprints for keepsakes. Bake at 200°F for two to three hours until completely hard, flipping once. The real fun starts after cooling: paint with acrylic paint, add names and the year with a fine brush or paint pen, then seal with two coats of Mod Podge so they survive decades of Decembers. Punch the hanging hole before baking, not after — a straw makes the perfect circle. I have ornaments from this exact recipe that are eight years old and still going strong.
2. Dried Orange Slice Ornaments
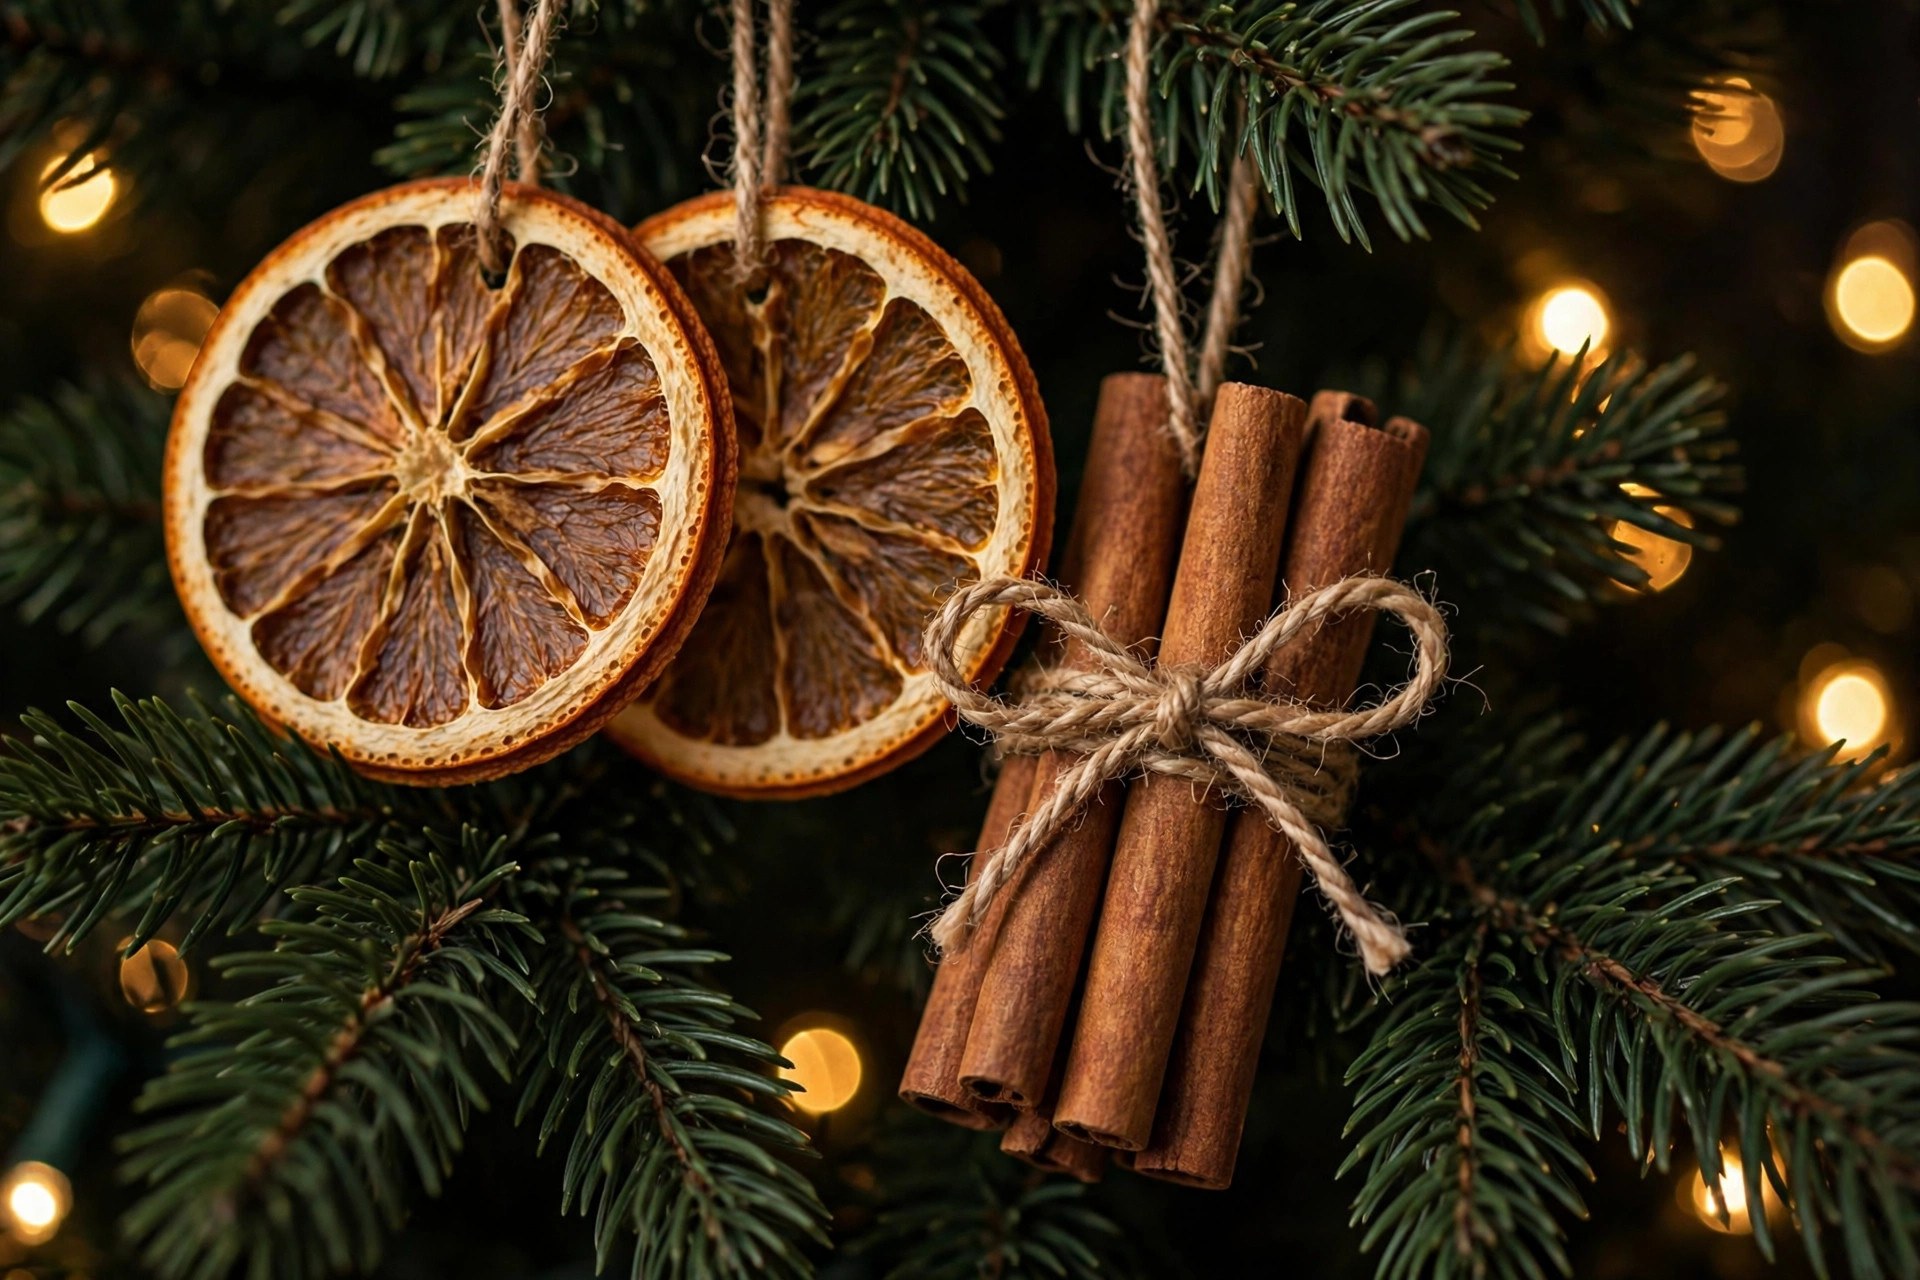
Few Christmas ornament crafts look as elegant for as little effort as dried orange slices. Slice oranges about a quarter-inch thick — too thin and they curl, too thick and they never dry — then lay them on a parchment-lined sheet and bake low at 200°F for three to four hours, flipping every hour. They are done when they feel dry and leathery with no soft spots. Thread a piece of natural twine through the center or pierce the rind with a skewer for the hanger. Hung on the tree, they glow translucent amber in the lights and fill the room with a faint citrus scent. Cluster three on one branch for impact, or mix them with cinnamon sticks and whole cloves tied in cheesecloth for a full natural garland effect.
3. Cinnamon Stick Bundle Ornaments
If you love ornaments that smell as good as they look, cinnamon stick bundles belong on your tree. Gather three to five sticks, line up the ends, and wrap the middle tightly with jute twine or thin satin ribbon, finishing with a bow and a loop for hanging. For a star shape, arrange six sticks in a hexagon-star pattern and lash each joint with twine — no glue required. Tuck a sprig of faux pine or a dried orange slice behind the bundle for a finished look. These handcrafted Christmas ornaments cost pennies apiece when you buy cinnamon sticks in bulk bags from the spice aisle, and the scent lasts through the whole season. Hang a few near the top of the tree where warm air rises and carries the fragrance.
4. Glitter-Filled Clear Baubles
Those clear plastic ornaments from the craft aisle are blank canvases, and the inside-glitter technique makes them look like something from a boutique. The trick is getting the glitter to stick to the inside: remove the cap, pour in a spoonful of polycrylic or floor polish, swirl it around to coat every surface, then drain the excess back into the can for a full minute. Add two tablespoons of fine glitter, cover the opening with your thumb, and shake. Fine glitter gives the smoothest coverage; chunky glitter looks more rustic. Work in colors that match your tree — champagne gold, deep red, icy silver — and tie on a velvet or satin ribbon instead of the flimsy string they come with. These are completely shatterproof, so they are the ornaments to hang on the low branches if you have kids or a curious cat.
5. Dollar Tree Bauble Clusters
Dollar Tree Christmas decorations are a crafter’s secret weapon, and their bags of mini baubles are the star of this project. Buy several bags in one or two colors, then use floral wire or a wire coat hanger to thread six to eight baubles into a tight cluster — push the wire through each bauble’s cap loop, twist it closed at the center, and fluff the baubles outward so they form a full, lush ball. A single cluster reads like an expensive oversized ornament, and it fills space on the tree fast. Mix matte and shiny finishes in the same color family for depth, or go monochrome for a modern look. At this price you can make a dozen clusters for less than the cost of one store-bought statement bauble. Hang them in the interior of the tree, not just the tips, to add richness where the branches are sparse.
6. Felt Star Ornaments
Felt is forgiving, cheap, and comes in every color imaginable, which makes felt stars one of the most approachable handcrafted Christmas ornaments for beginners. Cut two identical star shapes from wool-blend felt — trace a cookie cutter for a clean outline — then blanket-stitch around the edge with embroidery floss in a contrasting color, leaving a small gap. Stuff lightly with polyester fiberfill, tuck in a ribbon loop, and stitch closed. The charm is in the details: a French knot in the center, tiny seed beads along the points, or a cinnamon stick stitched to the back for scent. Felt from Michaels holds its shape better than the thin craft sheets, and these soft ornaments are perfect for a kid’s tree since there is nothing to break.

7. Mod Podge Photo Ornaments
Photo ornaments become the most reached-for decorations on the tree, year after year. Print your photos on regular paper or matte photo paper — laser prints hold up better than inkjet under Mod Podge — and cut them to fit wood slices, small canvases, or even the flat side of a large clear ornament. Brush a thin layer of Mod Podge onto the surface, smooth the photo down from the center outward to avoid bubbles, let it dry, then seal the top with two more thin coats. Add the year with a paint pen and a coat of glitter Mod Podge around the edges if you like sparkle. These make deeply personal gifts, too — a set of grandkid photos for the grandparents is the kind of present that beats anything store-bought, and it fits right in with easy handmade gifts for everyone on your list. See more inspiration in these 20 easy DIY handmade gifts.
8. Air-Dry Clay Embossed Ornaments
Air-dry clay gives you the look of ceramic ornaments without a kiln. Roll the clay to about a quarter-inch thick on parchment, then press a lace doily, a sprig of cedar, or a rubber stamp firmly into the surface to create texture. Cut circles or tags with cookie cutters, poke a hanging hole with a skewer, and let them dry flat for 24 to 48 hours, flipping once so they don’t curl. Once bone-dry, dry-brush the raised areas with gold or copper acrylic paint for an antique effect, or leave them pure white for a Scandinavian look. Seal with a matte varnish if your tree sits near a humidifier. These pair beautifully with the clay projects crowd — if you enjoy this technique, you will find plenty more ideas among these air-dry clay projects for year-round crafting.
9. Burlap and Twine Rustic Balls
For a farmhouse or rustic tree, burlap and twine turn plain foam balls into something with real texture. Cut burlap into two-inch strips, wrap them around a three-inch foam ball with the edges slightly overlapping, and pin or glue as you go. Then crisscross jute twine around the ball in several directions, finishing with a knot and a loop at the top. Tuck a sprig of faux berries or a tiny pinecone under the twine for a finished touch. If you do not have a hot glue gun, low-temp craft glue dots or even straight pins pushed flush into the foam work fine — the twine holds most of it in place. Mix these with natural elements like dried orange slices and pinecones and your tree will look like it came from a country magazine shoot.

10. Painted Pinecone Ornaments
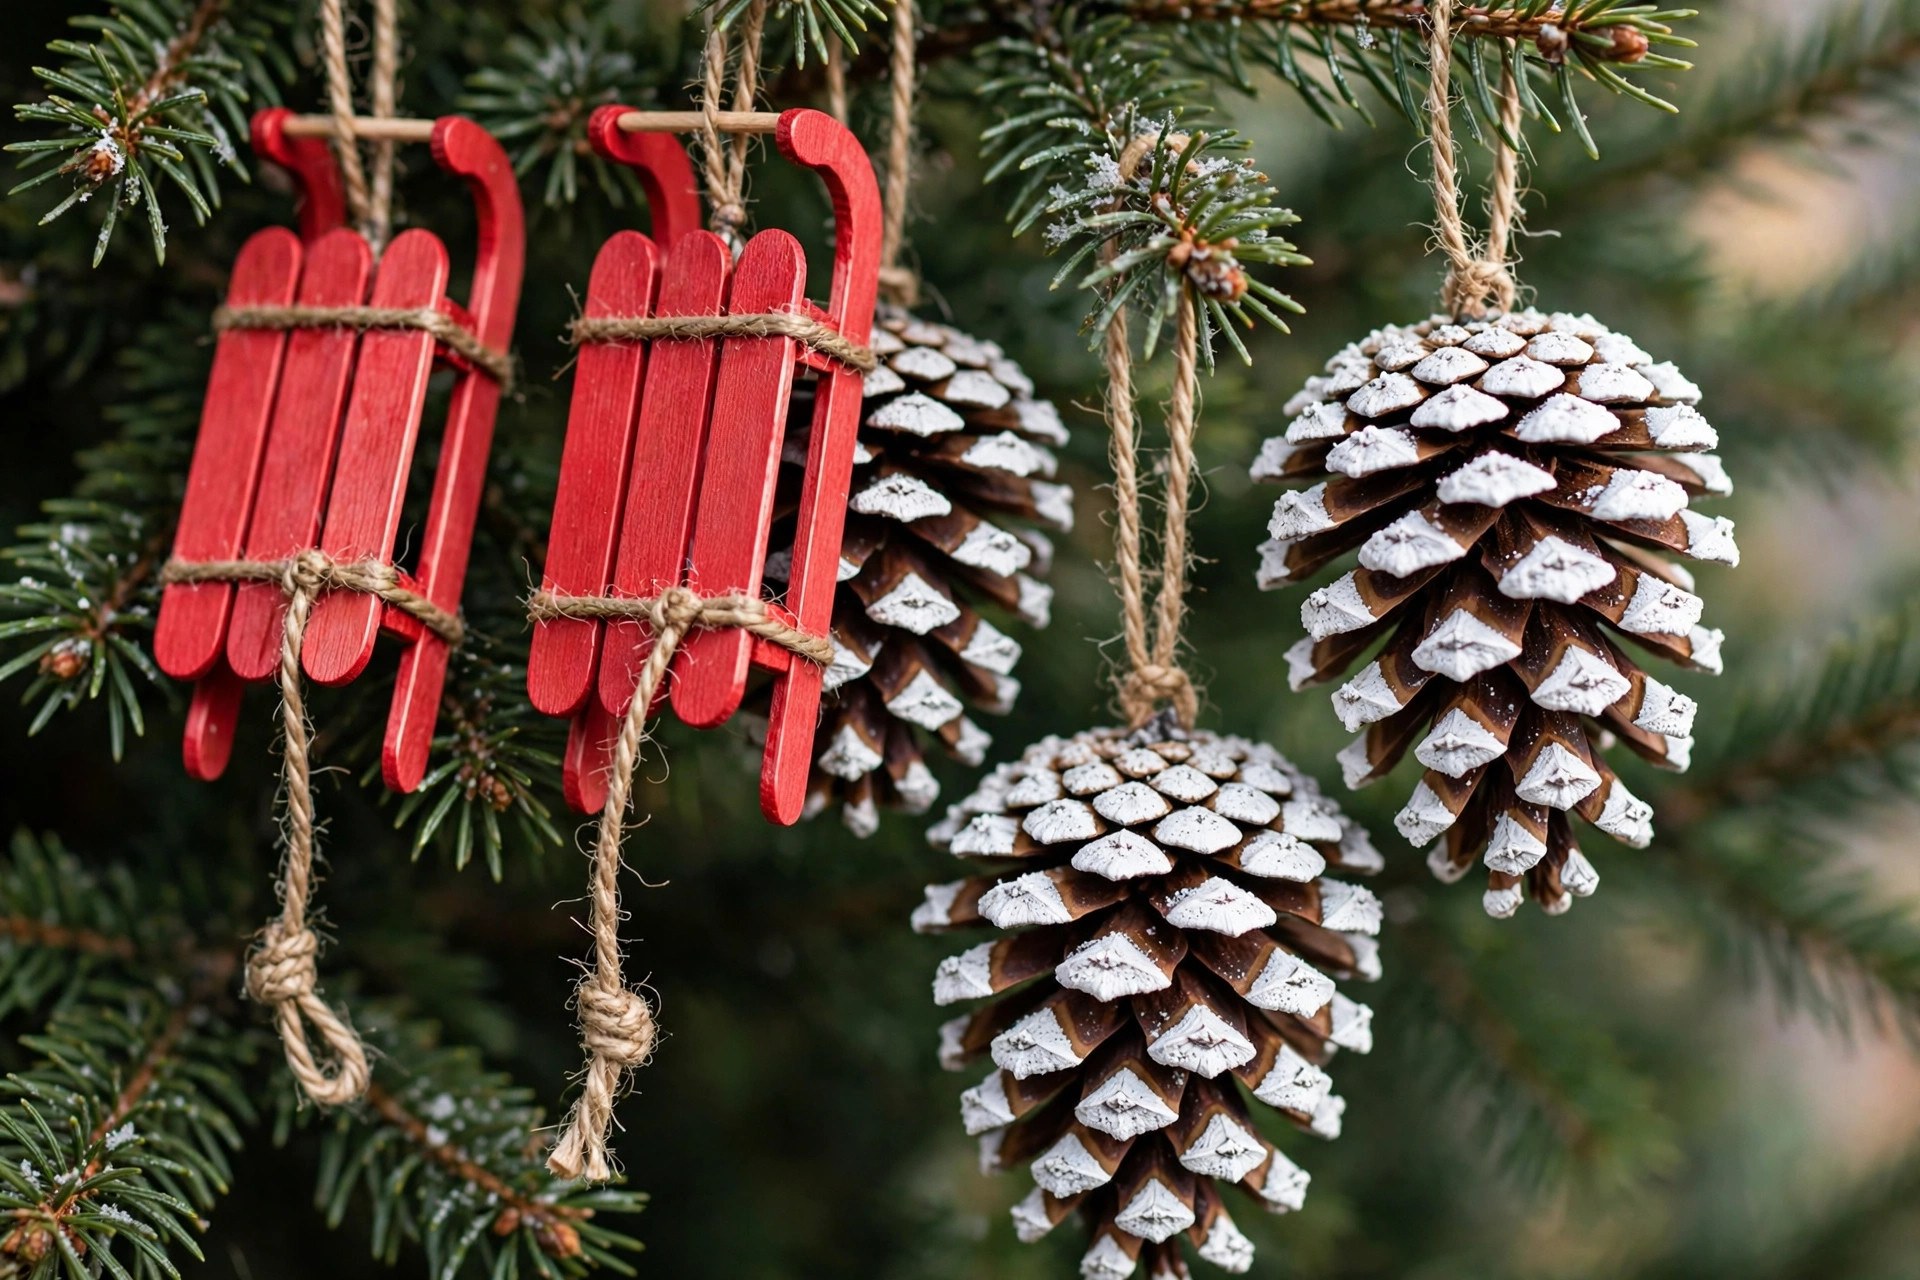
Pinecones are free, plentiful, and practically designed to be ornaments. Collect open, dry cones and give them a quick bake at 200°F for 30 minutes to kill any hitchhikers, then let them cool. The prettiest technique is tipping: dip just the edge of each scale in white or metallic acrylic paint to mimic snow, or go bold and spray-paint the whole cone in gold, copper, or deep green. While the paint is tacky, dust with fine glitter for frost. Tie satin ribbon around the top scales for a hanger — no drilling needed. Cluster them with dried orange slices for a woodland theme, and save your extras: leftover painted pinecones tuck beautifully into a winter wreath for the front door.
11. Beaded Icicle Ornaments
Beaded icicles catch the light like real ice and are strangely relaxing to make. Cut a six-inch length of 20-gauge craft wire, make a small loop at the top for hanging, then thread faceted crystal or acrylic beads in graduating sizes — largest near the top, smallest at the tip — finishing with a tiny teardrop bead. Twist the wire closed at the bottom so nothing slides off. For extra hold on heavy beads, a drop of E6000 at the twist does the job; it bonds metal to glass far better than a glue gun ever could. Hang icicles at varying lengths along the front branches where they catch the tree lights. Silver and clear beads read classic, while pale blue and white give a frozen, wintery feel.
12. Popsicle Stick Sleds
Miniature sleds are a classic kids’ craft, and they look adorable hanging from twine. Glue five popsicle sticks side by side for the sled base, then attach two longer sticks underneath as runners, curving the front ends up by soaking them in warm water for ten minutes first — that curve is what makes it read as a sled and not a raft. Paint the whole thing barn red or forest green, add a tiny wreath or a name tag, and tie on a pull string. My first batch collapsed the moment I picked it up, because I had skipped the crossbars underneath; learn from my mistake and do not skip them. If you are crafting with small kids, use washable paint and let them decorate with stickers instead of tiny parts.
13. Wine Cork Reindeer
Save your corks all year and you will have a whole reindeer herd by December. The body is one cork laid horizontally; glue a second cork upright at the front for the head, then add four short cork pieces or small twig sections as legs. Pipe cleaners twisted into antler shapes press right into the top of the head cork, a red pom-pom becomes the nose, and googly eyes finish the face. E6000 or a hot glue gun both work for assembly — E6000 gives a stronger bond if the reindeer will be handled by kids. Tie twine around the middle for a hanger, or stand them on the mantel as a little herd. Wine charms or a tiny jingle bell collar make each one distinct.
14. Button Wreath Ornaments
Dig out the button jar for this one. Form a small ring from green floral wire — about three inches across — then thread an assortment of green buttons onto it, varying the sizes so they overlap like wreath foliage. Close the wire into a circle and twist the ends together, then tie a small satin ribbon bow over the join and add a loop for hanging. Red buttons scattered through the green read as berries; gold ones look like tiny ornaments on the wreath. This is a lovely use for vintage buttons from grandma’s tin, and each wreath takes maybe fifteen minutes. Make a set of six in the same palette and they look surprisingly polished hanging together on one section of the tree.
15. Yarn-Wrapped Baubles
Got a box of dated or scratched baubles? Yarn wrapping gives them a cozy second life. Starting at the top, apply a thin line of tacky craft glue and wind chunky yarn around the bauble in tight rows, adding glue every few turns. Cover the whole surface, tuck the end under the final rows, and replace the cap — a wooden bead or a bit of felt over the cap hides the join. Try color-blocking with two yarns, or use variegated yarn for an ombré effect without any effort. Wool-blend yarn looks richest; acrylic is fine for a kid’s tree. These soft, matte ornaments balance out the shiny and glittery ones, and they are completely silent when the cat bats them off the branch — a feature I appreciate more every year.

16. Scrabble Tile Ornaments
Spell out NOEL, JOY, PEACE, or a family name with Scrabble tiles for ornaments that double as word art. Lay the tiles face-up in order, run a line of craft glue or E6000 along the back edges where they meet, and press them onto a thin strip of burlap ribbon or a flat craft stick for support. Add a ribbon loop at the top and a tiny bow or sprig of greenery at one end. Thrift stores often sell incomplete Scrabble sets for a dollar or two — more than enough tiles for a whole tree’s worth of words. You can also spell out the year for an instant dated keepsake. Seal the fronts with a light coat of matte Mod Podge if the tree gets a lot of handling, since the printed letters can scuff.
17. Faux Snow Globe Baubles
Clear plastic ornaments filled with faux snow look like tiny snow globes hanging from the branches. Remove the cap, add a spoonful of artificial snow — or Epsom salt mixed with a little white glitter for a budget version — then tuck in a miniature bottle-brush tree or a tiny deer figurine from the craft store’s miniature section. A dab of E6000 on the figurine’s base keeps it standing upright inside. Replace the cap, add a ribbon, and give it a gentle shake before hanging so the snow settles around the scene. These photograph beautifully and kids are mesmerized by them. Make one for each grandchild with their name on the cap in paint pen, and you have a keepsake they will fight over in twenty years.
18. Chalk Paint Vintage Baubles
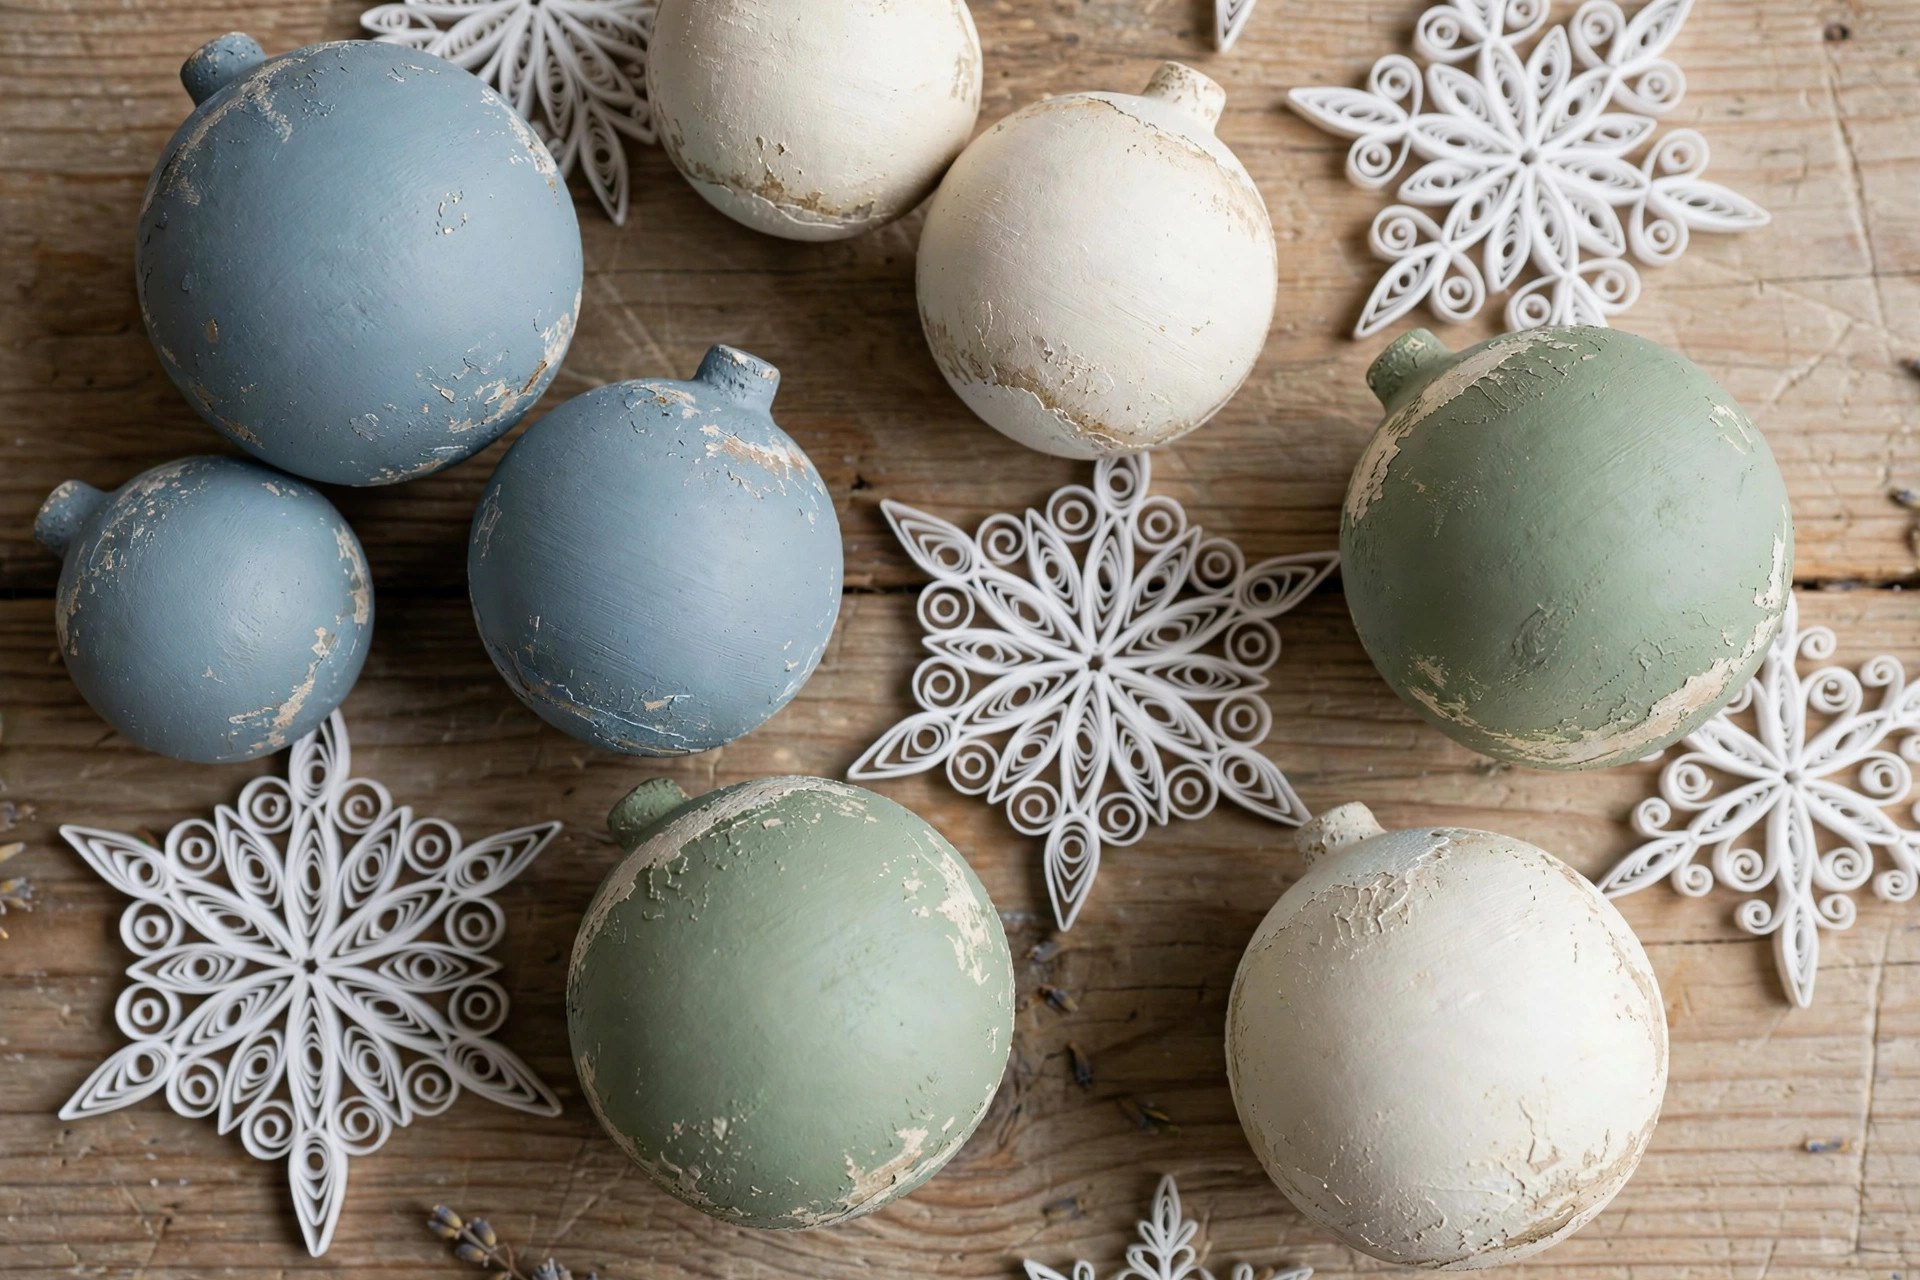
Chalk paint is the fastest way to rescue ornaments in colors you no longer love. Brush two thin coats of chalk paint — cream, sage, dusty blue, or soft blush — over old shiny baubles, letting each coat dry fully. Once dry, lightly sand the raised areas with fine sandpaper so hints of the original finish peek through for an authentically aged look, then seal with clear wax or a matte sealer. The result is a set of matte, vintage-style baubles that look like expensive flea market finds. This technique works on plastic, glass, and even wood ornaments. Distress sparingly; a little wear looks charming, but too much reads as damaged. Finish with twine hangers instead of the original hooks to complete the vintage feel.
19. Paper Quilled Snowflakes
Quilling — rolling thin paper strips into coils — sounds fussy, but snowflakes are the perfect beginner project because symmetry hides imperfections. Cut or buy quarter-inch paper strips in white and pale blue, roll tight coils for the center, and make teardrop and marquise shapes by pinching the coils. Glue six identical arms around a center coil with a dab of tacky glue, add small coils between the arms, and let everything dry flat. A light spray of glitter sealant makes them shimmer in the tree lights. These weigh almost nothing, so they are ideal for the delicate outer tips of branches that cannot hold heavier ornaments. Make them in an afternoon assembly line while watching holiday movies.
20. Twig Star Ornaments
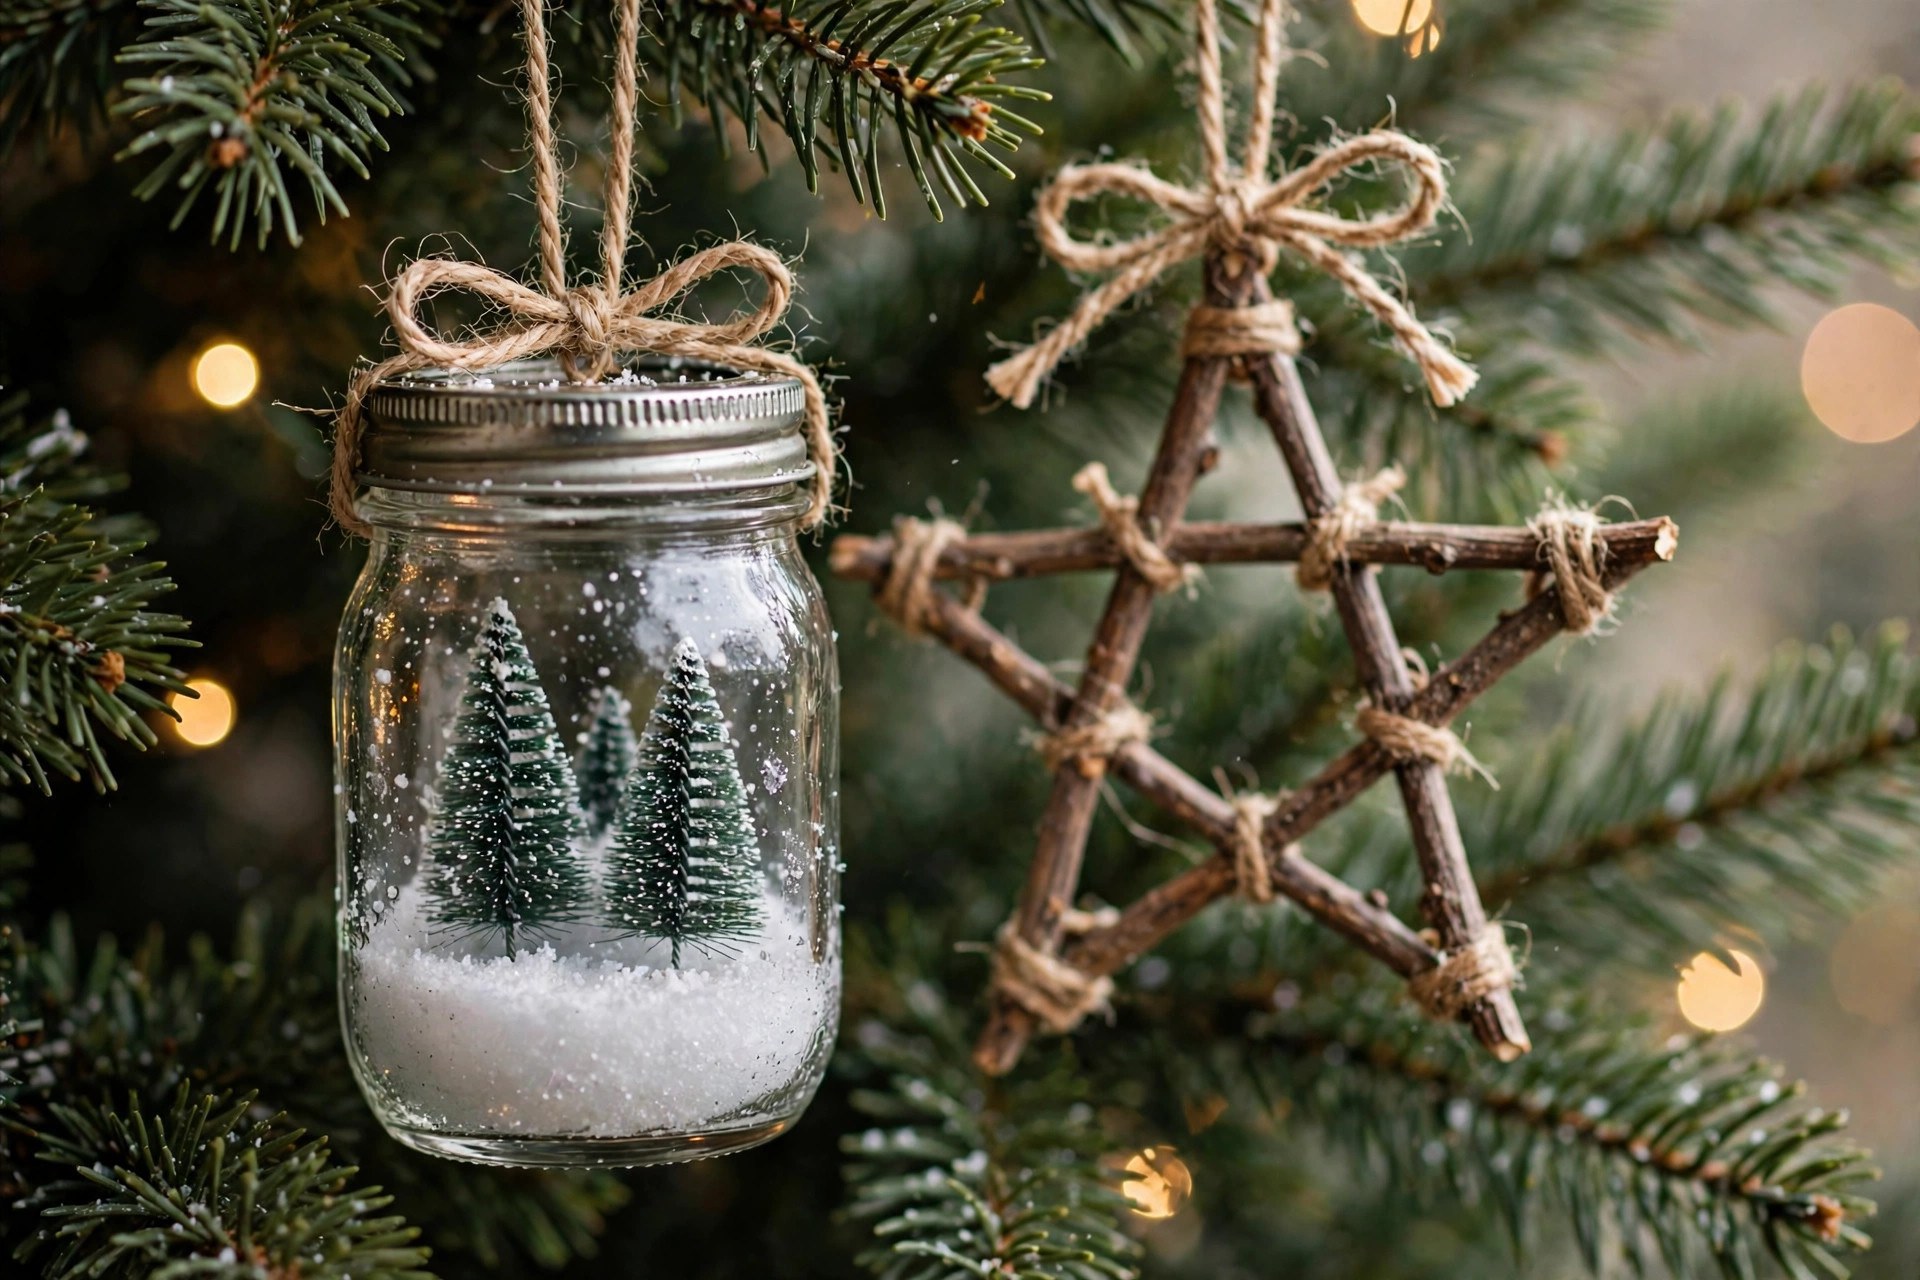
Some of the best rustic ornaments need no glue at all. Collect straight twigs about pencil-thickness, snap or cut five to roughly the same length, and arrange them into a five-pointed star. Lash each joint tightly with jute twine, wrapping in a figure-eight pattern and knotting firmly — the twine is the only thing holding the star together, so wrap generously. Trim the twig ends at angles for a neater look, or leave them rough for full woodland charm. A dab of white paint on the tips suggests snow, and a small pinecone wired to the center adds weight and interest. These cost literally nothing, take ten minutes each, and look stunning against dark green branches.
21. Mini Mason Jar Terrarium Ornaments
Tiny mason jars — the four-ounce size — become magical hanging terrariums. Fill the bottom with a layer of faux snow or Epsom salt, add a miniature bottle-brush tree, a pinch of glitter, and maybe a tiny house or deer from the miniature aisle. Paint the lid in a festive color or wrap it in twine, screw it on, and thread ribbon or wire through the lid’s edge for hanging. The glass magnifies the little scene inside in the loveliest way. These look just as good lined up along a mantel as they do on the tree — see these Christmas mantel decor ideas for ways to style them with garland and stockings. Make sure the lids are on tight before hanging; a dropped jar of glitter is a January you do not want.
22. Acrylic Paint Pour Baubles
Paint pouring inside clear ornaments creates marbled DIY Christmas balls that look like artisan glass. Remove the cap and squeeze in two or three colors of acrylic craft paint — white plus two coordinating colors works beautifully — then slowly rotate and tilt the bauble so the paint swirls and marbles over the inside surface. Let the excess drip out by resting the ornament upside-down in a cup for an hour, then stand it upright to dry for a full day. Do not shake it; slow movement gives you those gorgeous flowing veins. Metallic paints add a luxe touch, and adding a drop of pouring medium makes the colors blend silkier. No two ever come out alike, which is exactly the point.
Crafting Tips
- Seal every glitter project with a thin coat of Mod Podge once it is dry — it stops the shedding and keeps glitter off your floors, your clothes, and the dog.
- Test-hang each ornament before you call it finished. An ornament that spins to show its ugly side or hangs crooked needs its loop repositioned while the glue is still fixable.
- Buy clear plastic ornaments, ribbon, and ornament hooks in multi-packs. The per-piece price drops dramatically, and you will use them across half the projects on this list.
- Date and initial the back of every ornament you make. It feels silly now; in ten years you will be so glad you did.
- No hot glue gun? Tacky craft glue handles paper and felt, E6000 bonds heavy or metal pieces, and glue dots or double-sided tape work for lightweight layering. Match the adhesive to the materials, not the other way around.
- Keep a dedicated ornament craft box with ribbon, hooks, spare bauble caps, twine, and your most-used paints. Half of holiday crafting time is hunting for supplies.
Frequently Asked Questions
How do you make Christmas ornaments at home? Start with a base — clear plastic ornaments, salt dough, felt, pinecones, or wood slices — then decorate with paint, glitter, ribbon, or natural elements using glue, Mod Podge, or simple stitching. Most homemade ornaments need no special tools beyond scissors and adhesive, and the majority of the 22 projects above can be finished in under an hour each.
What materials do I need for DIY Christmas ornaments? A solid starter kit covers nearly everything on this list: clear plastic ornaments, acrylic paint and brushes, glitter, Mod Podge, a hot glue gun or E6000, felt sheets, satin ribbon and twine, ornament hooks, and natural finds like pinecones and cinnamon sticks. Add salt, flour, and cookie cutters for salt dough, and air-dry clay for the embossed ornaments. Buy the basics in multi-packs and you will be set for several seasons of crafting.
How do you make ornaments without a hot glue gun? Easily — a hot glue gun is convenient but never required. Use tacky craft glue or fabric glue for felt, paper, and yarn; E6000 for heavy, glass, or metal pieces (it bonds far stronger than hot glue); Mod Podge for anything involving paper or photos; and glue dots or double-sided craft tape for lightweight layering. Mechanical joins work too: twine lashing holds twig stars together, and floral wire secures bauble clusters with no adhesive at all.
Can I make Christmas ornaments from Dollar Tree supplies? Absolutely — Dollar Tree is one of the best sources for ornament crafting. Their clear plastic ornaments, bags of mini baubles, foam balls, craft glue, ribbon, floral wire, and faux greenery cover most of the projects here. The bauble cluster idea above is built entirely from Dollar Tree finds, and their ornament hooks and gift boxes are handy for packaging handmade ornaments as presents.
Final Thoughts
The ornaments people remember are never the expensive ones — they are the salt dough handprint from when the kids were small, the slightly crooked reindeer, the bauble with last year’s date on the back. Pick two or three projects from this list, put on some music, and make an afternoon of it. And remember that handmade ornaments make wonderful presents, too — pair a set with one of these Christmas gift ideas or wrap them up as handmade holiday gifts and you have covered half your list without setting foot in a store. Happy crafting, and may your glitter stay on the ornaments this year. Once your ornaments are ready, here is how to show them off: 21 Christmas tree decorating ideas for 2026.
If you love handmade ornaments, these free crochet Christmas ornament patterns are a lovely next project — baubles, snowmen, and tiny stockings included.
For ornaments with a handmade, heirloom feel, try these crochet snowflake patterns — stiffened, blocked, and ready to hang.