20 Furniture Upcycling Ideas for Modern Homes
Every city has that one street where someone’s curb find becomes another person’s treasure — a solid oak dresser with one sticky drawer, left out on moving day. Furniture upcycling is exactly that exchange, made deliberate: taking pieces built from real wood and honest joinery and making them earn their place again. It saves money, yes, but the real draw is ending up with something no flat-pack showroom sells — furniture with proportions and grain you can’t buy new for less than four figures. The twenty projects below run from weekend-easy paint makeovers to ambitious rebuilds, so start wherever your tools and patience currently sit.
Twenty ideas is a lot to scroll, so here’s the shape of the list: quick cosmetic wins (chalk paint, stencils, metallics), structural conversions (headboards into benches, doors into desks), and the detail work that separates “DIY project” from “designer piece.” Skim the headings, then jump straight to whatever matches the piece you already own.
1. Chalk Paint Makeover for Vintage Charm
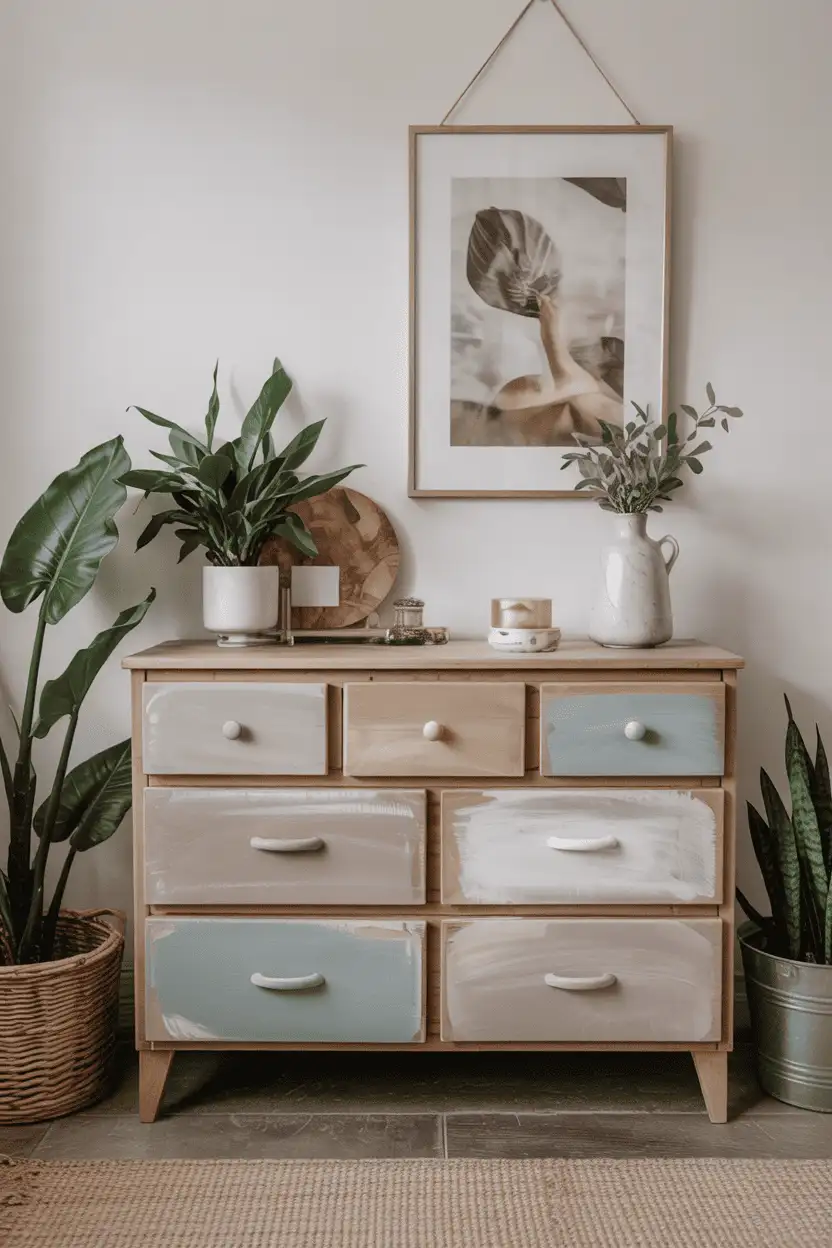
Chalk paint earned its cult status by skipping the worst part of refinishing: you can paint straight over old varnish after a degreasing wipe-down with sugar soap and a light 220-grit scuff. One liter covers roughly 13 m² — enough for a full dresser — and costs $20–$35. Work in thin coats, two will do, then seal with soft wax for low-traffic pieces or polycrylic for anything that gets daily use.
For the vintage look, sand edges and corners back to bare wood once the paint dries — handles and drawer fronts first, since that’s where real age shows. A dark wax rubbed into the crevices adds depth, with clear wax over everything to protect it. Stick to desaturated shades (sage, putty, French gray) in modern rooms; chalk paint’s flat finish can go muddy in very bright whites under cool lighting.
2. Geometric Patterns for Bold Statement Pieces
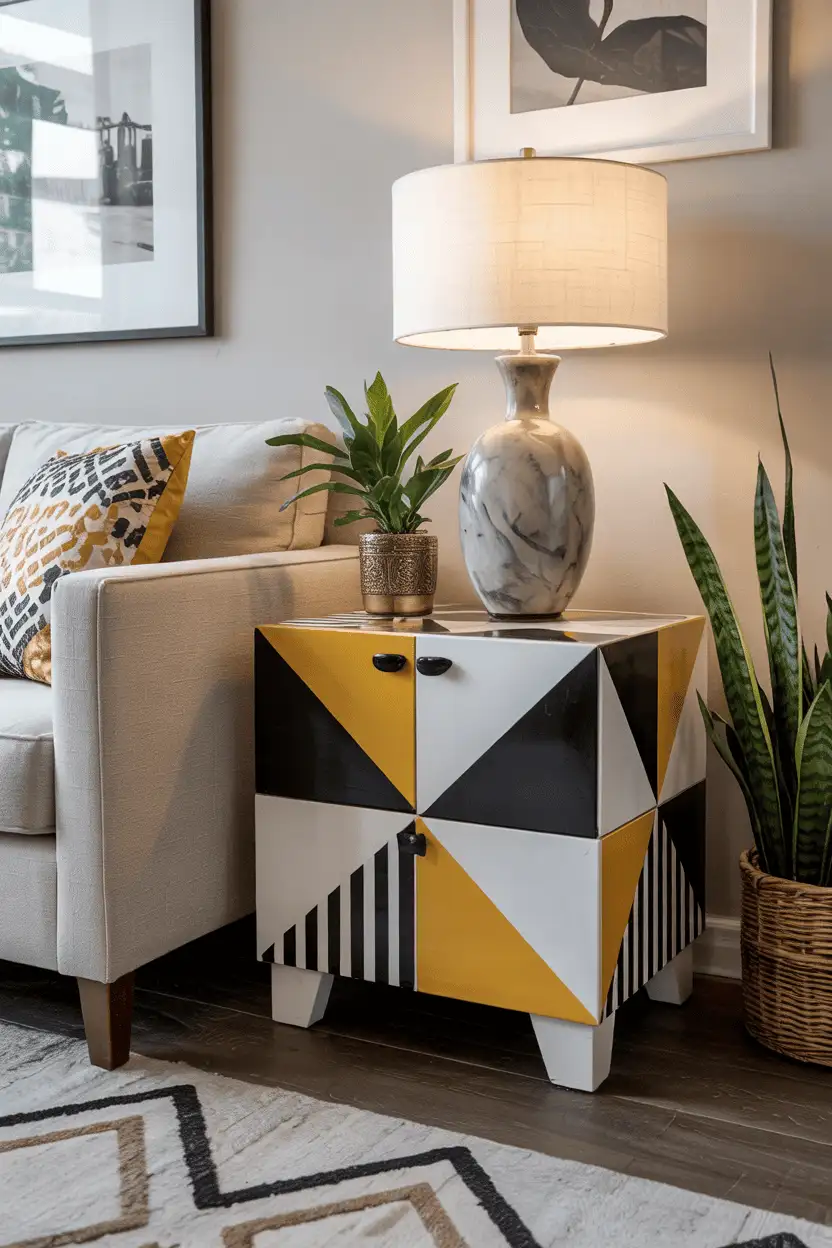
Painting crisp geometric patterns onto a tired piece is the fastest way to drag it into this decade. Map your design with painter’s tape on drawer fronts — triangles, chevrons, or half-dipped legs — using $5–$8 sample pots, two coats each. Pull the tape while the last coat is still tacky for razor-sharp edges; waiting until it’s fully dry tears the line.
Contrast is everything here: a single bold shape in matte black or deep forest green reads expensive against a neutral body. If the piece is already busy — carved details, brass hardware — confine the pattern to one drawer row or the top surface, or the two looks start fighting each other.
3. Drawer Repurposing for Unique Storage
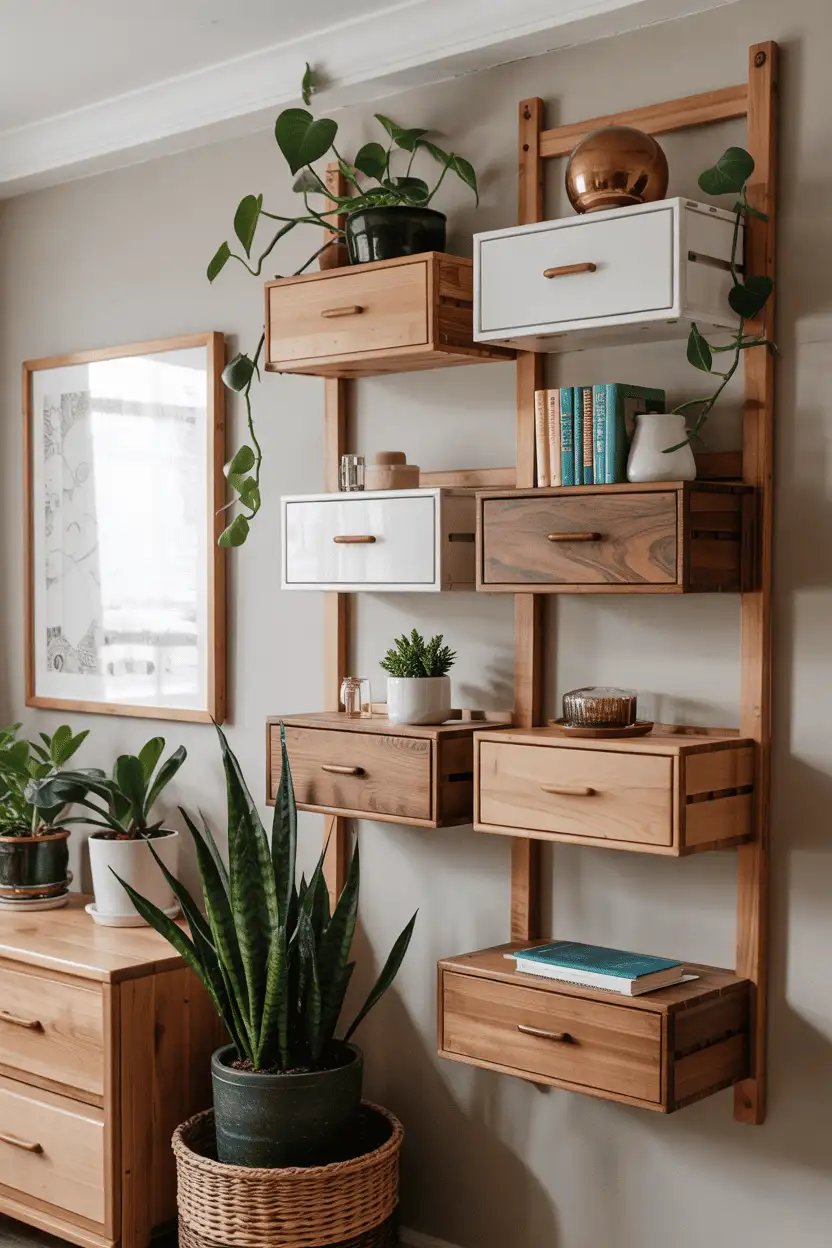
A dresser headed for the dumpster usually has perfectly good drawers — boxes of solid pine or oak going to waste. Pull them out, strip the slides, and mount them on wall cleats as shadow-box shelves; standard drawer boxes run 15–20 cm deep, ideal for books and plant pots. Line the bottoms with peel-and-stick wallpaper for a finished interior, and drill a drainage hole before planting anything in one. Three drawers in a staggered arrangement looks intentional; a single one looks like you gave up halfway.
4. Combining Wood and Metal for Industrial Appeal
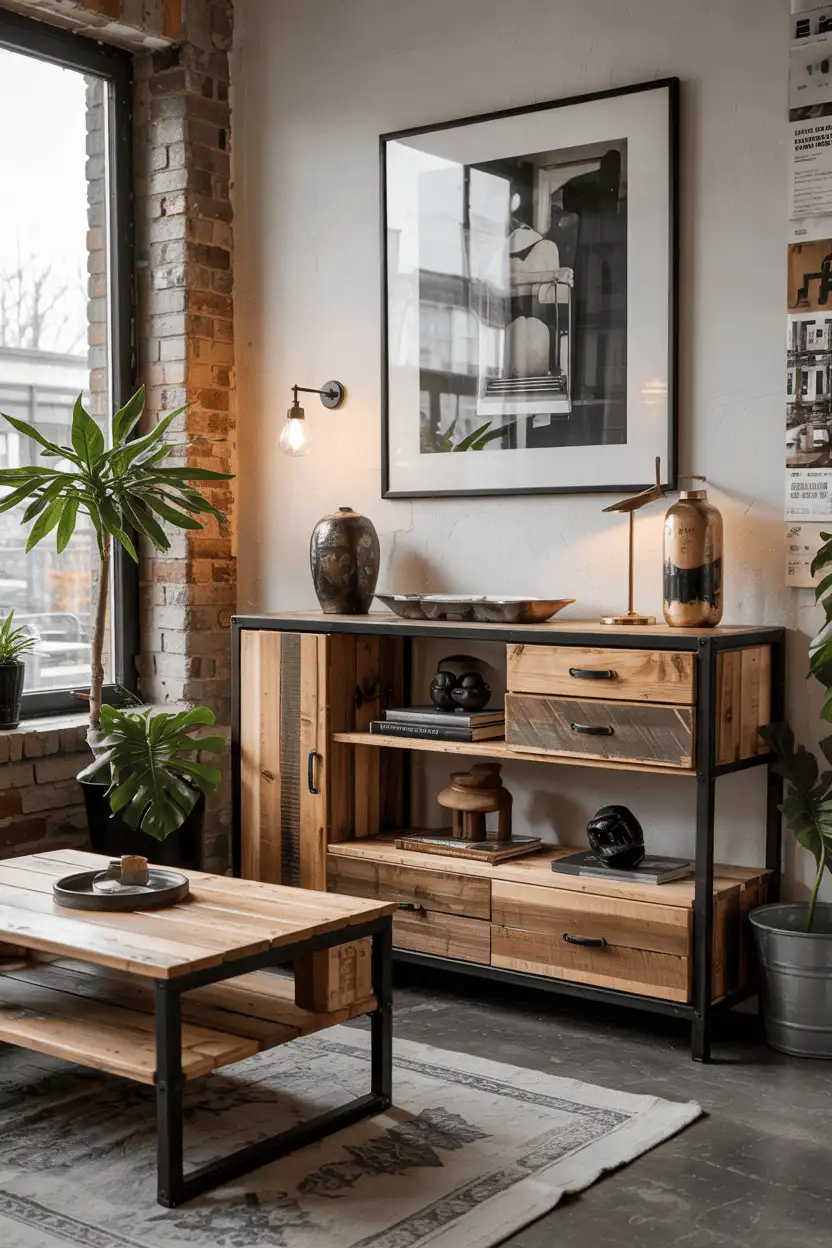
The reclaimed-wood-and-steel look stops reading as a cliché when you commit to real materials: swap a wobbly wooden base for 4 cm square tube-steel legs ($40–$60 a set of four online), bolted through the frame rather than held by surface screws. A 5 cm thick reclaimed top sanded to 180 grit and finished with hardwax oil will take daily dining abuse; untreated pallet wood won’t, so choose your lumber honestly.
Proportion is the trick — chunky legs under a light tabletop, or a heavy top on hair-thin metal. Let the wood stay matte and the metal stay dark; when both surfaces compete for gloss, the industrial effect gets noisy. This conversion works best on tables and desks where the frame does structural work — bolting steel legs onto a flimsy veneer top just relocates the wobble.
5. Epoxy Resin Tabletops for Artistic Flair
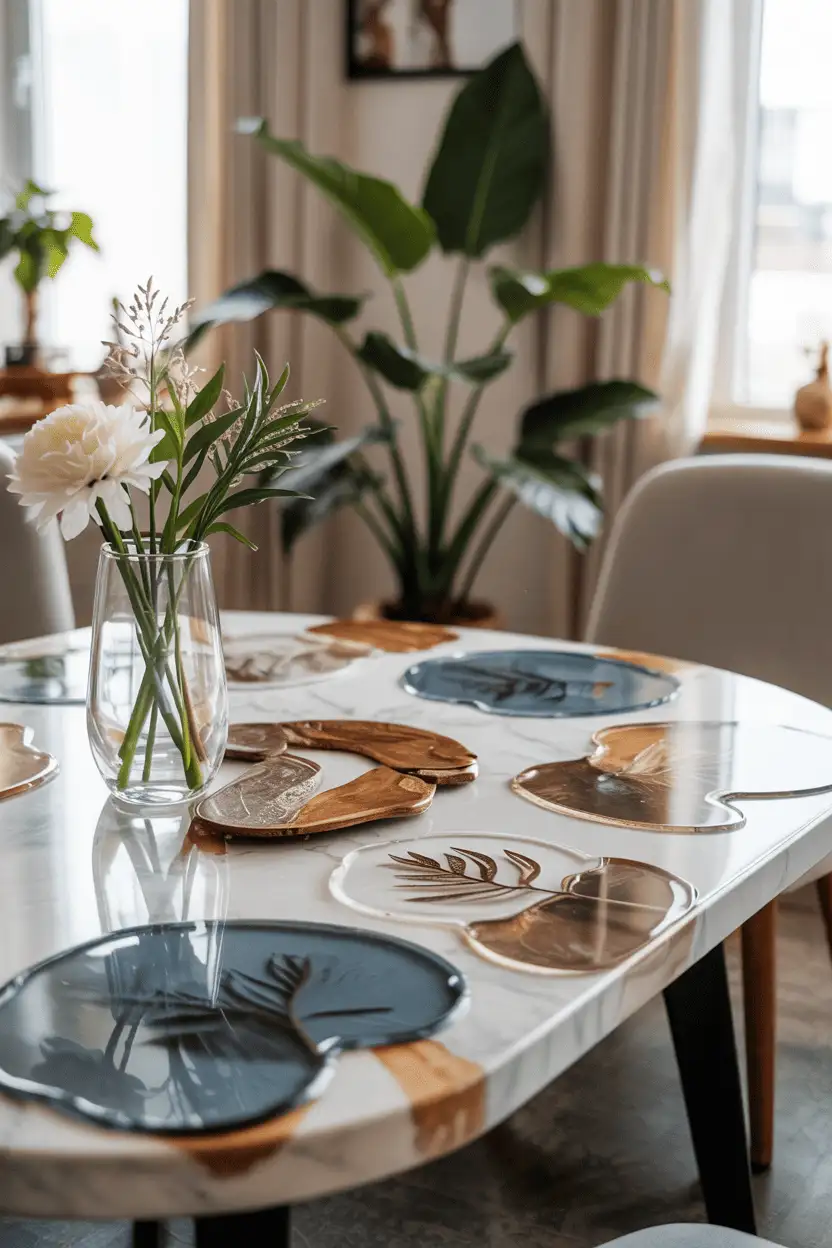
Epoxy resin is the one finish on this list that forgives nothing: mix ratios are exact, dust ruins a pour, and it needs 20–24°C to cure without blushing. Done right, though, a 3 mm flood coat locks embedded objects — pressed leaves, tickets, photos sealed in Mod Podge first — under a glass-hard surface that shrugs off coffee rings. Budget $60–$90 for a 4-liter kit, which covers roughly 2 m².
Pour in a dust-free room — a garage with the door closed and the floor misted with water — and sweep a heat gun across the surface to pop bubbles. Go bold with pigment only if the table is otherwise plain; on figured wood, clear resin that shows the grain beats any color. Wear a respirator: the fumes during the first hour are no joke.
6. Reupholstering Chairs with Trendy Fabrics
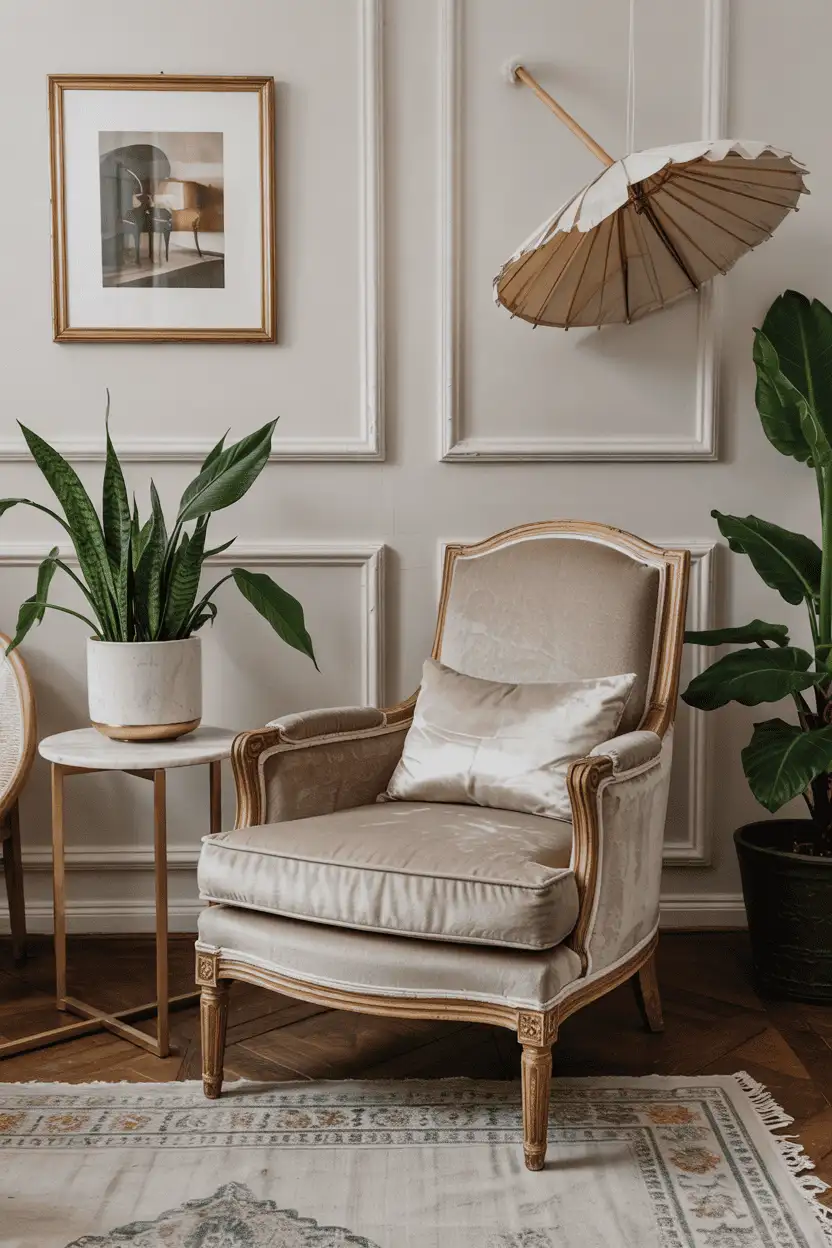
Reupholstering a dining chair is a genuine weekend project: flip it over, unscrew the seat pad, cut new fabric with 5 cm of wrap on each side, and staple-gun your way around, pulling tight as you go. Two meters of mid-weight upholstery fabric ($12–$25/m) covers four to six chair seats. Velvet and performance linen hide stains; avoid thin cottons on anything sat on daily — they bag within months. Check the foam while you’re in there: 5 cm of fresh high-density foam ($10 a seat) improves comfort more than the fabric ever will.
7. Adding Storage to Coffee Tables
A flat table with no storage is a wasted box. Low-slung coffee tables with a solid apron are ideal candidates for a storage conversion: cut the bottom panel into a lift-top lid on $15 hinges, or screw shallow drawers (25 cm deep is plenty for remotes and coasters) beneath the frame. If the top is thin veneer, reinforce it with battens before cutting — nothing ruins the trick like a lid that sags. Keep the mechanism simple; a lift-top you have to fight stays closed forever.

8. Repurposing Headboards into Benches or Tables
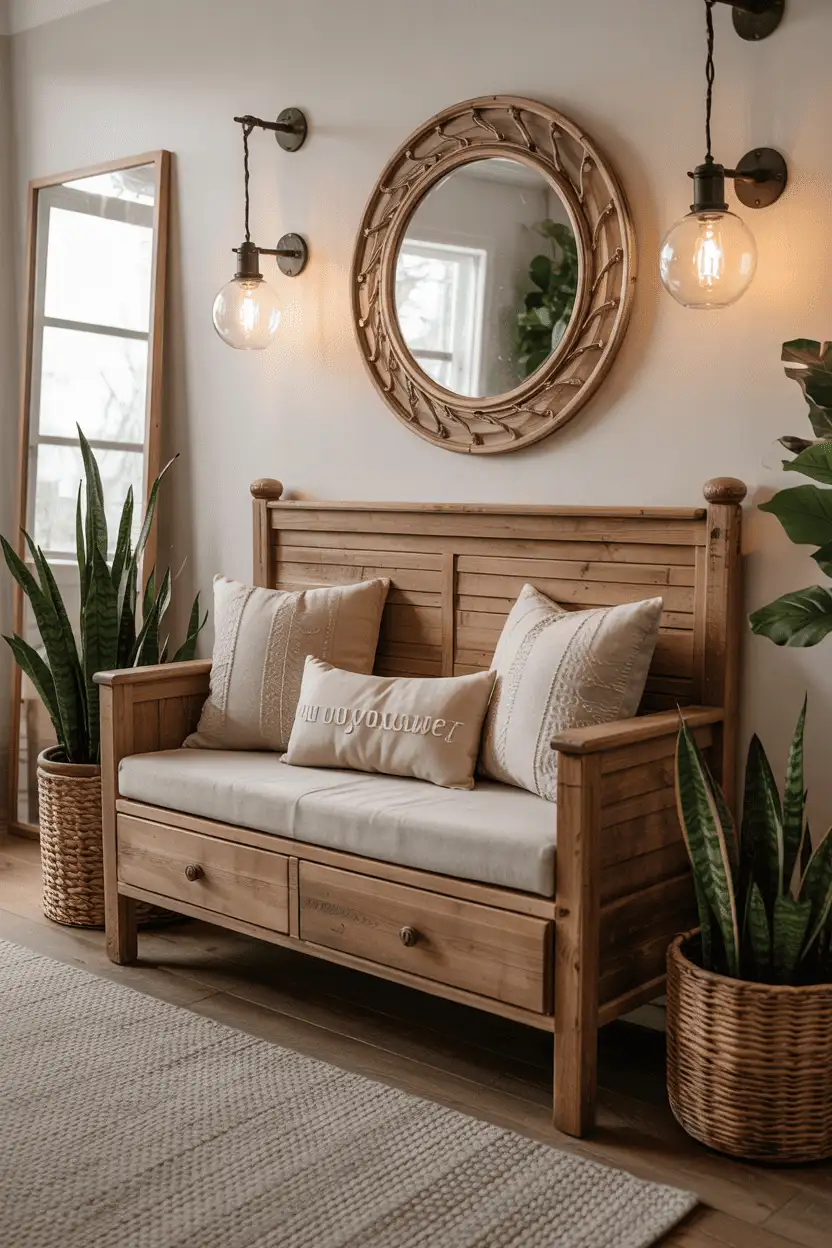
A wooden headboard is essentially a pre-made bench back — add a 45 cm deep seat frame of 5×5 cm lumber plus four legs, and you have an entryway bench with built-in character. Queen headboards (150–160 cm wide) are the sweet spot; a twin is too narrow to seat two, a king gets unwieldy. Sand aggressively before painting — old headboards carry a decade of furniture polish that repels new paint.
Paint it the same color as your front door or hallway trim and it reads as built-in rather than repurposed. Cheap pine headboards lean naturally into farmhouse white; a carved mahogany one in a single deep color (ink navy, oxblood) becomes a proper statement piece instead of costume furniture.
9. Upcycling Doors into Tables and Shelving
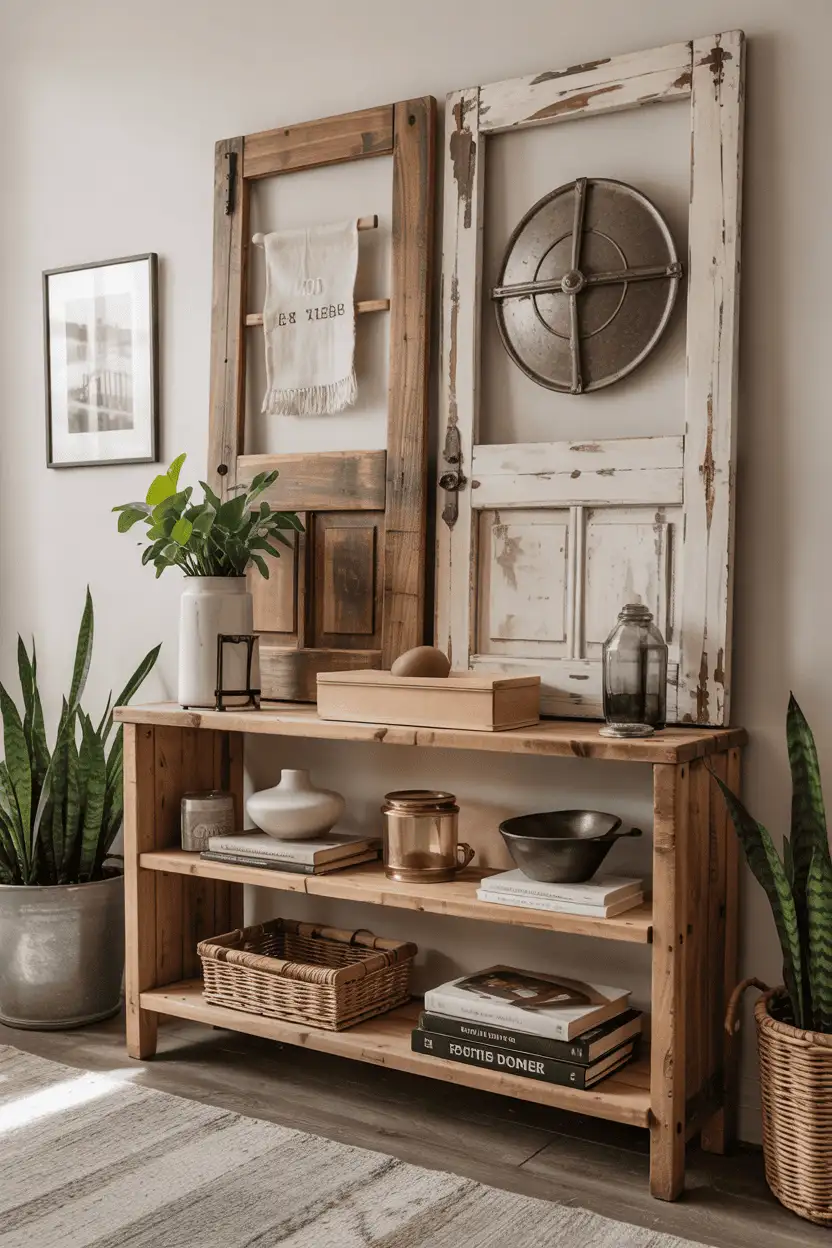
An old panel door is a 200×80 cm slab of (usually) solid construction — skip the lumber aisle and use it as a desk or dining top. Strip the hardware, fill the lock mortises with two-part wood filler, and bolt on hairpin or trestle legs. The knock test tells you in two seconds whether it’s solid (dull thud) or hollow-core (drum skin) — the latter will flex under a monitor. For shelves, cut the door lengthwise into thirds and hang each strip on heavy brackets driven into studs.
The panel molding is free architectural detail: leave it visible on desk fronts, or route a chamfer along cut edges to fake the profile where you sawed. Two coats of satin enamel make it wipeable — chalk paint on a horizontal work surface will show every coffee ring within a week.
10. Using Pallets for Budget-Friendly Furniture
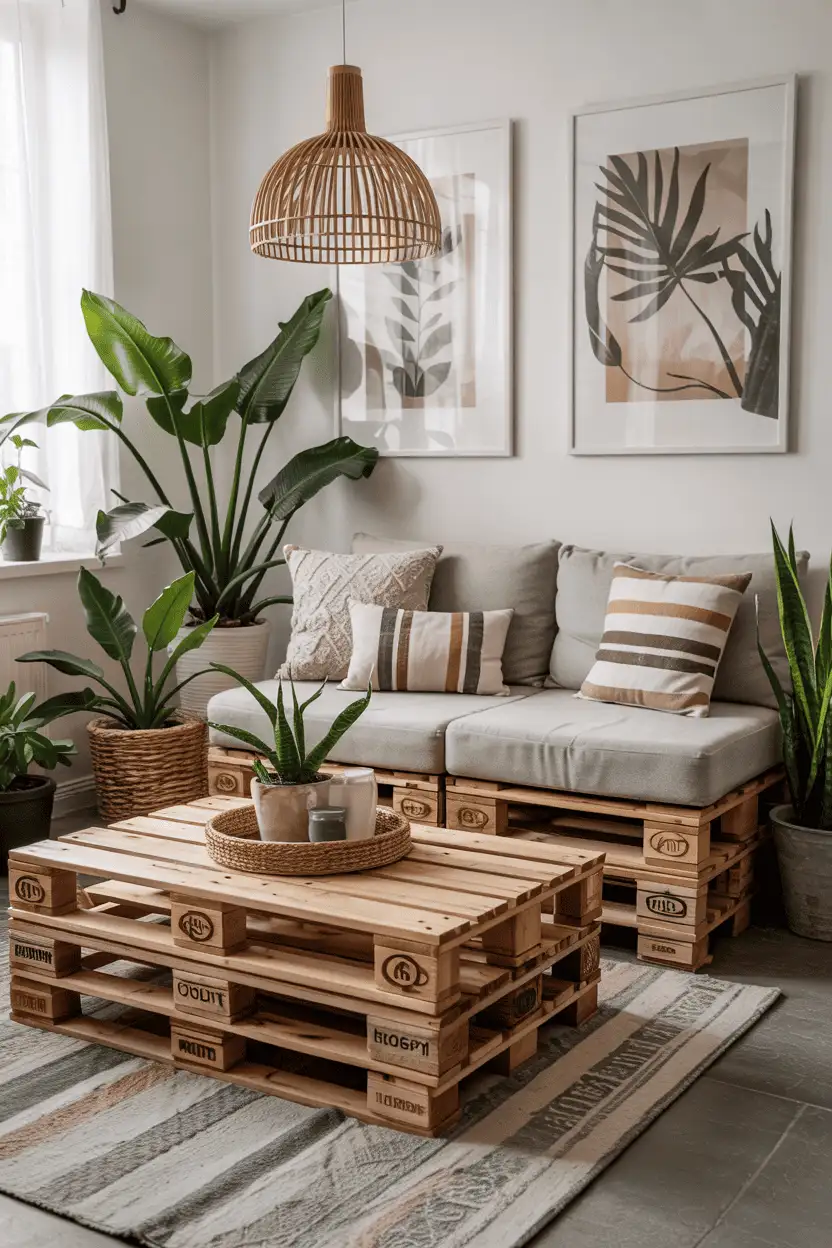
Pallets are free, but they’re not all usable: look for the HT stamp (heat-treated, safe) and walk away from anything marked MB (methyl bromide fumigated). One standard 120×80 cm pallet is a ready-made module — two stacked and screwed together make a coffee-table base, three across a frame make a daybed. Budget two to three hours per pallet for proper breakdown: pry bar, patience, and knocking every nail flat before sanding.
Sand to 120 grit minimum — splinters are the number-one pallet-project complaint — and seal outdoor pieces with exterior polyurethane. Locking casters ($8–$12 for four) under a pallet coffee table make it move like real furniture. The rustic look suits patios and casual rooms; in a formal living room, painted and cushioned pallets still read as pallets, so know your room before you start.
11. Turning Old Cabinets into Kitchen Islands
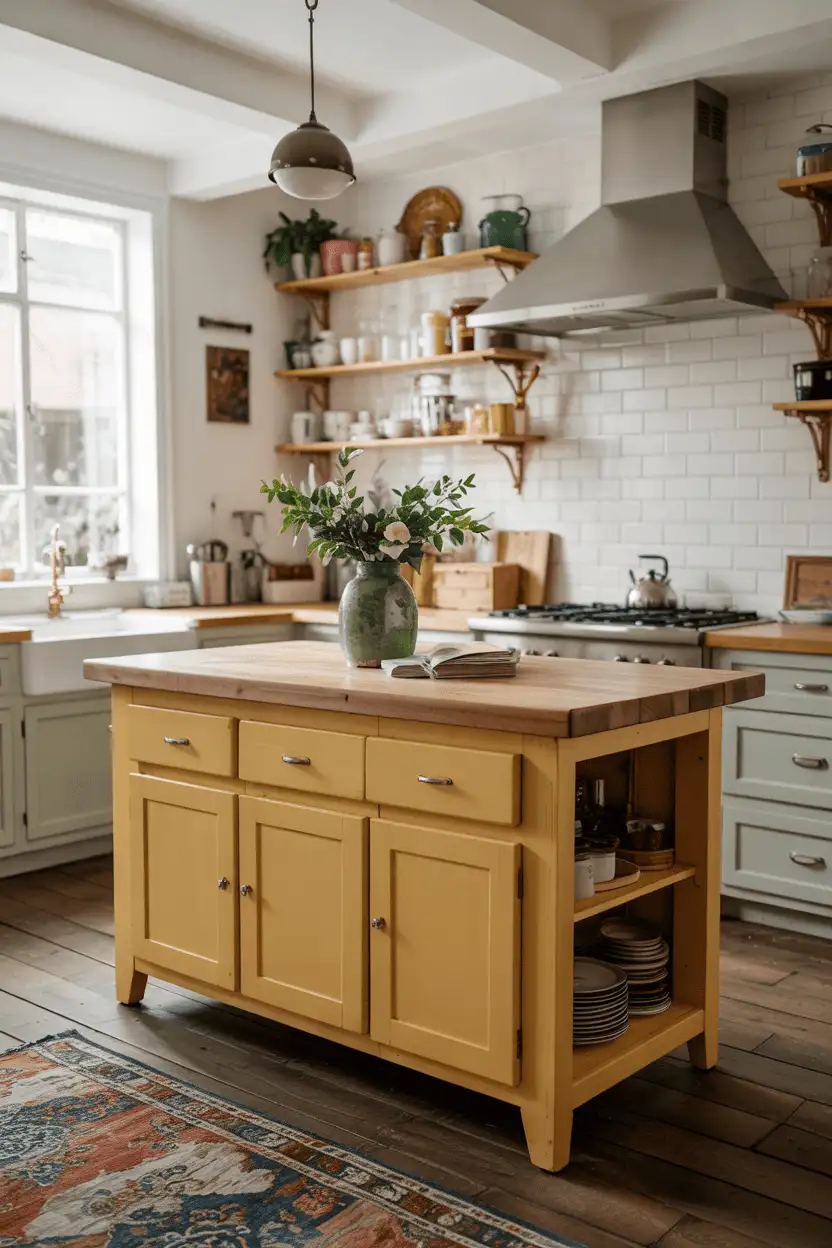
An unloved sideboard or dresser is usually one countertop away from becoming a stylish kitchen island with real counter space and storage. A 4 cm butcher-block top ($80–$150 for a 120 cm run), screwed down with a 2.5 cm overhang as a drip edge, turns the piece into a proper prep station at 90 cm working height. Add a towel bar on one end and hooks inside the doors, and it’s working furniture — not just a box with a board on top.
Paint the carcass to match the room — deep green and navy read intentional, white shows every scuff — and swap the knobs for cup pulls or bar handles. Anything narrower than 60 cm wobbles as an island, so anchor it to the wall or widen the base with a plinth before loading it up.
12. Incorporating Mirrors into Furniture Designs
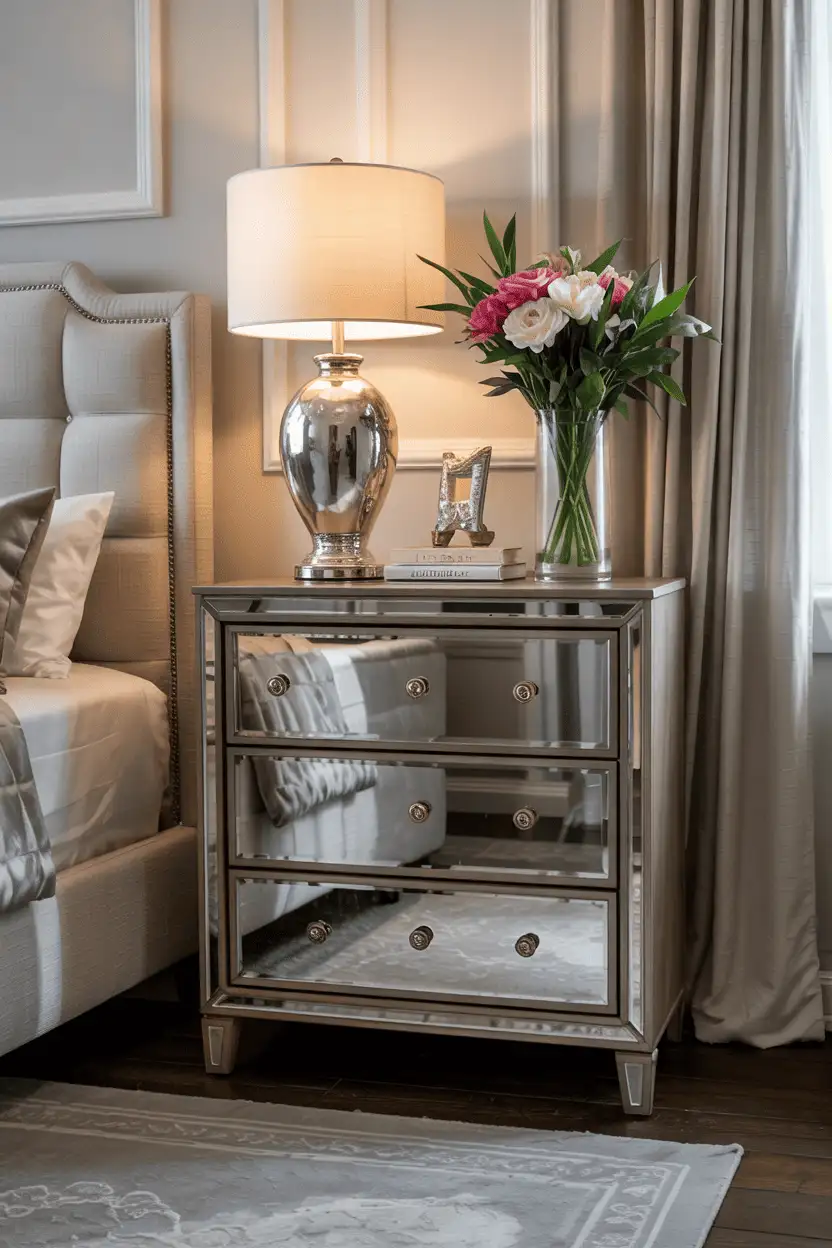
Mirrored panels do double duty: they bounce light around dim corners and make a heavy dresser read lighter. Cut-to-size mirror tiles ($3–$5 each) stuck on with construction adhesive work well on drawer fronts; a full-length mirror screwed to the side of a wardrobe turns dead wall space into a dressing corner. Back any mirror used on furniture with safety film — a cracked unbacked mirror in a drawer front is a genuine hazard.
Restraint is what makes this work: mirror one element (the drawer fronts, or the top) and let the painted frame do the talking. All-over mirror reads 1980s nightclub unless the piece is tiny, like a jewelry box or a side table. And clean the glass only after the adhesive has cured 48 hours, or you’ll fog the silvering at the edges.
13. Modernizing Furniture with Metallic Finishes
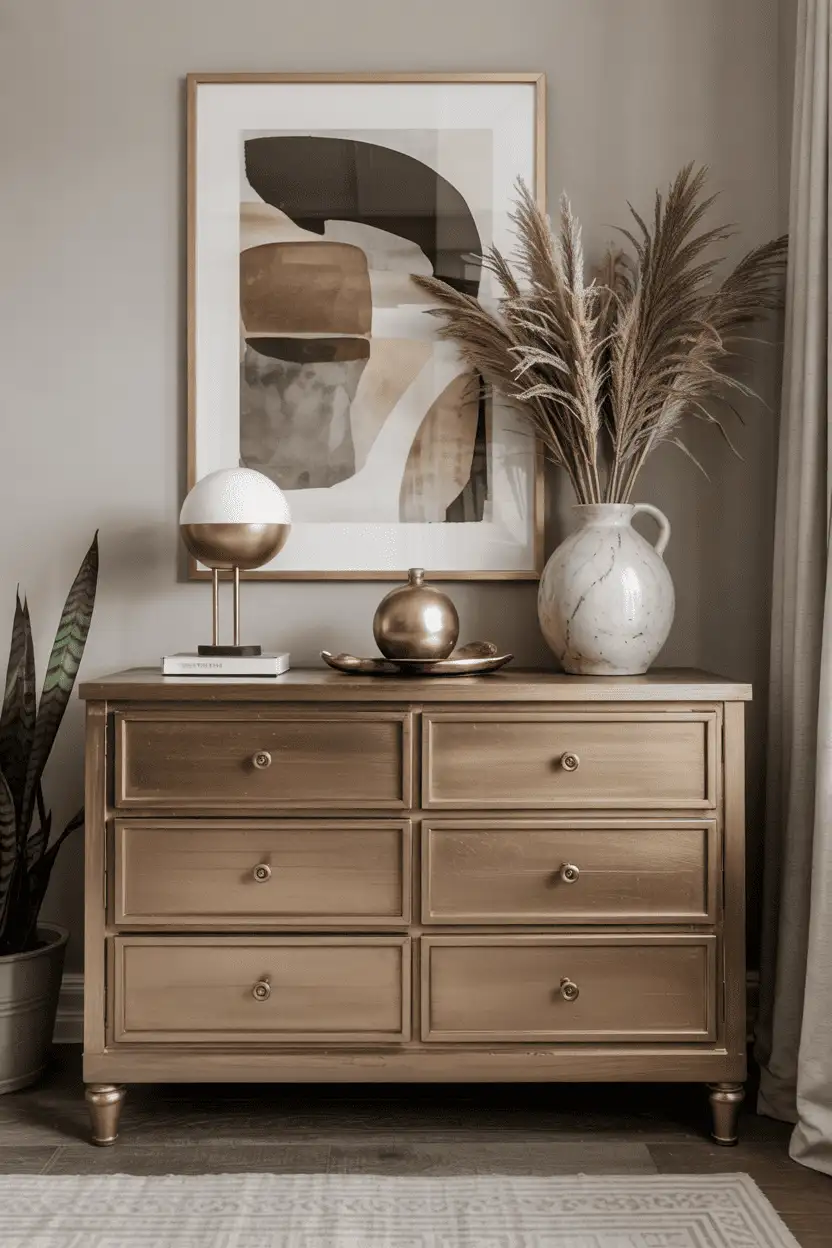
Metallic paint is the cheat code for thrift-store frames, lamp bases, and side tables: one coat of bronze or champagne over black primer, dry-brushed so the dark shows through, reads as aged metal at arm’s length. Keep it to small pieces — a full dresser in gold paint tips into costume. Spray metallics ($10 a can) give the smoothest finish; brush marks kill the illusion instantly.
14. Incorporating Open Shelving into Dressers
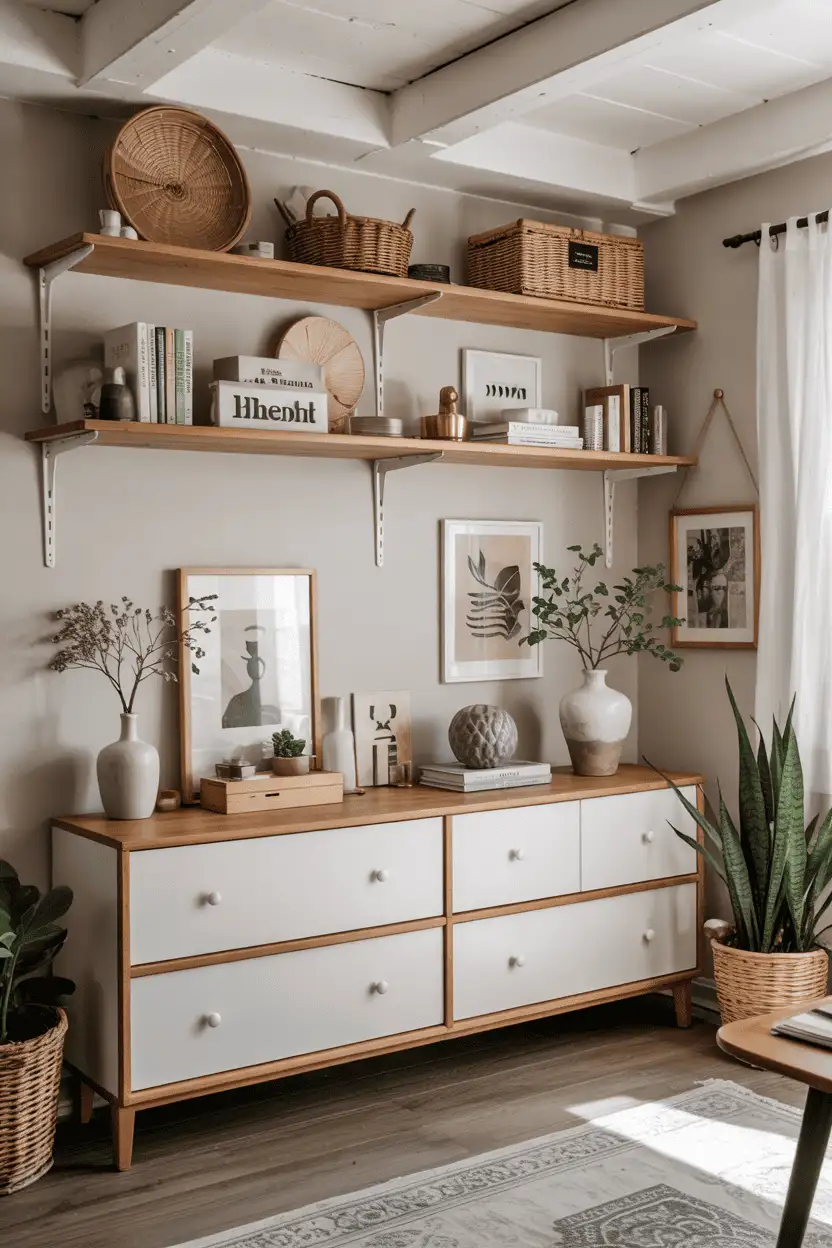
Pulling the top two drawer rows out of a dresser and finishing the cavities with paint or wallpaper turns dead storage into display shelves for books, plants, and folded throws. A standard dresser cavity runs about 15 cm tall per row — perfect for paperbacks and small pots. Pry out the drawer runners and sand the scars; nobody notices the conversion if the edges are finished cleanly.
Style it with a 70/30 rule: 70% functional storage in the remaining drawers below, 30% display above. Open shelves collect dust, so keep the display to things you actually move and wipe — a shelf of untouched figurines becomes a gray archaeological dig within a year.
15. Adding Hidden Compartments for Security and Style
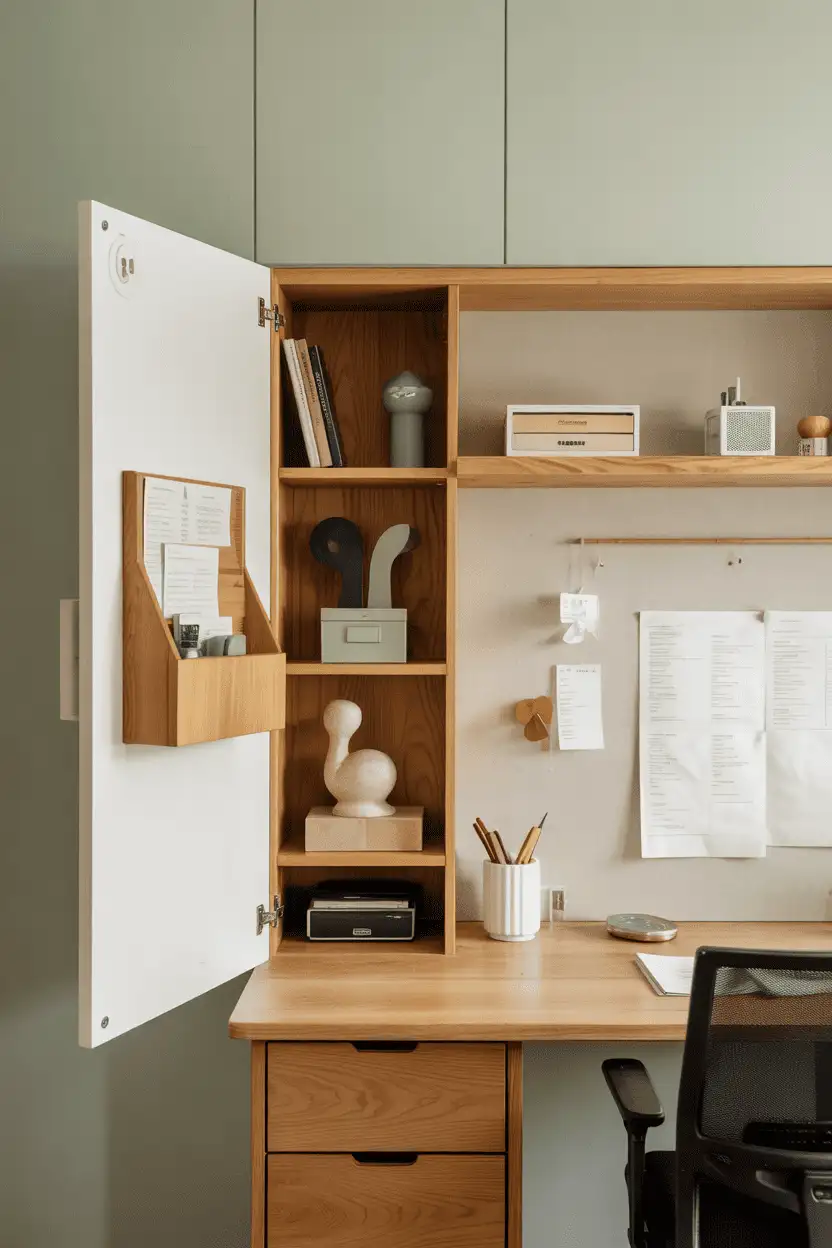
Every desk with a deep top drawer has room for a false bottom: a 6 mm plywood panel cut 1 cm short and resting on battens hides passports and documents under the clutter layer. Old roll-tops and secretary desks often come with pigeonholes and hidden spring latches already built in — learning the mechanism is half the fun. The security is theater against a real burglar, but it’s perfect for keeping spare keys and paperwork out of casual sight.
Build the compartment before refinishing, so the seams disappear under paint. Magnetic touch latches ($5 a pack) replace broken spring mechanisms cleanly. And keep the hiding place mundane — the inside of a sock drawer beats a dramatic false back every time, because dramatic is exactly what thieves check first.
16. Layering Textures with Mixed Materials
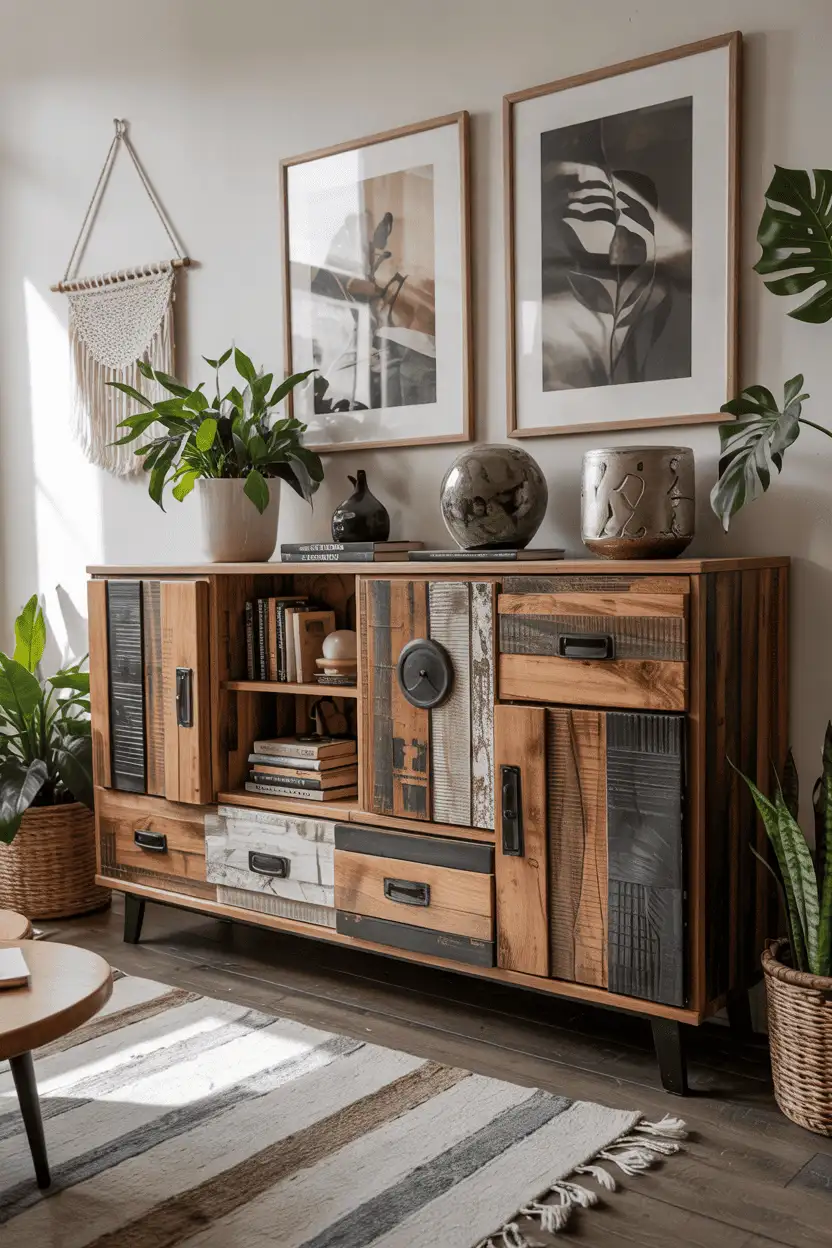
One piece, three materials: a wooden top, hairpin steel legs, a linen drawer front, say. The combination works when each material does a distinct job — wood for warmth, metal for structure, textile for softness — rather than all three competing as decoration. Pick one dominant material and let the others be accents; equal thirds looks like a sample board.
Texture contrast is the actual point: matte waxed wood against brushed steel, rough jute against smooth glass. Test combinations under your room’s lighting before committing — cool kitchen fluorescents turn champagne metal gray. When it clicks, a mixed-material piece anchors an eclectic room better than anything matchy ever could.
17. Using Stencils and Decoupage for Artistic Touches
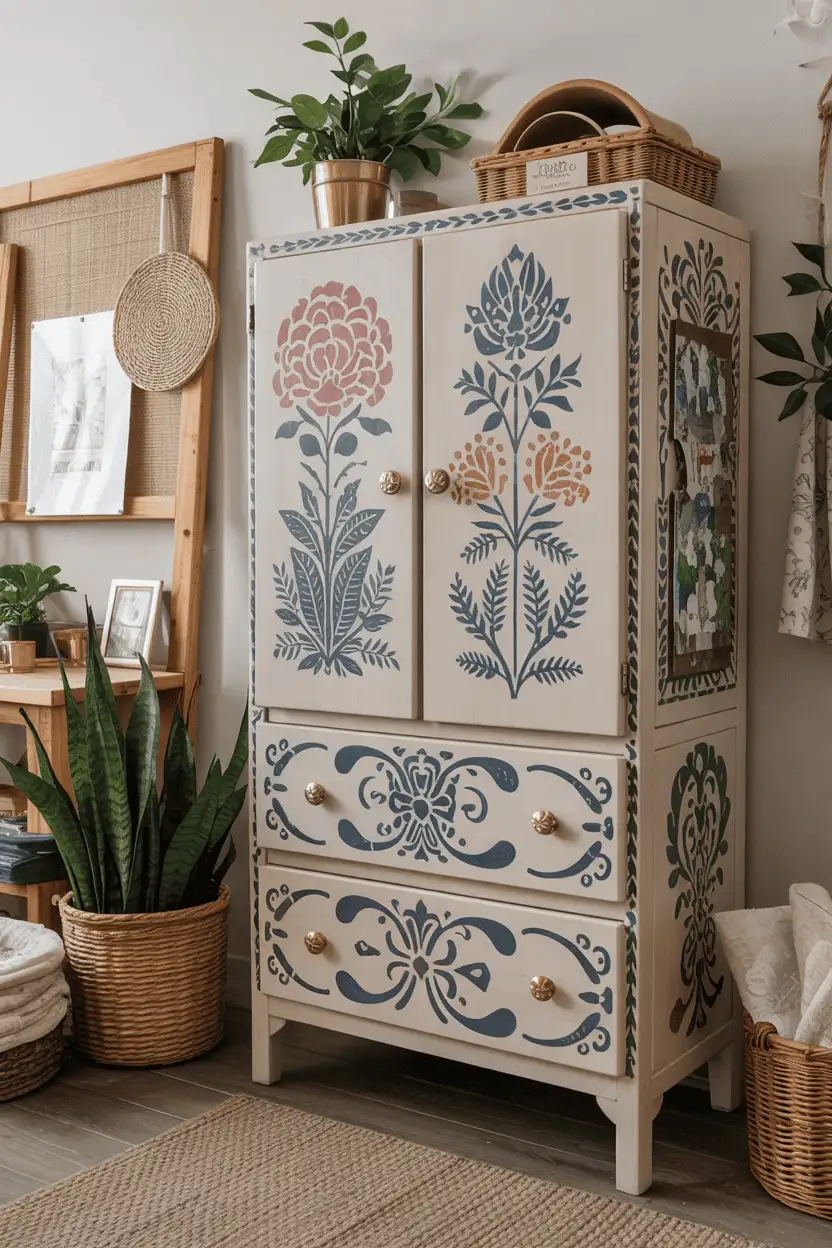
Stencils and decoupage deliver the illustrated look without illustration skills: a $12 stencil and a nearly-dry foam roller lay crisp damask or botanical borders onto drawer fronts, and Mod Podge plus printed napkins or old maps turn a tabletop into a collage that survives daily use under two coats of poly. The classic mistake is overloading the brush — offload the paint onto a paper towel first, because two thin passes beat one thick one that bleeds under the stencil edge.
18. Integrating Technology with Smart Furniture Features
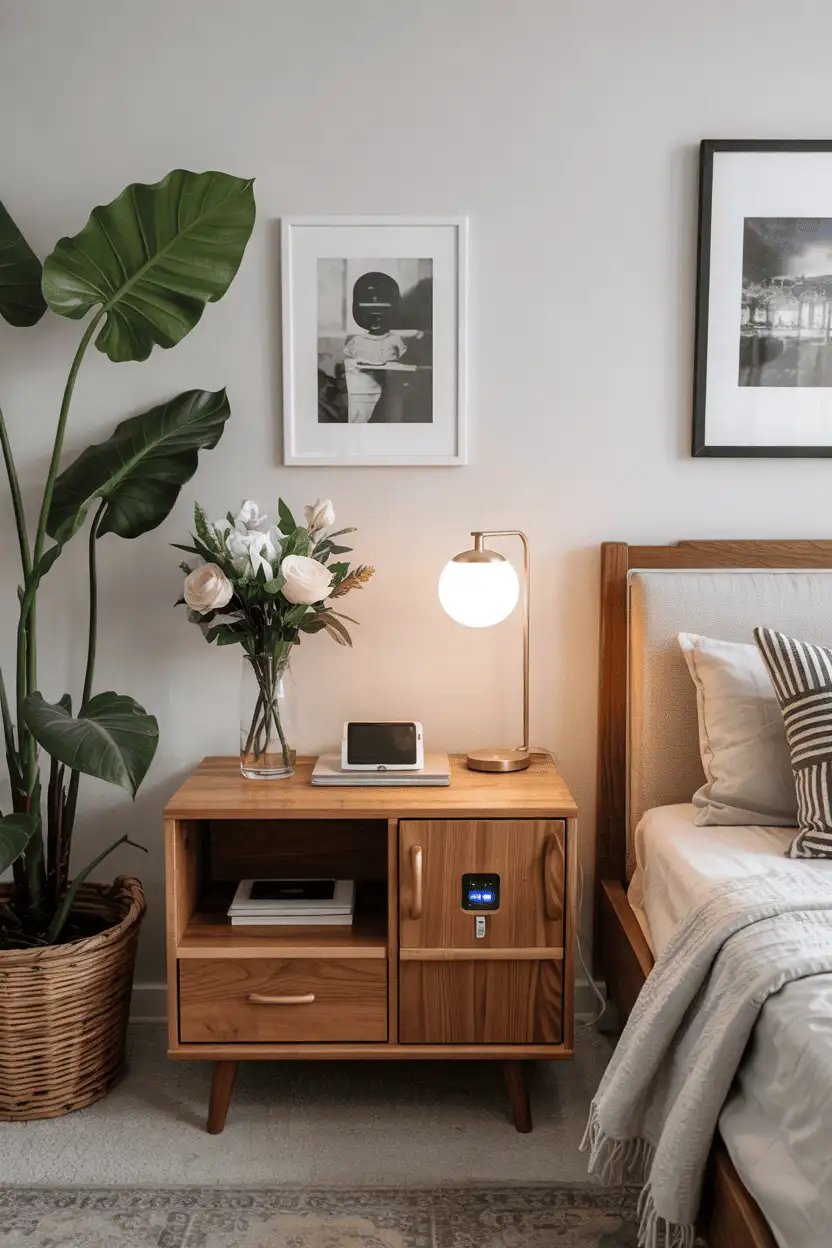
A vintage nightstand with a wireless charger routed flush into the top (a $15–$25 Qi puck, set with an 80 mm hole saw) is the best of both worlds: period looks, modern function. USB-C pass-through ports on desk backs and warm LED strips ($10 for 5 m) under shelves or inside cabinets add the kind of convenience people pay designers for. Keep the tech removable — glue the charger in place, but screw down the cable clips.
The guiding principle is invisible integration: cables hidden, no blinking lights, nothing that dates the piece to 2026. Drill cable holes before the final finish coat, and leave a service gap so a dead charger can be swapped without surgery. An LED strip inside a glass-front cabinet turns it into the best-lit shelf in the room for about twelve dollars.
19. Reworking Furniture Legs for Contemporary Appeal
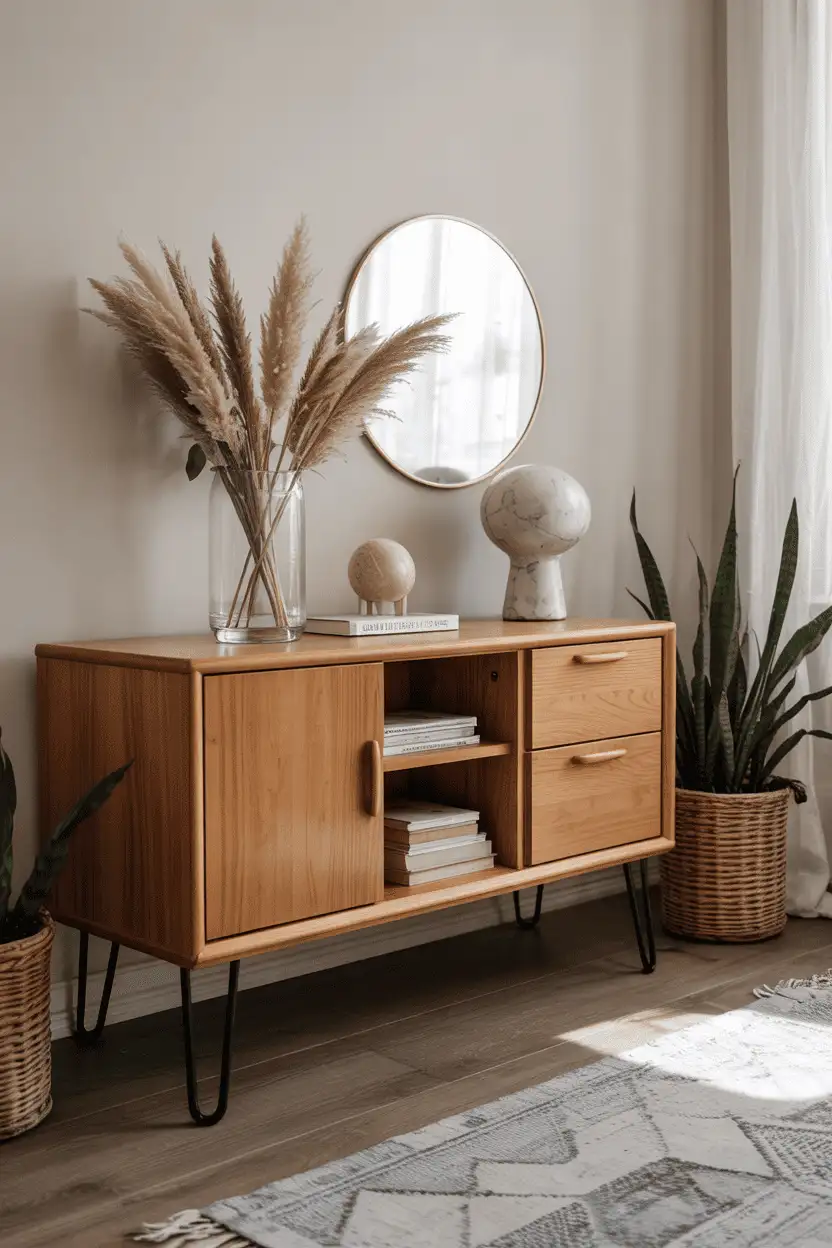
New legs are the single highest-impact, lowest-effort swap in this whole list: tapered mid-century legs ($20–$30 for a set of four) or 70 cm hairpins ($40+) instantly re-date a boxy dresser. Measure the existing mounting first — most use M8 hanger bolts, and angled mounting plates ($8 a set) fix the splay. One drill, one Saturday afternoon.
Contrast is the move: dark stained legs under a pale painted body, or brass ferrules on walnut. Match the leg style to the piece’s bones — hairpins on a 1970s teak sideboard, turned tapers on a farmhouse dresser. Mismatching eras is exactly how “eclectic” slides into “confused.”
20. Layering Paint with Distressing Techniques
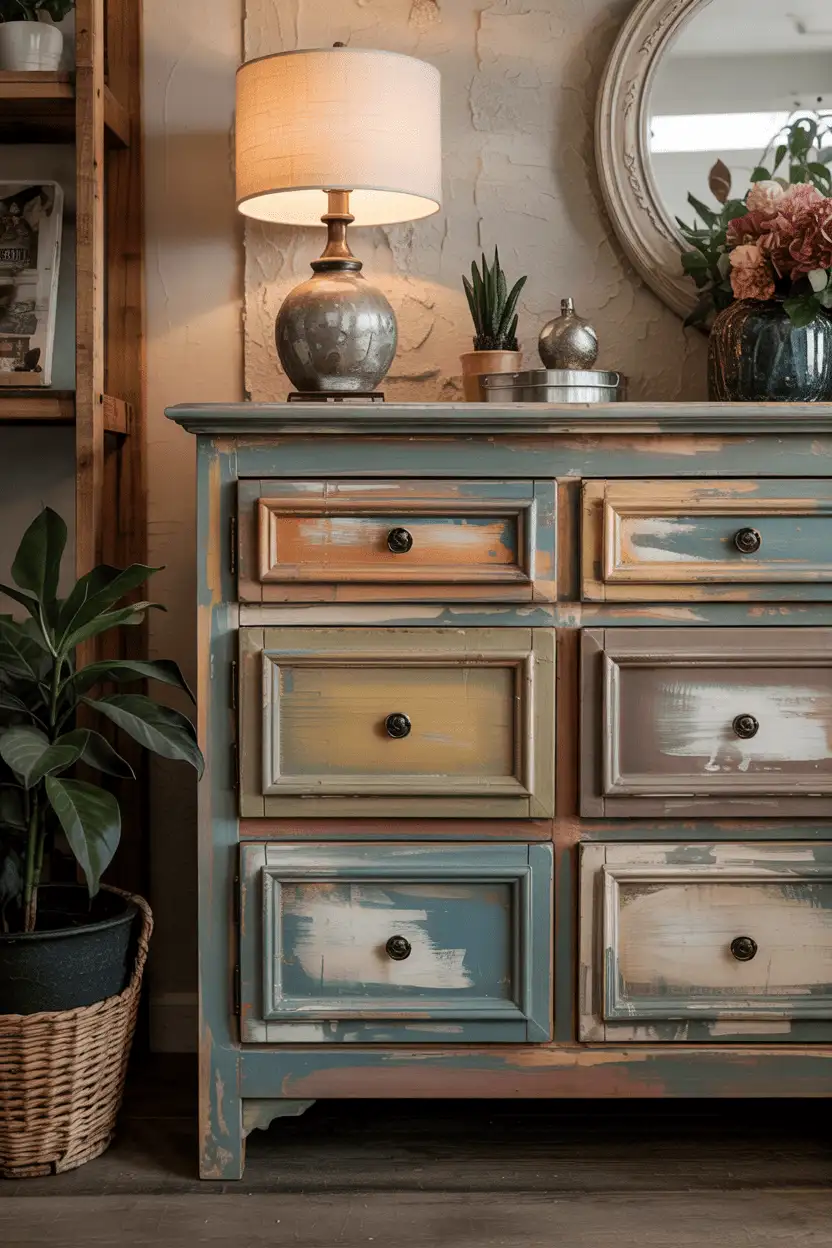
Layered distressing is really just controlled damage: brush on a dark base coat, then a lighter top coat, then sand through at edges, corners, and anywhere hands would naturally wear the finish. A damp rag with a little mineral spirits gives softer transitions than dry sanding alone. Two colors reads convincing; four looks like a paint-sample accident.
Seal it — distressed paint without a topcoat chalks off onto your clothes. Paste wax keeps the matte vintage feel; polycrylic if the piece needs to survive kids. And distress where it’s seen: front edges and the top, not the back panel nobody ever looks at.
FAQs for Furniture Upcycling Ideas