20 Paper Wall Decor Ideas for Easy DIY
A bare wall and a stack of cardstock can go a long way. Paper is the cheapest material in the craft aisle — a few dollars buys enough sheets to fill an entire accent wall — and once it’s folded, cut, or layered, flat plaster turns into something with genuine texture and depth. This DIY Ideas guide rounds up twenty paper wall decor projects, from ten-minute garlands to weekend-sized murals, all of them doable with scissors, glue, and a free afternoon.
The real advantage is how forgiving the medium is. A miscut flower becomes a smaller flower; a garland that looks wrong in the living room looks right in the hallway. Most of these projects cost under $10 in materials, take one to three hours, and come down cleanly with painter’s tape when you want a change.
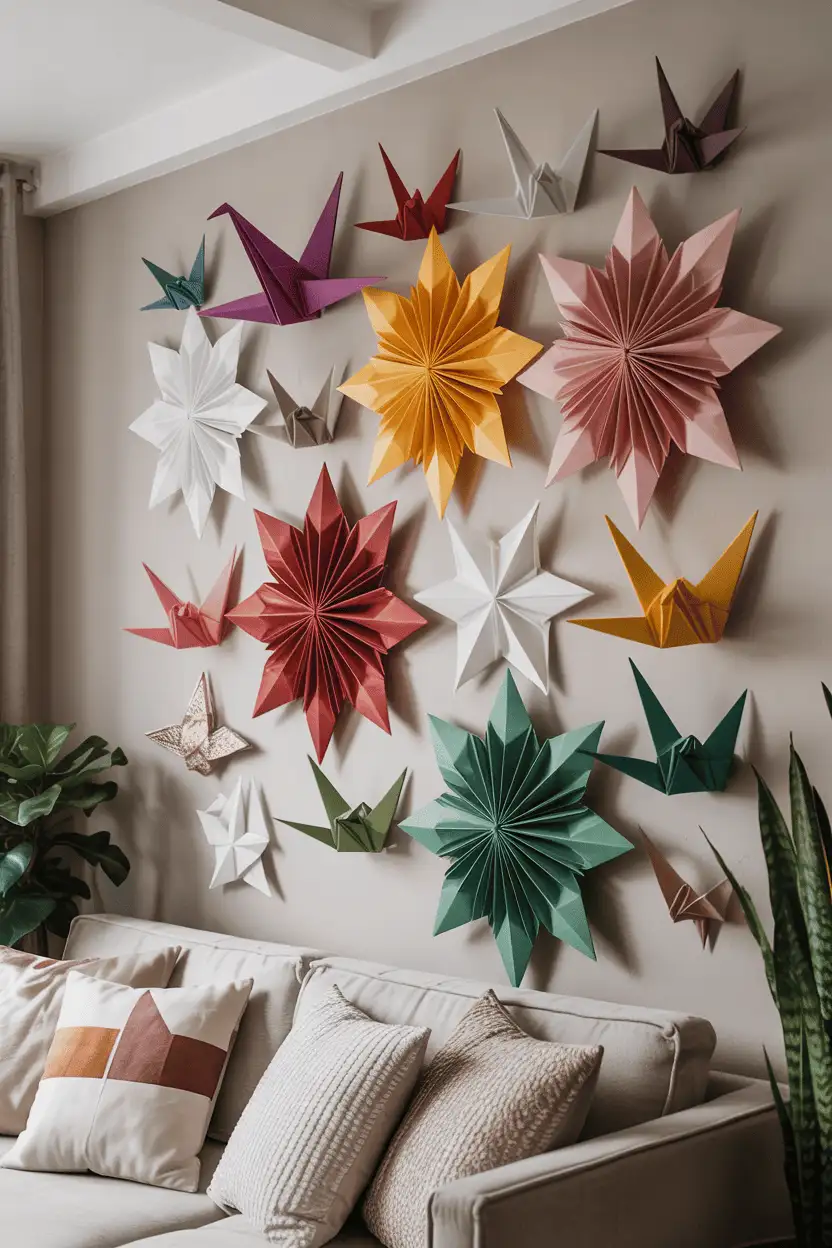
1. Origami Wall Art
Start with 6-inch origami squares — a 100-sheet pack runs about $5 — and fold a flock of cranes, butterflies, or geometric diamonds. Mount each piece on a small foam dot so it casts a soft shadow, then arrange them in a sweeping curve or a tight grid. Metallic or ombré paper reads especially well here, since the folds catch light differently across each piece.
A 3-foot-wide installation takes roughly 40 to 60 folded pieces and an evening of folding in front of the TV. If patience runs thin, limit yourself to one repeated shape in a single color; repetition looks intentional and high-end, while a mixed jumble can read messy.
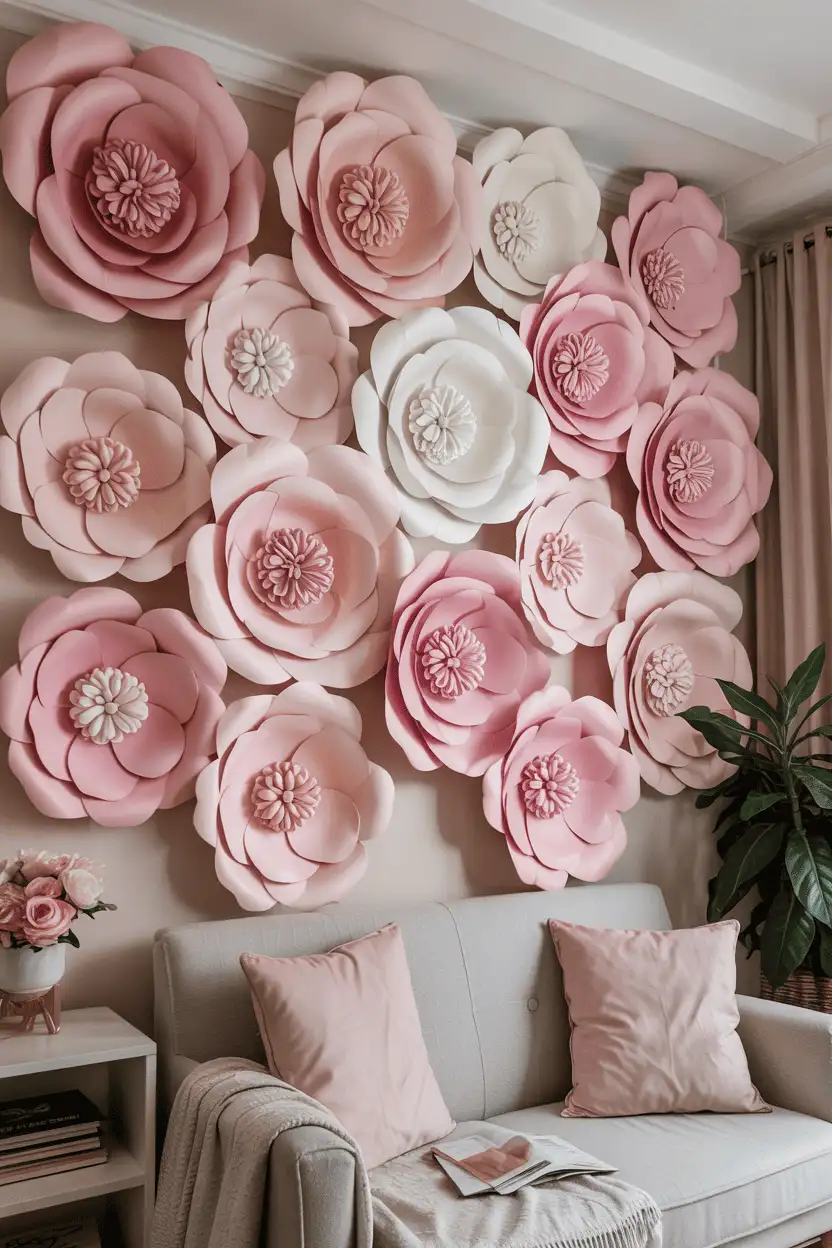
2. Paper Flowers
Giant crepe-paper peonies and dahlias — petals cut from rolls that cost $2–3 each — give you the lushness of a flower wall with zero watering. Layer petal sizes from large at the back to small at the front, curling edges around a pencil for a natural cup. One 24-inch bloom takes about 45 minutes once you’ve got the rhythm.
Scale decides the mood: oversized blooms in blush and cream suit bedrooms and nurseries, while saturated jewel tones wake up a dining room. Tuck in a few paper leaves or butterflies cut from the same roll, and hang the whole cluster with removable adhesive strips so the arrangement can evolve with the seasons.
3. Geometric Paper Panels
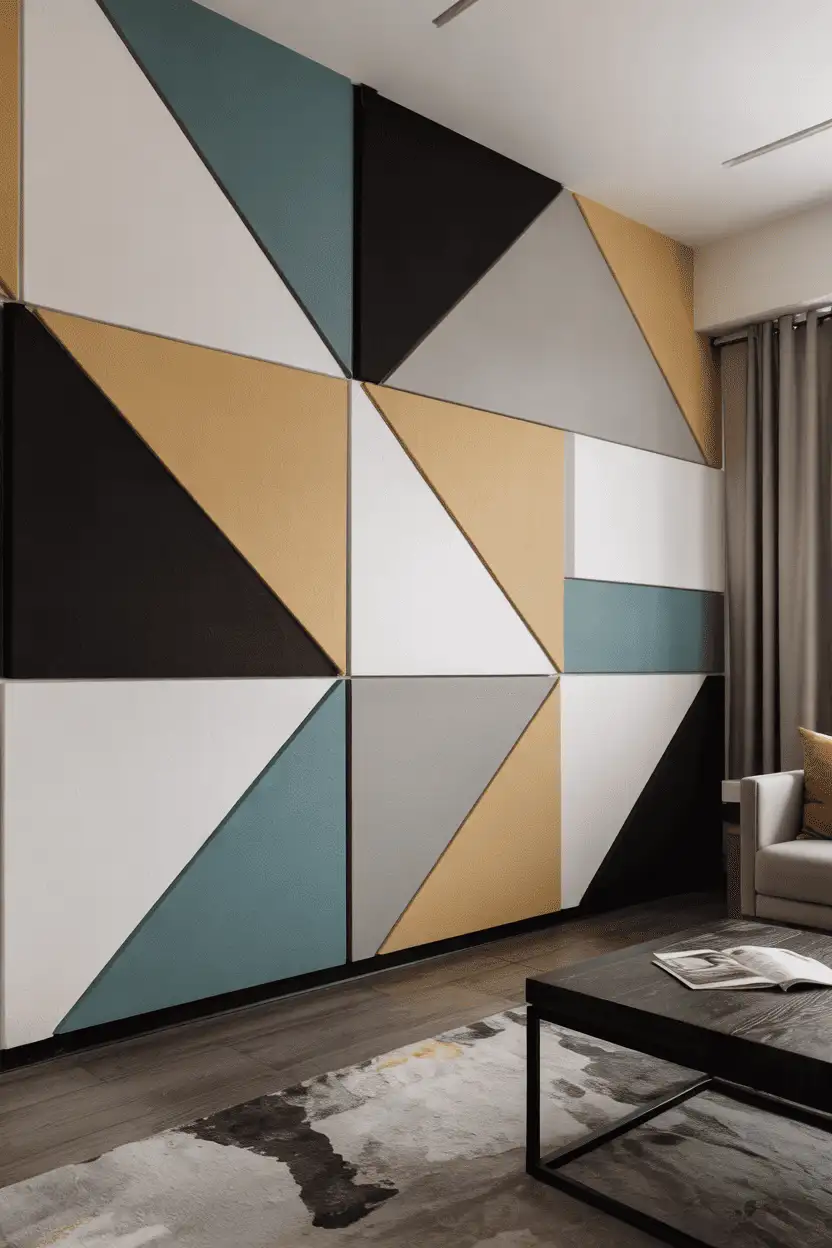
Cut cardstock into triangles, hexagons, or diamonds and build a faceted feature wall — think modern art gallery rather than kindergarten craft. A palette of three tones (say, charcoal, slate, and copper metallic) keeps the geometry sophisticated. Lay the pieces on the floor first and photograph the arrangement before anything touches the wall.
This look belongs in minimalist and industrial rooms, where crisp edges echo clean furniture lines. Because a full panel weighs almost nothing, you can cover a 6-foot span with nothing but mounting putty, and resizing the shapes lets the same idea fit a narrow hallway or a double-height stairwell.
4. Paper Quilling
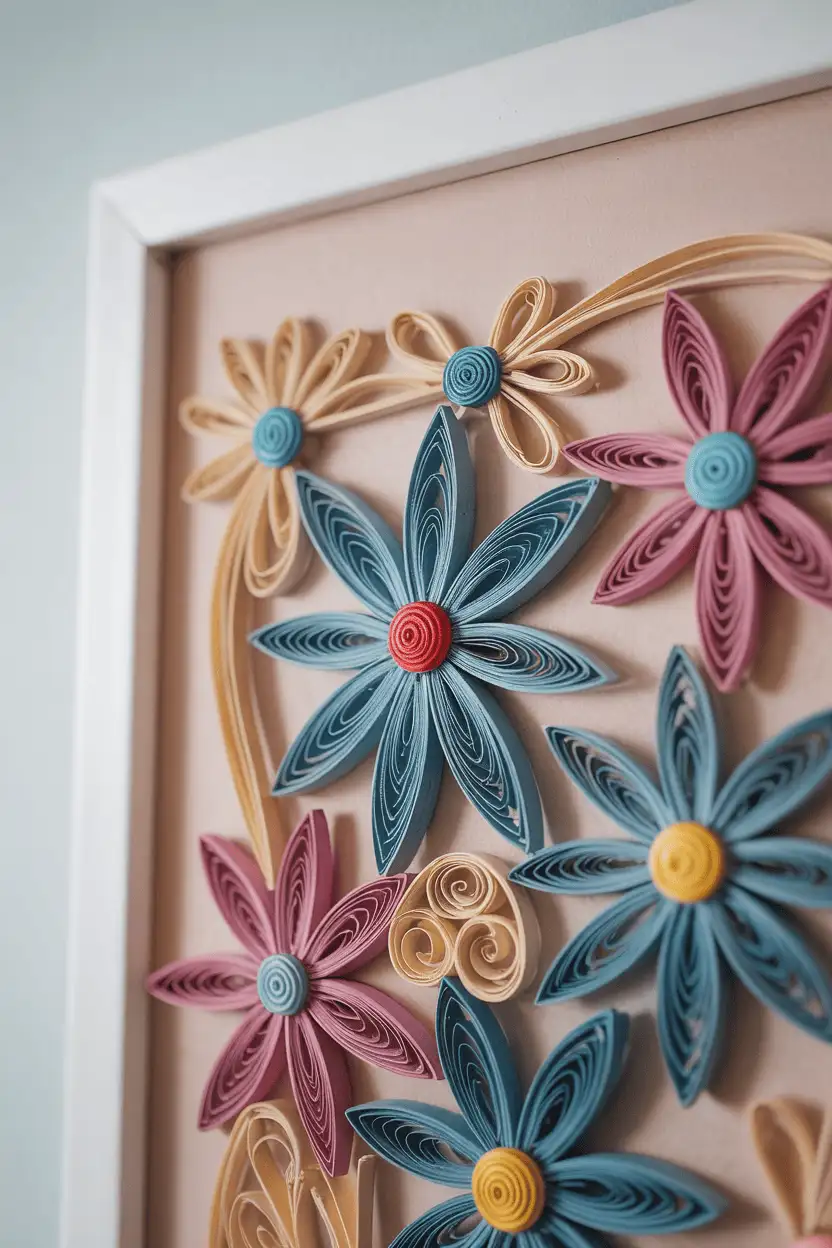
Quilling rolls 1/8-inch paper strips into tight coils, scrolls, and teardrops, glued edge-on to a backing board so the piece reads like lace or filigree. A starter kit with a slotted tool, strips, and glue costs under $15 and covers your first two or three pieces. Botanical motifs — ferns, cherry blossoms, seed heads — translate beautifully.
Precision matters more than speed here; one 8×10 panel can take three or four evenings. Float the finished piece in a deep shadow-box frame and the coils cast tiny shadows that make the whole thing glow under a picture light.
5. Paper Cut Silhouettes
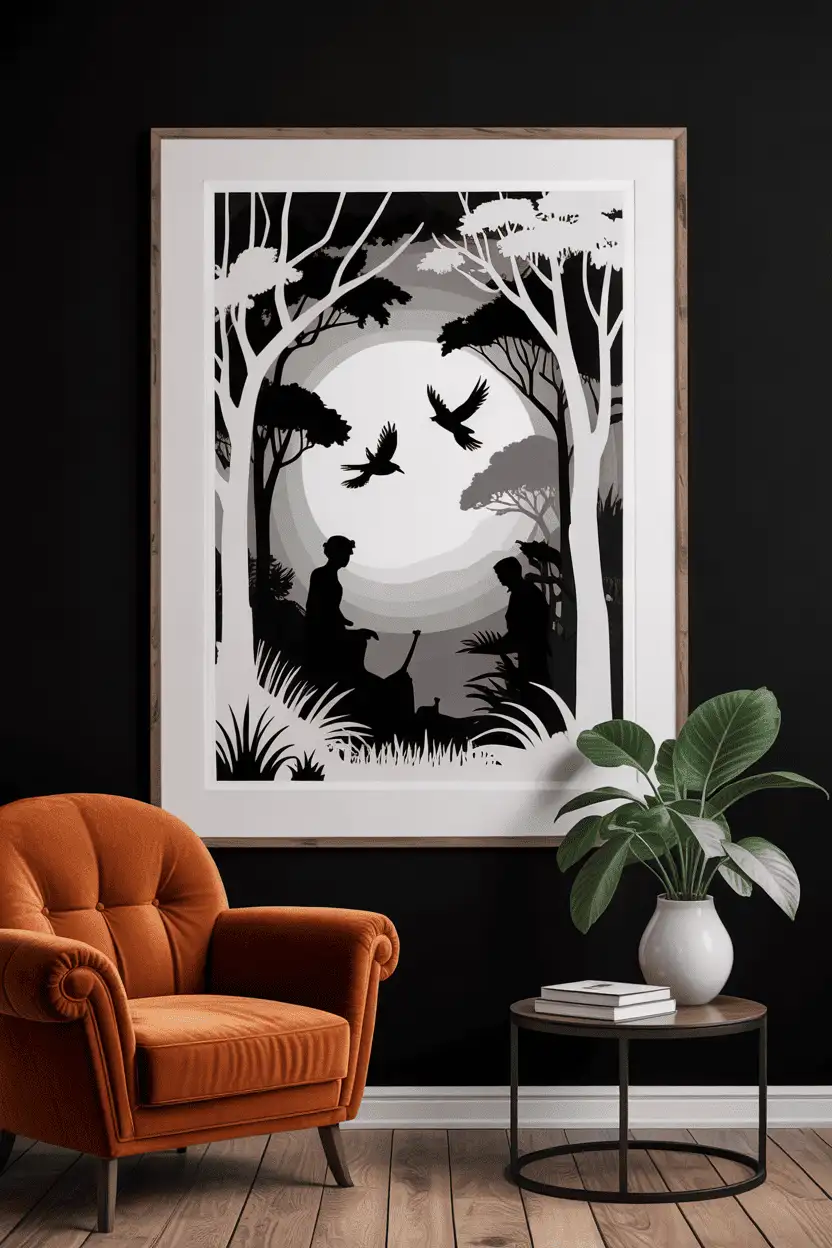
Cut a scene — a tree line, a city skyline, a botanical sprig — out of a single sheet of black cardstock with a craft knife, then mount it over white or cream so the negative space does the talking. The contrast is dramatic from across the room and rewards a closer look, which is exactly what you want from wall art.
Detailed cutters can go full storybook; everyone else should pick bold, simple shapes with thick connecting bridges so nothing tears. Frame a row of three small silhouettes for a gallery wall, or go big with one 24×36 piece above the sofa.
6. Paper Collage
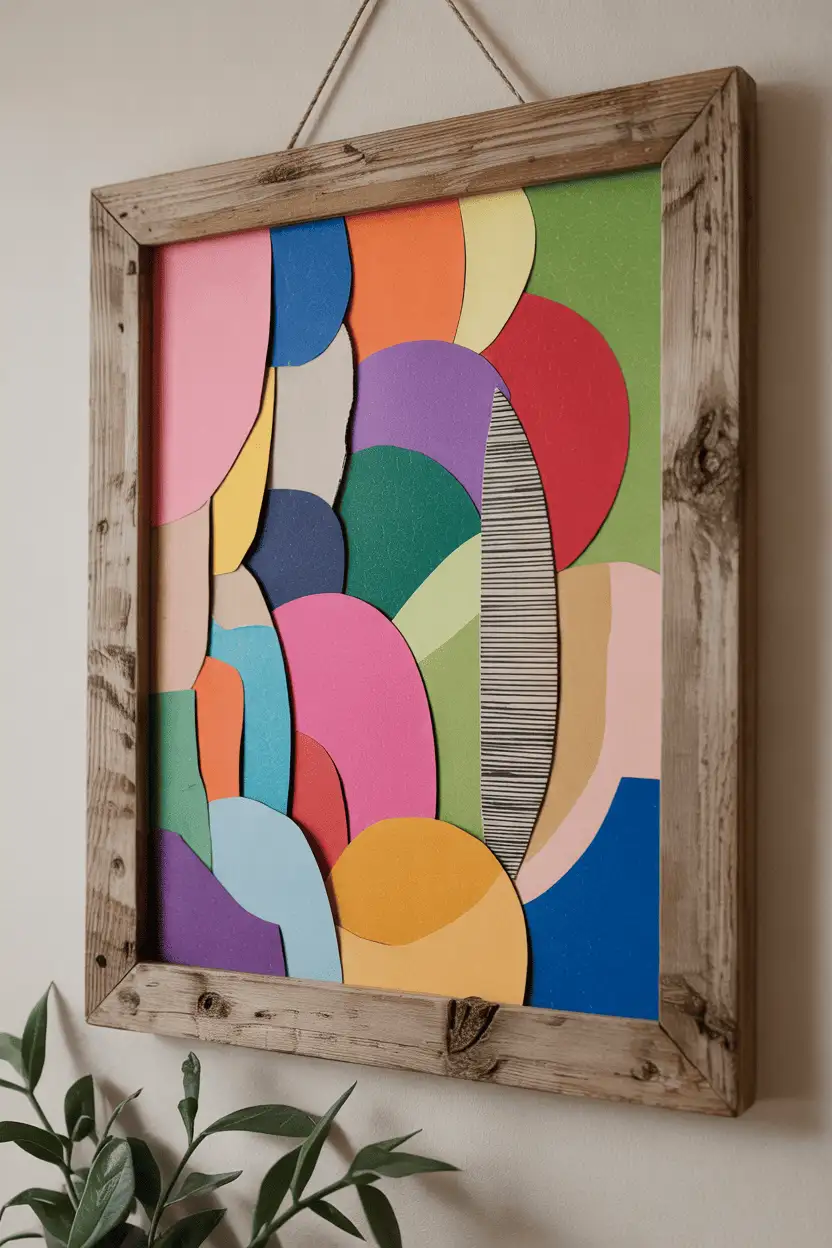
Tear or cut maps, sheet music, magazine pages, and colored stock, then layer them into an abstract landscape or a bold color study. Overlap translucent tissue over opaque shapes to get depth without paint. There’s no wrong move — if a layer fights the composition, paste another one over it.
Old atlases and botanical prints from thrift stores ($1–2 each) make the best raw material, since the printing already has character. Mount the finished piece on foam board and frame it simply; the collage is busy enough without an ornate frame competing.
7. Paper Garlands
Fold a long strip accordion-style, cut half-hearts or stars along the fold, and unfold a connected garland in under ten minutes. String shorter shapes on twine for a looser look. Patterned scrapbook paper or double-sided metallic stock keeps even simple shapes interesting.
Swap the palette for holidays — orange and black for October, red and green for December — and store each strand flat between sheets of tissue so it survives to next year. Hanging three strands at staggered lengths fills a bare window or mantel far better than one.

8. Paper Typography
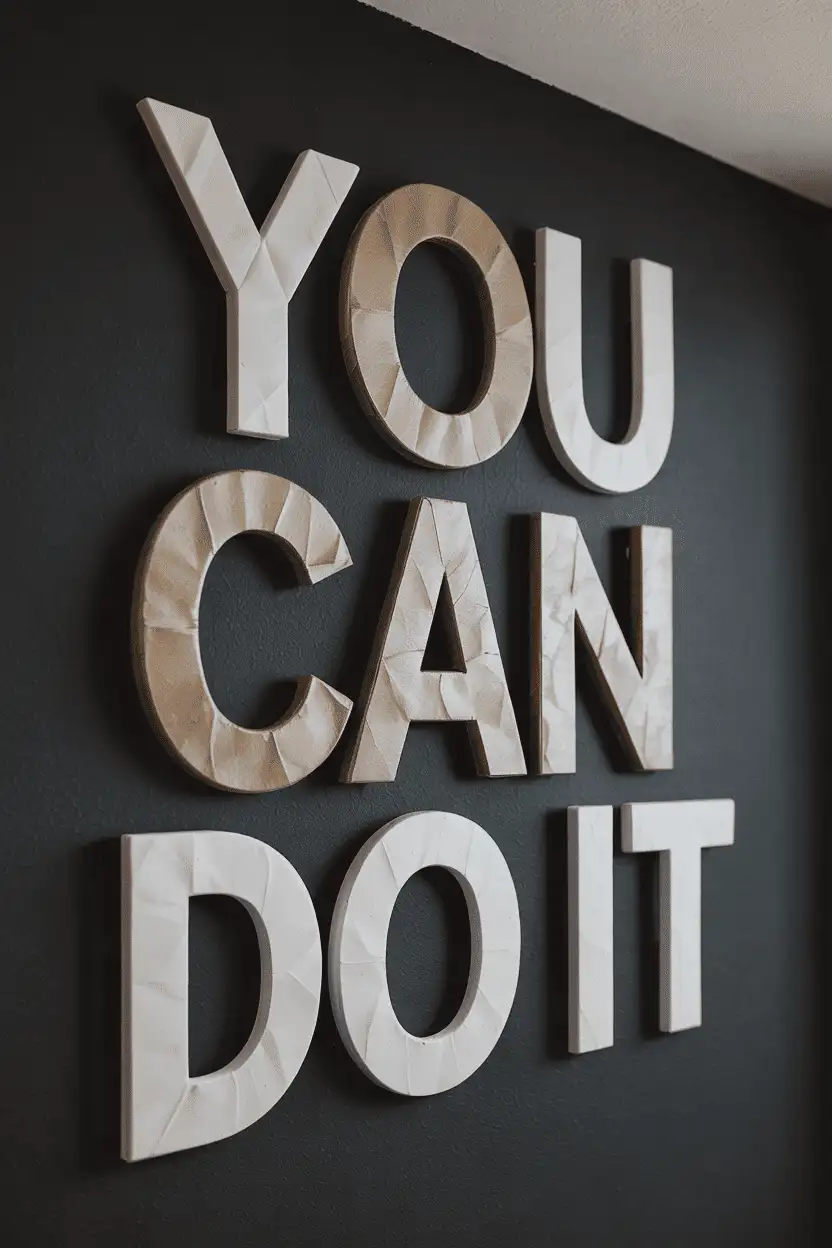
Cut 4- to 6-inch letters from chipboard or layered cardstock and spell out a quote, a family name, or a single word above a desk. Mixing one oversized word with smaller supporting text creates hierarchy; a bone folder gives folded letters crisp edges that read as intentional rather than crafty.
Keep the message short — walls aren’t billboards. A home office earns a nudge like “make it happen”; a nursery gets something softer. Hang letters with foam spacers so they float a half-inch off the wall and cast gentle shadows.
9. Paper Mosaics
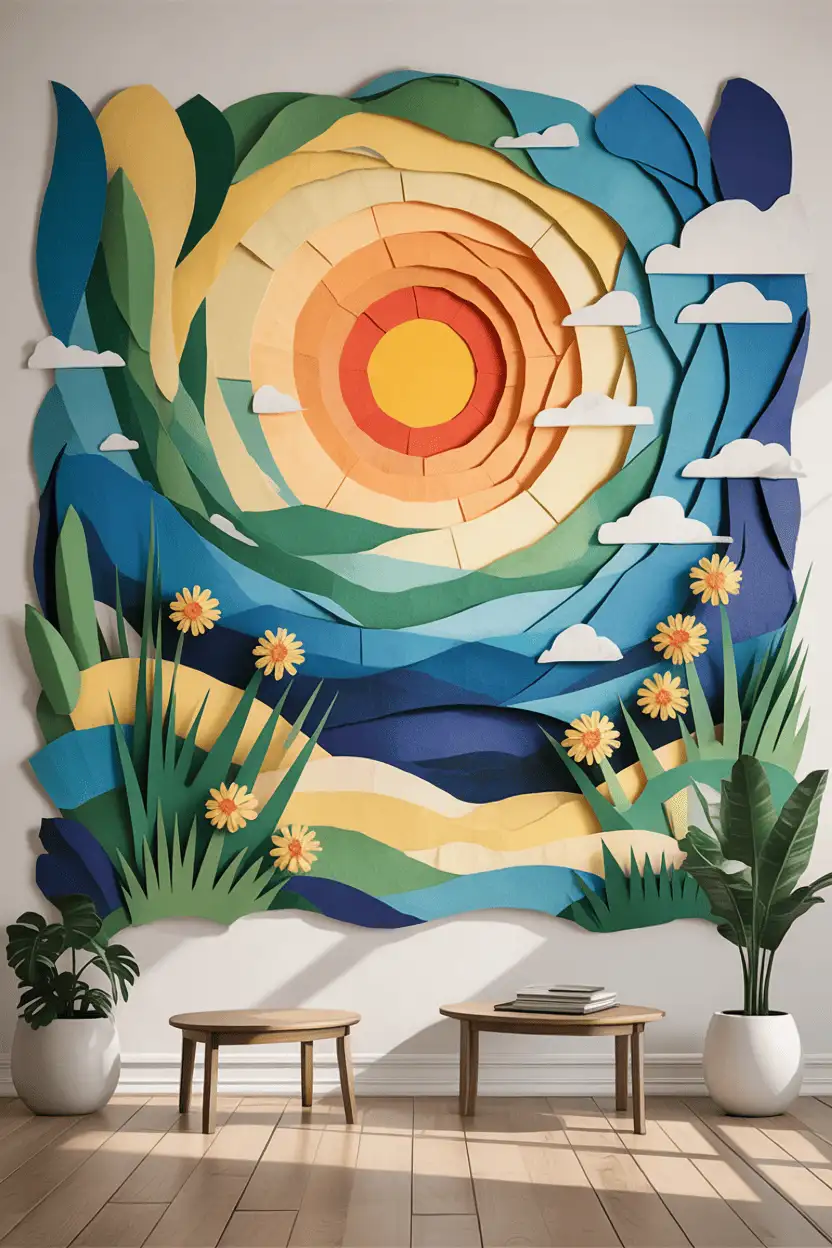
Tear or punch 1-inch squares from magazines and arrange them into a gradient landscape or an abstract color field, working from a printed reference photo taped beside you. The tiny color shifts between squares do the shading work for you, the way pixels do on a screen.
Expect this to be slow — a 12×16 mosaic runs 400-plus tiles and several evenings. Seal the finished piece with a light matte spray so the edges don’t curl, then frame it; the uniform grid of tiles looks remarkably polished behind glass.
10. 3D Paper Sculptures
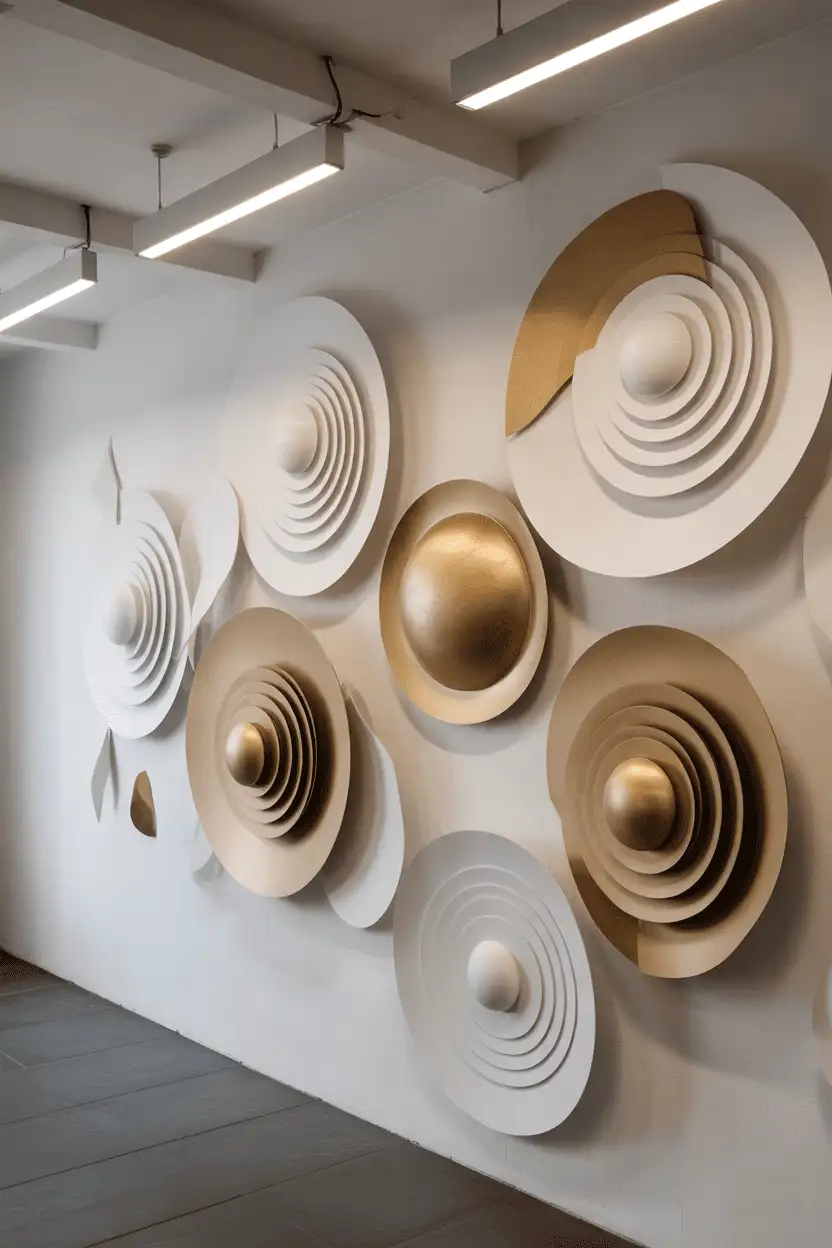
Score and fold heavyweight cardstock (110 lb or chipboard) into low-poly animal heads, geometric blooms, or architectural forms that jut 3 to 6 inches off the wall. Free papercraft templates online give you the cut lines; you supply the folding and a hot-glue gun.
A raking light — a picture light or a nearby lamp — is what sells these, throwing long shadows that double the visual interest. Skip bathrooms and kitchens unless you seal the piece; steam and paper are not friends.
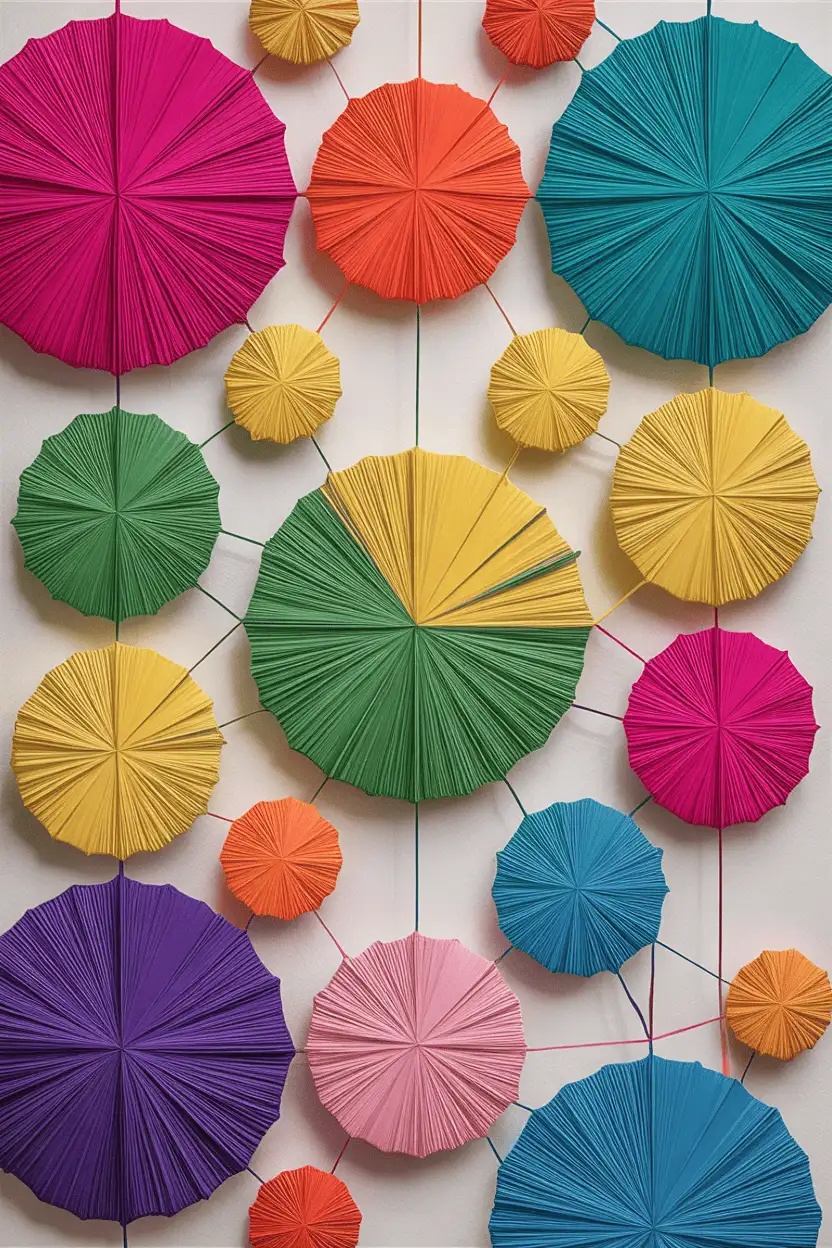
11. Paper Fans and Rosettes
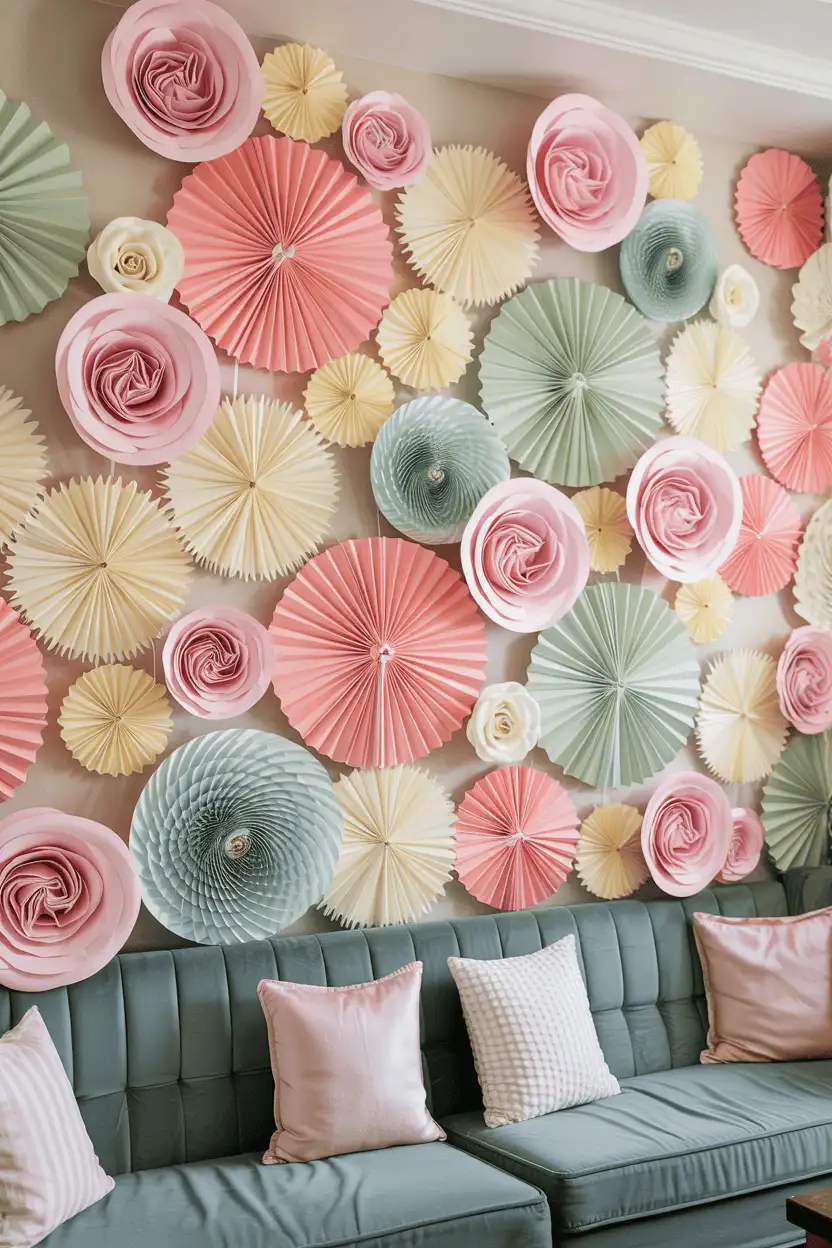
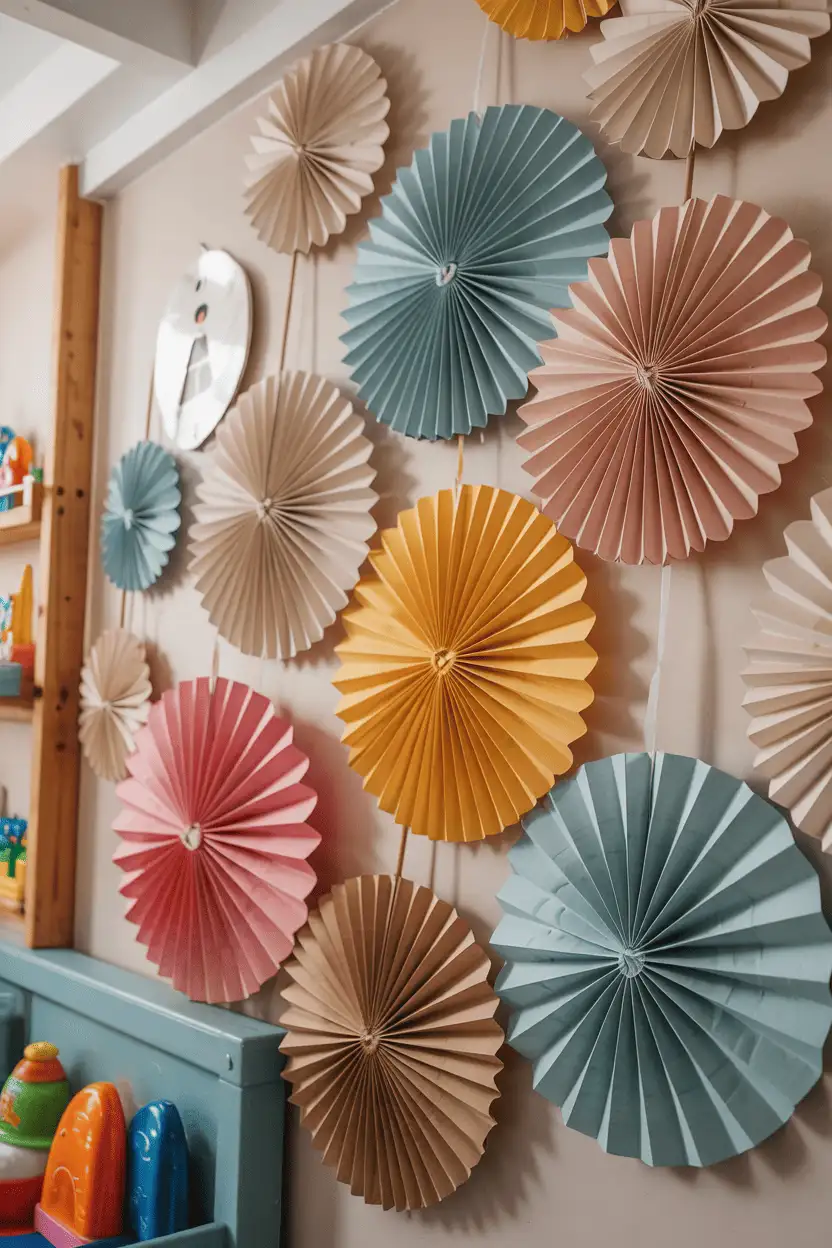
Accordion-fold two sheets of 12×12 scrapbook paper, pinch the centers, and fan them into rosettes from 4 inches to a full foot across. Layer a small rosette over a large one in a contrasting pattern for a medallion effect. A hot-glue dot and a clothespin hold the pleats while the glue sets.
Cluster five to seven rosettes in mixed sizes over a console table or flanking a mirror. Dress them up with a dab of gold paint on the pleat edges, or stamp a simple motif on plain stock before folding.
12. Paper Pinwheels
Classic pinwheels need only a 6-inch square, four diagonal cuts, and a brad at the center — a ten-minute make. Pin a dozen to the wall in a scattered constellation, tilting a few at angles so they catch the light differently. Double-sided paper means no ugly backs.
They’re naturals for kids’ rooms and play corners, but a tight grid of monochrome pinwheels in a home office reads playful-modern rather than childish. Mount each on a short dowel spacer so the blades sit proud of the wall.
13. Paper Mandalas
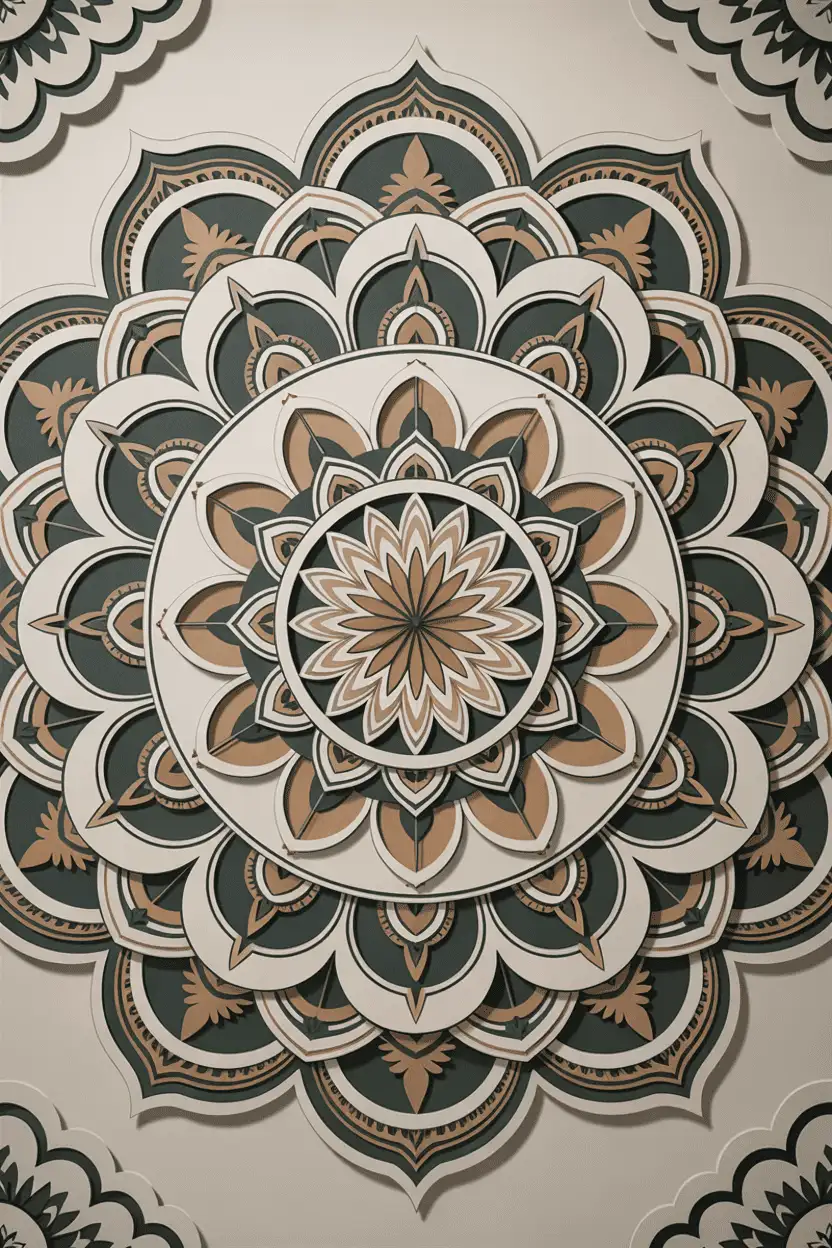
Build a mandala from concentric rings of punched circles, scalloped borders, and cut snowflake layers, stacking from the largest (10–12 inches) down to a 2-inch center medallion. Foam dots between layers give the piece real dimensionality. Work in one color family — all blues, all warm neutrals — for a calm, cohesive result.
These suit bedrooms, reading corners, and meditation spots, where the symmetry reads restful. Simple three-layer versions take an hour; the elaborate twelve-layer ones are genuinely meditative to assemble.
14. Paper Leaves
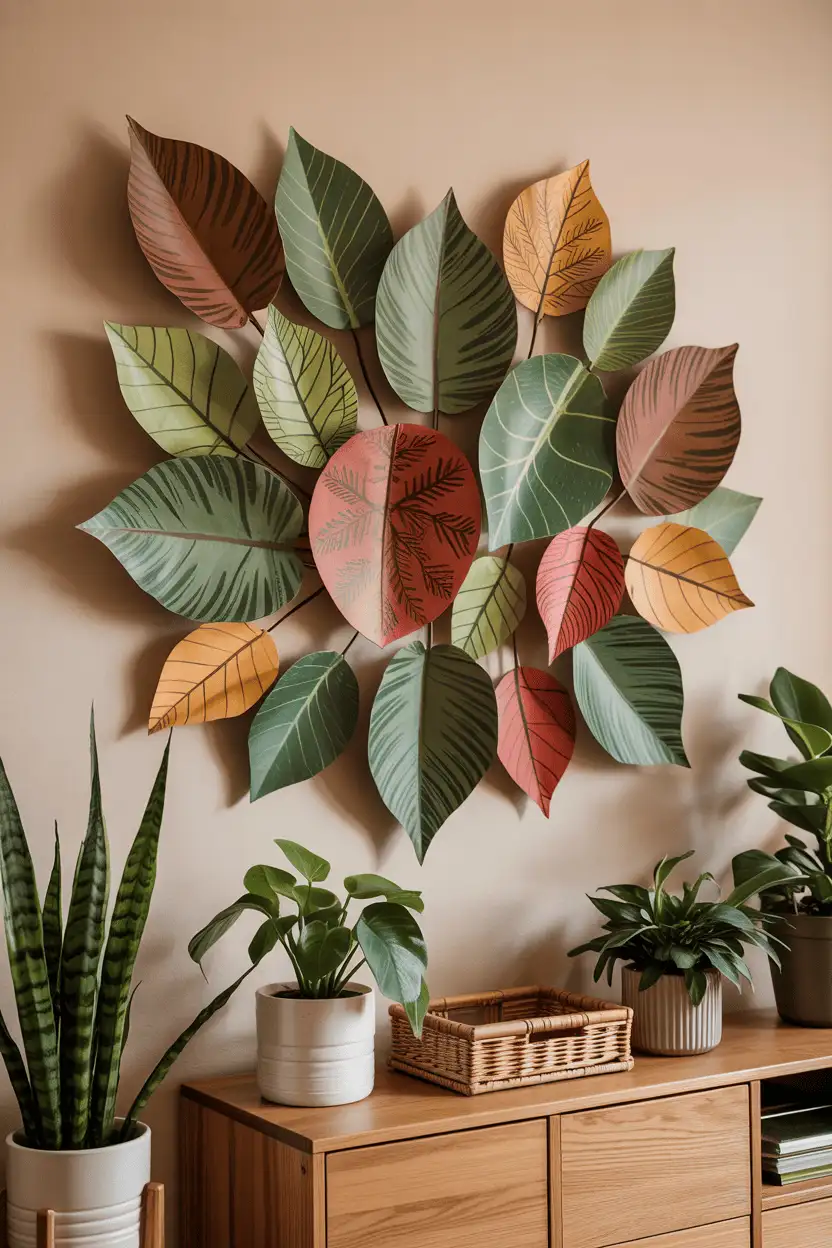
Cut monstera, fern, and eucalyptus shapes from green cardstock in three tones, score a center vein with a bone folder, and curl the edges for dimension. A branch of paper eucalyptus in a tall vase needs no water and never drops leaves on the floor.
This is the easy win for earthy and bohemian interiors — layer the leaves directly on the wall in a climbing-vine pattern, or mass them in a frame for a botanical-print look. Autumn palettes (ochre, rust, deep olive) carry the same idea into fall.
15. Paper Hearts
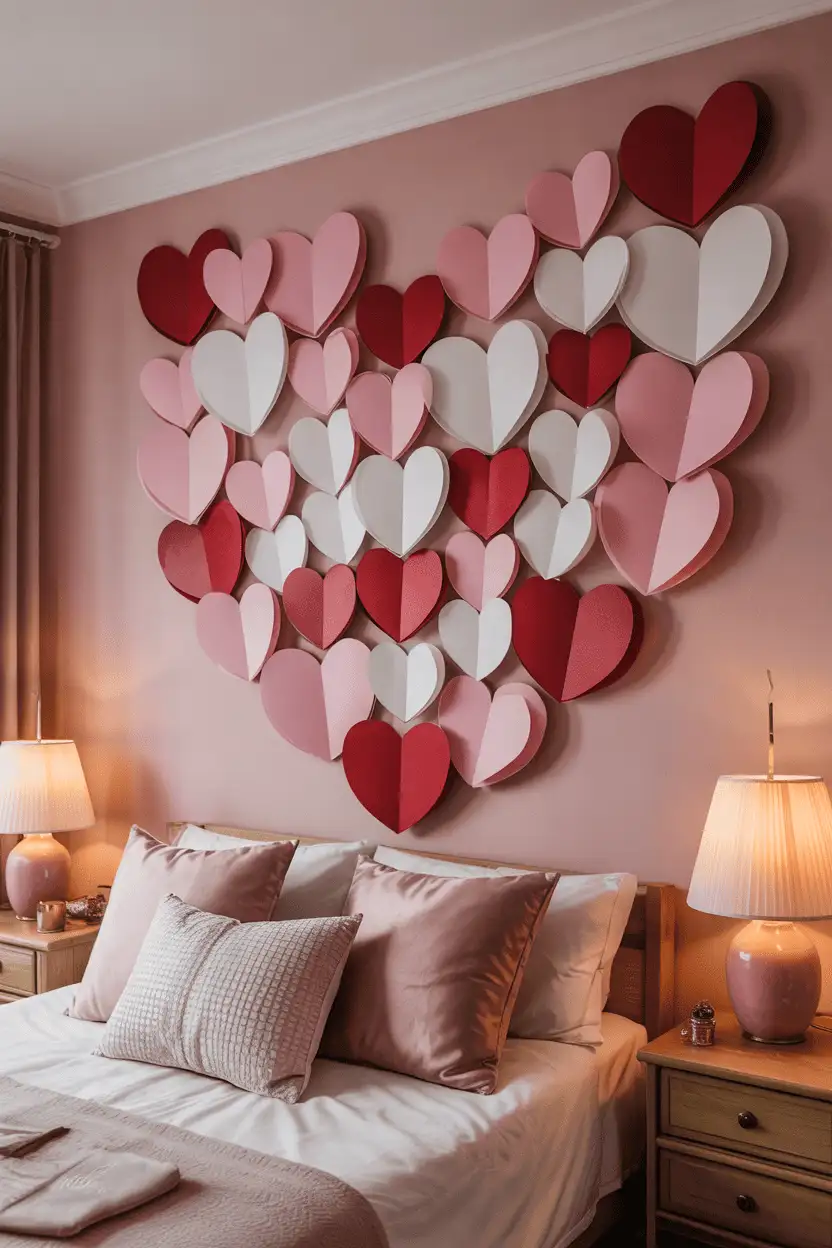
Hearts read warm and personal, which is why they land so well in bedrooms or living rooms. Cut them from 3-inch to 8-inch stock and mass them in an ombré sweep — blush to crimson feels romantic without going saccharine. A heart punch speeds the small ones; fold a few into 3D shapes for texture among the flat ones.
Ten minutes and a stack of red cardstock covers Valentine’s Day, and the same idea in cream and gold works for anniversaries. Slide dental floss behind the adhesive dots at takedown time — no paint damage.
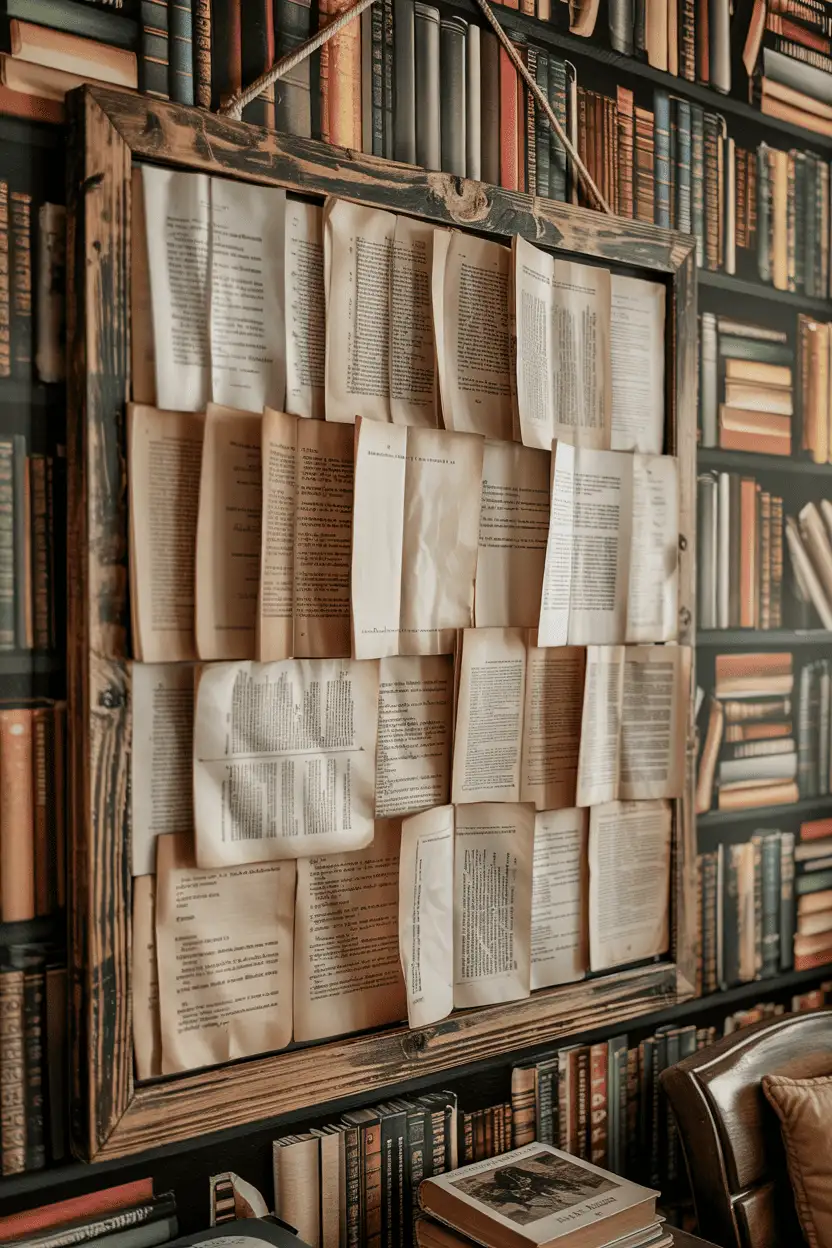
16. Vintage Book Pages
Rescue a falling-apart novel from the thrift store ($1) and wheat-paste its pages in a tight grid or an overlapping scale pattern. The aged paper, varied typefaces, and foxing give you texture and pattern in a neutral palette that goes with everything.
This belongs in reading nooks, studies, and libraries, where the literary connection lands. Keep the palette quiet — no color at all — and let typography be the decoration. A single oversized illustration page framed among the text pages breaks the grid nicely.
17. Paper String Art
Wrap embroidery floss or thin yarn around pins or punched holes in a heavy paper backing to trace geometric stars, waves, or abstract webs. Two or three floss colors are plenty; the crisscrossing lines create the complexity. A 6-inch embroidery hoop makes a tidy frame.
The hand-wound texture contrasts beautifully with smooth, modern walls. Keep the backing paper dark — charcoal or navy — so light-colored thread pops, and hang these in pairs for symmetry.
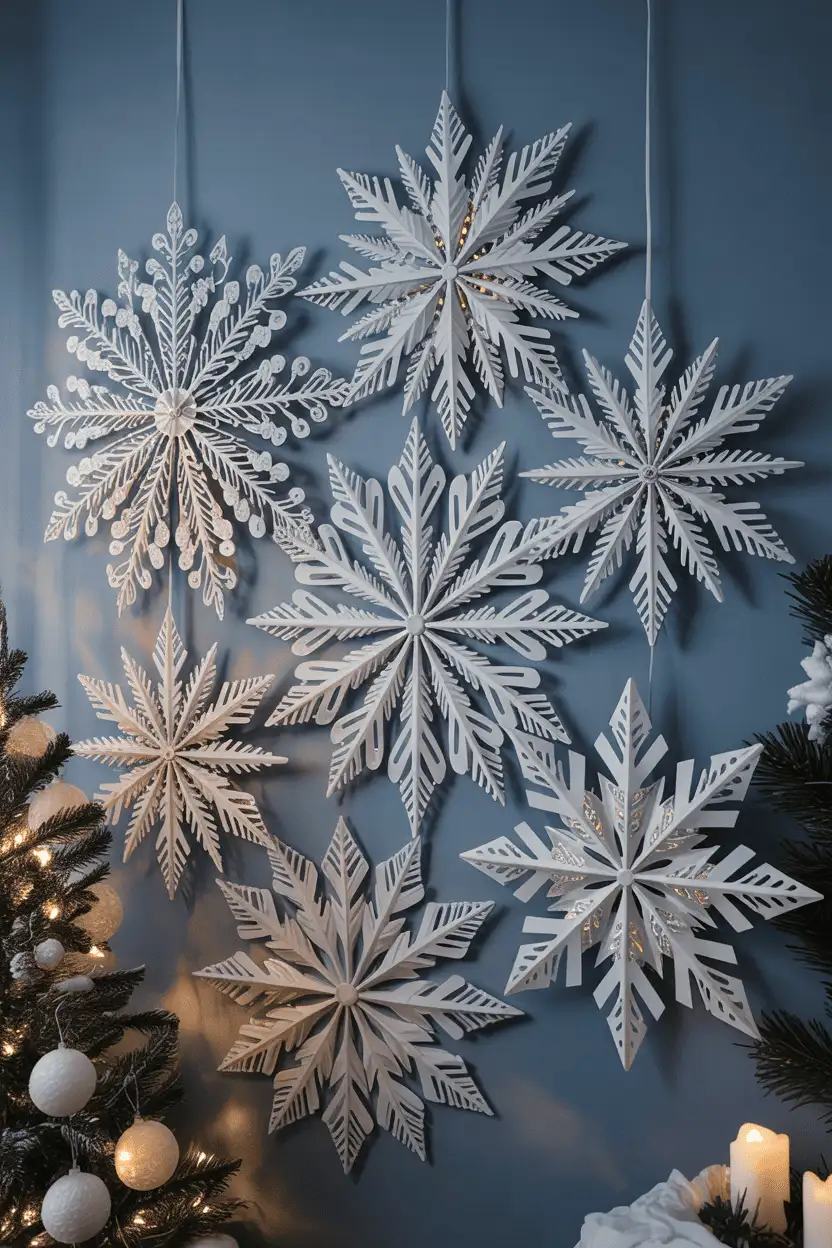
18. Paper Snowflakes
Fold and snip white copy paper into six-point snowflakes — the classic grade-school craft — then hang them at varying heights from clear thread in a window. From a distance they read as falling snow; up close each one is different. Vellum versions glow when backlit.
Cluster them over a mantel for December, but don’t box the idea into winter: a single oversized snowflake in metallic silver works year-round as geometric art in a monochrome room.
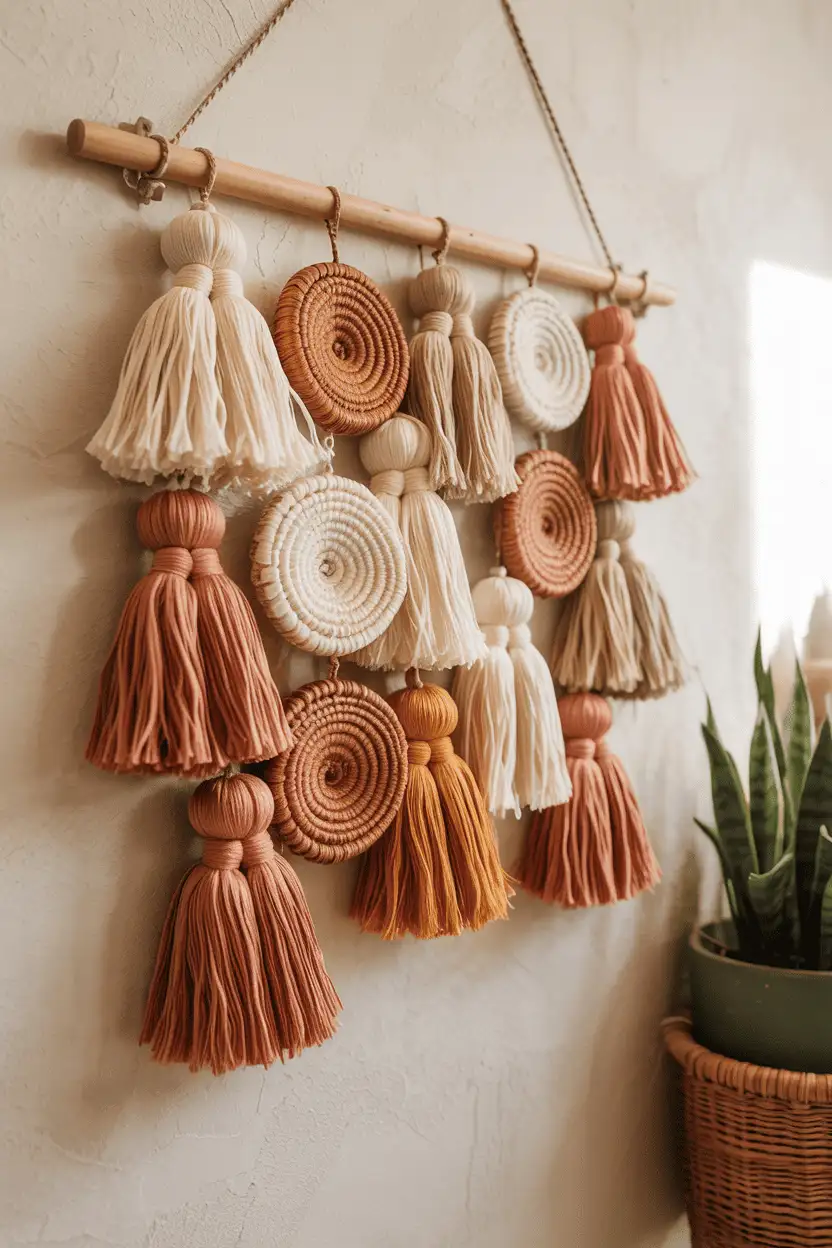
19. Paper Tassels
Cut tissue or crepe paper into 1-inch fringe strips, roll, and tie to make tassels in about five minutes each. Hang a dozen at staggered lengths from a branch or dowel for a boho wall hanging, or string them as a festive garland. Metallic fringe reads party; matte tissue reads everyday.
These are the fastest project on this list and the most forgiving — uneven fringe just looks handmade. They suit rentals and dorms especially, since a whole installation weighs ounces and hangs from a single nail.
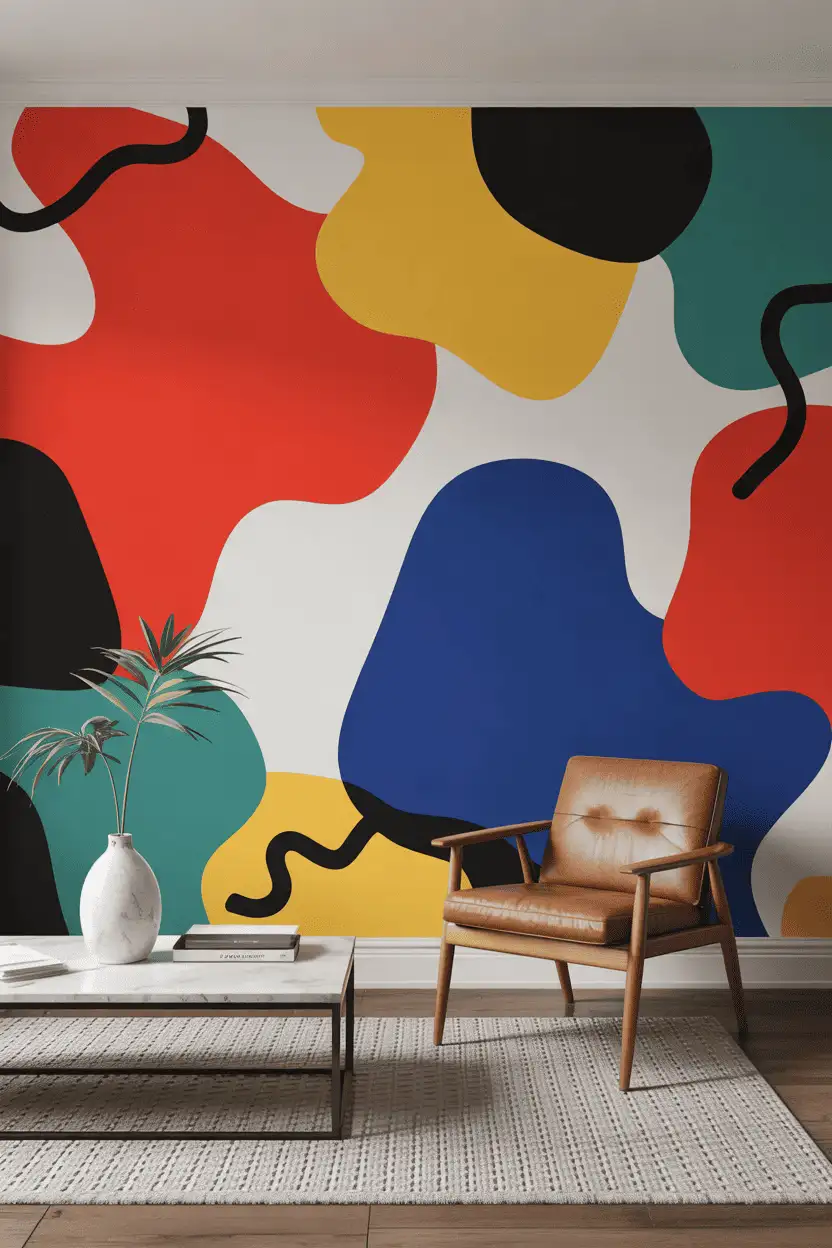
20. Abstract Paper Murals
Tape up 3-foot rolls of kraft or butcher paper and go big: sweeping brushstrokes, torn-paper color blocks, or a single oversized shape in an unexpected color. Working at mural scale — 6 to 8 feet wide — is liberating after fiddly small crafts, and the paper comes down in one pull when you’re done.
Bold scale is what makes this contemporary rather than crafty, so commit to covering most of the wall. Limit the palette to two or three colors and let negative space do half the work.
FAQs for Paper Wall Decor
Twenty ideas, one shared truth: paper rewards the bold and forgives the beginner. Pick the project that matches your patience tonight, spend less than ten dollars, and give one blank wall something to say.