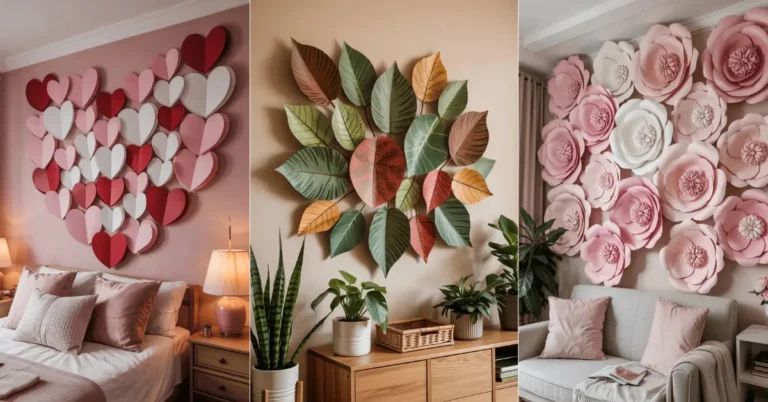
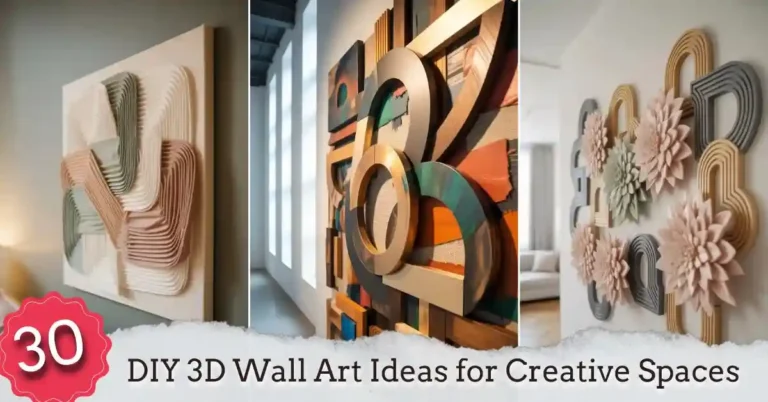
30 DIY 3D Wall Art Ideas for Creative Spaces
Flat art hangs there. Dimensional art changes as you walk past it — shadows shift, layers reveal themselves, and a plain wall suddenly has weather. That’s the appeal, and you don’t need a sculpture budget to get it: cardstock, foam board, wood scraps, and plaster can all build real depth. This 3D Wall Art pictures guide covers thirty buildable concepts, each explained as a project you can actually finish — from afternoon-easy paper layering to weekend plaster work.
Idea 1: Layered Paper Geometric Wall Panels
Cut hexagons or triangles from heavy cardstock (110 lb) or 3mm foam board, stack them with 1/4-inch foam spacers between layers, and mount on a backboard. Paint in an ombre gradient across the arrangement — light to dark — and the color shift amplifies the depth. A 2×3-foot panel uses about 60 shapes; cut them uniform with a template. Hang with French cleats; even a big panel weighs almost nothing. For more flat-paper inspiration, see these DIY wall art ideas.

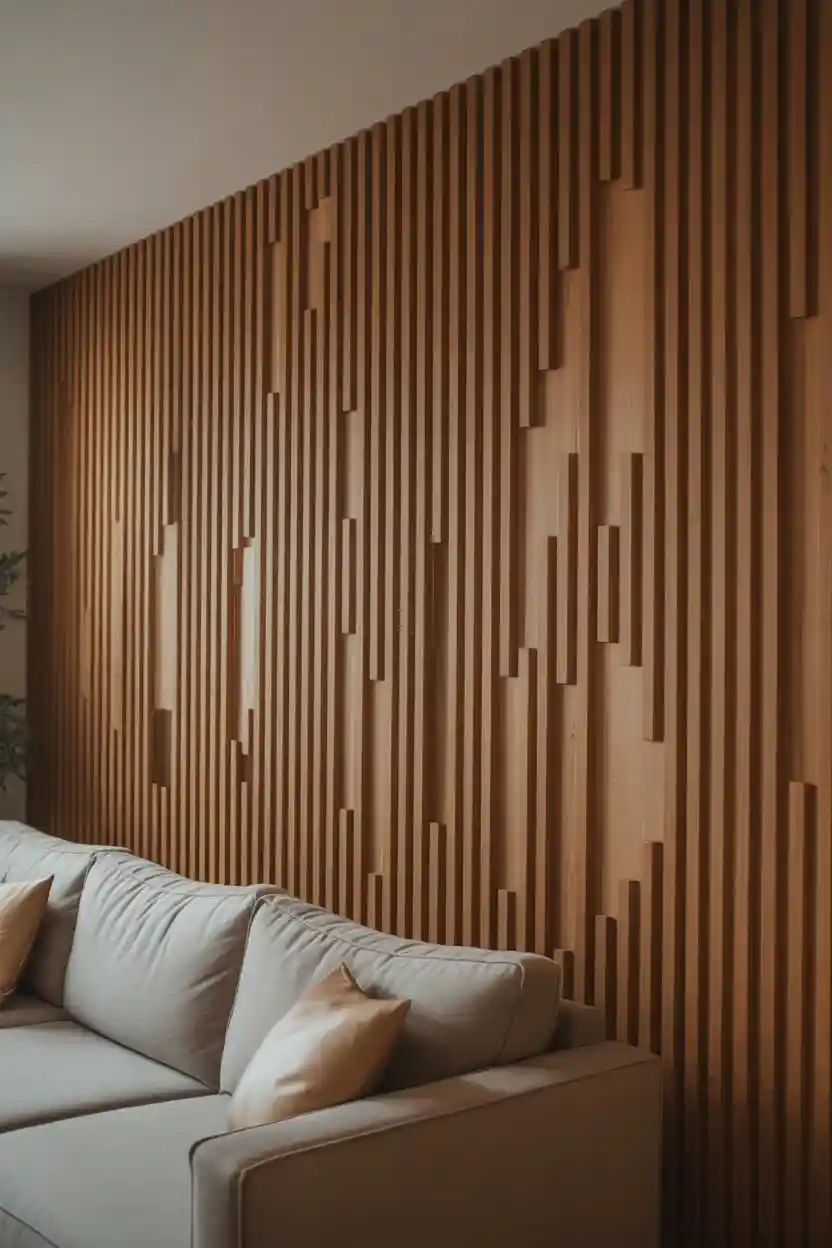
Idea 2: 3D Wooden Slat Accent Wall
Rip 1×2 pine into slats (or buy pre-cut), space them 1/2 inch apart on horizontal battens, and mount the whole assembly as one unit — far easier than attaching 30 slats to the wall individually. Stain alternating slats in two tones for rhythm. Add an LED strip behind the top batten and the slats glow from within at night. A 4×8-foot feature wall takes a weekend and roughly $80 in lumber.
Idea 3: Sculpted Plaster Wall Texture
Trowel joint compound onto the wall in sweeping arcs with a wide putty knife, building ridges 1/4 to 1/2 inch high. Work in 3-foot sections — compound skins over in about 30 minutes. Let it cure 24 hours, sand the sharp edges lightly, and paint with matte paint (gloss shows every flaw). This is permanent, so it’s for walls you own; renters should build the texture on a plywood panel instead.

Idea 4: 3D Butterfly Wall Arrangement
Cut butterflies from cardstock with a craft punch or buy pre-cut packs, fold the wings up at 45 degrees, and mount with a foam dot at the body only — the raised wings are what create the dimension. Arrange 20 to 40 in a flowing wave or spiral, denser at the center, varying sizes from 2 to 5 inches. The whole installation weighs ounces, so sticky tack is plenty.

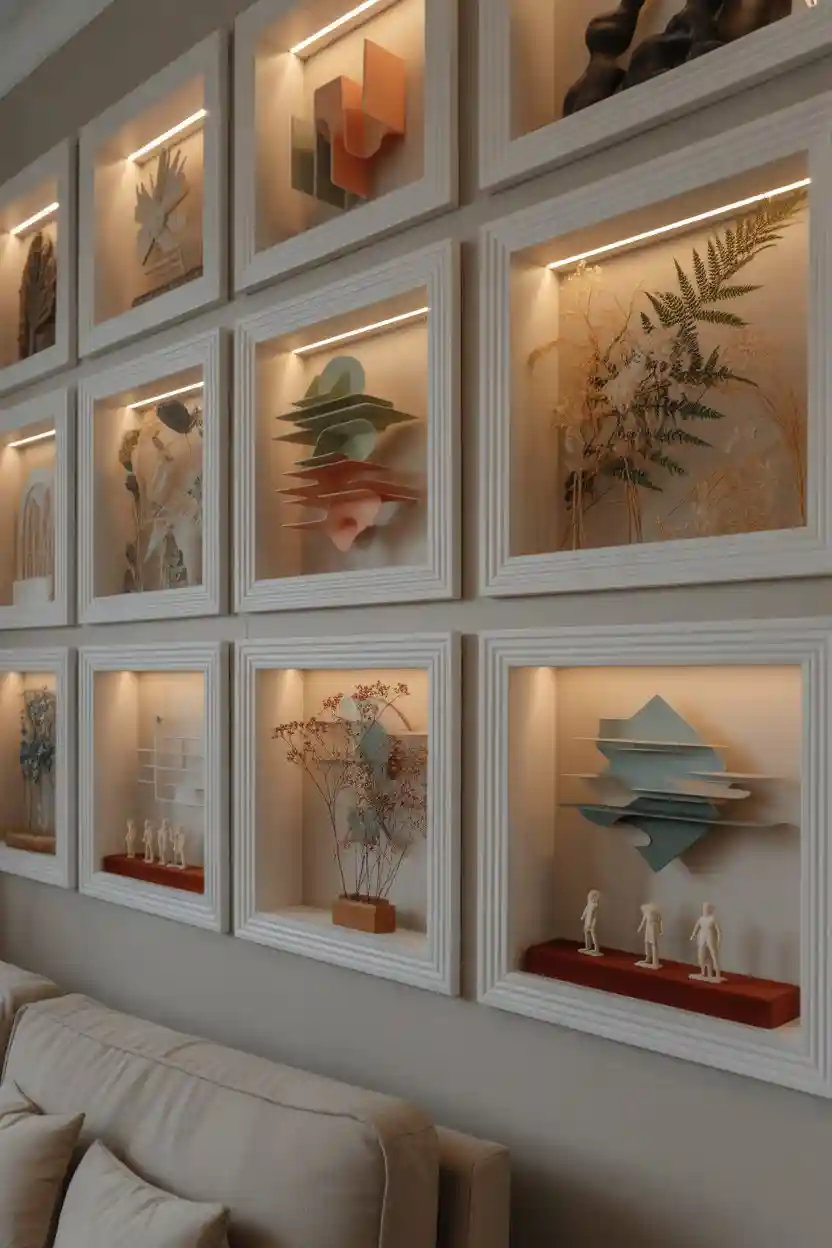
Idea 5: Shadow Box Frame Gallery
Deep frames (2 to 3 inches) turn small objects into scenes: layer paper cutouts, dried flowers, or miniatures at different depths. Keep each box to one color story so the gallery reads as a set. Hang in a grid with 2-inch gaps. The glass keeps dust out, which is the practical advantage over open dimensional pieces.
Idea 6: Foam Board Wave Panels
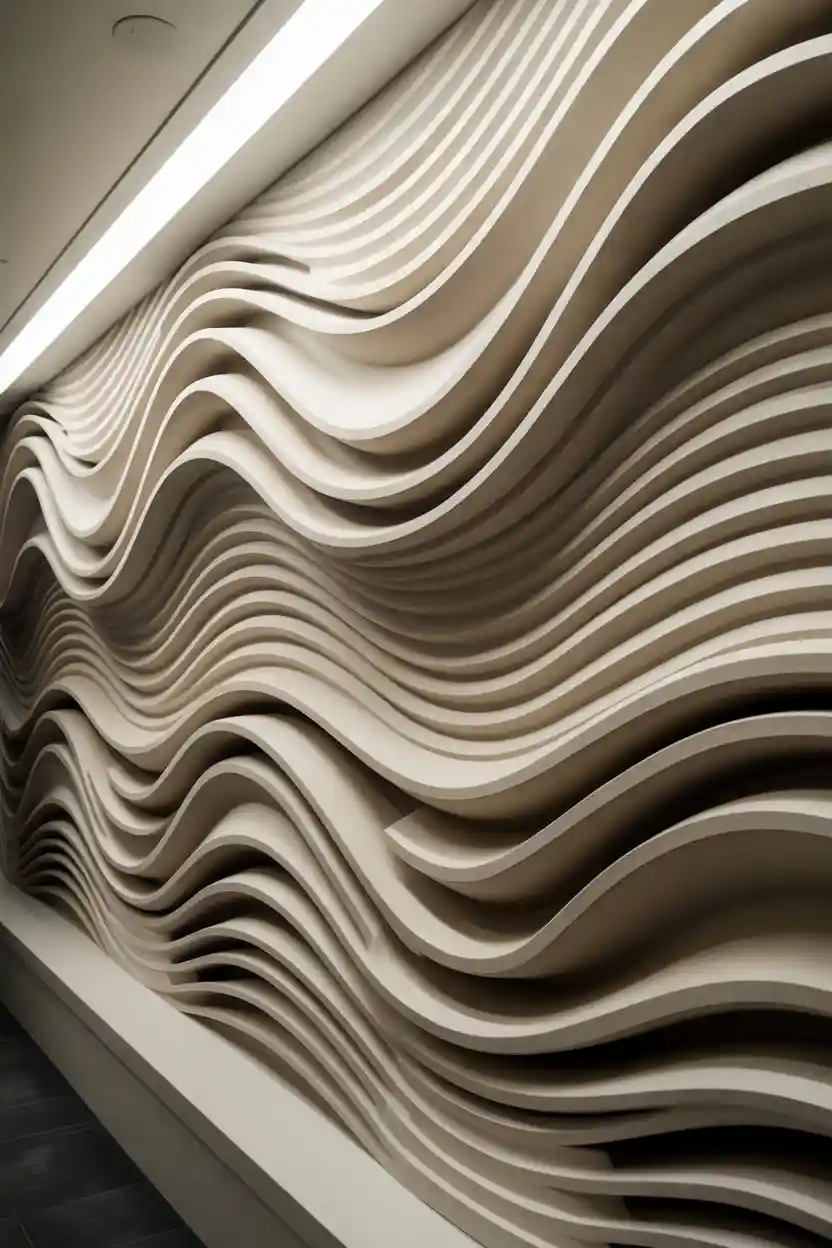
Cut 2-inch-wide curved strips from 1-inch foam board with a snap-blade knife, and mount them edge-on in parallel rows. Paint in a gradient across the rows — the color flow plus the physical waves reads as motion. A 3×4-foot panel needs about 20 strips. Seal the foam with a coat of gesso before painting, or the paint soaks in unevenly.
Idea 7: 3D Canvas Layered Fabric Art
Stretch linen over a canvas frame, then glue or stitch additional fabric shapes on top — petals, arcs, abstract blobs. Mix textures: linen base, velvet shapes, burlap accents. The softness suits bedrooms where hard-edged art feels cold. Build the raised elements over thin batting so they hold a gentle puff.

Idea 8: Wooden Block Mosaic Wall Art
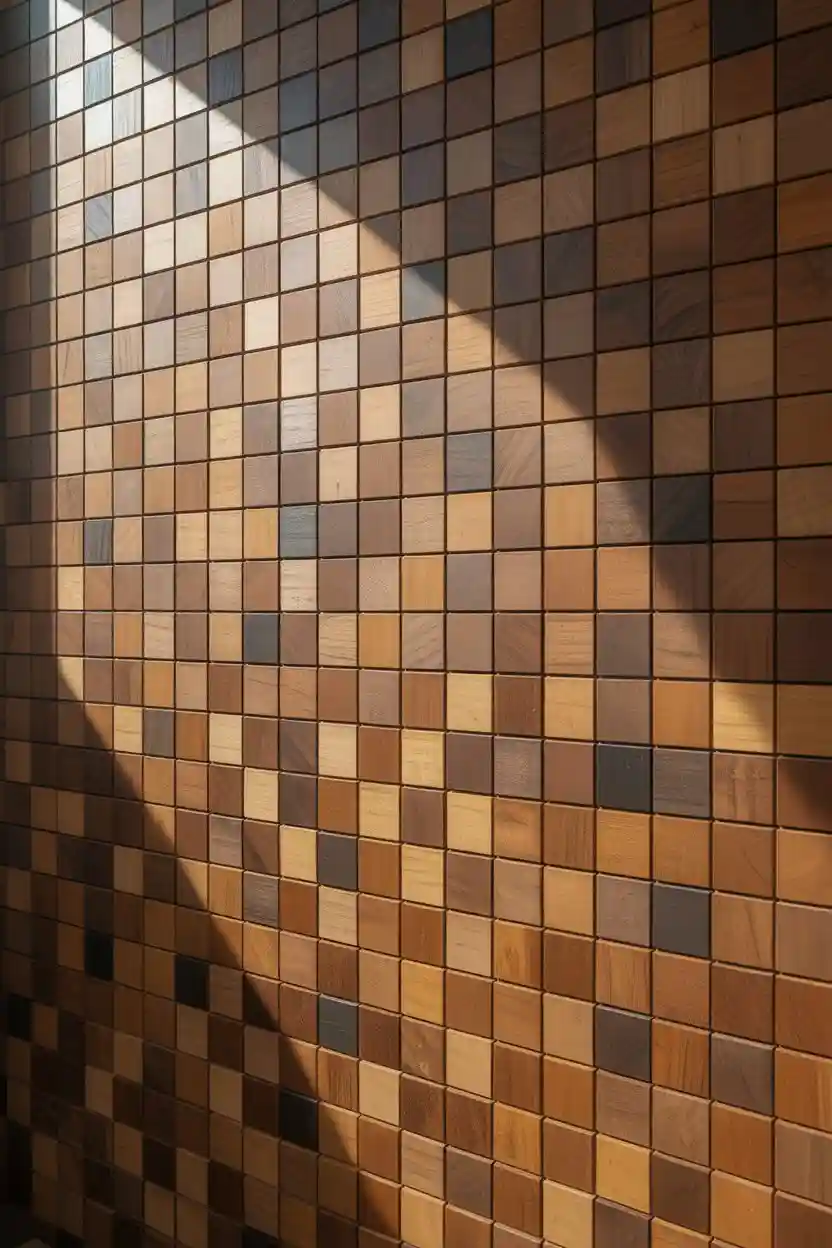
Cut 2×2-inch blocks at depths from 1 to 3 inches, glue to a plywood base in a tight grid, and stain in 3 to 4 tones. The depth variation is the entire effect — keep the pattern random or geometric, but limit the tones or it gets busy. Heads-up on weight: a 2×2-foot mosaic can hit 15+ pounds, so mount into studs with a French cleat.
Idea 9: 3D Metal Wire Wall Sculpture
Bend 12-gauge aluminum wire (easy to shape by hand, holds its form) into continuous-line faces or abstract flows. Mount on small standoff brackets 2 inches off the wall so the shadow becomes part of the piece. One strong side light — a picture light or track head — makes the shadow dramatic; flat overhead lighting kills it.

Idea 10: Layered Paper Floral Wall Art
Cut petals from crepe paper, cup each over a pencil, and layer 8 to 10 per bloom on a backing board. Cluster 5 to 7 blooms of varying sizes (4 to 10 inches). The layered petals cast natural shadows, which is where the depth comes from. Keep the palette to 2 or 3 colors; rainbow paper flowers read as party decor.

Idea 11: 3D Wall Decal Illusion Design
Trompe-l’oeil decals — fake windows, cracks, tunnels — work when the perspective matches the viewer’s eye level, so place them accordingly and don’t mix perspectives on one wall. Align them with DIY furniture below for realism: a fake window above a real console table sells the illusion. This is the easiest rental-friendly option here — peel it off when you move.

Idea 12: Cardboard Layered Cityscape
Cut building silhouettes from corrugated cardboard in 3 to 4 layers, paint each layer a darker shade for atmospheric perspective, and mount with 1-inch spacers between layers. A 3-foot-wide skyline takes an evening. Seal with matte spray so the cardboard edges don’t look raw.

Idea 13: 3D Resin Art Panels
Pour epoxy resin in thin layers (1/8 inch each) into a silicone mold or onto a sealed board, adding pigment, sand, or small objects between pours. Each layer must cure before the next — rushing causes cloudiness. The result is a glass-like depth you can’t get any other way. Work ventilated and wear a respirator; resin fumes are no joke.

Idea 14: Hanging Layered Acrylic Shapes
Cut acrylic sheets into shapes with a scoring knife, and mount on clear standoffs at staggered depths (1, 2, and 3 inches off the wall). Frosted acrylic diffuses light beautifully; colored acrylic casts tinted shadows. Drill slowly with a bit made for plastic, or the sheets crack.

Idea 15: 3D Wall Painting Illusion Art
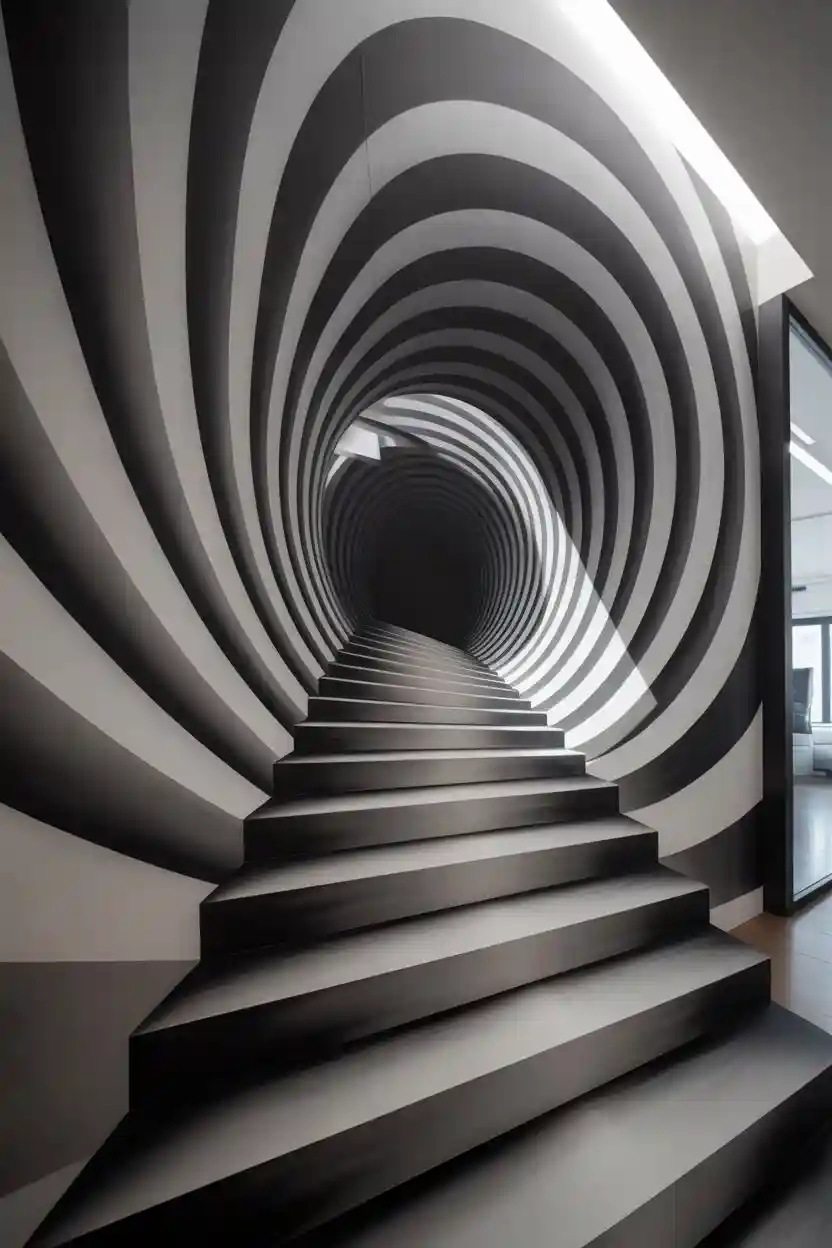
Painted illusions — holes, stairs, floating objects — depend on one consistent imaginary light source: pick it and shade everything accordingly. Sketch in chalk first, then commit with acrylics. Large walls work best; small illusions just look like stickers. Photograph the result from the intended viewing spot to check the effect.
Idea 16: Layered Mirror 3D Wall Art Design
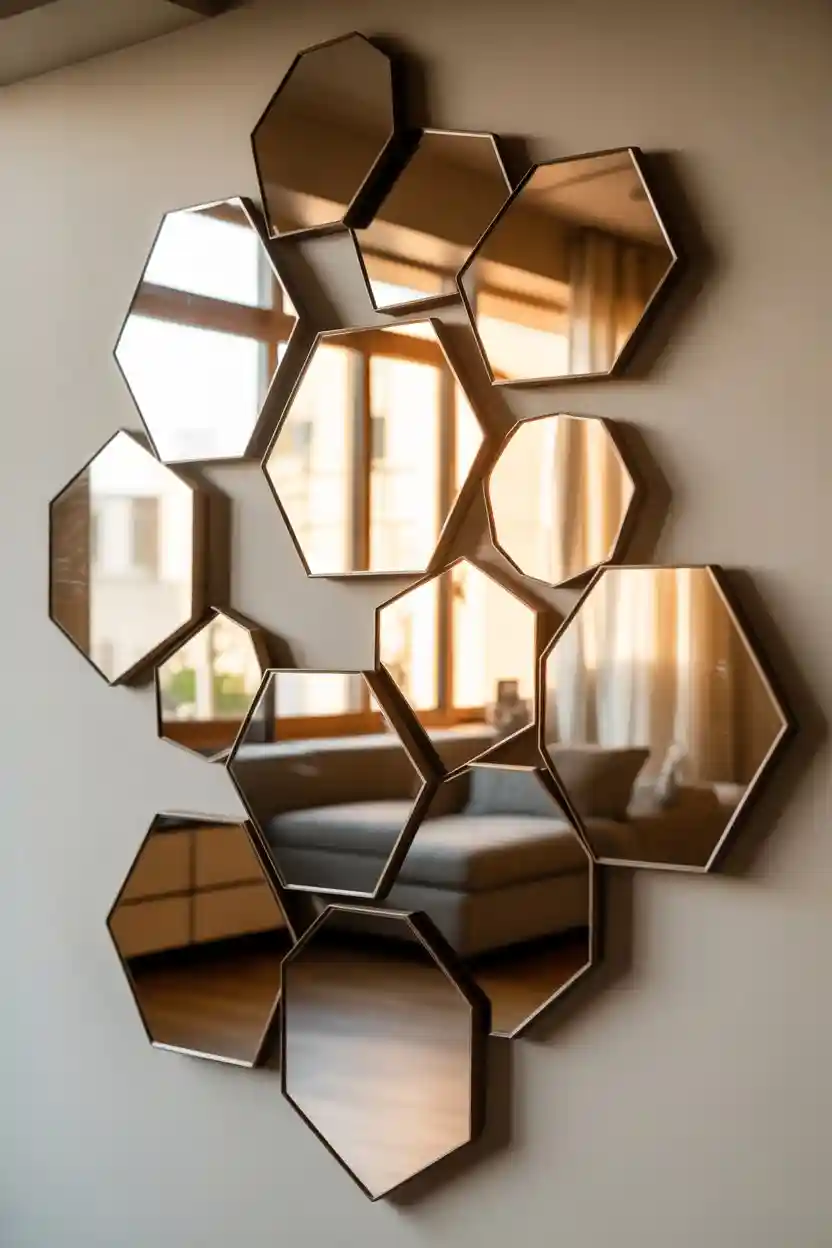
Cut mirror tiles — or acrylic mirror sheets, which are lighter and safer — into hexagons or organic shapes, and mount on spacers at varying depths over a painted backboard. The mirrors bounce light around the room while the depth variation keeps the piece sculptural. In small rooms this doubles as a light-bringer. Handle real mirror carefully; acrylic mirror cuts with a utility knife.
Idea 17: Fabric Wave 3D Wall Decor Installation
Staple or glue heavy linen in deep, regular folds across a plywood panel — the folds need to be substantial (3 to 4 inches deep) to read from across the room. Felt holds sculptural folds even better. Upholstery-weight fabric is the minimum; quilting cotton collapses. The softness makes this a natural fit for bedrooms.

Idea 18: Layered 3D Wall Stickers Composition
Layer wall decals with foam dots between them instead of sticking them flat — the 1/4-inch lift creates real shadows that sell the depth. Offset each layer slightly. It’s the renter’s dimensional art: fully removable, no tools. Combine 2 to 3 coordinating designs rather than one busy set.

Idea 19: Wooden Cut-Out 3D Wall Sculpture
Cut abstract or nature shapes from 1/2-inch plywood with a jigsaw, sand the edges smooth, and mount on 1-inch spacers. Stain each piece differently for contrast, or paint them all one color for a sculptural monochrome. The shadow gap behind each piece is what makes it dimensional — don’t mount flush.
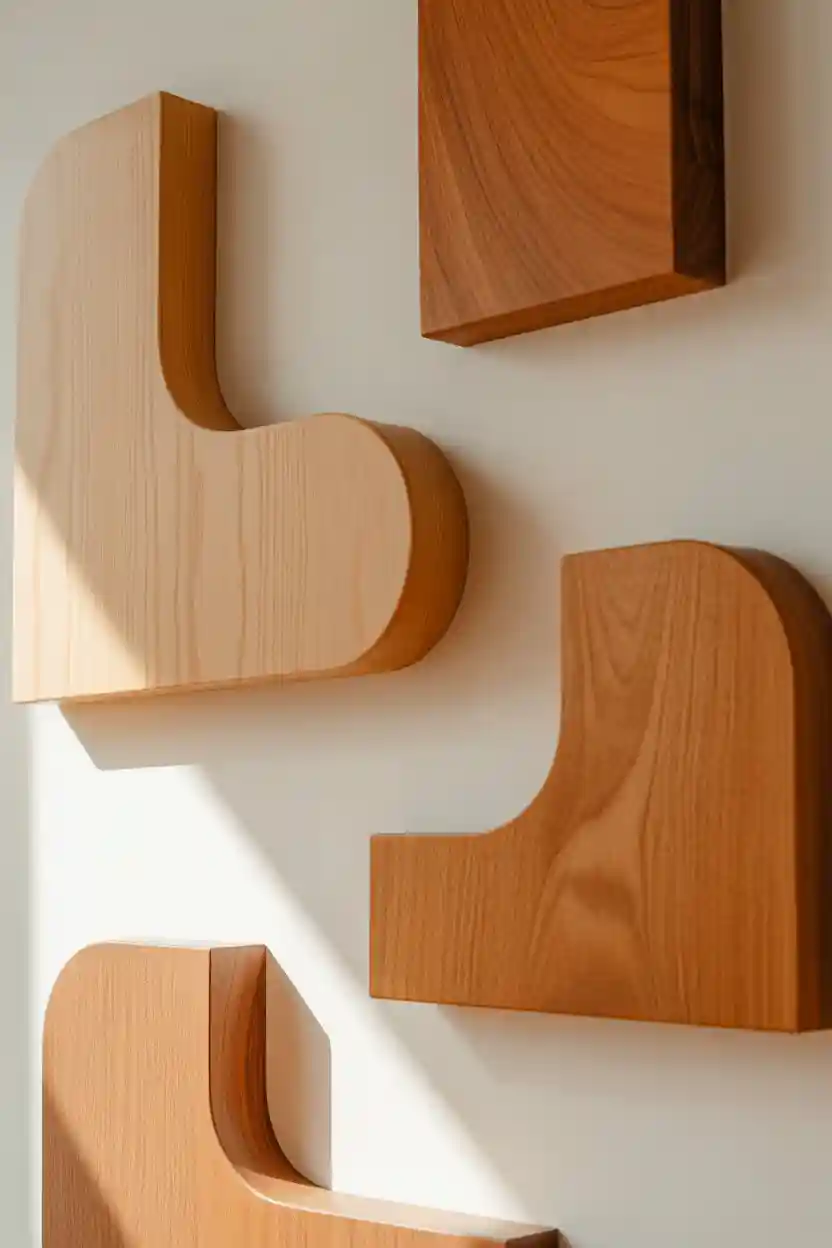
Idea 20: Abstract Foam 3D Wall Art Panels
Arrange foam shapes — balls, cubes, curved cuts — in an abstract composition on a backboard, varying heights from 1 to 4 inches. Paint everything one color (matte white and matte black both work dramatically) to unify the chaos into sculpture. Lightweight enough to hang anywhere; bold enough to anchor a room.

Idea 21: Layered Typography 3D Wall Art
Cut letters from 1/2-inch foam board or MDF, paint, and mount at varying depths — the key word raised highest. A short quote (3 to 5 words) works; a paragraph doesn’t. Keep the font bold and simple — thin serifs get lost at distance. This suits DIY home accessories displays, offices, and nurseries (names).

Idea 22: 3D Brick Effect Wall Painting
Build the brick texture with lightweight faux-brick panels ($30 to $50 per 4×8 sheet) or trowel joint compound through a brick stencil. Shade each “brick” individually — darker mortar lines, lighter brick faces — and the flat surface reads as dimensional. Seal with matte polyurethane; the texture collects dust otherwise.

Idea 23: Nature-Inspired Leaf 3D Wall Art
Cut leaves from heavy paper, fabric, or thin craft metal, shape each with a center fold, and layer them in a flowing pattern on a backboard. Mix 3 to 4 sizes and two tones of green plus one accent. The fold in each leaf is what catches the light and creates the ripple effect across the piece.
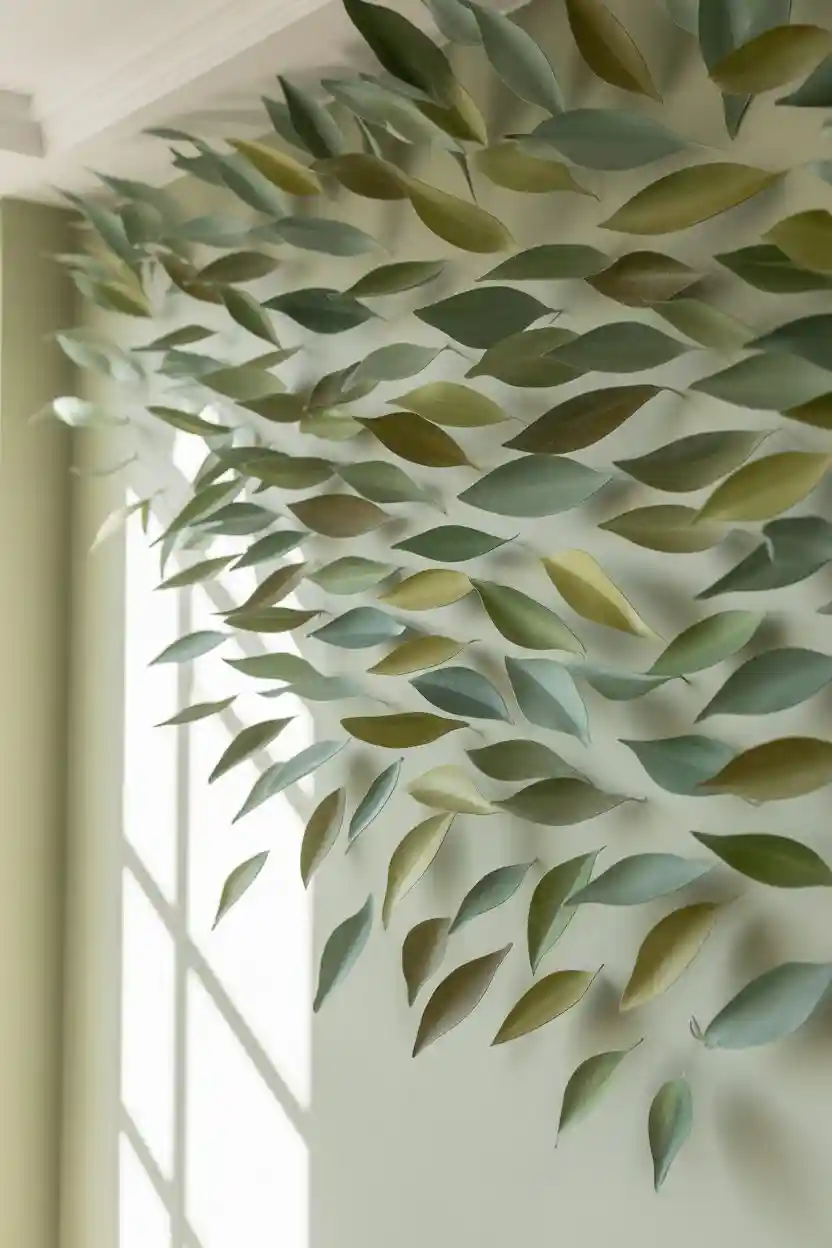
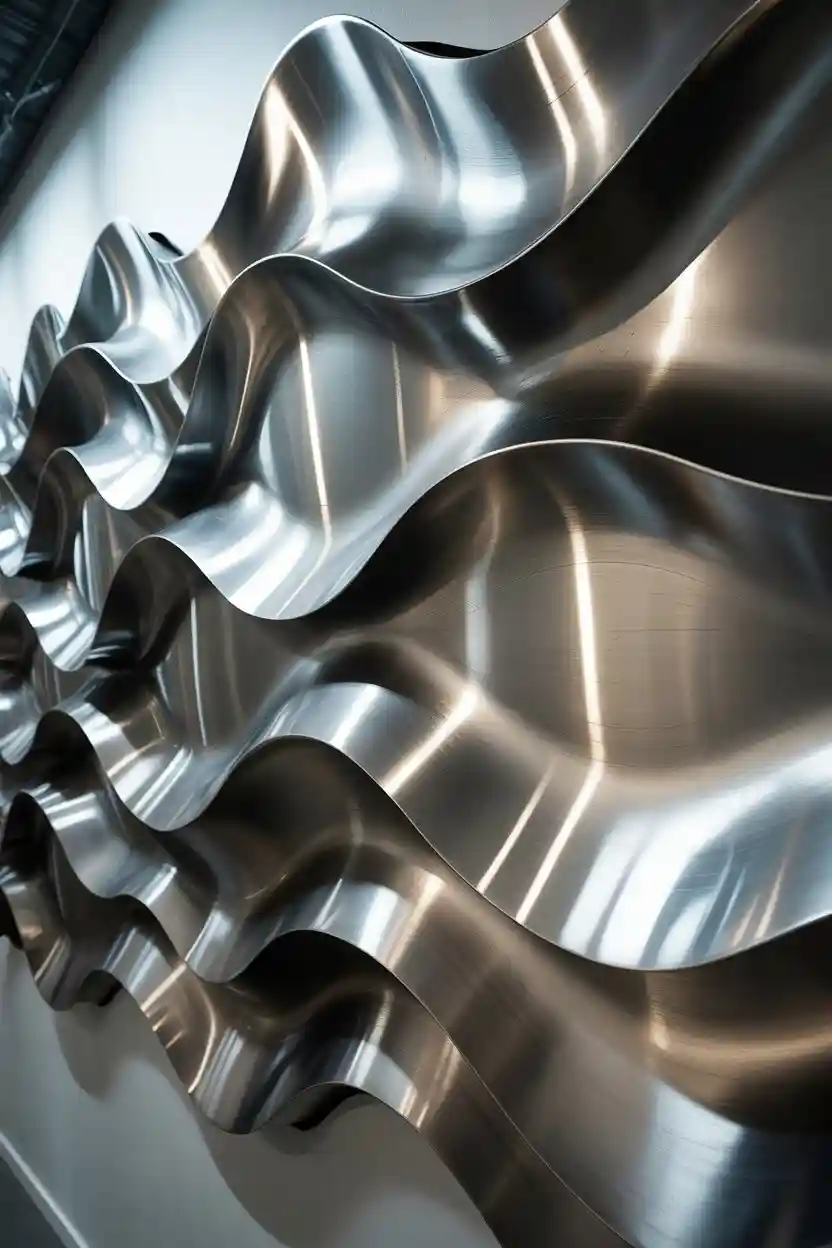
Idea 24: 3D Metal Sheet Wall Art Panels
Cut thin aluminum flashing with tin snips into curves or geometric strips, and mount on standoffs. The metal’s reflectivity means the piece changes with the room’s light all day long. Polish for mirror shine, or heat-patinate for blue-gold tones. Wear gloves — cut metal edges are sharp.
Idea 25: Layered Glass 3D Wall Art Design
Stack glass or acrylic panels with 1/2-inch spacers, etching or painting a design that continues across layers. The transparency creates genuine visual depth — you see through to the layers behind. Keep the design simple; complex images turn to visual noise through multiple layers. Best in bright rooms where light does the work.

Idea 26: Multi-Level 3D Wall Frame Grid
Hang 6 to 9 frames at staggered depths using spacer blocks (1, 2, and 3 inches off the wall). Fill them with textured materials, small objects, or art prints. The depth variation turns a flat gallery wall into a relief. Keep frame styles consistent — the depth is the variety; mismatched frames plus varying depth is chaos.

Idea 27: Sculpted Clay 3D Wall Art Panels
Press air-dry clay into abstract reliefs on 12-inch square boards — coils, carved lines, stamped textures. Let the pieces dry fully (3 to 5 days for thick work) or they’ll crack off the board. Paint with a dark base coat, then dry-brush a lighter color on top; the dry-brushing is what reveals the texture. Group 3 to 4 panels as one installation.

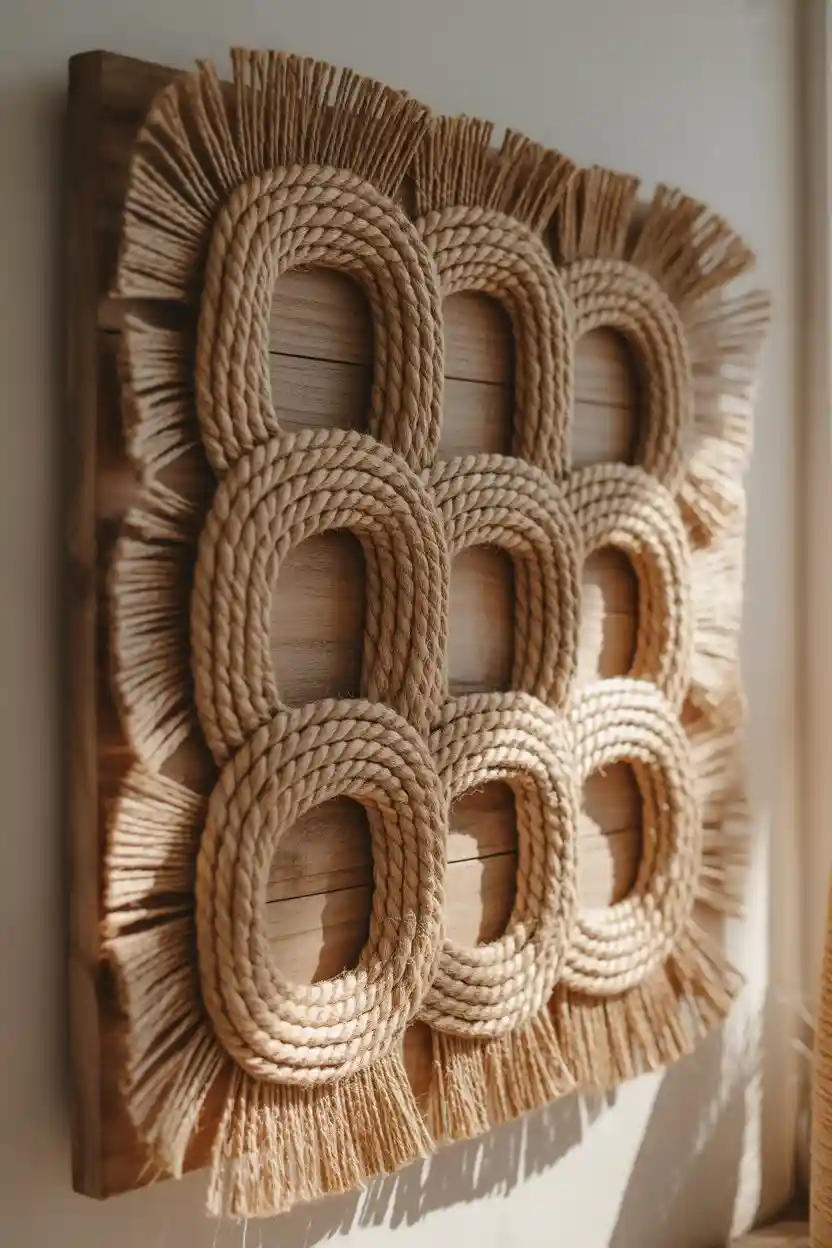
Idea 28: Rope Pattern 3D Wall Art Design
Glue thick cotton rope (1/2-inch) onto a painted board in geometric or flowing patterns. The rope’s texture does the work — paint it all one color for a carved-stone look, or leave it natural for rustic. Secure every 3 to 4 inches with hot glue plus a staple gun; rope is heavy and gravity wins eventually.
Idea 29: Shadow-Focused 3D Light Panel Art
Build panels with cut-out patterns specifically to cast shadows: a pierced screen in front of a wall, lit from the side. The shadow is the artwork — the panel is just the tool. Test with a flashlight before finalizing; moving the light 6 inches changes the whole composition. Dimmable lights let you tune the drama.
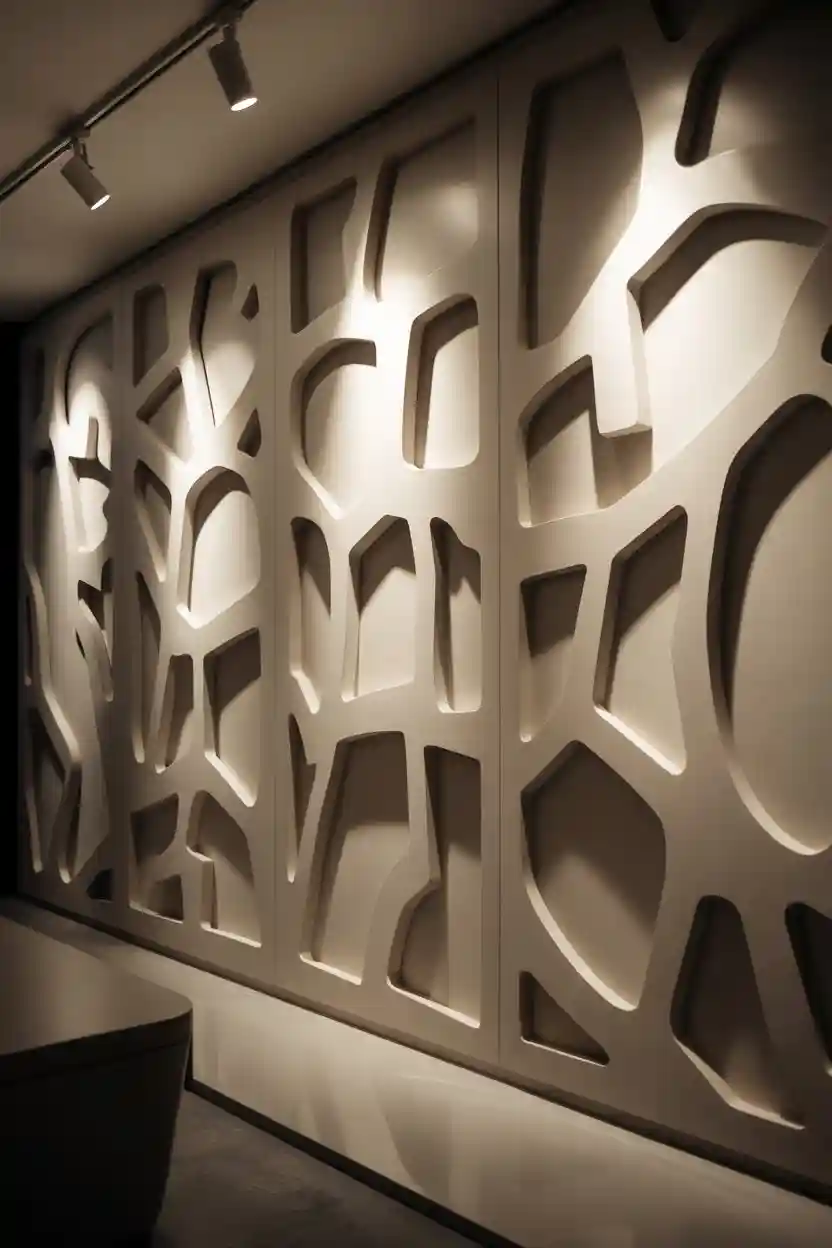
Idea 30: Mixed Media 3D Wall Art Composition
Combine wood, metal, fabric, and paint on one large backboard, letting each material do what it does best: wood for structure, metal for shine, fabric for softness. The risk is clutter — unify with a limited palette (one color plus neutrals) and the mix reads as intentional. Plan the composition on paper first; mixed media is unforgiving to rearrange.