Introduction
There is a particular kind of chaos I love at a fall party: a table covered in warm caramel, bowls of chopped candy, and guests building their own apples exactly the way they like them. I have set up a caramel apple bar more times than I can count, from a tiny kitchen-counter version for my own family to a full dessert-table spread for a neighbourhood Halloween party, and I have learned what actually works through trial and plenty of sticky error. These 15 caramel apple bar ideas cover the whole range: the classic build-your-own station, a mini slice bar that solves the awkward whole-apple problem, and a few themed versions for Halloween and Thanksgiving. Whether you are feeding five people or fifty, you will find a setup here that fits your table.
1. The Classic Build-Your-Own Station
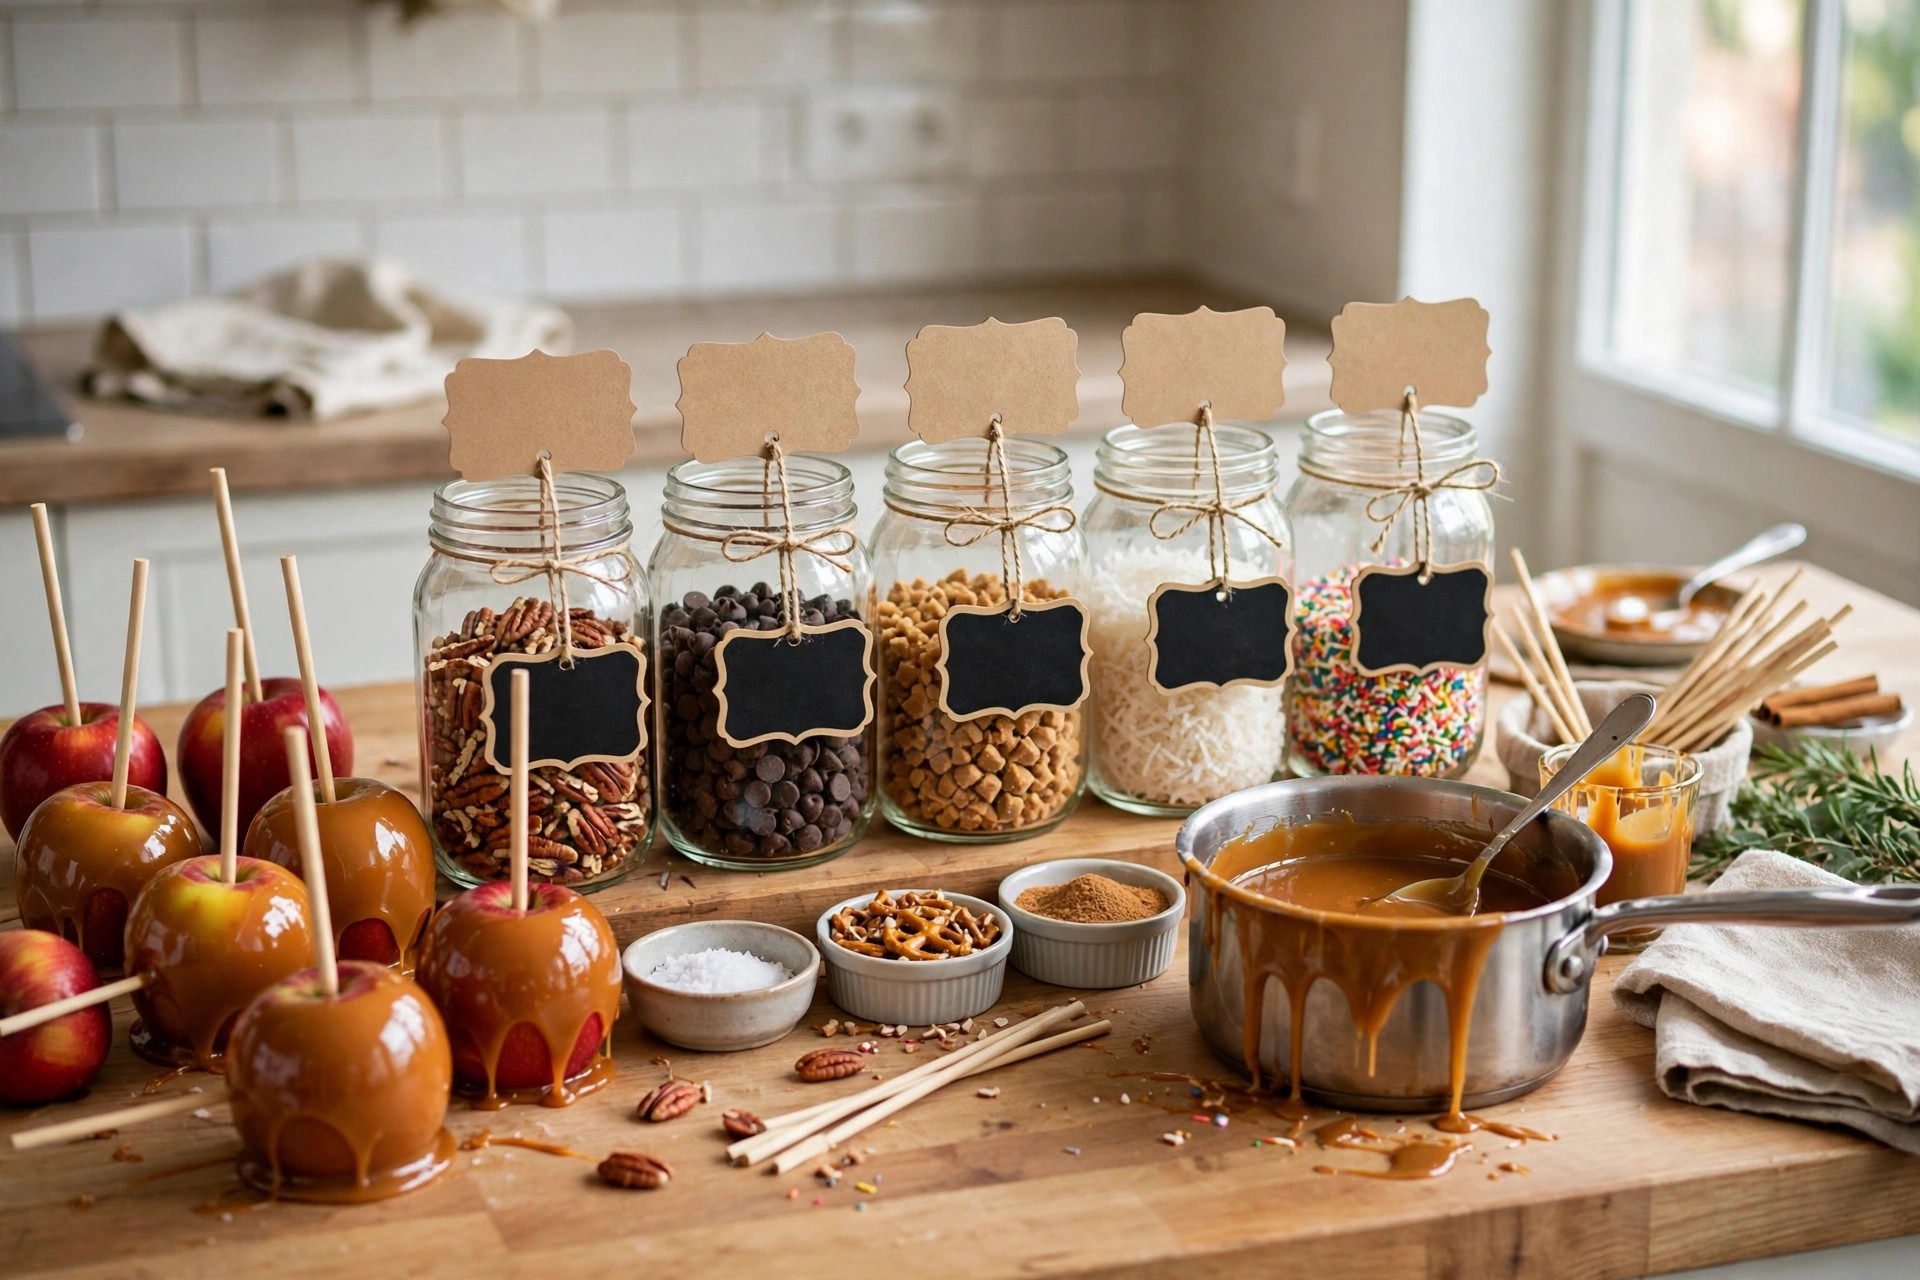
This is the setup I return to every autumn, and it is the simplest one to get right. A pot of warm caramel sits in the middle of the table, surrounded by bowls of toppings, with skewered apples ready for dipping and a tray lined with parchment for the finished ones. I use Granny Smith apples because their tartness balances the sweet caramel, and I always wash and dry them thoroughly first — any wax or water on the skin and the caramel slides right off, which I learned the hard way at my very first bar. Keep the caramel in a slow cooker on the warm setting so it stays dippable for hours without scorching, and set out small spoons for guests who would rather drizzle than dunk. The whole thing looks abundant with surprisingly little effort, and guests genuinely love building their own.
What you need
Firm tart apples, wooden sticks or skewers, a batch of caramel or good store-bought sauce, and a slow cooker to keep it warm.
2. Mini Apple Slice Bar
Whole caramel apples look gorgeous but they are awkward to actually eat, and I watched too many guests struggle with them before I switched to a slice bar. You cut apples into thick wedges, push a small stick or fork into each one, and let guests dip the slices and roll them in toppings. Slices are easier for kids, easier for older guests, and they mean one apple feeds several people instead of one, which stretches your budget nicely. I slice the apples just before guests arrive and toss them in a little lemon water so they stay pale and pretty for hours. A muffin tin makes a brilliant topping holder for a slice bar, keeping twelve toppings tidy in one small footprint. This is now my default setup for any party with children, and honestly for most adult parties too.

3. Caramel Apple Nachos Board
When I want the drama of a dessert table without the fuss of individual dipping, I build a caramel apple nachos board. Thin apple slices get fanned out over a big wooden board, drizzled generously with warm caramel and melted chocolate, then showered with chopped peanuts, crushed pretzels, mini chocolate chips, and a pinch of flaky sea salt. It takes about fifteen minutes to assemble and it looks like something from a fancy dessert café, which is exactly why it photographs so well. I build it right before serving because the apples soften under the caramel if they sit too long, and I keep extra toppings in small bowls nearby for anyone who wants more. Guests scoop it up with forks or just fingers, and it disappears faster than any whole-apple setup I have ever put out.
4. Churro Cinnamon Sugar Apples
This version is for the cinnamon lovers, and it tastes like a churro met a caramel apple and decided to stay together. Warm caramel-dipped apples get rolled in a cinnamon sugar mix — I use the same ratio as my churro coating, heavy on the cinnamon — and finished with a drizzle of white chocolate. The cinnamon sugar sticks best when the caramel is still slightly tacky, so I roll each apple within a minute or two of dipping, working in small batches rather than dipping everything at once. A little ground nutmeg in the sugar mix adds warmth without overpowering the cinnamon, a trick I picked up from a bakery version I tried in Santa Fe. These are best eaten the same day because the sugar coating softens overnight, but that has never been a problem in my house since they never survive until morning.

5. Chocolate-Dipped Caramel Apples
Adding a chocolate layer takes a caramel apple from classic to confectionery, and it is the version I make when I want the bar to feel a bit special. You dip the apple in caramel first, let it set in the fridge for twenty minutes, then dip it in melted dark or milk chocolate and roll it in toppings while the chocolate is still wet. Ghirardelli melting wafers are my go-to because they melt smoothly and set with a proper snap, unlike some chocolate chips that stay soft. The double layer makes the apple heavier, so push the stick in deep — at least halfway — or it will wobble and fall off, which happened to me in front of guests once and I have never forgotten it. These look stunning arranged on a cake stand, and they make brilliant edible favours wrapped in cellophane.
How I styled it
I arrange chocolate-dipped apples on a white cake stand with a few scattered autumn leaves for colour, no extra decoration needed.
6. Fall Harvest Orchard Bar
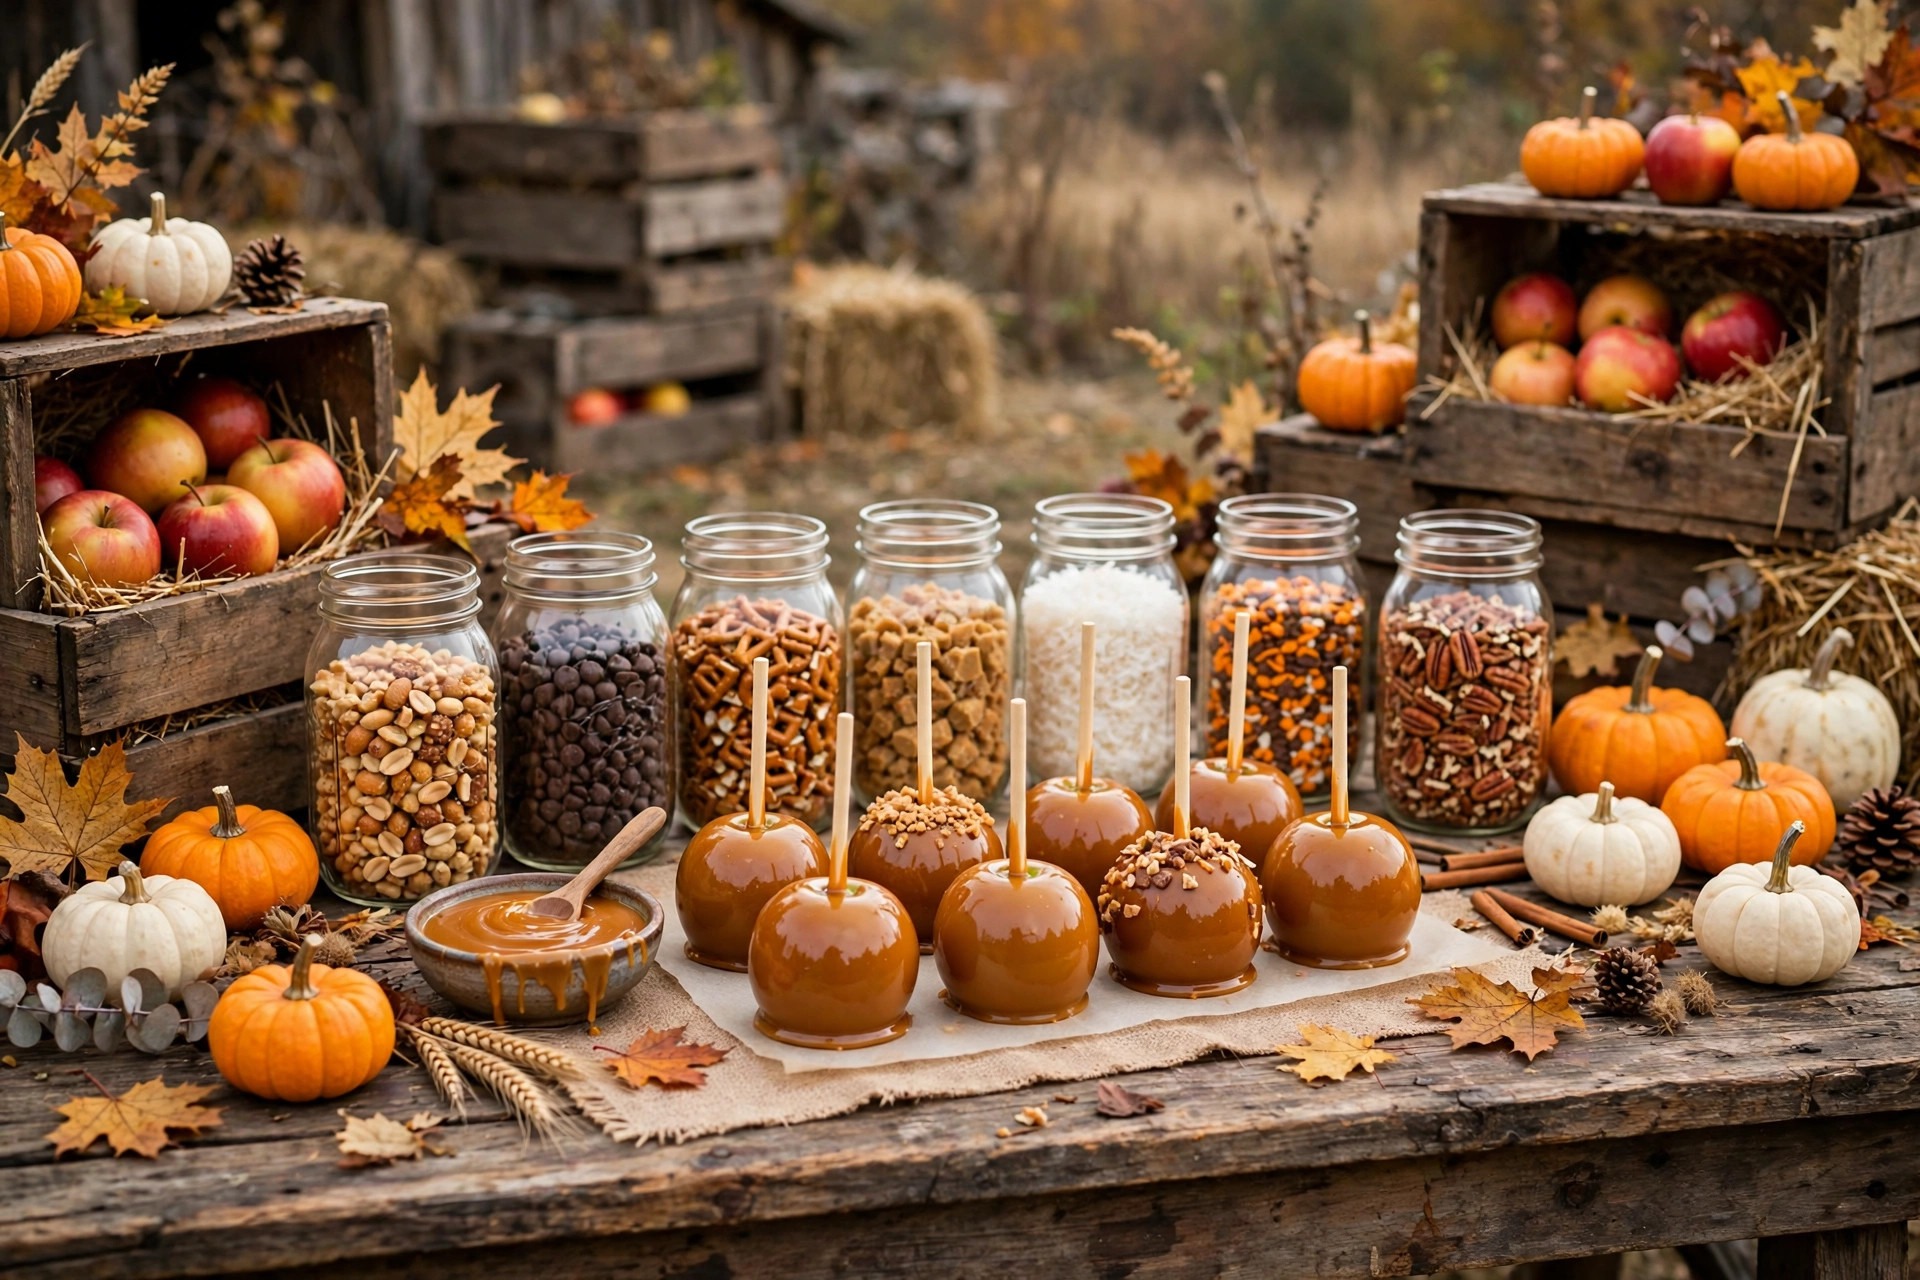
This is the version I set up when the table itself is part of the decoration, all warm harvest colours and natural textures. A wooden crate holds the apples, dried corn stalks lean against the table edge, mini pumpkins dot the corners, and the toppings sit in little galvanised buckets and mason jars. I add apple cider doughnuts and a jug of warm spiced cider alongside, because guests who have had their fill of caramel apples still want something sweet to nibble. The topping selection leans autumnal too: chopped pecans, crushed gingersnaps, dried cranberries, and a cinnamon-spiced caramel. It takes a bit more setup time than a plain bar, but the atmosphere it creates is worth it, and it pairs beautifully with a fall baking spread for a full harvest party. My neighbours still talk about the year I went all out with this one.
7. Kid-Friendly Apple Bar
Setting up a caramel apple bar for children needs a different approach, and I learned most of this by watching my own kids at parties. Small apple slices instead of whole apples, sticks that are short and sturdy, toppings in bright colours, and a strict rule that the caramel pot stays on the adult side of the table. The topping selection matters more than the apples here: rainbow sprinkles, mini marshmallows, crushed Oreo cookies, colourful cereal, and gummy bears beat any gourmet topping with this crowd, every single time. I put the toppings in small cups rather than big bowls so each child gets their own portion and the great sprinkle war of 2023 does not repeat itself. A roll of paper towels within arm’s reach is essential, because sticky hands are guaranteed. The kids remember this bar long after the party ends, which is the whole point.

8. Gourmet Toppings: Pistachio, Sea Salt, and Toffee
For an adult gathering I like to push the toppings beyond the usual candy, and this gourmet selection is the one that gets the most compliments. Chopped salted pistachios, crushed toffee bits, flaky Maldon sea salt, toasted coconut flakes, freeze-dried raspberries, and a dark chocolate drizzle turn a simple caramel apple into something that tastes like it came from a chocolatier. I buy the pistachios already shelled and salted because shelling them yourself for a party is a special kind of madness. The sea salt is the detail that matters most — a tiny pinch over the caramel before it sets makes every other flavour pop, and guests always ask what the secret is. Arrange the gourmet toppings in small elegant bowls with little spoons, and suddenly a casual apple bar feels like a tasting menu. It is my favourite version for a dinner party dessert.
9. Caramel Apple Cheesecake Bites
These little bites are the fanciest thing on this list and the easiest to eat standing up, which makes them perfect for a cocktail-style gathering. Small apple slices get a smear of cream cheese frosting, a drizzle of caramel, and a sprinkle of crushed graham crackers, so each bite tastes like caramel apple cheesecake. I pipe the frosting with a zip-top bag with the corner snipped off, which looks far neater than spooning it on, a detail I figured out after a very messy first batch. They need to be assembled close to serving time so the apple slices stay crisp, but you can prep all the components ahead and assemble in about ten minutes. Arrange them on a platter in neat rows and watch them vanish, because guests always take two at a time and then come back for more.

10. Warm Baked Apple Bar
Not everyone wants a cold dipped apple, and this warm baked version is my answer for chilly evenings when guests want something cosy. Apple halves get cored, filled with a brown sugar and cinnamon butter mixture, baked until tender, and then set out with warm caramel sauce and toppings for spooning over the top. The kitchen smells incredible while they bake, and the warm apples feel like a proper dessert rather than a snack, which suits a sit-down gathering better than a dipping station. I bake them in a muffin tin so they hold their shape and are easy to serve, a trick that also stops them tipping over on a platter. Vanilla ice cream on the side is, in my opinion, essential, and the whole setup works beautifully next to a hot chocolate bar on a cold night. This is the version I make for my own family on the first properly cold weekend of autumn.

11. Halloween Spooky Apple Bar
Halloween is when my caramel apple bar gets its full dramatic makeover, and it is the version my neighbours photograph most. Black and orange are the colours: black sprinkles, orange sanding sugar, candy eyeballs pressed into the caramel before it sets, and a few apples dipped in green-tinted white chocolate for a suitably eerie effect. I add gummy worms draped over the finished apples and label the toppings with little spooky signs, which the kids love reading out loud. Dry ice in a bowl of water under the table (kept well away from little hands) gives the whole setup a foggy, haunted feel for about twenty minutes, which is exactly long enough for the wow moment. It is a bit of theatre, honestly, but Halloween deserves theatre, and the apples themselves still taste wonderful underneath all the spookiness. Pair it with a homemade monkey bread for a dessert table that covers every sweet tooth.
12. Thanksgiving Dessert Table Bar

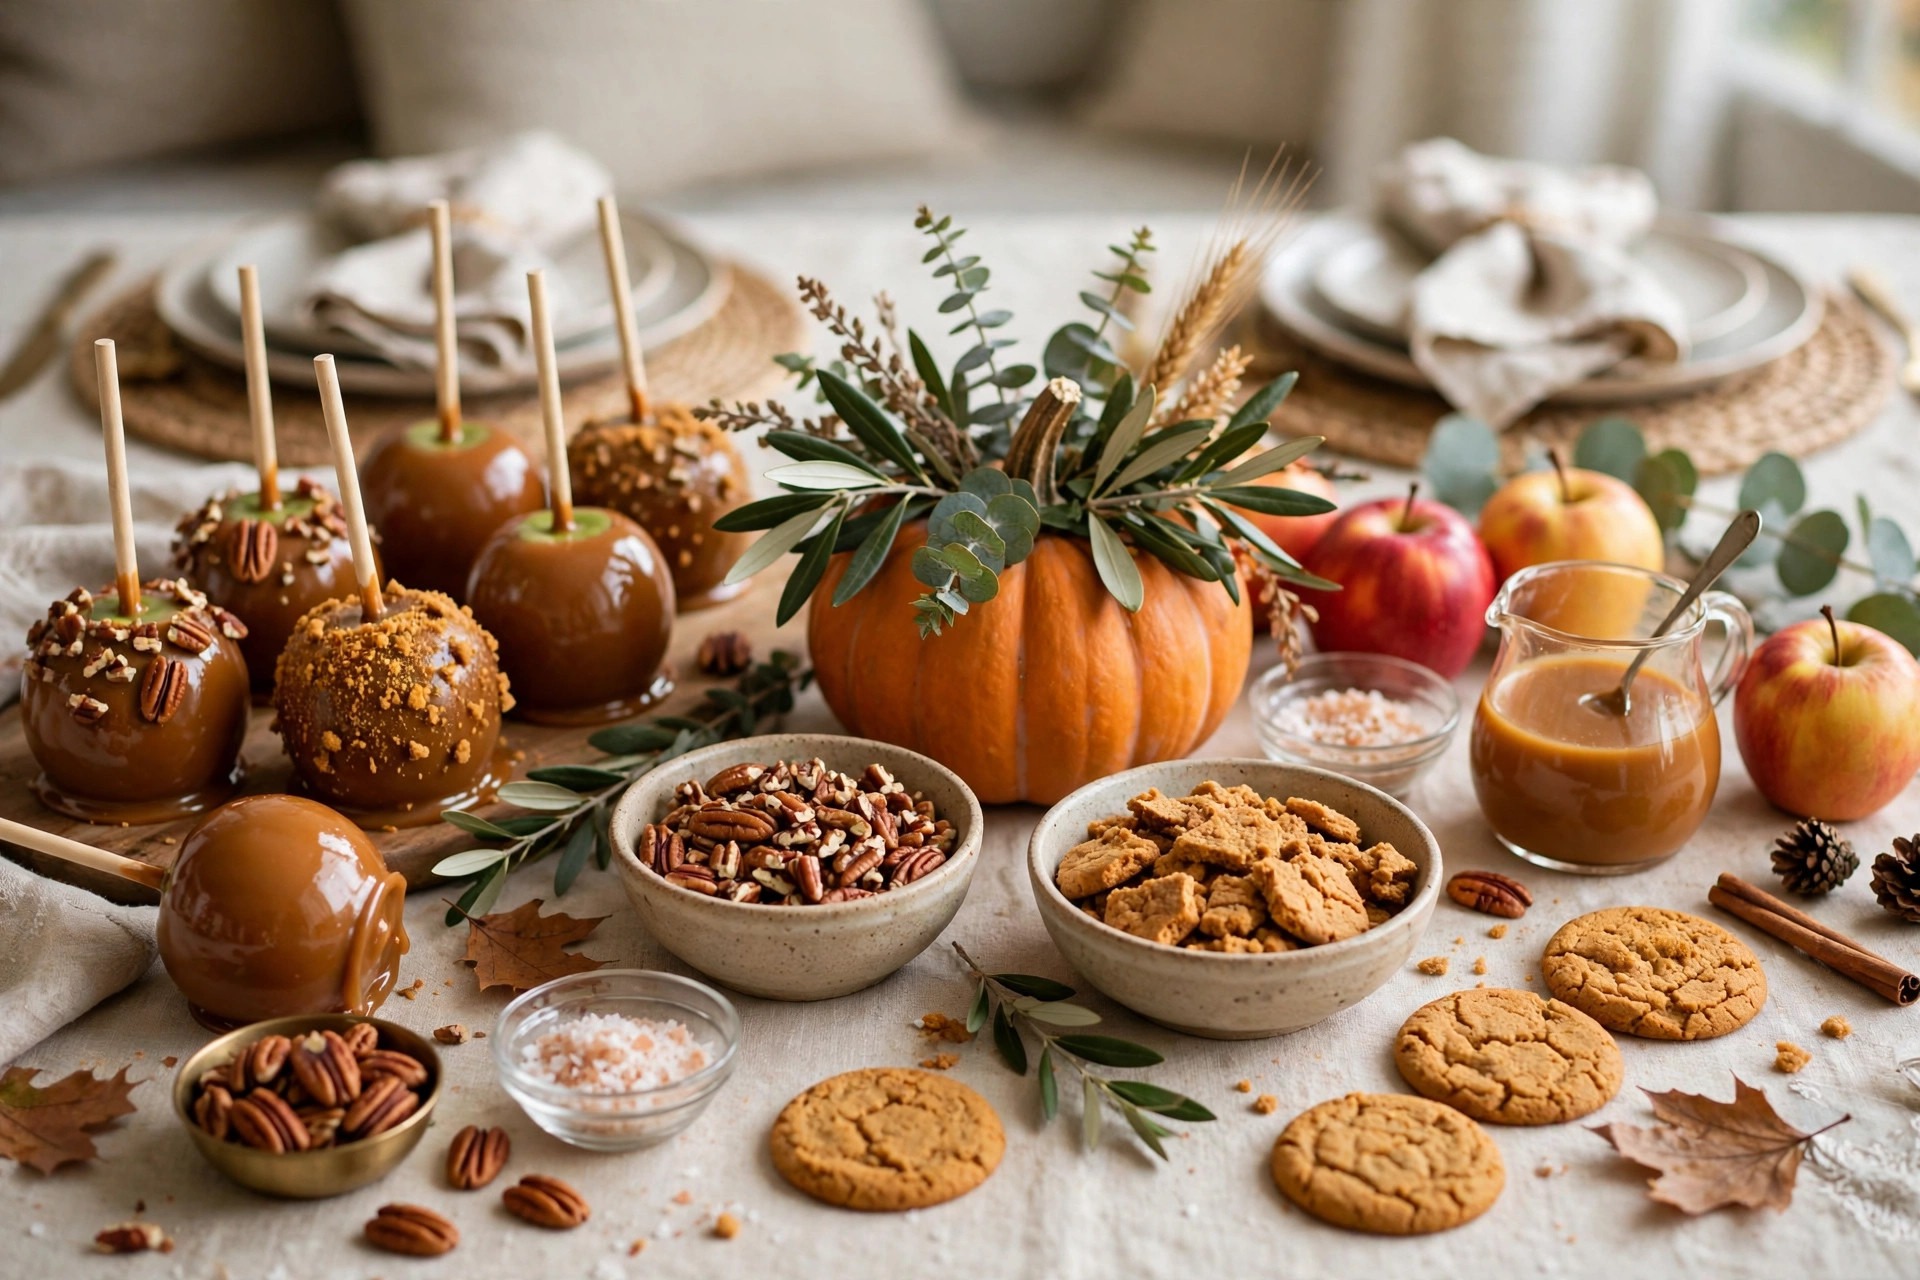
Thanksgiving dessert tables are usually all pie, and a caramel apple bar breaks up the routine in the best way. I set it up after the main meal, when guests are wandering and grazing, with a smaller selection of toppings so it does not compete with the pies: chopped pecans, crushed gingersnaps, sea salt, and a bourbon-spiked caramel for the adults. The bourbon caramel is the detail guests ask about most — just a splash stirred into the warm caramel, enough for flavour and not enough to matter otherwise, though I always label it clearly. Mini apple slices work best here because everyone has already eaten a full meal and nobody wants a whole apple. It sits happily alongside my Thanksgiving dessert recipes and gives the non-pie-lovers something to get excited about, which in my family is at least three people every single year.
13. Dairy-Free Caramel Apple Bar
I started offering a dairy-free version after a friend with a dairy allergy spent a whole party watching everyone else dip apples, and I have kept it on the menu ever since. Coconut milk caramel — made by simmering coconut milk with brown sugar until thick — tastes remarkably like traditional caramel, and it works with the same dipping technique. Dairy-free chocolate and toppings like chopped nuts, coconut flakes, and crushed dairy-free cookies keep the whole bar safe, and I keep the dairy-free pot clearly labelled and on a separate corner of the table to avoid cross-contamination. The coconut caramel takes a little longer to thicken than dairy caramel, so start it early and do not rush it. Guests without allergies eat from this bar too and never notice the difference, which is exactly the point. It is a small kindness that makes a big difference to the person who needs it.
14. Make-Ahead Party Prep Bar
The secret to a stress-free caramel apple bar is doing almost everything the day before, and this is the system I use for every big party now. Apples get washed, dried, and skewered the night before and stored in the fridge; toppings get portioned into containers and labelled; the caramel gets made ahead and reheated gently in the slow cooker on party day. The only job left on the day itself is slicing the apples and setting out the bowls, which takes about twenty minutes. I learned this system after a party where I tried to do everything in one frantic hour and ended up with caramel on my shirt and no time to greet anyone. A checklist on the fridge keeps me honest, and the slow cooker does the heavy lifting on the day. For a no-bake dessert table to go with it, my no-bake dessert recipes are the perfect low-effort companions, and together they make hosting feel easy instead of exhausting.
15. Caramel Apple Bar on a Budget
A caramel apple bar does not need to cost much, and this budget version is proof — I have put one together for under twenty dollars more than once. Store-brand apples, a jar of good caramel sauce instead of homemade, and toppings from the baking aisle rather than the candy aisle keep costs down: crushed pretzels, chopped peanuts, sprinkles, and mini chocolate chips are all cheap and all delicious. I buy toppings in bulk bags and decant them into small bowls, which looks generous even when the quantities are modest. A simple white tablecloth and a few autumn leaves from the garden do the decorating for free. The guests never know what anything cost, because a table full of apples and toppings looks abundant at any price point, and the fun of building your own apple is the same whether the caramel cost three dollars or thirteen.

Styling Tips
- Wash and thoroughly dry your apples before dipping, and remove any wax, or the caramel will slide straight off the skin.
- Keep caramel warm in a slow cooker on the lowest setting so it stays dippable for hours without scorching or thickening.
- Slice apples just before guests arrive and toss them in lemon water to keep them pale and pretty all evening.
- Use small bowls and spoons for toppings so the table stays tidy and guests can control their own portions.
- Line the finished-apple tray with parchment paper so the caramel does not glue everything to the tray.
- Put the caramel pot on the adult side of the table at family parties and keep paper towels close, because sticky hands are guaranteed.
Frequently Asked Questions
How do you set up a caramel apple bar? Start with a table covered in parchment or a washable cloth, since caramel gets everywhere. Place a pot of warm caramel in the centre — a slow cooker on warm works best — surrounded by small bowls of toppings with spoons. Set out washed, dried, skewered apples on one side and a parchment-lined tray for finished apples on the other. Add a few decorations like mini pumpkins or autumn leaves, and you are ready for guests to dip, roll, and build their own.
How do you keep caramel apples from sliding off? The trick is preparation: wash the apples in warm water to remove the wax coating, then dry them completely, because any moisture or wax stops the caramel from gripping. Push the stick in firmly, at least halfway into the apple. Dip in caramel that is warm but not too thin, and let each apple drip for a few seconds before setting it down. Chilling the finished apples for ten minutes helps the caramel set firmly before you add toppings.
What toppings go on a caramel apple bar? The classics are chopped peanuts, sprinkles, crushed Oreos, mini chocolate chips, and toffee bits. For a gourmet bar, add chopped pistachios, flaky sea salt, toasted coconut, crushed pretzels, and freeze-dried raspberries. For kids, rainbow sprinkles, mini marshmallows, gummy bears, and crushed cereal are always the favourites. Offer six to eight toppings for a good spread without overwhelming the table, and include one salty option to balance the sweetness.
How far ahead can you slice apples for a caramel apple bar? You can slice apples up to a day ahead if you store them properly. Toss the slices in a mixture of water and lemon juice, about one tablespoon of lemon juice per cup of water, then seal them in an airtight container in the fridge. They will stay pale and crisp for 24 hours. For the best texture, though, I slice mine the morning of the party, which keeps them at their crunchiest and freshest for guests.
Final Thoughts
My honest advice after years of caramel apple bars is this: keep it simple, keep the caramel warm, and let people build their own. The bar does not need to be perfect — a little dripped caramel and a chaotic topping table are part of the charm, and guests remember the fun of making their own apple far longer than they remember your decorations. Pick the version from this list that fits your occasion, prep what you can the night before, and enjoy watching everyone get gloriously sticky. That messy, happy moment around the table is the whole point.