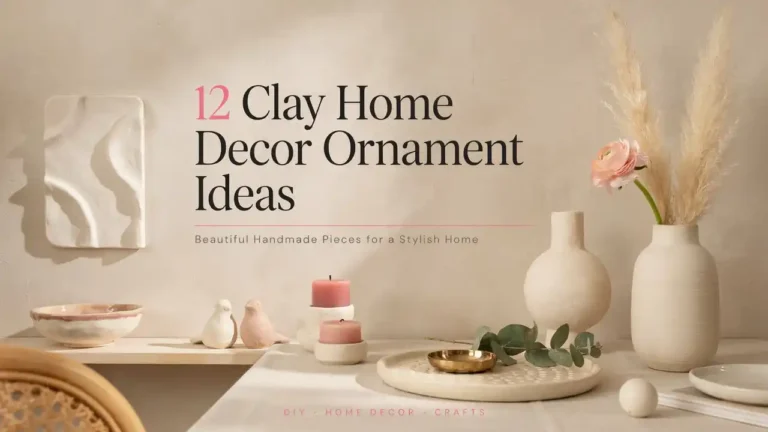
30 Clay Sculpting Ideas for Beginners to Craft Easily
Sculpting is where clay stops being a craft supply and starts being a sketchbook — you think with your hands, and the material answers back instantly. Beginners do best with air-dry or polymer clay and a few basic tools (a wooden modeling set costs under $10), because both forgive mistakes: smooth it, reshape it, try again. These thirty projects build real sculpting skills — proportion, texture, detail — one small, finishable piece at a time.
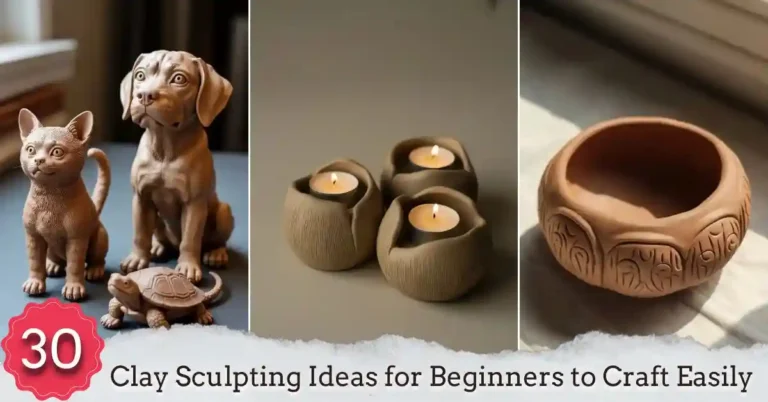
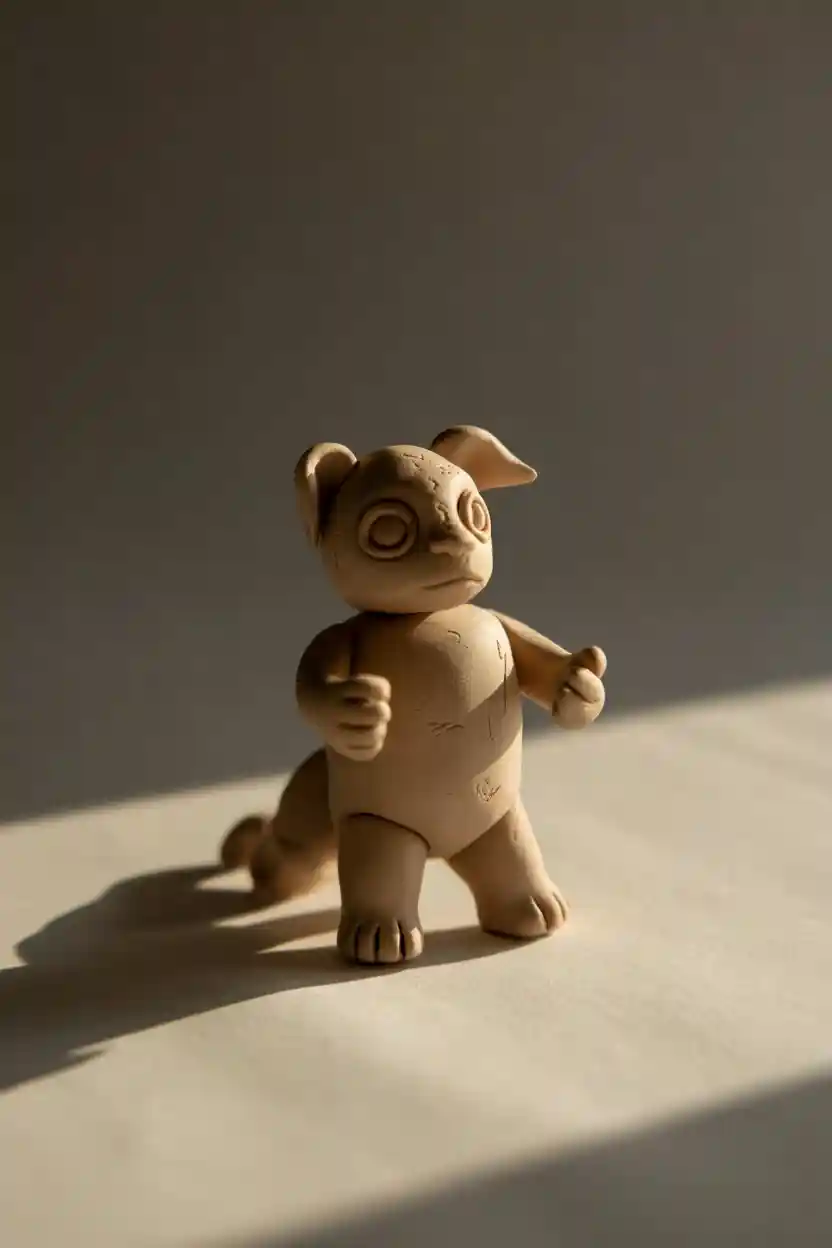
1. Miniature Animal Figurines
Start with cats, dogs, or turtles built from spheres and ovals — ears, tails, and paws are just smaller shapes pressed on. Air-dry clay is ideal here since there’s no baking to interrupt the flow. Get the body proportions believable before adding detail; a well-proportioned blob beats a detailed mess.
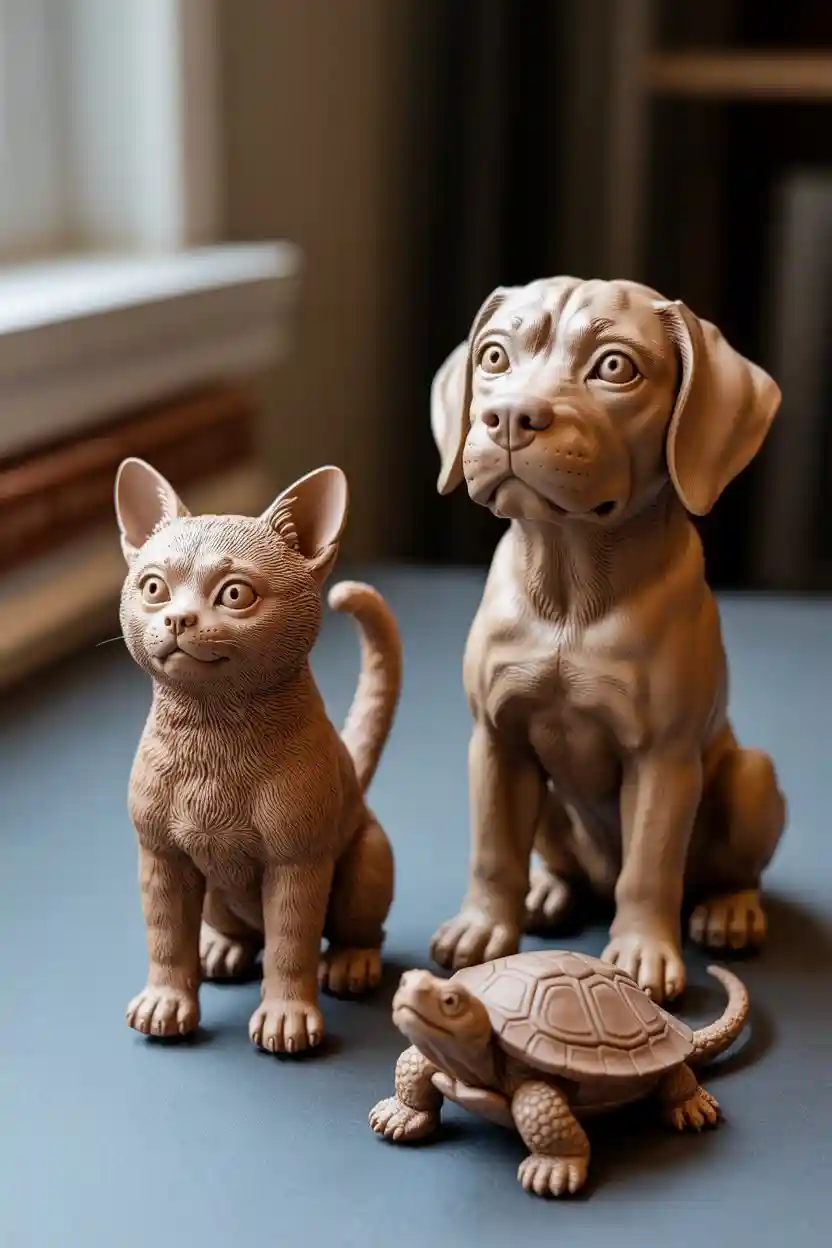
2. Clay Flower Bouquets
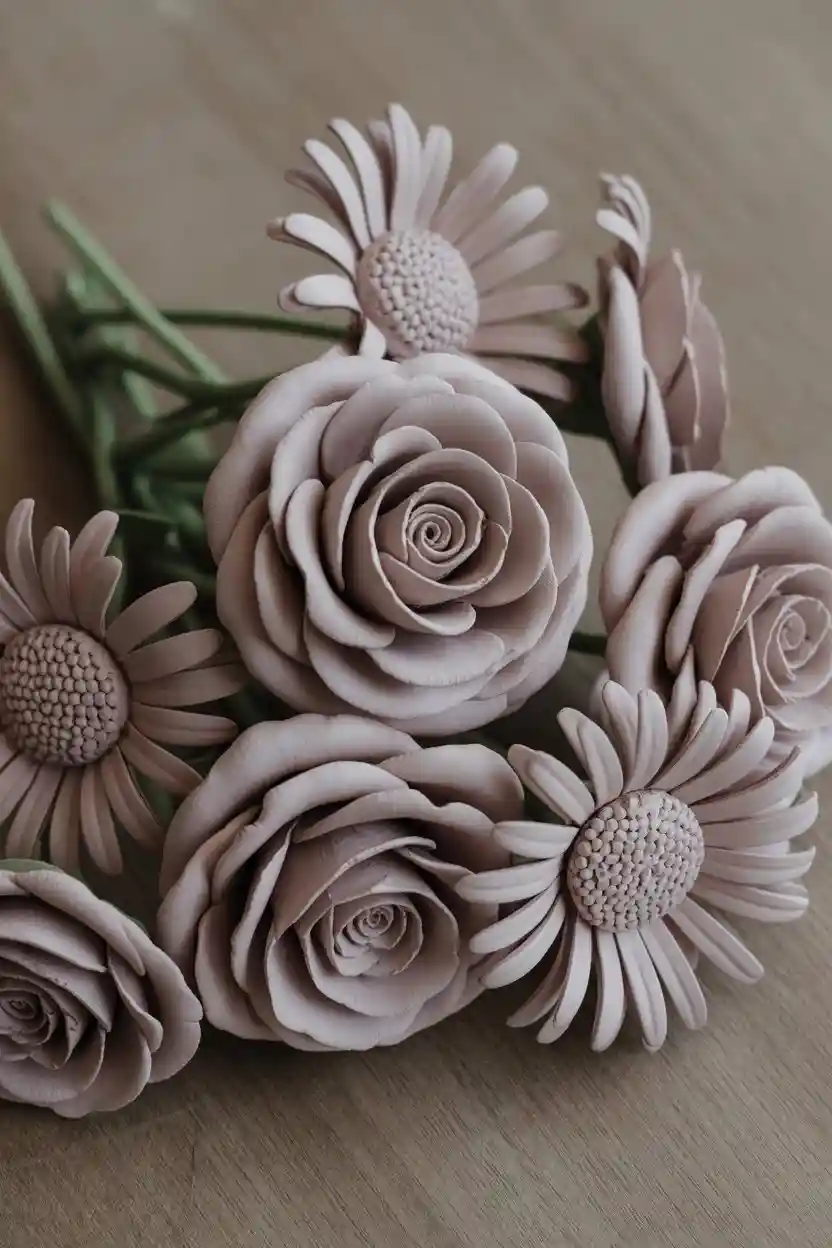
Roses, daisies, tulips — each petal individually shaped and layered around a center. Polymer clay holds the thin petal edges better; a ball tool cups them naturally. It’s fiddly work that pays off fast: a small bouquet makes a convincing centerpiece, and the clay craft techniques transfer to every other project here.
3. Simple Clay Bowls
Press clay into a bowl as a mold, or drape a slab over one — either way, keep walls even at about ¼ inch. Carve a simple pattern while leather-hard, or blend polymer colors for marbling. Bowls teach the core lesson of sculpting: even thickness and patience.

4. Clay Face Sculptures
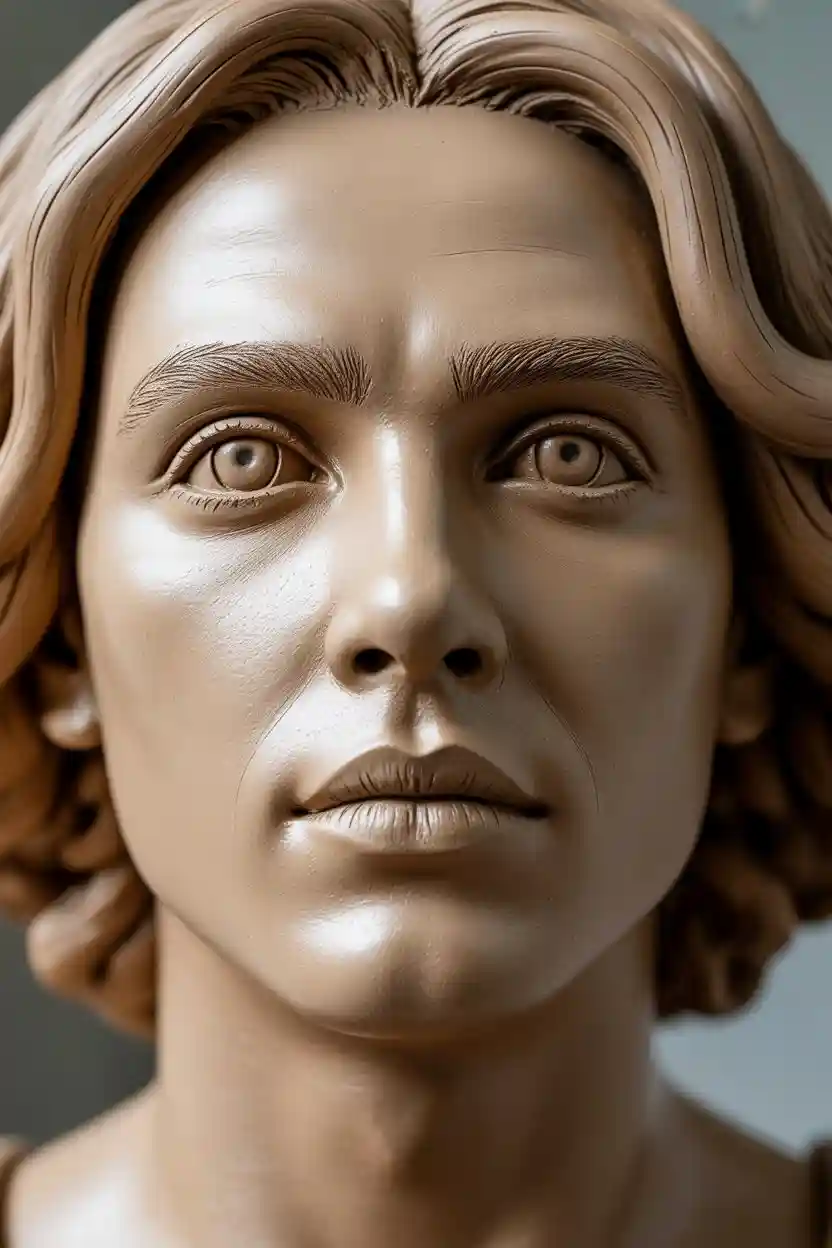
Eyes, nose, mouth — placed on an egg-shaped head, that’s a face. Start stylized (bigger eyes, simpler planes) before attempting realism; the anatomy reveals itself gradually. Air dry clay projects in air-dry clay are perfect practice since there’s no kiln schedule pressuring you.
5. Clay Hand Sculptures
Hands are famously hard, so start with a simple gesture — a relaxed curl, a peace sign — rather than an open palm. Build the palm as a flattened box, add finger coils, and blend the seams. Polymer or epoxy clay holds the fine knuckle detail better than air-dry.

6. Mini Food Sculptures
Cupcakes, fruits, bread rolls — tiny, colorful, and forgiving, since real food is already imperfect. Polymer clay’s saturated colors do half the work; blend shades for realism (a strawberry isn’t one red). They become dollhouse food, keychains, or desk toys.

7. Clay Jewelry Pendants
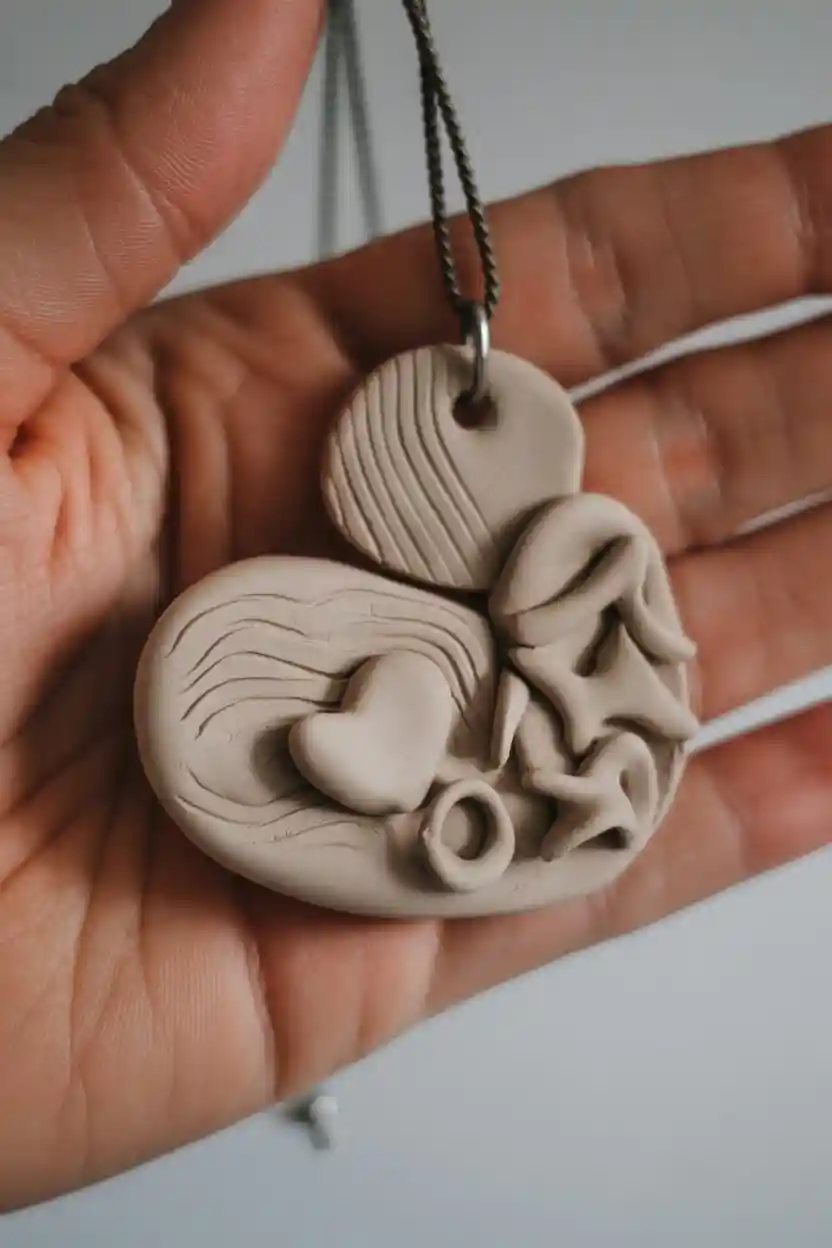
Circles, hearts, stars — stamp, carve, or layer them, then bake and seal. Pendants are functional sculpting: the piece has to look good and survive wearing. Drill or poke the hole before baking; it’s miserable afterward.
8. Clay Keychains
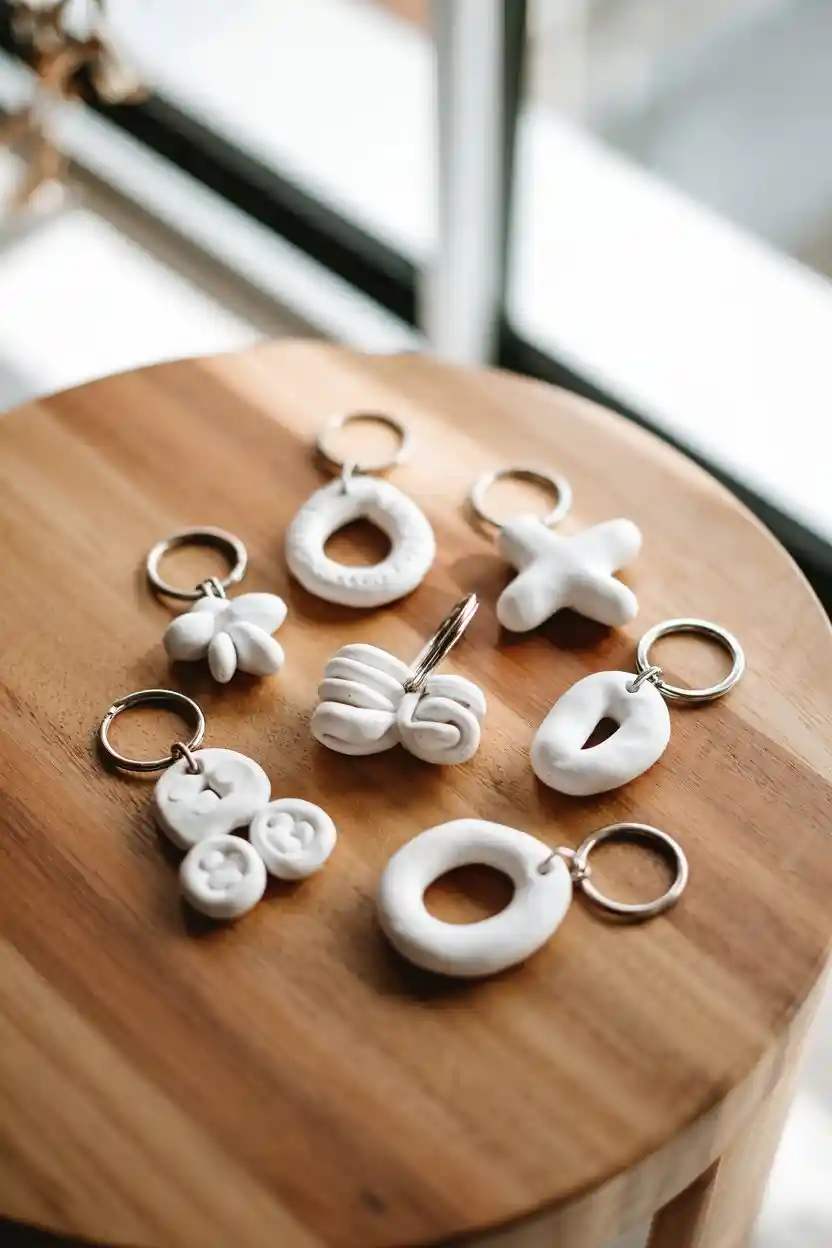
Tiny animals, initials, and abstract shapes on a metal ring — the classic small-scale project. polymer clay ideas techniques apply directly: bake thoroughly, seal well, make the attachment hole oversized. They batch beautifully for gifts and craft fairs.
9. Clay Magnets
Sculpt small and flat-backed: animals, foods, tiny scenes. Glue the magnet on with E6000 after full curing — superglue gets brittle. They’re the lowest-commitment way to practice finishing, since each one takes minutes.

10. Abstract Clay Shapes
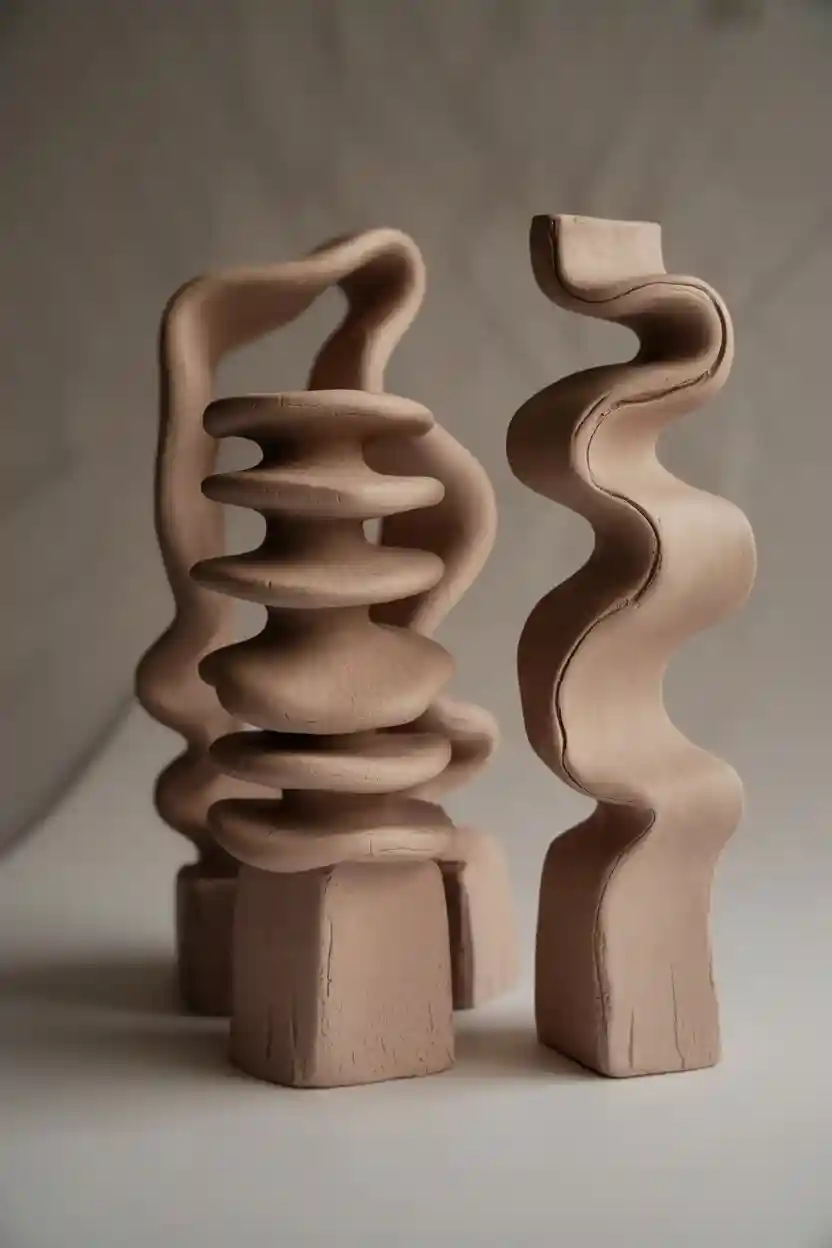
Curves, waves, stacked geometric forms — no reference photo required. Abstract work teaches composition: balance, negative space, how a piece reads from every angle. It’s also the most forgiving sculpting there is; there are no wrong answers, only weak compositions.
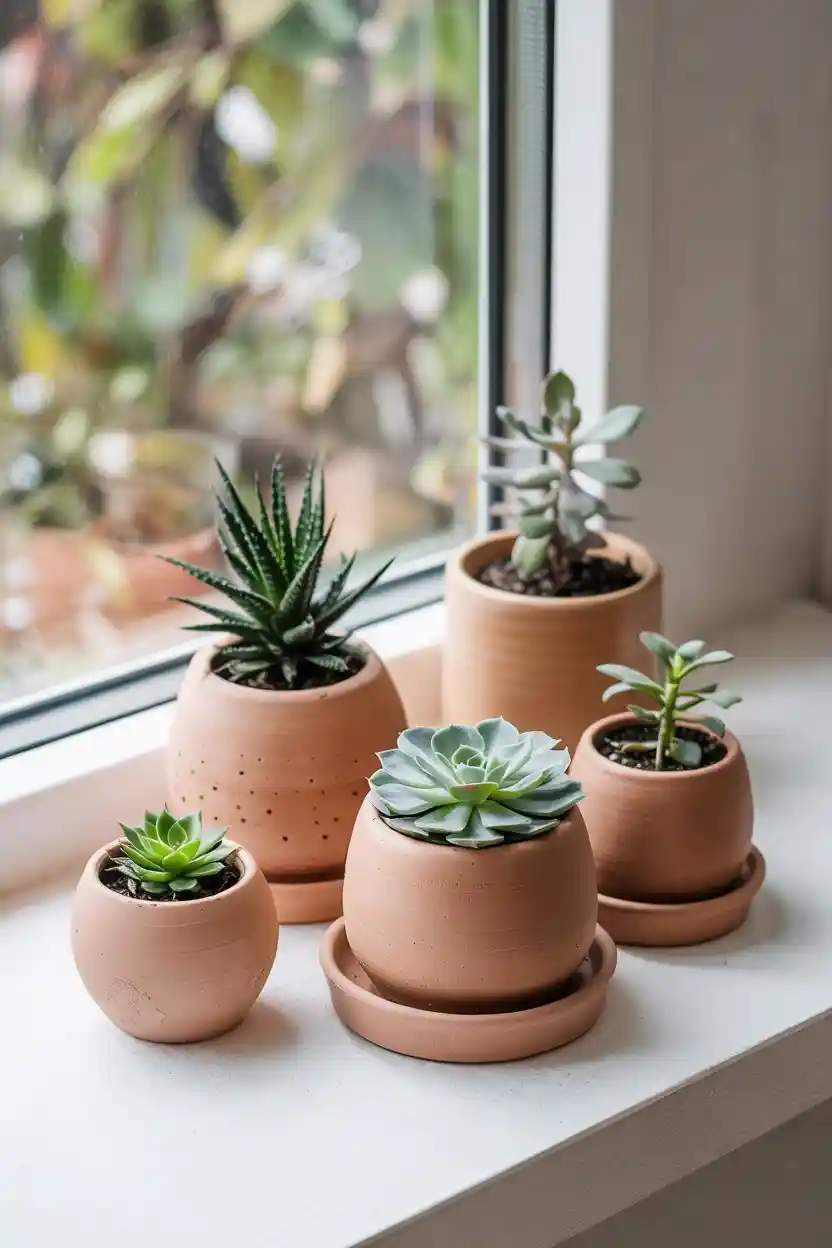
11. Clay Mini Planters
Small pots with character — textured, patterned, or plain. The technical lesson is hollowing: keeping walls even so they dry without cracking. Add drainage holes before drying. Tiny succulents are the classic residents.

12. Clay Bookmark Toppers
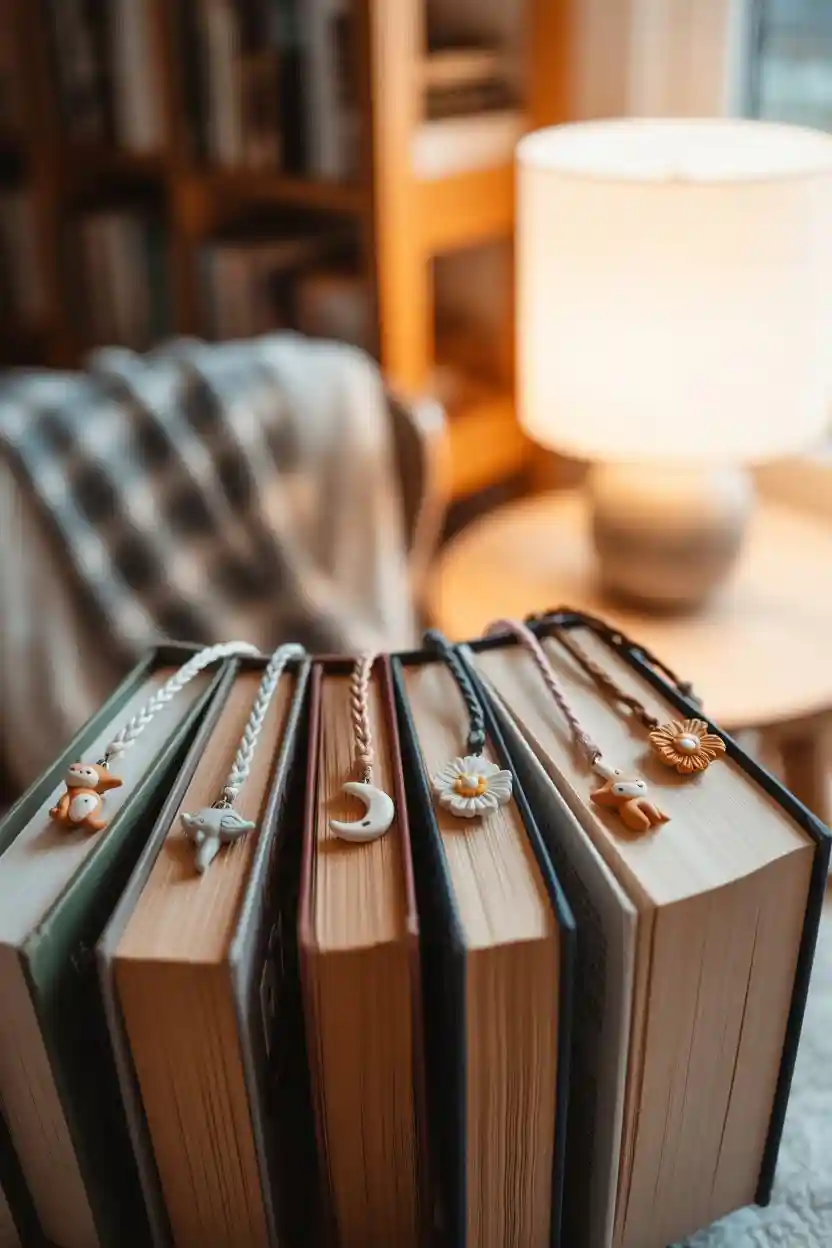
A small figure glued to a bookmark strip — animals, flowers, tiny monsters. Keep the topper light and the attachment strong, or it tears pages. Readers love them; they’re the gift that gets used daily.
13. Clay Coasters
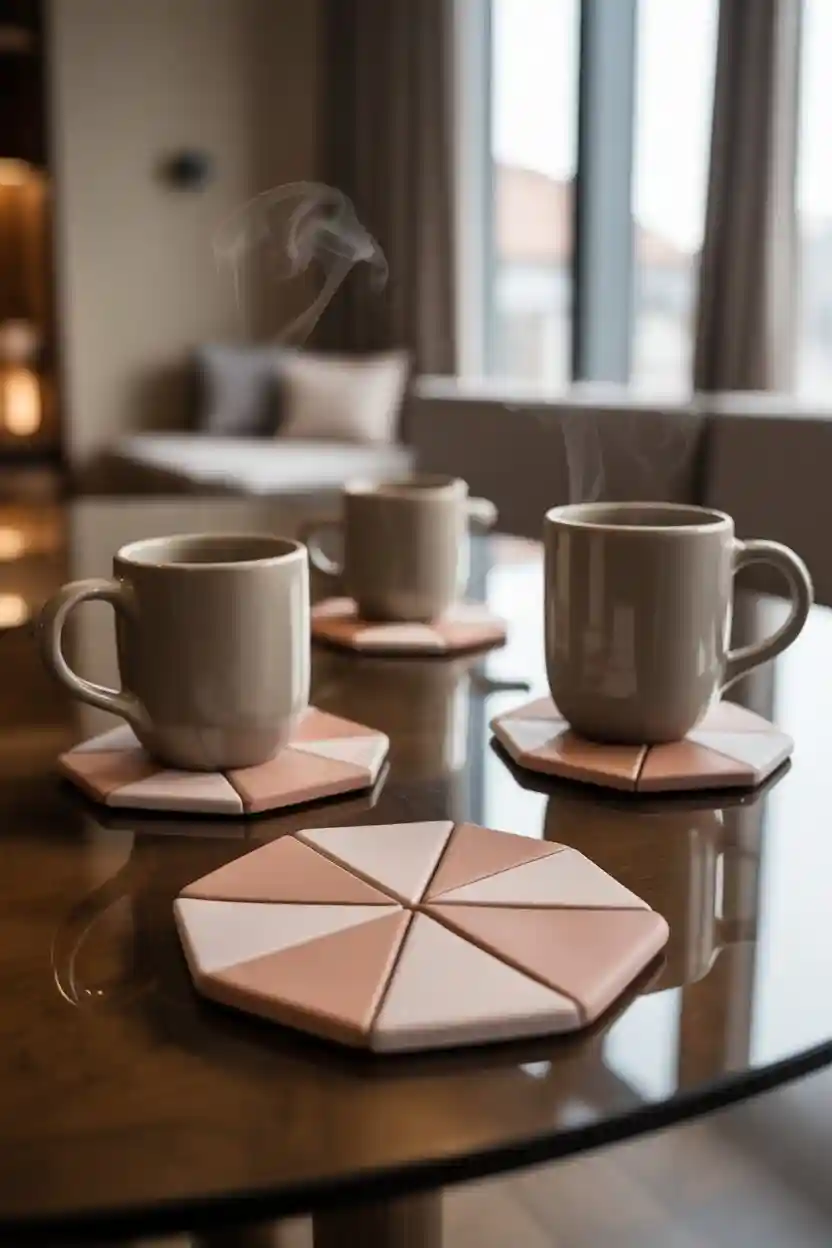
Flat, even, sealed — coasters are an exercise in precision. Roll to a consistent ¼ inch, stamp or carve the surface, and seal against moisture. Sets of four, tied with ribbon, are the reliable handmade gift.
14. Clay Candle Holders
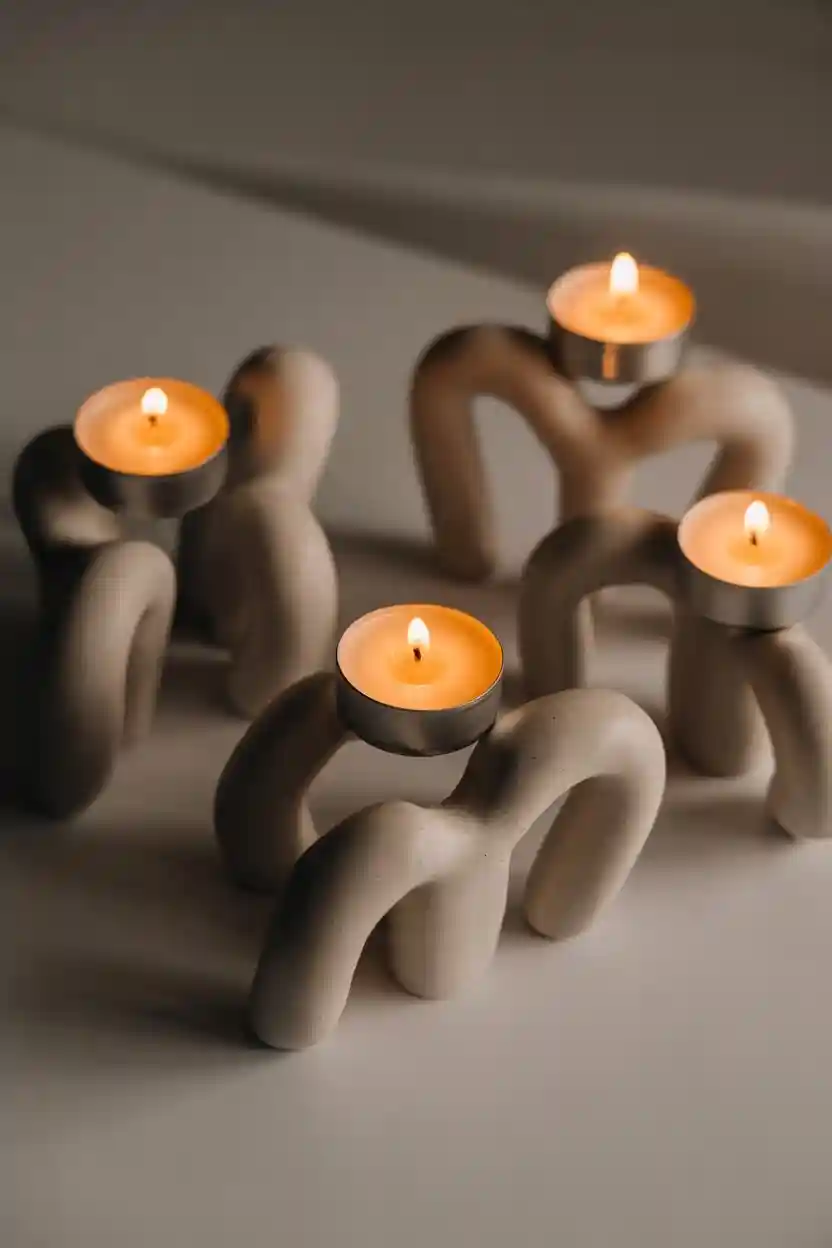
Small cups and bowls for tea lights — the lesson is wall thickness and balance. Keep the base wide, the walls even, and always use LED candles with air-dry or polymer clay. Real flame and craft clay don’t mix.
15. Clay Wall Art Panels
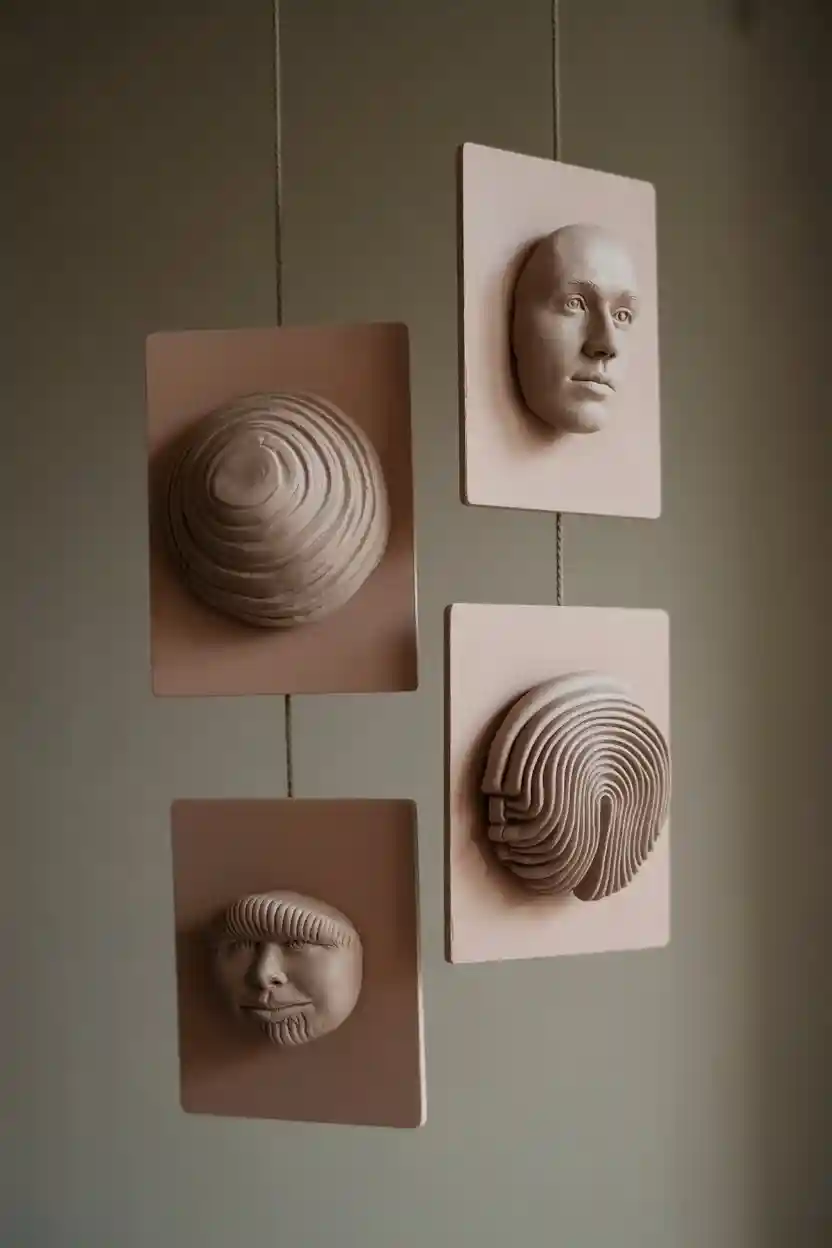
Flat slabs become canvases for carving, layering, and relief. Working larger teaches composition — how texture reads at a distance versus up close. Paint or leave natural; both work, and the scale makes them feel like real art.

16. Clay Bookends
Solid, heavy, symmetrical — bookends are engineering as much as art. Build around a weighted core or make the clay mass itself substantial. They teach the unglamorous sculpting skills: structure, balance, and making two matching pieces.

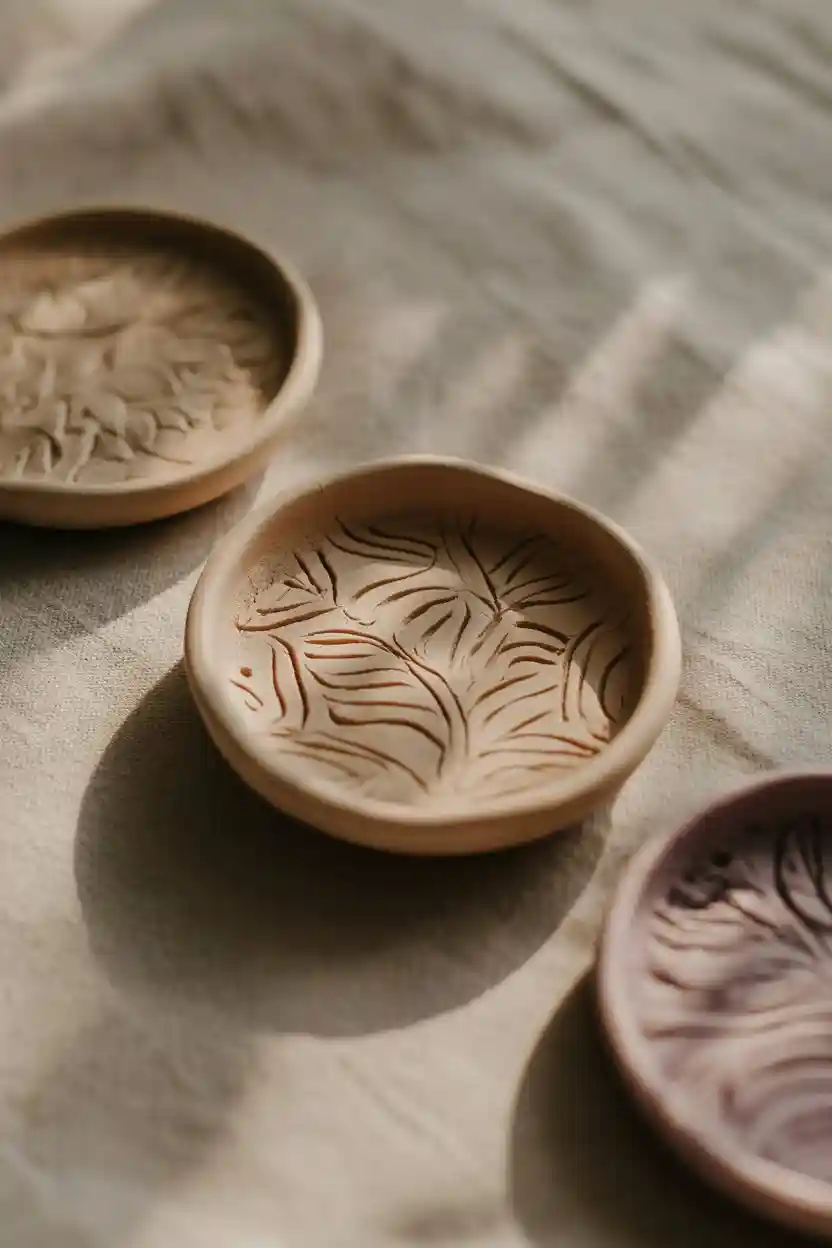
17. Clay Jewelry Dishes
Shallow dishes with smooth edges and subtle texture — the ring’s nightly home. Drape-formed over a bowl, trimmed clean, sealed well. Simple, useful, and the project most likely to still be in use next year.
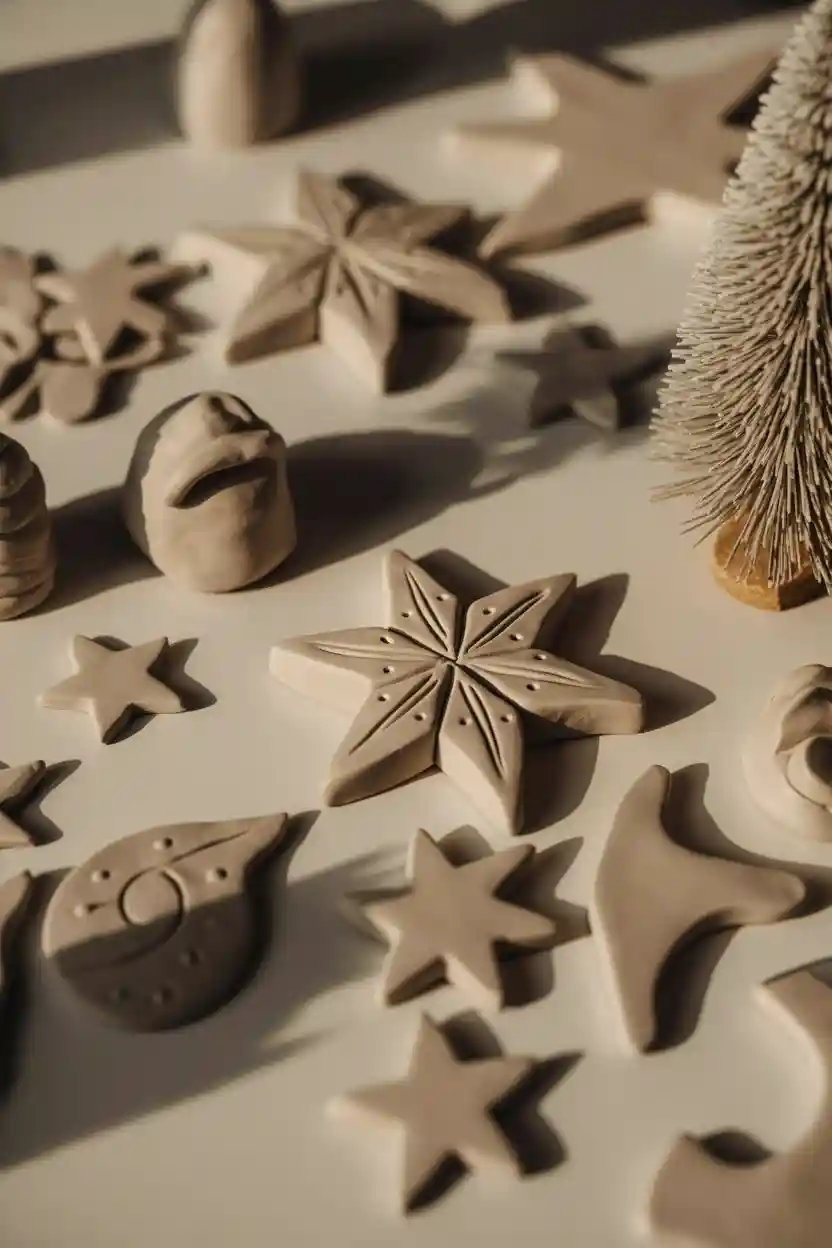
18. Clay Holiday Ornaments
Stars, snowflakes, bells — rolled, cut, and decorated, with a hanging hole poked before drying. Date the back of each year’s set. They teach small-scale precision and become the ornaments people ask about.
19. Clay Animal Planter Toppers
A tiny cat or turtle perched on the pot’s rim — two projects in one. Sculpt the animal separately, attach while both are workable, and mind the proportions: the topper should accent the planter, not overwhelm it.
20. Clay Miniature Furniture
Chairs, tables, and beds at dollhouse scale — geometric shaping practice with real payoff. Keep joints thick (thin clay legs snap), and bake polymer pieces flat so they don’t warp. Dollhouse builders will pay for good miniatures.

21. Clay Key Caps or Buttons
Hearts, animals, and geometrics sized for keyboards, bags, or jackets. Precision matters at this scale — a millimeter off reads as sloppy. They’re fiddly, fun, and the finished pieces get seen daily.

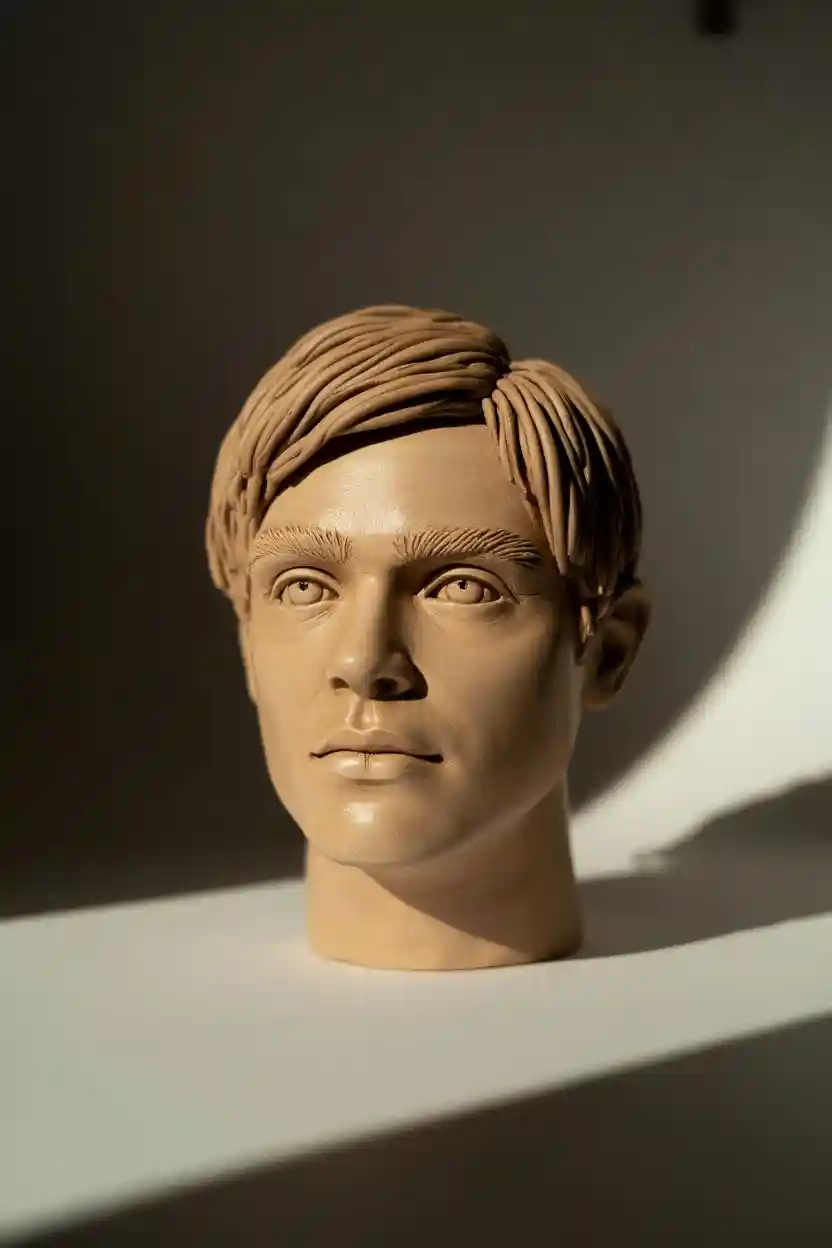
22. Clay Head Sculptures
A head is a sphere with planes: brow, cheekbones, jaw. Build up in layers — skull first, features after — and check symmetry constantly by turning it around. Stylized heads are the sane starting point; realism is a long game.
23. Clay Monster Figures
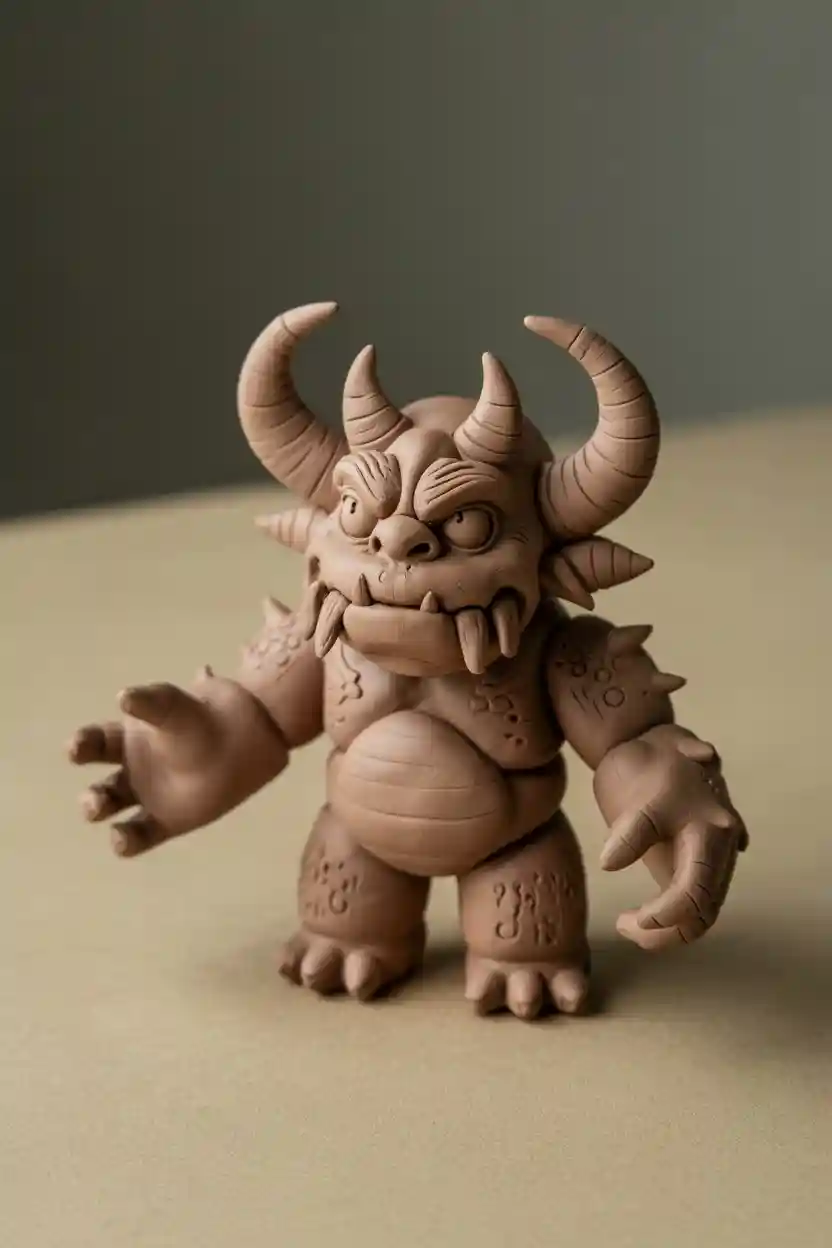
Rounded bodies, horns, claws, too many eyes — monsters reward imagination over accuracy. They’re the perfect beginner subject because lopsided reads as character. Bright polymer colors and goofy expressions; desk toys with personality.
24. Clay Jewelry Beads
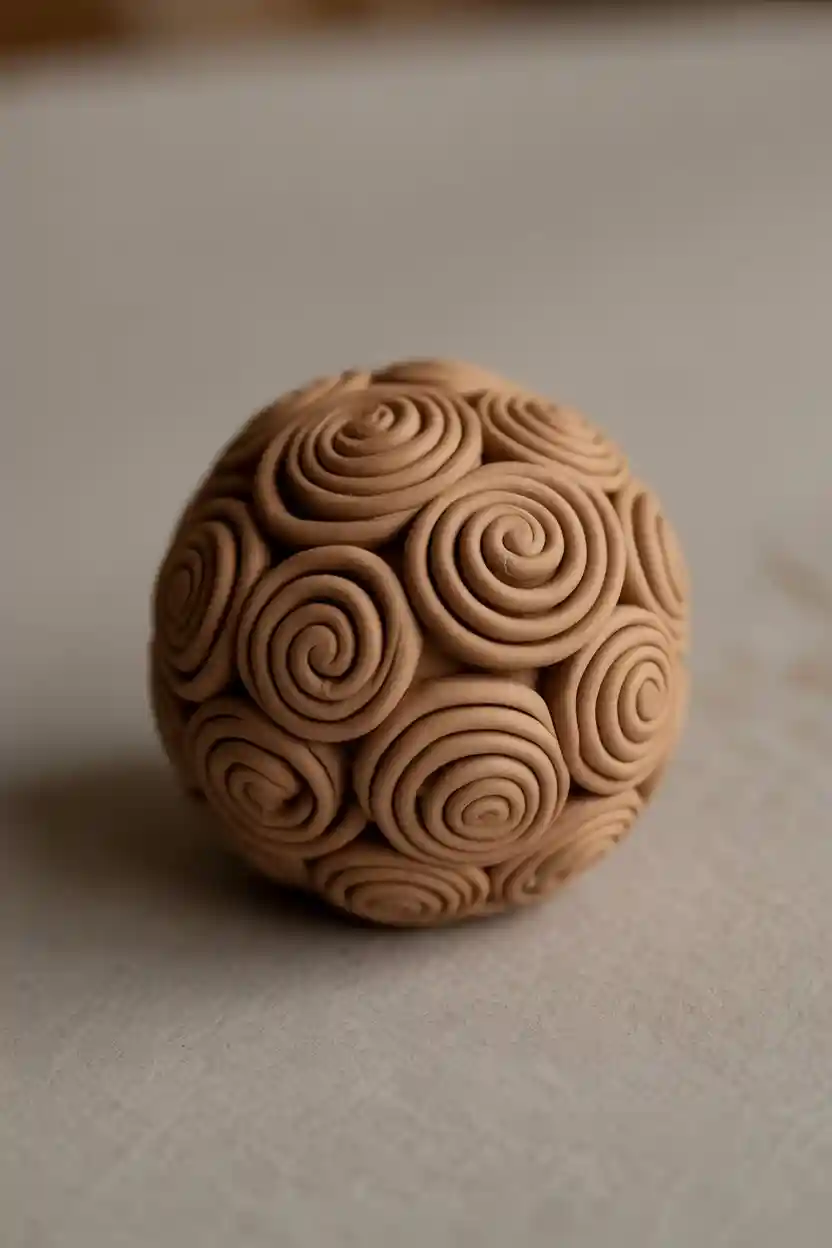
Roll consistent spheres and cylinders, poke holes with the same tool for uniform size, and bake in batches. Beads teach the least glamorous, most useful skill: repeatability. String them into jewelry or gift them as loose sets.
25. Clay Animal Busts
Head and shoulders — the step up from full-body miniatures. Fur texture with a needle tool, careful eyes, solid proportions. It’s a medium-scale project that teaches observation; work from photo references, not memory.

26. Clay Storybook Characters
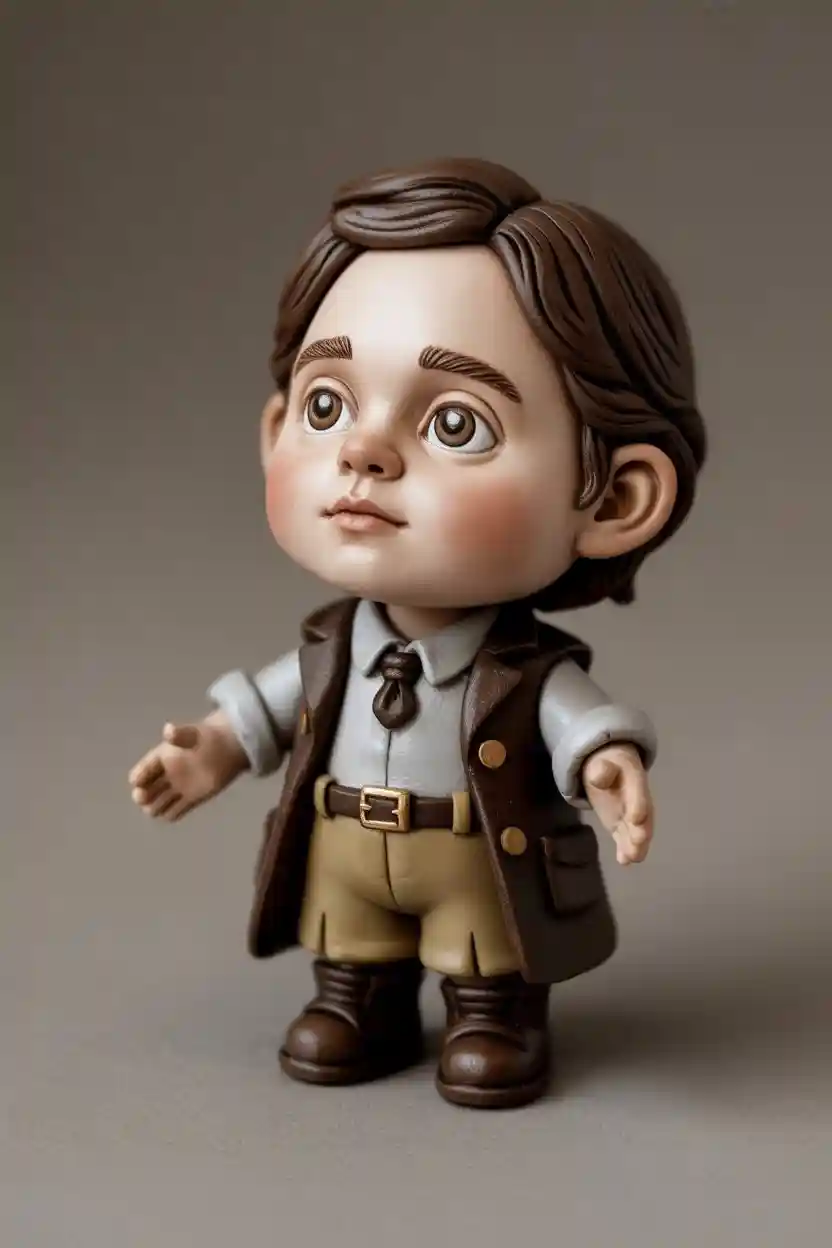
Pick a character with a strong silhouette — that’s what makes them recognizable at small scale. Simplify ruthlessly: three defining features beat ten fussy ones. Fans of the book will recognize them instantly.
27. Clay Jewelry Rings
Bands with sculpted tops — flowers, animals, abstracts. Size to a real finger (a ring mandrel helps; a marker pen works in a pinch), keep the profile wearable, and bake thoroughly. Wearable art with a personal touch.

28. Clay Wall Hanging Sculptures
Layered shapes on a backing board — flowers, abstracts, and geometrics composed like a relief painting. Plan the composition flat before attaching anything. They teach the jump from object to arrangement.
29. Clay Animal Key Holders
Small animals on a wooden or metal base with hooks — sculpture meets utility. Attach the clay firmly to the base (E6000, or screws through a clay flange), and keep the animals clear of the hooks’ swing. Entryway art that earns its place.
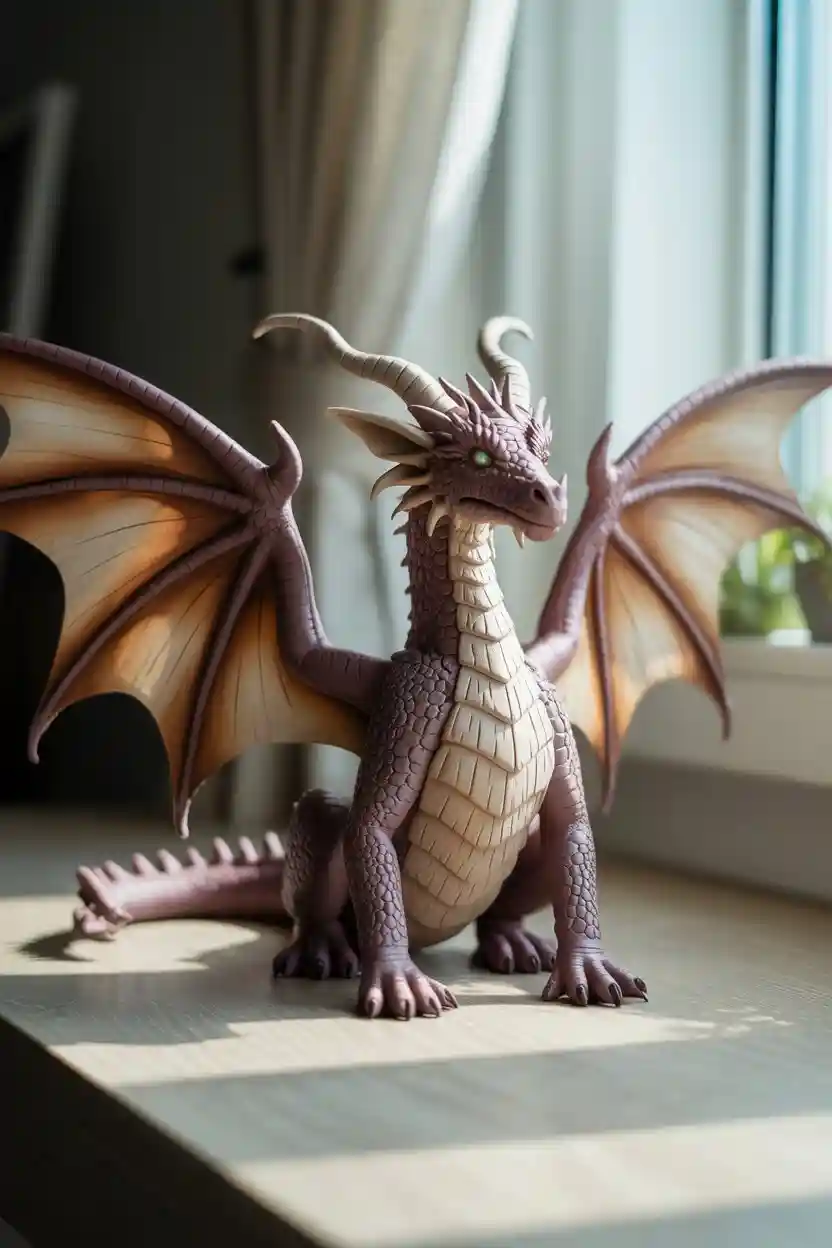
30. Clay Fantasy Creatures
Dragons, fairies, gryphons — the no-limits project. Wings from flattened shapes, scales from repeated stamping, horns from cones. Fantasy is where every technique on this list combines, which is why it belongs last: it’s the final exam.
FAQs for Clay Sculpting Ideas