Introduction
There is something about the first cool evening of fall that makes you want to pull out the paintbrushes. Mini pumpkins are the perfect little canvases for that urge — they cost almost nothing, they dry fast, and you can finish one in a single sitting with a cup of cider beside you. Unlike carving, there is no mess, no knives, and no rotting pumpkin on your porch a week later. Painted minis last the whole season. Whether you are decorating a mantel, setting a Thanksgiving table, or just looking for a cozy weekend craft with the kids, these 25 mini pumpkin painting ideas cover every style from farmhouse to boho to kid-friendly. Grab a bag of mini pumpkins, a basic acrylic set, and let’s get painting.
1. Classic White Polka Dots
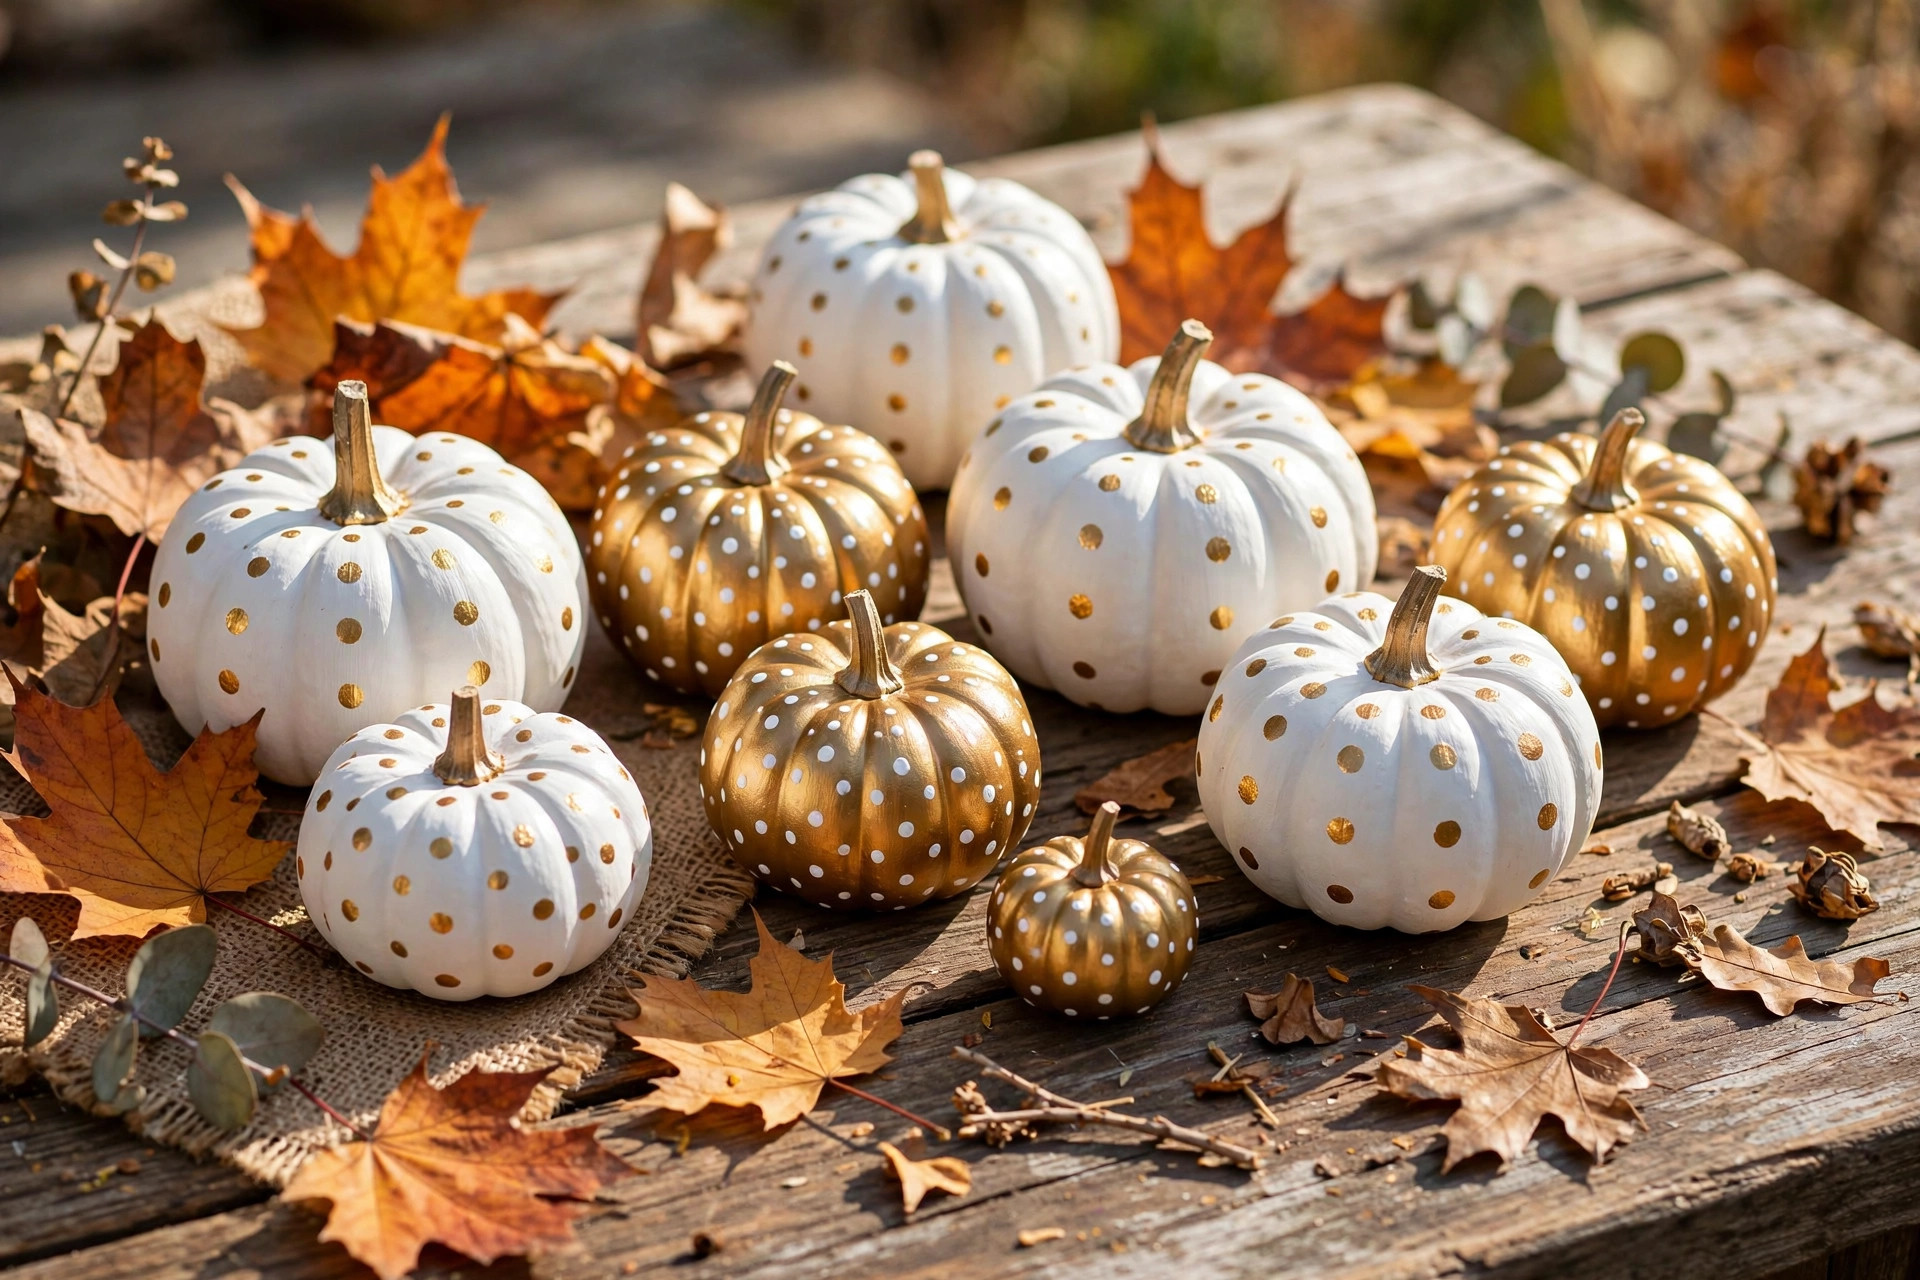
The simplest idea on this list is also one of the prettiest. Paint your mini pumpkin a solid base color — deep orange, cream, or sage green all work beautifully — and let it dry completely. Then dip the round end of a paintbrush handle or a pencil eraser into white acrylic paint and stamp evenly spaced dots around the pumpkin. For a playful look, vary the dot sizes by using two different stamp tools. Seal with a matte clear coat and you have a pumpkin that fits any fall decor scheme.
2. Nail Polish Water Marbling
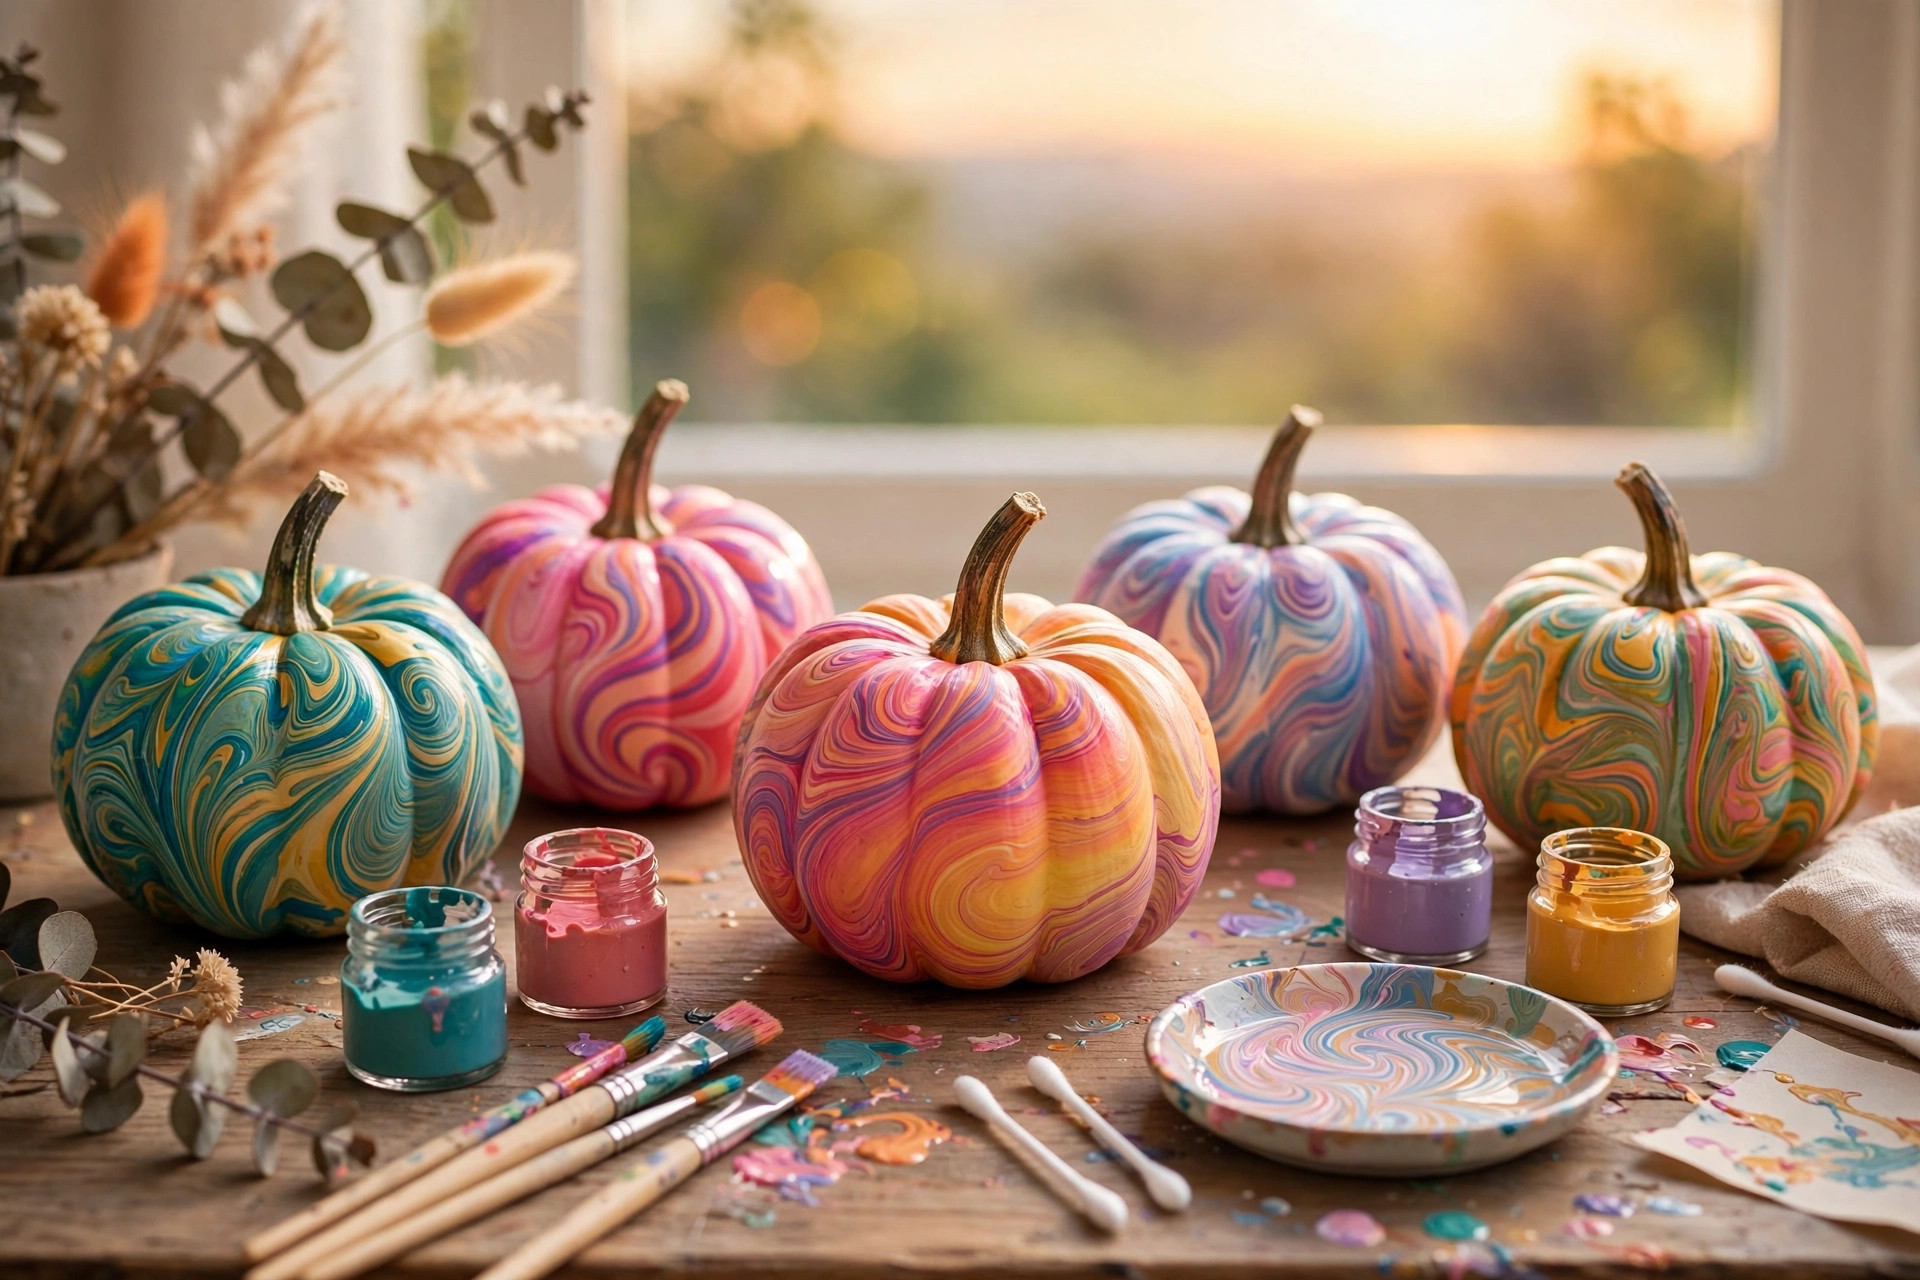
Fill a disposable container with room-temperature water and drip two or three nail polish colors onto the surface, then swirl lightly with a toothpick. Wearing gloves, dip the mini pumpkin slowly through the polish film and pull it straight out. The polish wraps around the pumpkin in a gorgeous marbled pattern. Work quickly because nail polish skins over in under a minute. Let the pumpkin dry on wax paper, and refresh your water between dips for clean results.
3. Metallic Gold Elegance
Metallic acrylic paint turns a humble mini pumpkin into something that looks straight out of a boutique. Brush on two thin coats of liquid gold or champagne metallic acrylic, letting each coat dry for 20 minutes. Thin coats matter here — thick metallic paint shows every brush stroke. For extra glamour, paint the stem a dark bronze or wrap it with a bit of twine. These look stunning clustered in a bowl or scattered down a Thanksgiving table runner.
4. Chalkboard Paint Pumpkins
Brush on two coats of black chalkboard paint and you have a reusable mini canvas. Once it is fully cured (give it a full 24 hours), season the surface by rubbing the side of a piece of chalk all over it and wiping it off — this prevents your first message from ghosting. Then write fall words like “grateful,” “harvest,” or family names with chalk or chalk markers. Wipe clean and rewrite them all season long.
5. Buffalo Plaid
Buffalo plaid looks complicated but it is just stripes. Start with a white or cream base coat. Using a flat brush and painter’s tape as a guide, paint wide vertical stripes in black, then wide horizontal stripes in the same black. Where the stripes cross, the black deepens naturally and creates that classic check. A light dry-brush of gray over the finished plaid softens it and gives a cozy flannel feel. Keep your brush strokes straight and the tape crisp for the best result.
6. Ombre Sunset Gradient
Pick three shades in the same color family — for example, pale peach, pumpkin orange, and deep rust. Paint the top third of the pumpkin the lightest shade, the bottom third the darkest, and fill the middle with the medium tone. While the paint is still wet, use a clean dry brush to feather the edges where the colors meet, blending them into a smooth gradient. Work one pumpkin at a time so nothing dries before you blend. The result looks like a tiny autumn sunset.
7. Lace Decoupage
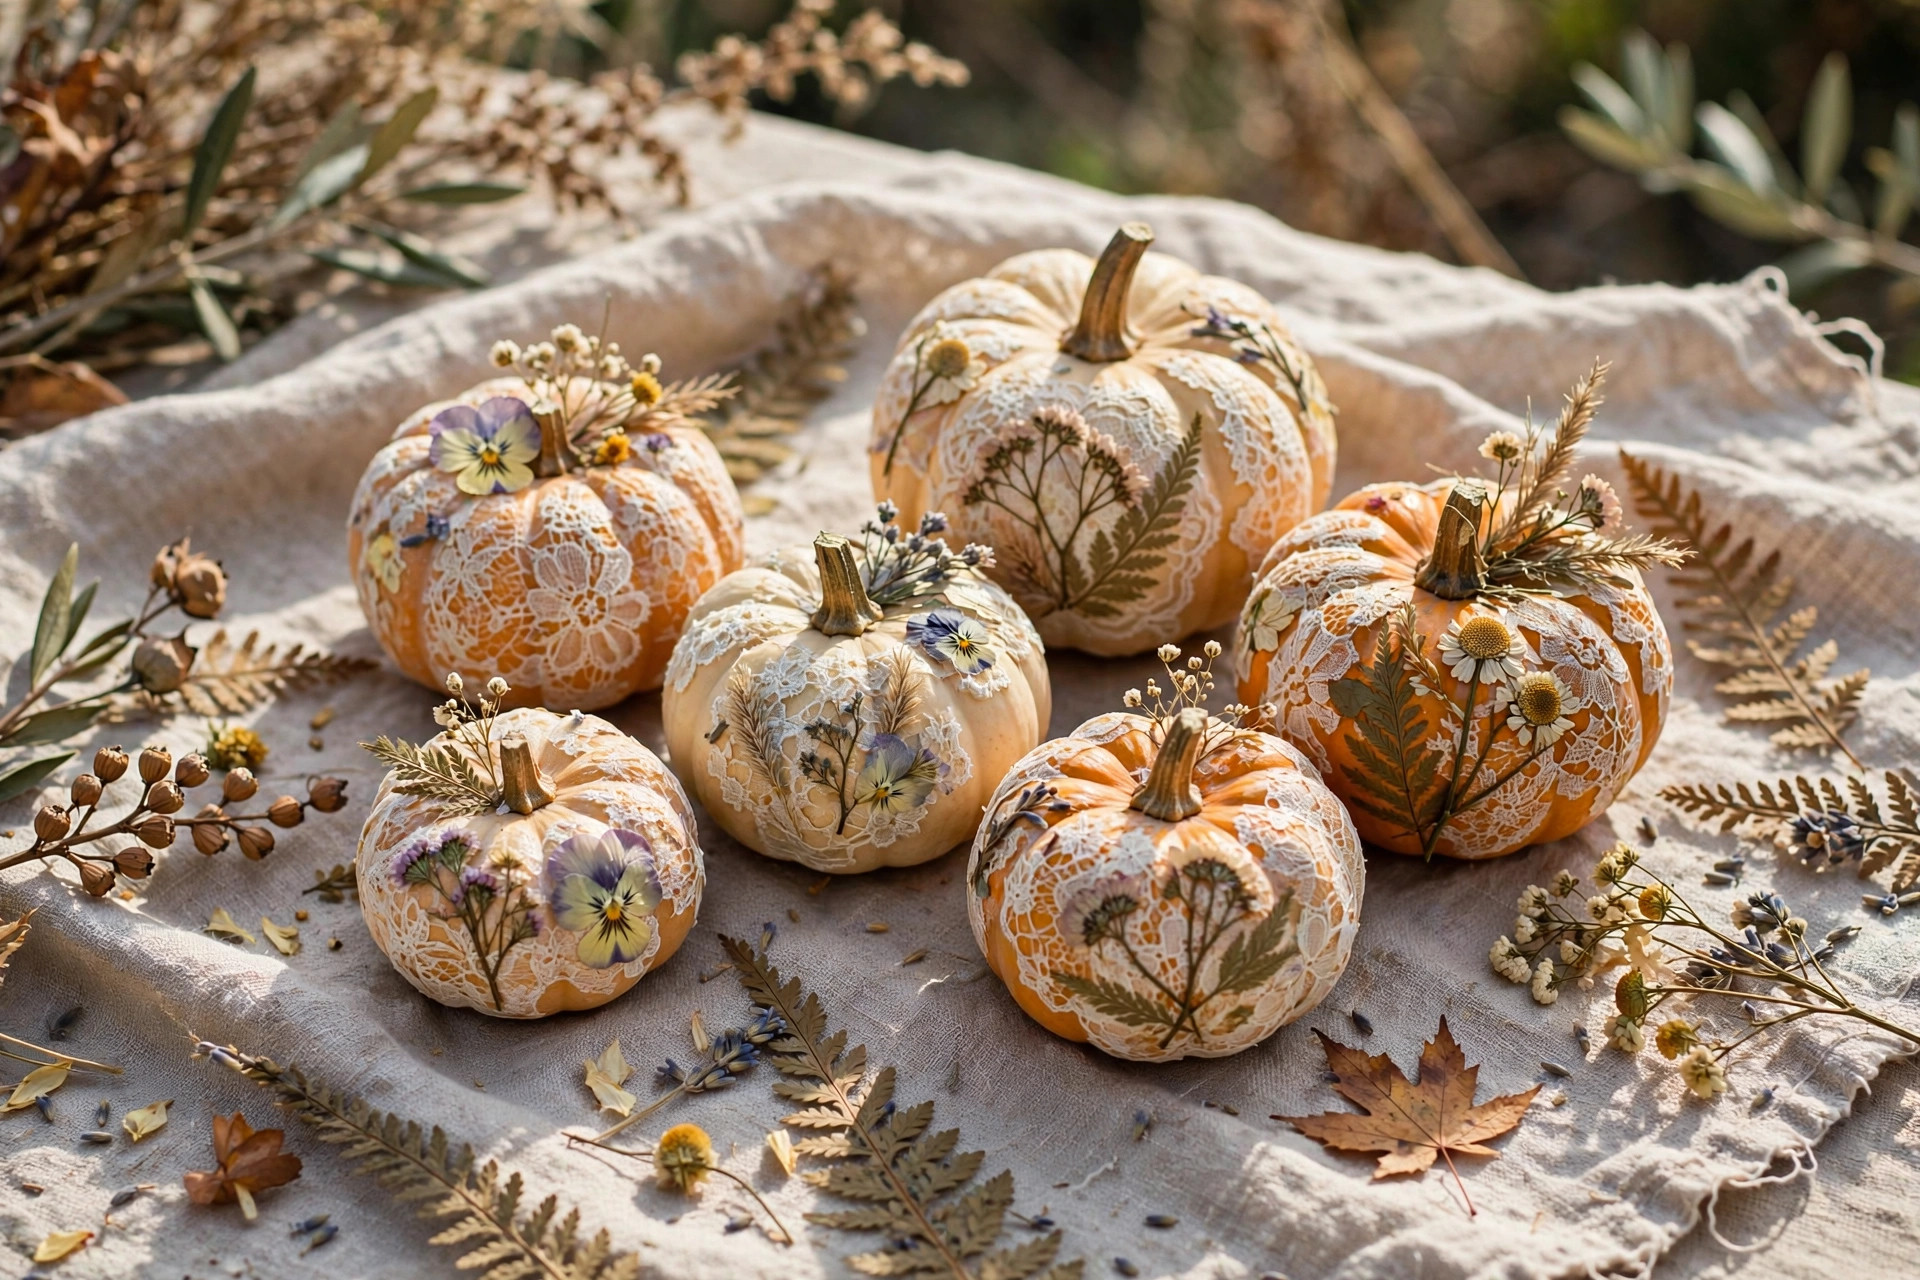
Cut small pieces of lace trim or a paper doily into strips. Brush a thin layer of Mod Podge or decoupage medium onto the pumpkin, press the lace into place, and seal over the top with another coat. White lace over a mustard or terracotta base looks vintage and delicate. Trim the excess with small scissors while the medium is still tacky, and smooth any air bubbles with your finger. One coat of matte sealer at the end keeps the lace from fraying.
8. Pressed Flower Botanicals
Paint your mini pumpkin a soft neutral — ivory, pale gray, or blush. Arrange real pressed flowers and leaves on the surface, then adhere them with a thin coat of Mod Podge, sealing over the top with two more coats. Tiny ferns, miniature daisies, and autumn leaves press beautifully. This works best on flatter-sided pumpkins where the flowers can lie smooth. The finished pumpkin looks like something from an old botanical print.
9. Faux Geode
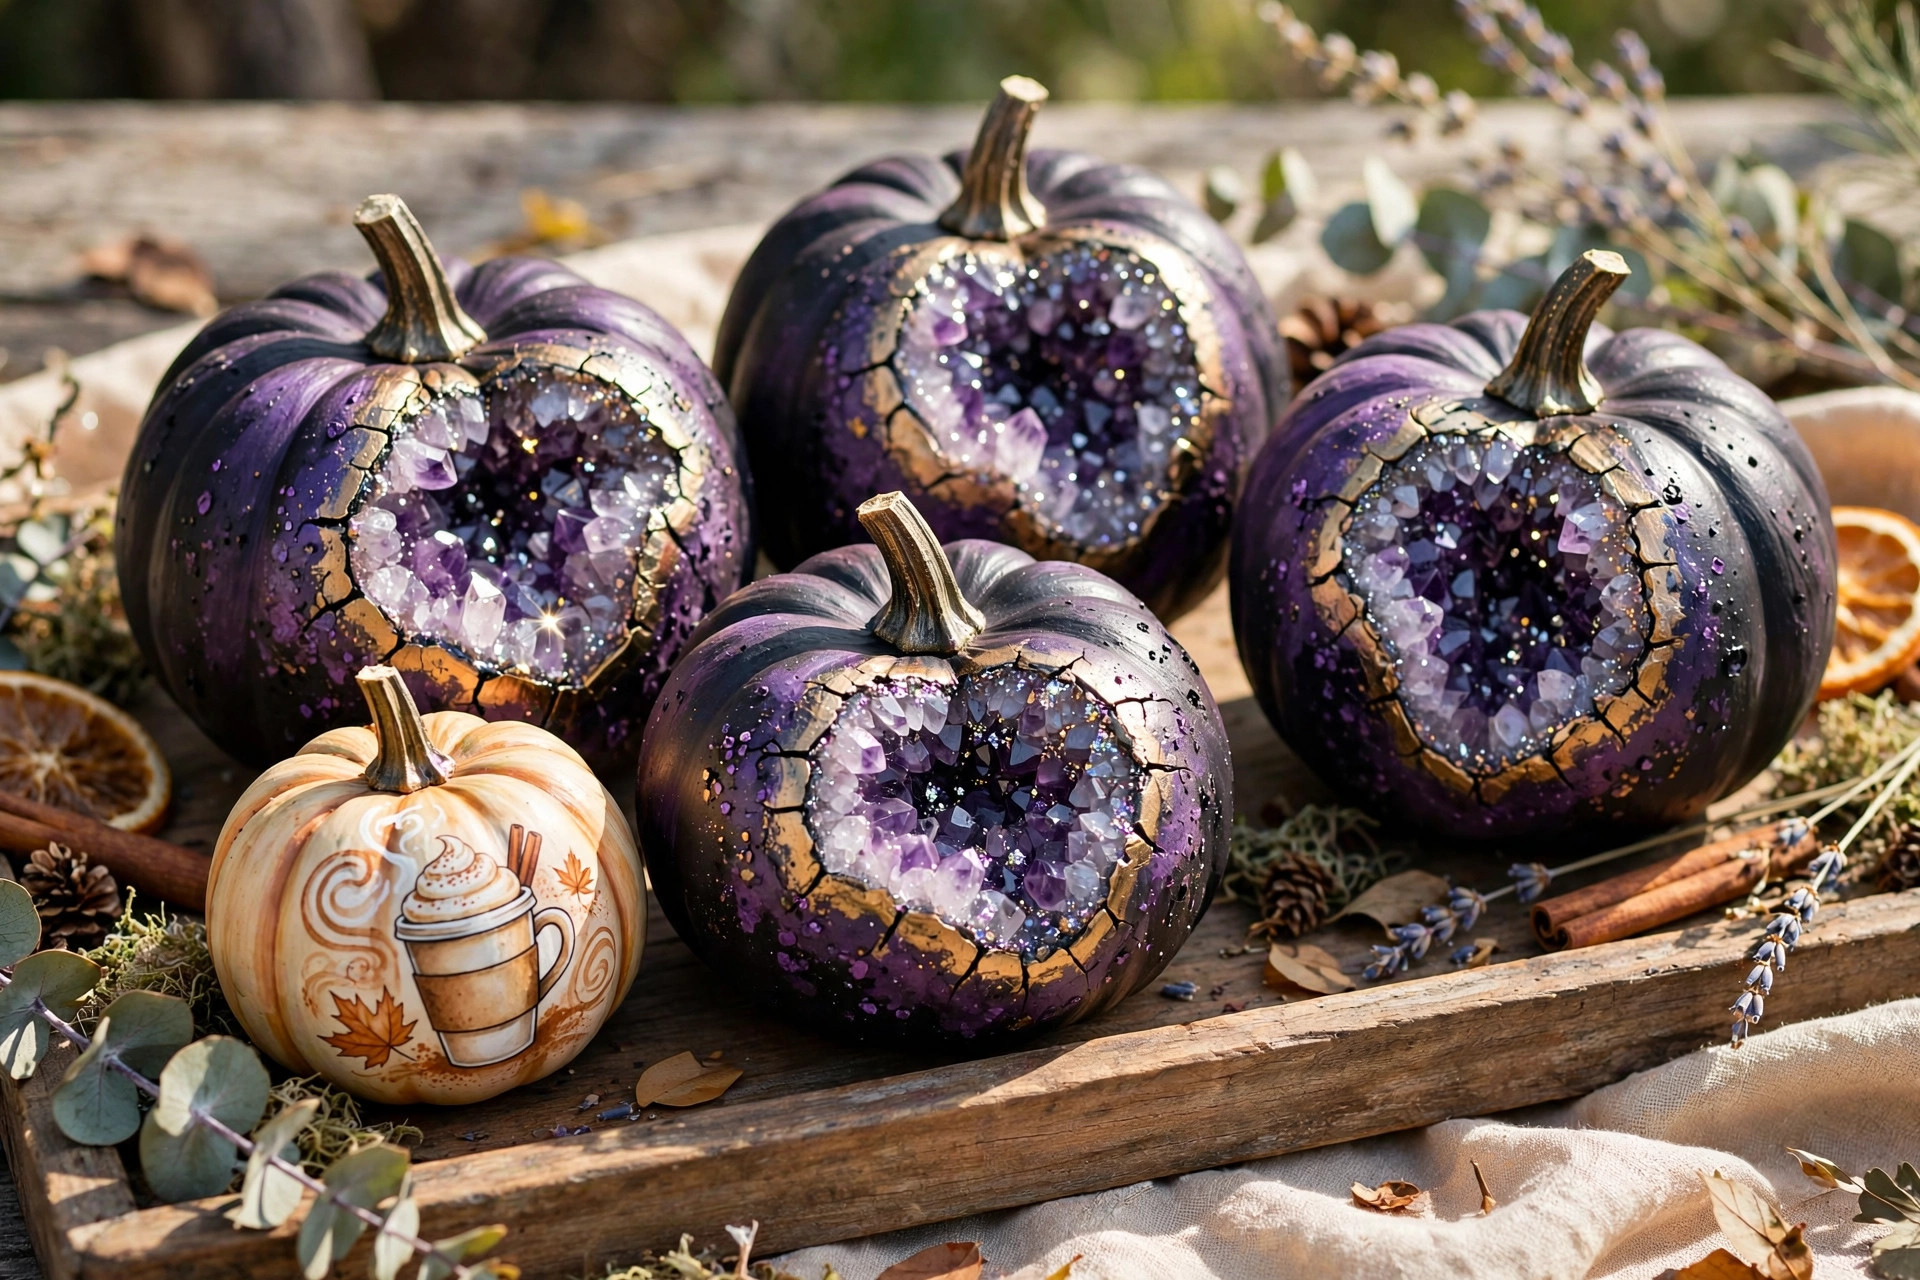
Paint the whole pumpkin a deep base color like charcoal, navy, or plum. With a fine detail brush, paint an irregular blob shape in white or pale gray — this is your “crystal cavity.” Fill it with layers of glitter paint in amethyst, teal, or rose, working from the outside edge inward with progressively lighter shades. Add tiny dots of white for sparkle. Outline the cavity with metallic gold for the stone edge. It is fiddly work, but the result is a jaw-dropping conversation piece.
10. Pumpkin Spice Latte Motif
For the coffee lover’s fall decor, paint the mini pumpkin cream or warm beige. With a brown paint pen, draw a coffee cup shape on the front — a simple rounded rectangle with a handle — and add steam swirls rising from the top. Letter “PSL” or “but first, coffee” underneath in the same pen. A cinnamon-stick stem (glue a real one on top) completes the joke. These make adorable gifts for the latte-obsessed friend in your life.
11. Monogram Initials
A single painted initial makes a mini pumpkin feel personal and high-end. Paint the pumpkin in a sophisticated base like matte black, forest green, or dusty blue. Lightly pencil your letter onto the front first to check the placement. Then paint it with a small flat brush in metallic gold or cream, using a serif style for a classic look. If freehand lettering makes you nervous, print the letter, trace it with carbon paper, and fill in the outline.
12. Honeybee Stripes
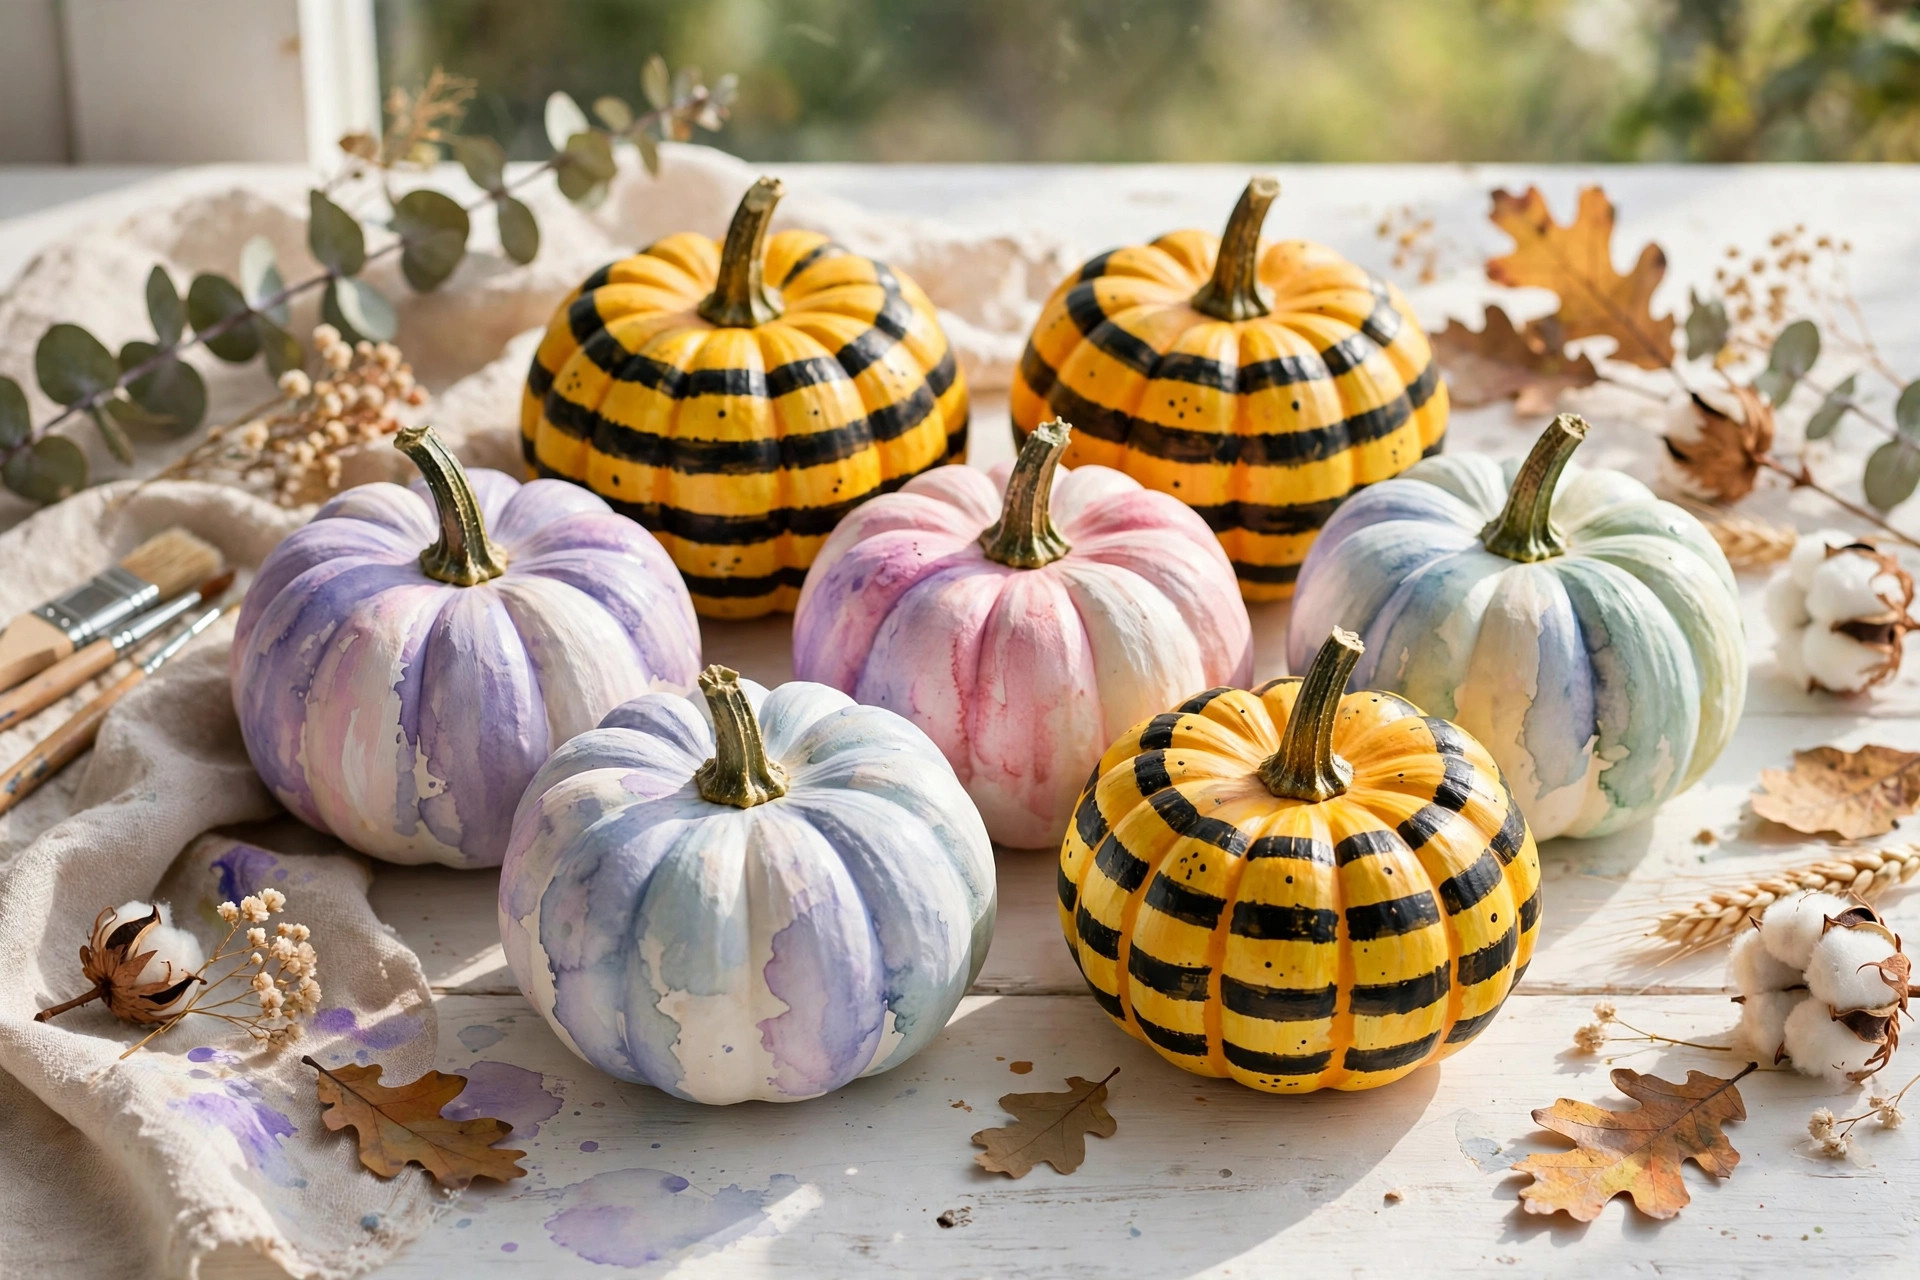
Paint the mini pumpkin sunny yellow and let it dry. Using a round brush, paint curved black stripes that follow the pumpkin’s natural ribs — three or four stripes is plenty. Paint the stem black and add two tiny white wings on top with a detail brush or a white paint pen. A pair of googly eyes glued on the front turns it into a kid favorite. Group three or four bees together on a porch step for maximum charm.
13. Watercolor Wash
Thin your acrylics with water until they flow like ink, then brush loose washes of fall color — burnt orange, ochre, cranberry — over a white-primed pumpkin. Let the colors bleed into each other naturally and do not overwork them. The translucent layers let the white underneath glow through. Once dry, add a few fine branch or leaf silhouettes in dark brown with a liner brush. This technique gives a soft, artistic finish that looks nothing like craft-store paint.
14. Terrazzo Chips
Paint your pumpkin a solid pastel base — blush pink, mint, or pale blue. Then, with the tip of a small brush or a toothpick, scatter irregular little chips and dashes in three or four contrasting colors: terracotta, mustard, cream, and charcoal are a great combo. Keep the shapes organic and random, varying the sizes. The speckled terrazzo pattern is modern, cheerful, and surprisingly forgiving — there is no wrong way to place the chips.
15. Woodland Fox Face
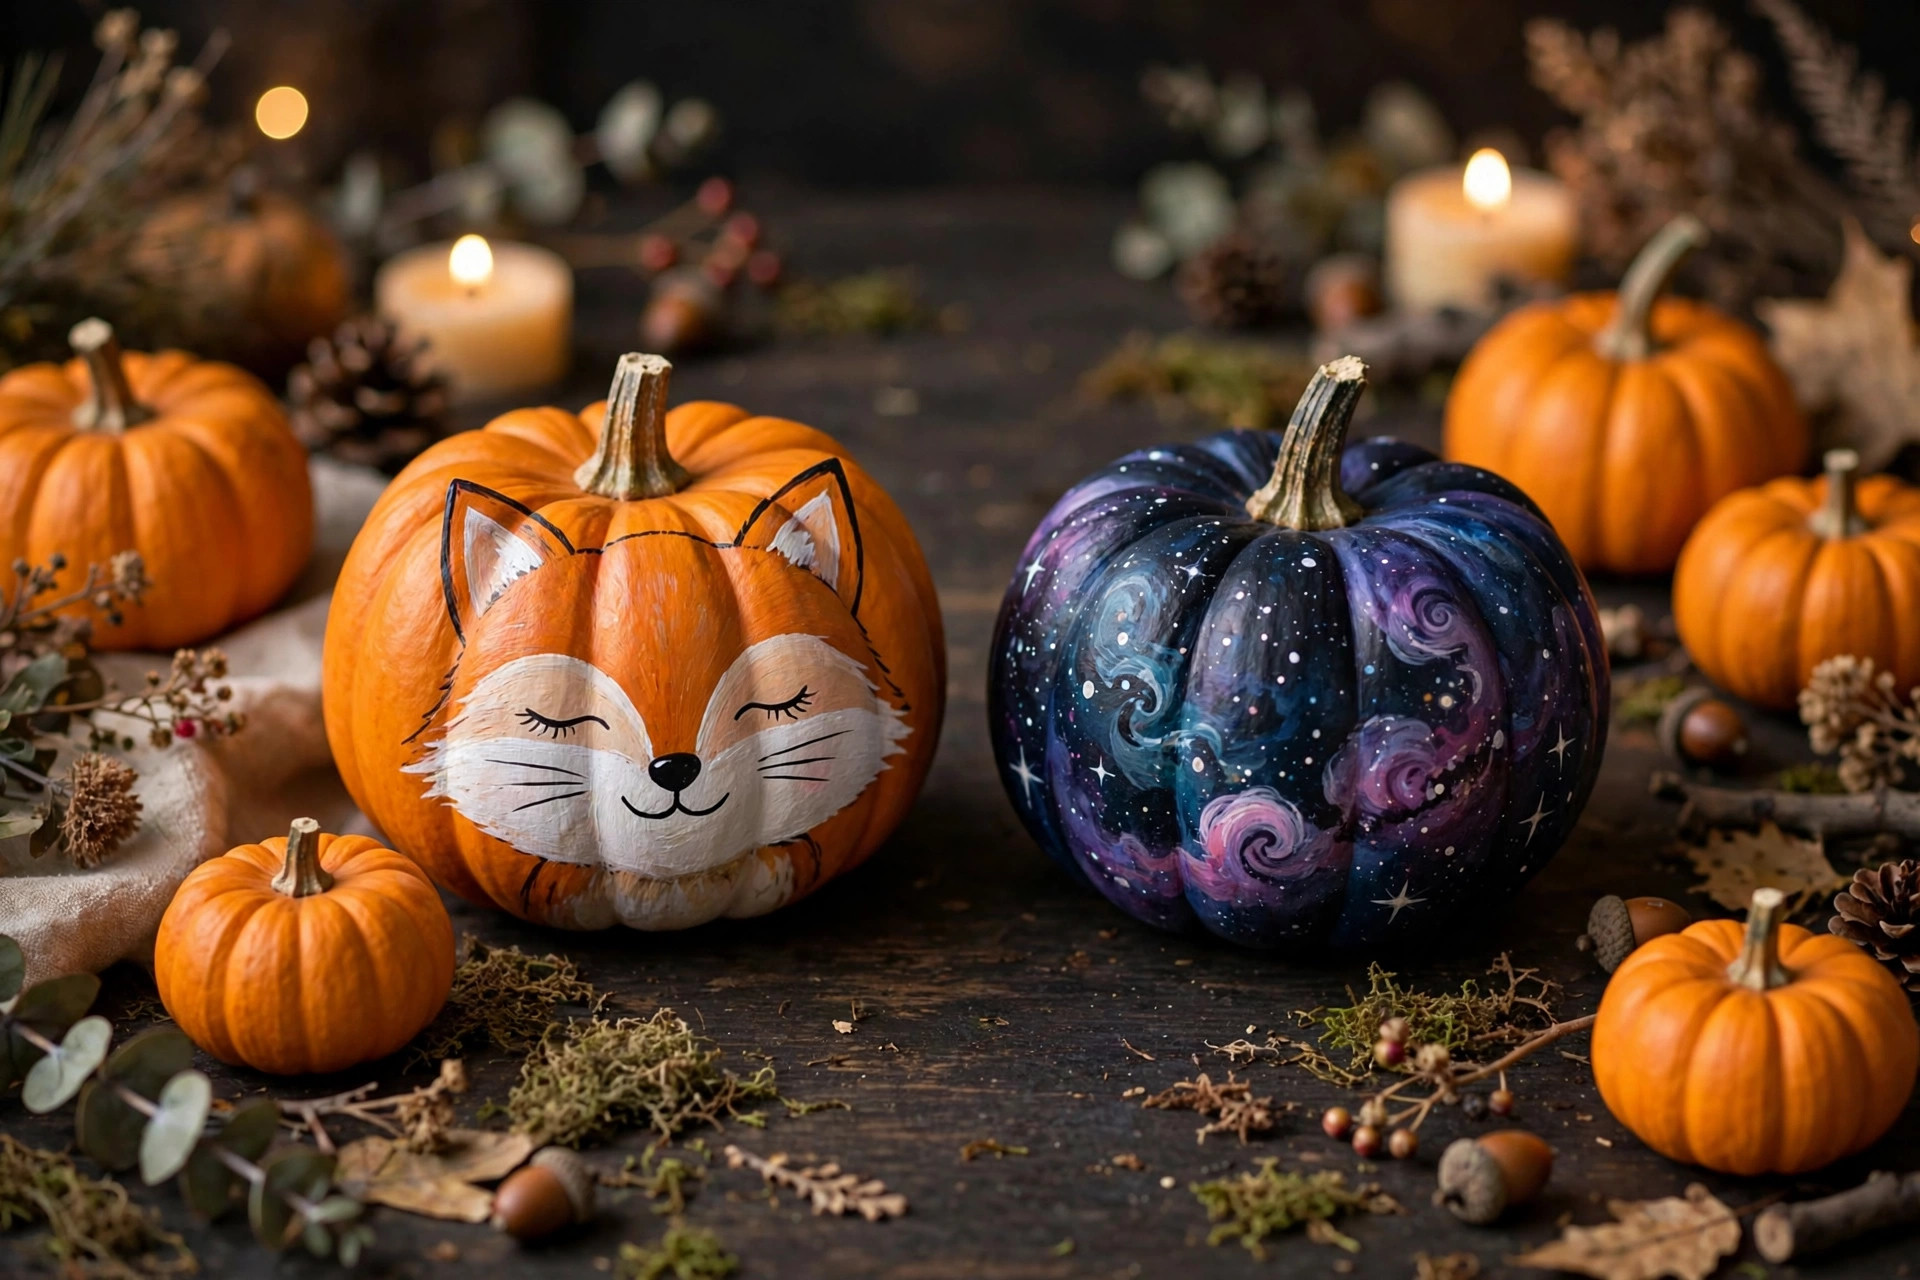
Paint the whole mini pumpkin orange. On the front, paint a white inverted triangle starting at the stem and widening toward the bottom — this is the fox’s muzzle and chest. Add two triangle ears at the top in orange with white inner triangles, black oval eyes, a black nose at the bottom point of the white triangle, and a few whisker lines with a paint pen. A row of these foxes marching along a mantel is irresistibly cute.
16. Scandinavian Line Art
Paint the pumpkin matte white or soft cream. With a fine black paint pen, draw simple continuous-line designs: a single pine tree, a minimalist leaf branch, a tiny house, or abstract arches. The Scandinavian look is all about restraint — one small drawing per pumpkin, plenty of empty space. If your hand shakes, practice on paper first; the pen glides best on a fully cured base coat. These fit beautifully into modern, neutral fall decor.
17. Galaxy Night Sky
Paint the pumpkin deep navy or black. Sponge on nebula clouds with purple, teal, and magenta acrylics, dabbing lightly so the colors blend softly. Flick white paint off a stiff toothbrush for a spray of tiny stars, and add a few larger stars with a detail brush. A small crescent moon in pale yellow finishes the scene. These moody little pumpkins look amazing in a cluster with fairy lights.
18. Candy Corn Stripes
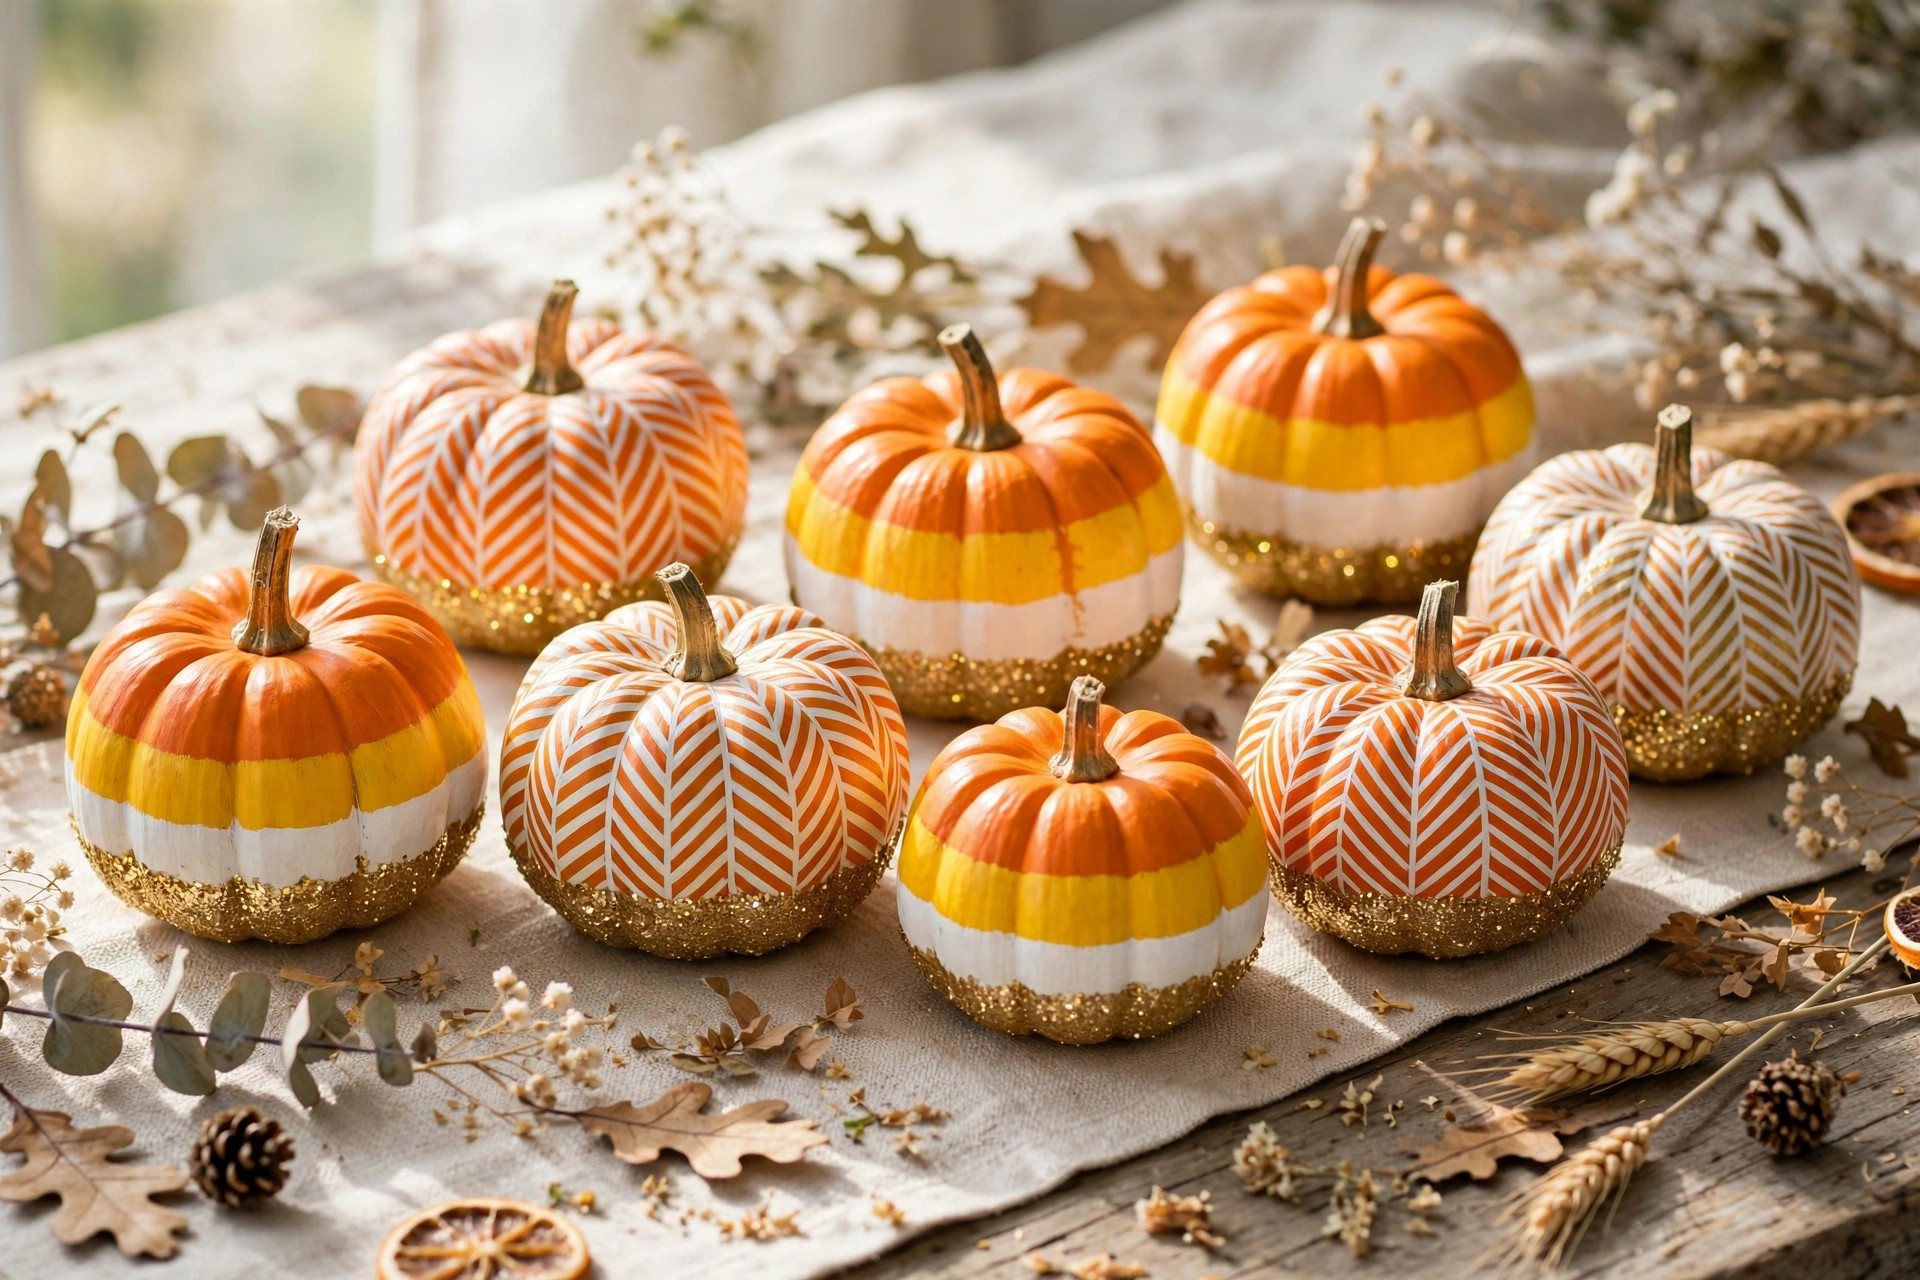
The classic Halloween candy translates perfectly to a mini pumpkin. Paint the top third white, the middle third orange, and the bottom third yellow, following the pumpkin’s rounded shape. Use painter’s tape or a steady hand to keep the bands clean — the curved surface means you should paint the bands slightly thicker on the sides than they look from the front. Two thin coats per color prevent streaking. Simple, nostalgic, and instantly recognizable.
19. Vintage Book Page Decoupage
Tear pages from an old book (thrift stores are perfect for this) into small pieces. Brush Mod Podge onto the pumpkin, lay the paper pieces down slightly overlapping, and seal with two top coats. Once dry, lightly sand the edges with fine sandpaper for a worn look and rub a tiny bit of brown ink or watered-down brown paint into the creases for an aged effect. Literary and cozy — perfect for a reader’s autumn shelf.
20. Herringbone Stripes
Paint a cream base coat. With a thin flat brush and gray or navy paint, paint short diagonal dashes in alternating directions to form a herringbone pattern, working in horizontal rows around the pumpkin. It helps to lightly pencil one guideline row first so your pattern stays level. Keep the dashes the same length for a tidy woven look. This tailored pattern pairs wonderfully with plaid and solid pumpkins in a styled arrangement.
21. Glitter Dipped Bottom
Paint the top half of the pumpkin your chosen base color and let it dry. Apply a band of Mod Podge or craft glue around the bottom half, then roll the pumpkin in fine glitter over a paper plate to catch the excess. Gold glitter over white, or copper over black, looks especially rich. Tap off the extra and let it dry upright. Seal with a clear gloss sealer made for glitter so it does not shed all over your table.
22. Tiny Cactus Garden
Paint mini pumpkins green in a few different shades. With a white or cream paint pen, add the classic cactus details: vertical dotted lines for ribs, tiny V-shaped spines, and little arms on some of them. Add a small painted flower on top in pink or red. Arrange your “cacti” in a shallow terracotta tray with sand or pebbles. It is a fun southwestern twist that stands out from traditional fall decor.
23. Gingham Check
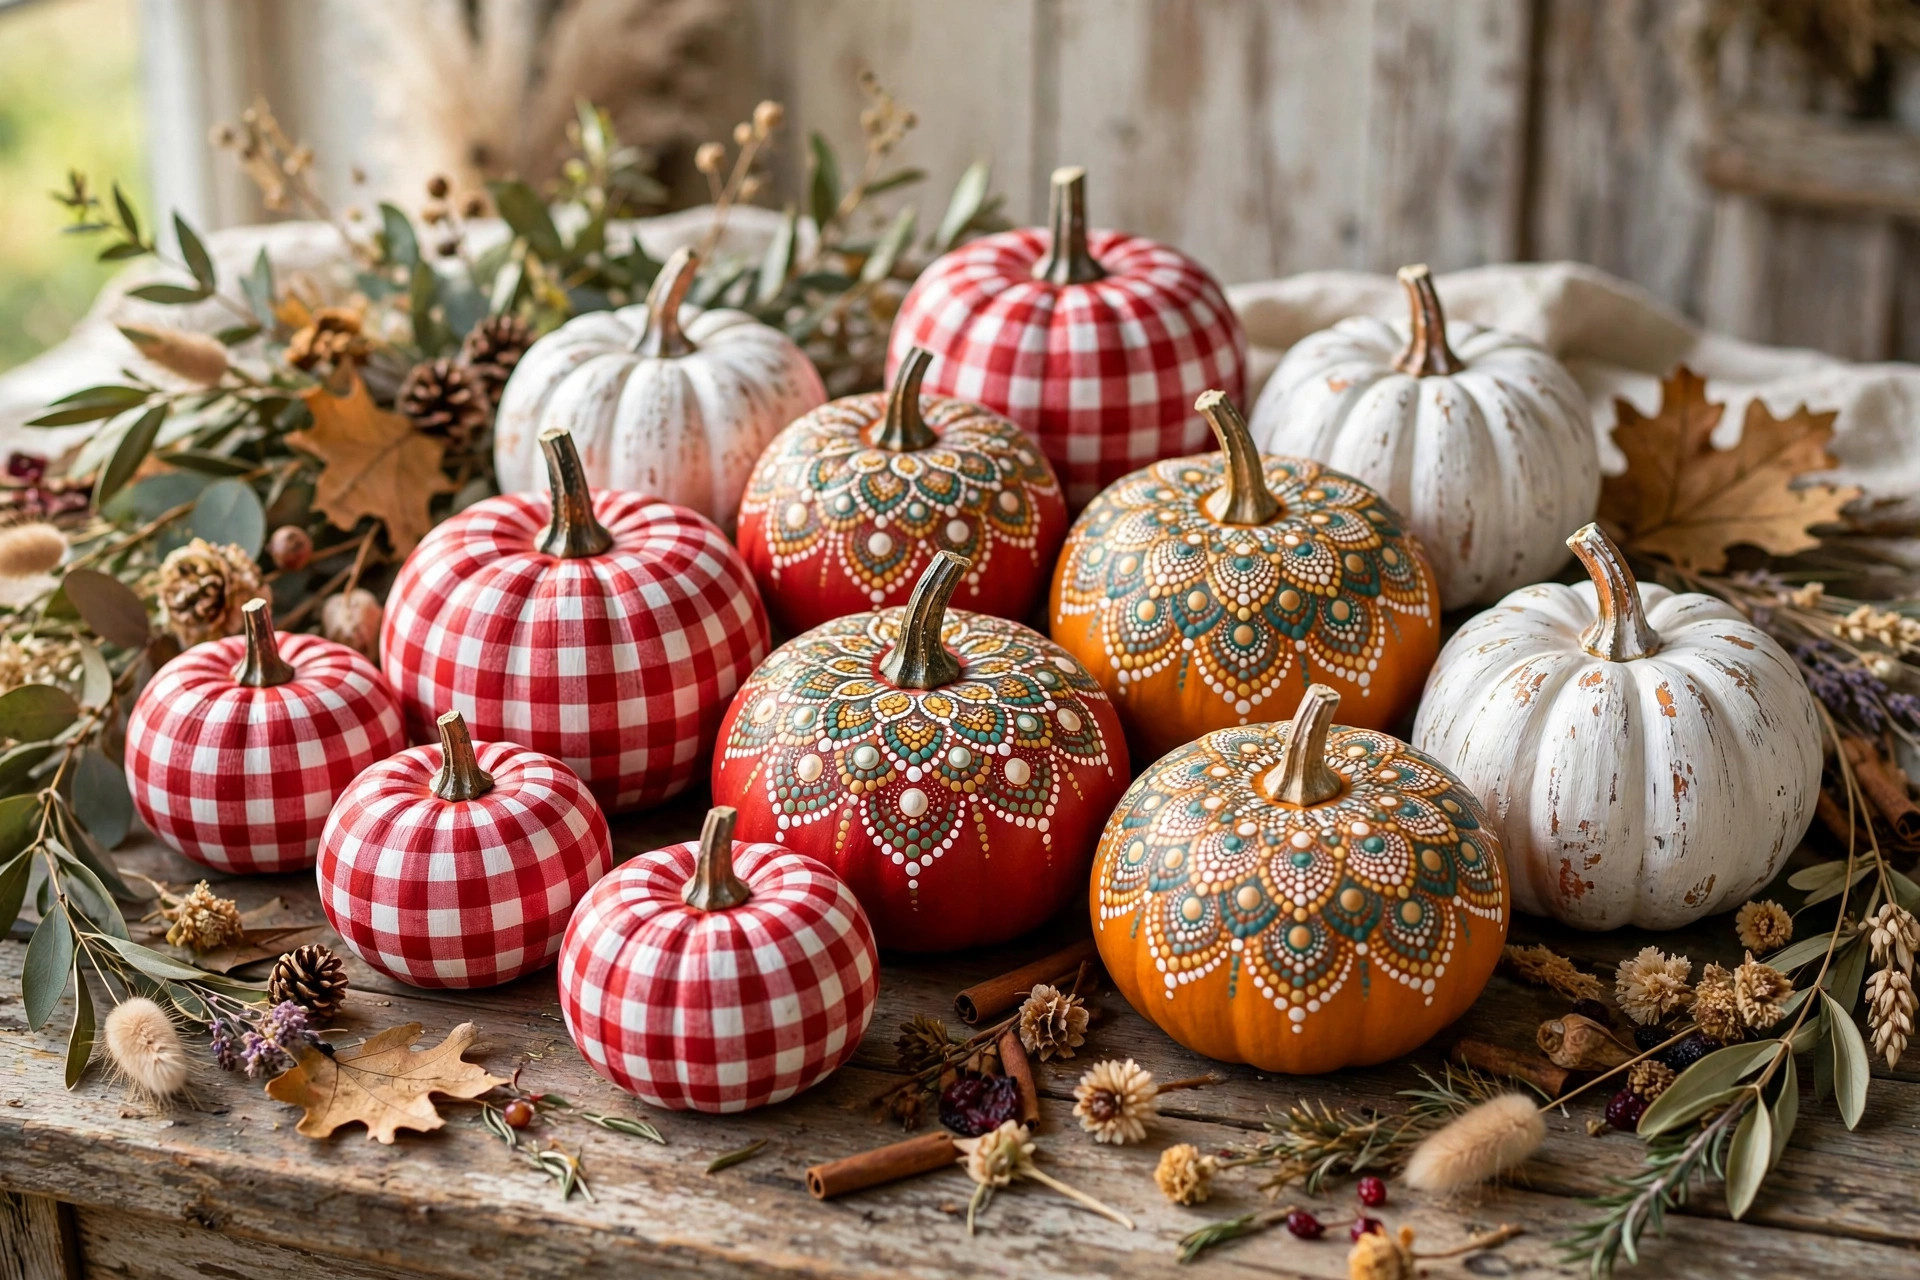
Start with a white base. Paint evenly spaced vertical stripes in your chosen color — classic red, or try mustard or sage for a fresh take. Let them dry, then paint horizontal stripes in the same color right over them. Where the stripes overlap, the color doubles and creates the gingham check automatically. A final very light wash of white over everything softens the whole pattern. Crisp, cheerful, and perfect for farmhouse kitchens.
24. Boho Mandala Dotting
Paint the pumpkin a rich base like teal, plum, or burnt orange. Using dotting tools (or the ends of paintbrushes, toothpicks, and pencils in different sizes), build a mandala on the front: start with a center dot, then add rings of dots, teardrops, and tiny strokes radiating outward. White and metallic gold dots pop beautifully on dark bases. Work slowly and let each ring dry before adding the next so nothing smudges. Meditative to make, stunning to display.
25. Distressed Farmhouse Finish
Brush on a coat of white or cream chalk paint and let it dry fully. Then lightly sand the raised ribs and edges with fine-grit sandpaper so hints of the orange show through — this is the distressed look. Wipe away the dust, then rub a small amount of dark antiquing wax or watered-down brown paint into the crevices with a rag, wiping most of it back off. The result is a perfectly weathered pumpkin that looks like a flea-market find.
Tips for Painting Mini Pumpkins
- Wash mini pumpkins in mild soapy water and dry them completely before painting — paint peels off dusty or damp skin.
- Use acrylic craft paint for the best coverage; it adheres well to pumpkin skin and dries fast. Chalk paint works beautifully for matte, vintage finishes.
- Apply two thin coats instead of one thick coat to avoid brush strokes and drips, letting each coat dry 20 to 30 minutes.
- Paint pens are your best friend for details, lettering, and fine lines — much easier to control than a tiny brush.
- Seal finished pumpkins with a clear acrylic sealer (matte or gloss) so the paint survives handling and humidity.
- Let pumpkins dry on wax paper or a cooling rack so they do not stick to your work surface.
- Keep painted pumpkins out of prolonged rain; they will last the whole season on a covered porch or indoors.
Frequently Asked Questions
What kind of paint works best on mini pumpkins?
Acrylic craft paint is the best all-around choice — it sticks to pumpkin skin, covers in one or two coats, and dries quickly. Chalk paint gives a lovely matte finish for farmhouse styles, and paint pens are ideal for details and lettering.
Do I need to prime mini pumpkins before painting?
For light colors over orange pumpkins, one coat of white primer or white acrylic prevents the orange from showing through. For dark colors, you can usually skip primer and go straight to two coats of your base color.
How long do painted mini pumpkins last?
Kept dry and indoors or on a covered porch, painted mini pumpkins easily last the full fall season — often two months or more. Unpainted, they last about the same; the paint and sealer do not shorten their life.
Can kids paint mini pumpkins?
Absolutely — mini pumpkins are one of the safest fall crafts for kids since there is no carving involved. Use washable tempera or kid-safe acrylics, cover the table, and let them go wild with dots, handprints, and glitter glue.
Conclusion
Twenty-five ideas, one bag of mini pumpkins, and a free afternoon — that is all it takes to fill your home with handmade fall charm. Start with the simple dots or stripes if you are new to painting, and work your way up to the marbling and mandalas once you are feeling brave. However you decorate them, painted mini pumpkins are proof that the best fall crafts do not need to be complicated to be beautiful. Happy painting!