Introduction
Rainy Saturday, two kids bouncing off the walls, and I needed something that did not involve a screen or glitter (never glitter — I am still finding it from 2019). Paper crafts saved us. What I love about paper crafts for kids is how little you need: paper, scissors, glue, and maybe some markers. No special skills, no expensive kits, no 47-step instructions. My kids are 5 and 8, and I have tested every one of these 21 easy paper crafts with them. Some took 10 minutes, some took an hour, all of them kept small hands busy and produced something they were genuinely proud of. Whether you are a parent, teacher, or babysitter, these are the paper crafts that actually work.
1. Paper Plate Animals
Paper plates are the unsung hero of kids’ crafts — cheap, sturdy, and already round. My kids have made lions (yellow plate, orange construction paper mane cut in strips), pigs (pink plate, triangle ears, curly pipe cleaner tail), and owls (brown plate, big googly eyes). The formula is simple: plate as the face, construction paper for ears/features, markers for details. I buy the plain white plates in bulk because the coated ones do not take glue well. This is perfect for ages 3+ because there is no wrong way to do it. My 5-year-old’s lion looked more like a sun, and she loved it just as much. Display them on the fridge — instant art gallery.
2. Origami Jumping Frogs
Origami frogs that actually jump when you press their backs — my kids lost their minds over this. The folds are simple enough for ages 6+ (younger kids need help with the precise folds). I use regular printer paper cut into squares; origami paper is nicer but not necessary. There are great video tutorials, but the basic sequence is: fold in half, fold corners to center, flip, fold legs. The jumping mechanism is just pressing down on the back and releasing. We had frog races across the kitchen table for a solid hour. Pro tip: use slightly thicker paper (cardstock) for better jumps. My 8-year-old now teaches this to her friends.
3. Handprint Art
Trace little hands, cut them out, turn them into something else — this never gets old. We have made handprint turkeys (Thanksgiving), handprint flowers (fingers as petals), handprint reindeer (thumbs as antlers), and handprint fish. I trace their hands on colored construction paper because cutting is good fine-motor practice. For toddlers, I trace and cut while they do the decorating with stickers and markers. Date the back — I have a folder of these going back years, and seeing how tiny their hands were makes me emotional every time. This is also a great beginner craft project because it is almost impossible to mess up.

4. Paper Chain Garland
Cut strips, loop, glue, repeat — paper chains are meditative for kids and look fantastic as party decorations. My kids made a 20-foot chain for a birthday party in about 45 minutes (with my help on cutting). We used alternating colors for patterns, and my daughter wrote something she was grateful for on each link for Thanksgiving. The glue stick is key — liquid glue makes a soggy mess. I cut the strips ahead of time for younger kids using a paper cutter (way faster than scissors). Hang them in doorways, across the mantel, or around a birthday chair. They store flat if you are gentle, so we reuse them.
5. Toilet Paper Roll Binoculars
Two empty toilet paper rolls, taped together, with a string for the neck strap — instant binoculars for backyard safaris. My kids decorated theirs with markers and stickers before we went “bird watching” (we saw a robin and two squirrels, very exciting). I punch holes on the outer sides for the string. This takes 10 minutes and leads to an hour of imaginative play, which is the best ROI of any craft I know. We have also made them into telescopes (one roll) and kaleidoscopes (one roll + wax paper + confetti inside). Save your cardboard tubes — they are craft gold.
6. Folded Paper Fans
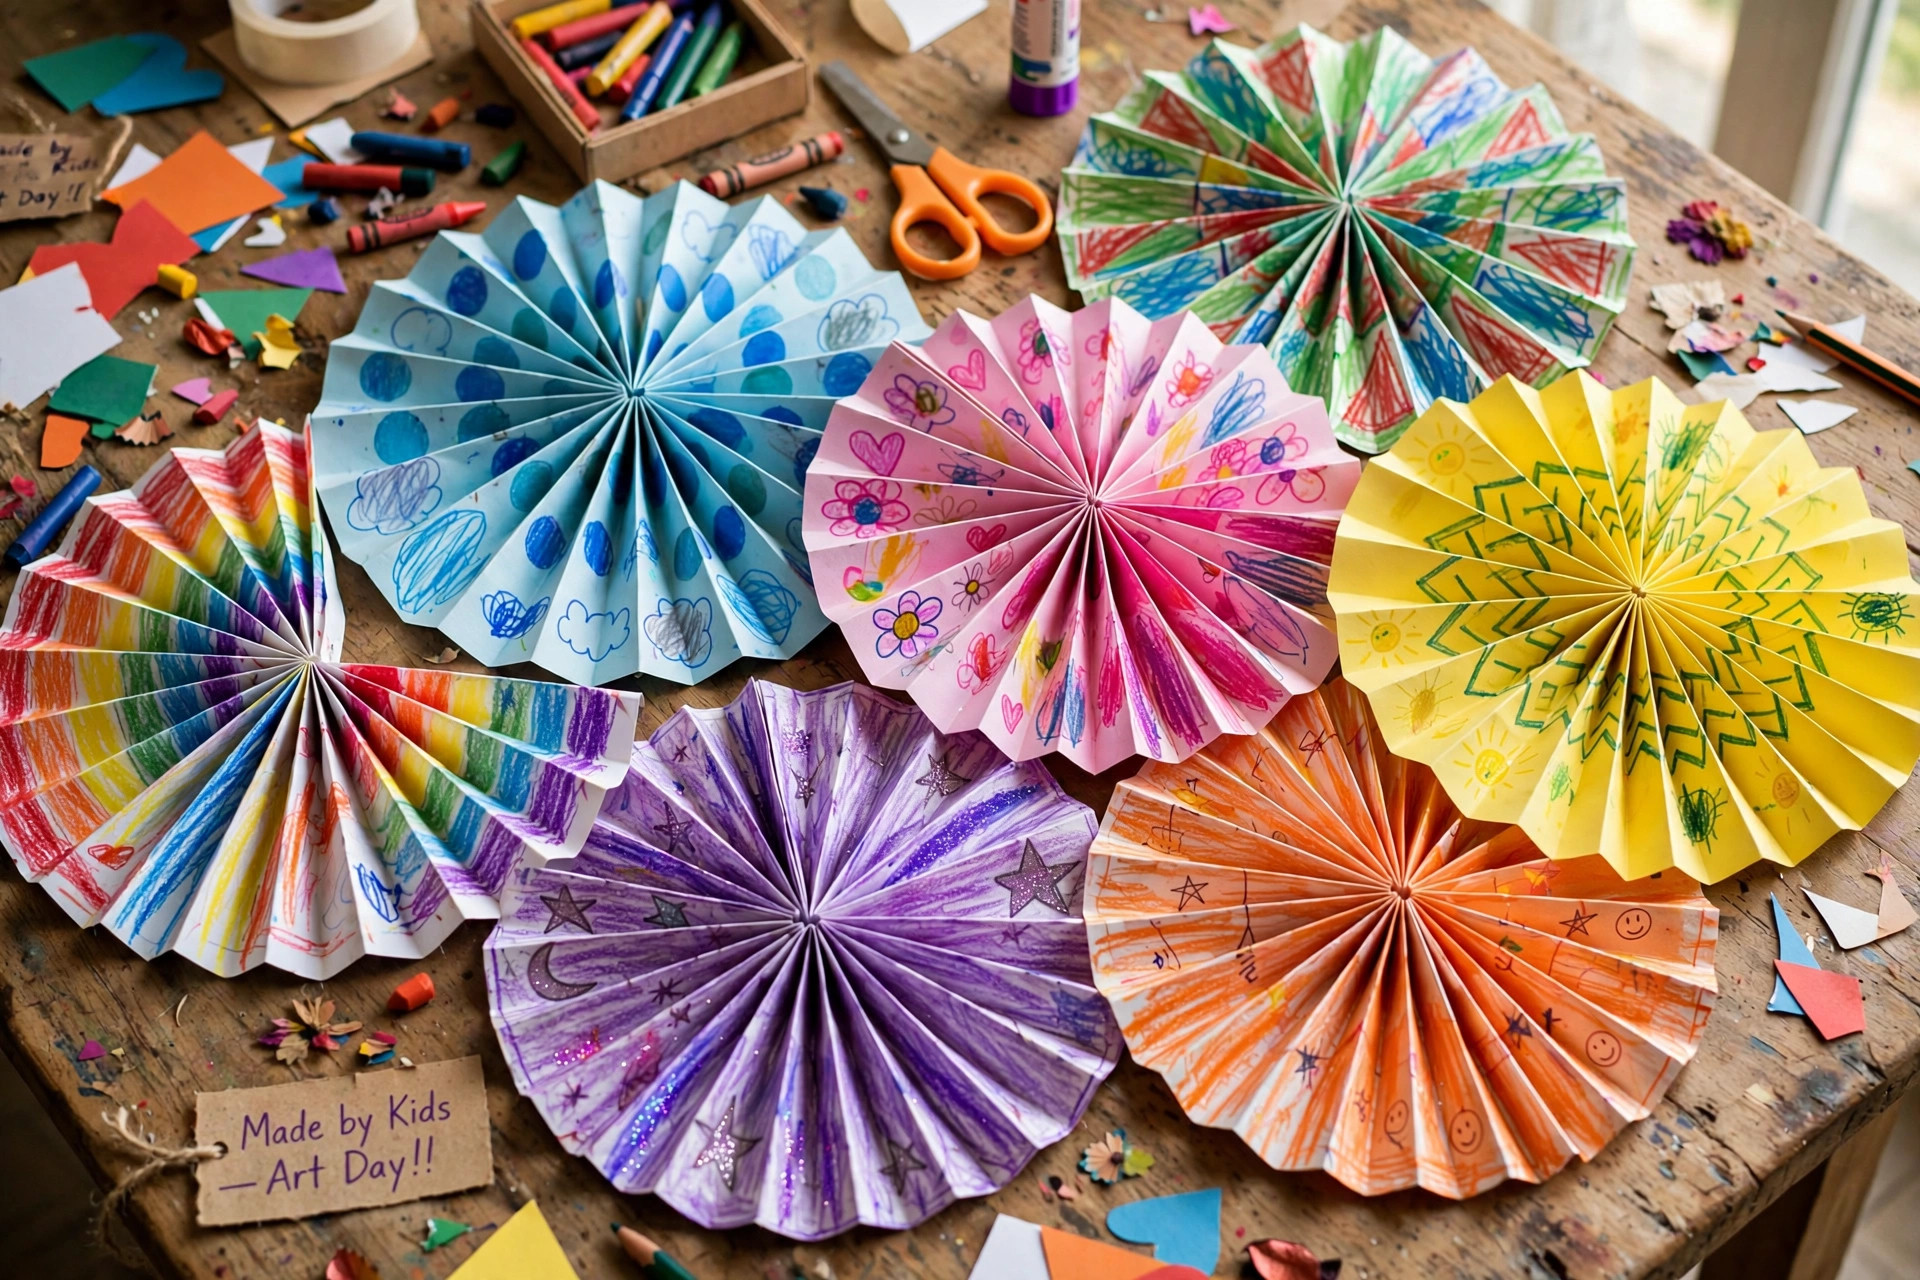
Accordion-fold a piece of paper, pinch the bottom, fan out the top — you have a beautiful paper fan. My kids make these in every color and use them as decorations, actual fans in summer, and once as a “peacock tail” for a costume. The trick is making the folds even; I draw light pencil lines for younger kids to follow. We glue a popsicle stick to the pinched bottom as a handle. For a fancier version, use patterned scrapbook paper or let kids decorate plain paper first with markers. These take 5 minutes and kids as young as 4 can do them with a little help on the folds.
7. Paper Bag Puppets
Brown paper lunch bags become puppets with just markers and construction paper. The bottom flap is the mouth — when you put your hand inside, it talks. My kids have a whole puppet theater (a cardboard box with a cut-out window) and put on shows that are… creative. We make animals, monsters, and family members. Googly eyes are non-negotiable — everything is funnier with googly eyes. I keep a stash of paper bags specifically for this. It is perfect for rainy days because the crafting takes 20 minutes and the puppet show takes another 30. Educational bonus: great for storytelling and shy kids.
8. Quilled Paper Hearts
Paper quilling sounds fancy, but simple shapes are easy for kids 7+. Cut thin strips of colored paper, roll them around a pencil, let them uncoil slightly, and glue the end. My daughter makes hearts by pinching one side of a rolled circle. We glue them onto cards for grandparents — they look incredibly impressive for the effort involved. I bought a basic quilling kit with a slotted tool, but a toothpick works fine. Start with simple coils and hearts before attempting anything complex. The repetitive rolling is weirdly calming; my daughter does this while listening to audiobooks.
9. 3D Paper Stars
These puffy 3D stars look like they came from a boutique, but they are just strips of paper woven and folded. I learned the technique from a video — it takes a few tries to get the hang of it, but kids 8+ can master it. We make them in Christmas colors for the tree, pastels for spring, and my son made a whole mobile of them for his room. The strips need to be the right proportions (about 1:20 width to length), so I cut them with a paper cutter for consistency. Once you learn the fold, you can make one in 2 minutes. They are addictive.

10. Paper Weaving Placemats
Weave strips of construction paper over-under to make placemats — it is basically giant textile work for kids. I cut 1-inch strips and show them the over-under pattern once; most kids get it immediately. We make seasonal ones (orange/black for Halloween, red/green for Christmas) and actually use them at the table. Laminate them with clear contact paper and they last for months and wipe clean. This is excellent for developing pattern recognition and fine motor skills. My 5-year-old needed help starting the first two rows, then did the rest independently. We have a stack of these for every holiday.
11. Pop-Up Cards
A card that pops open with a 3D shape inside feels like magic to kids. The basic mechanism is simple: fold a card, cut two slits on the fold, push the tab inward. My kids make pop-up birthday cards, Mother’s Day cards, and thank-you notes. We decorate the pop-up tab as a cake, heart, or monster. There are endless variations once you understand the tab mechanism. I keep blank cards and envelopes on hand because my kids now refuse to give store-bought cards. The recipients are always impressed, which motivates the kids to make more. Win-win.
12. Paper Airplanes (Beyond the Basic Dart)
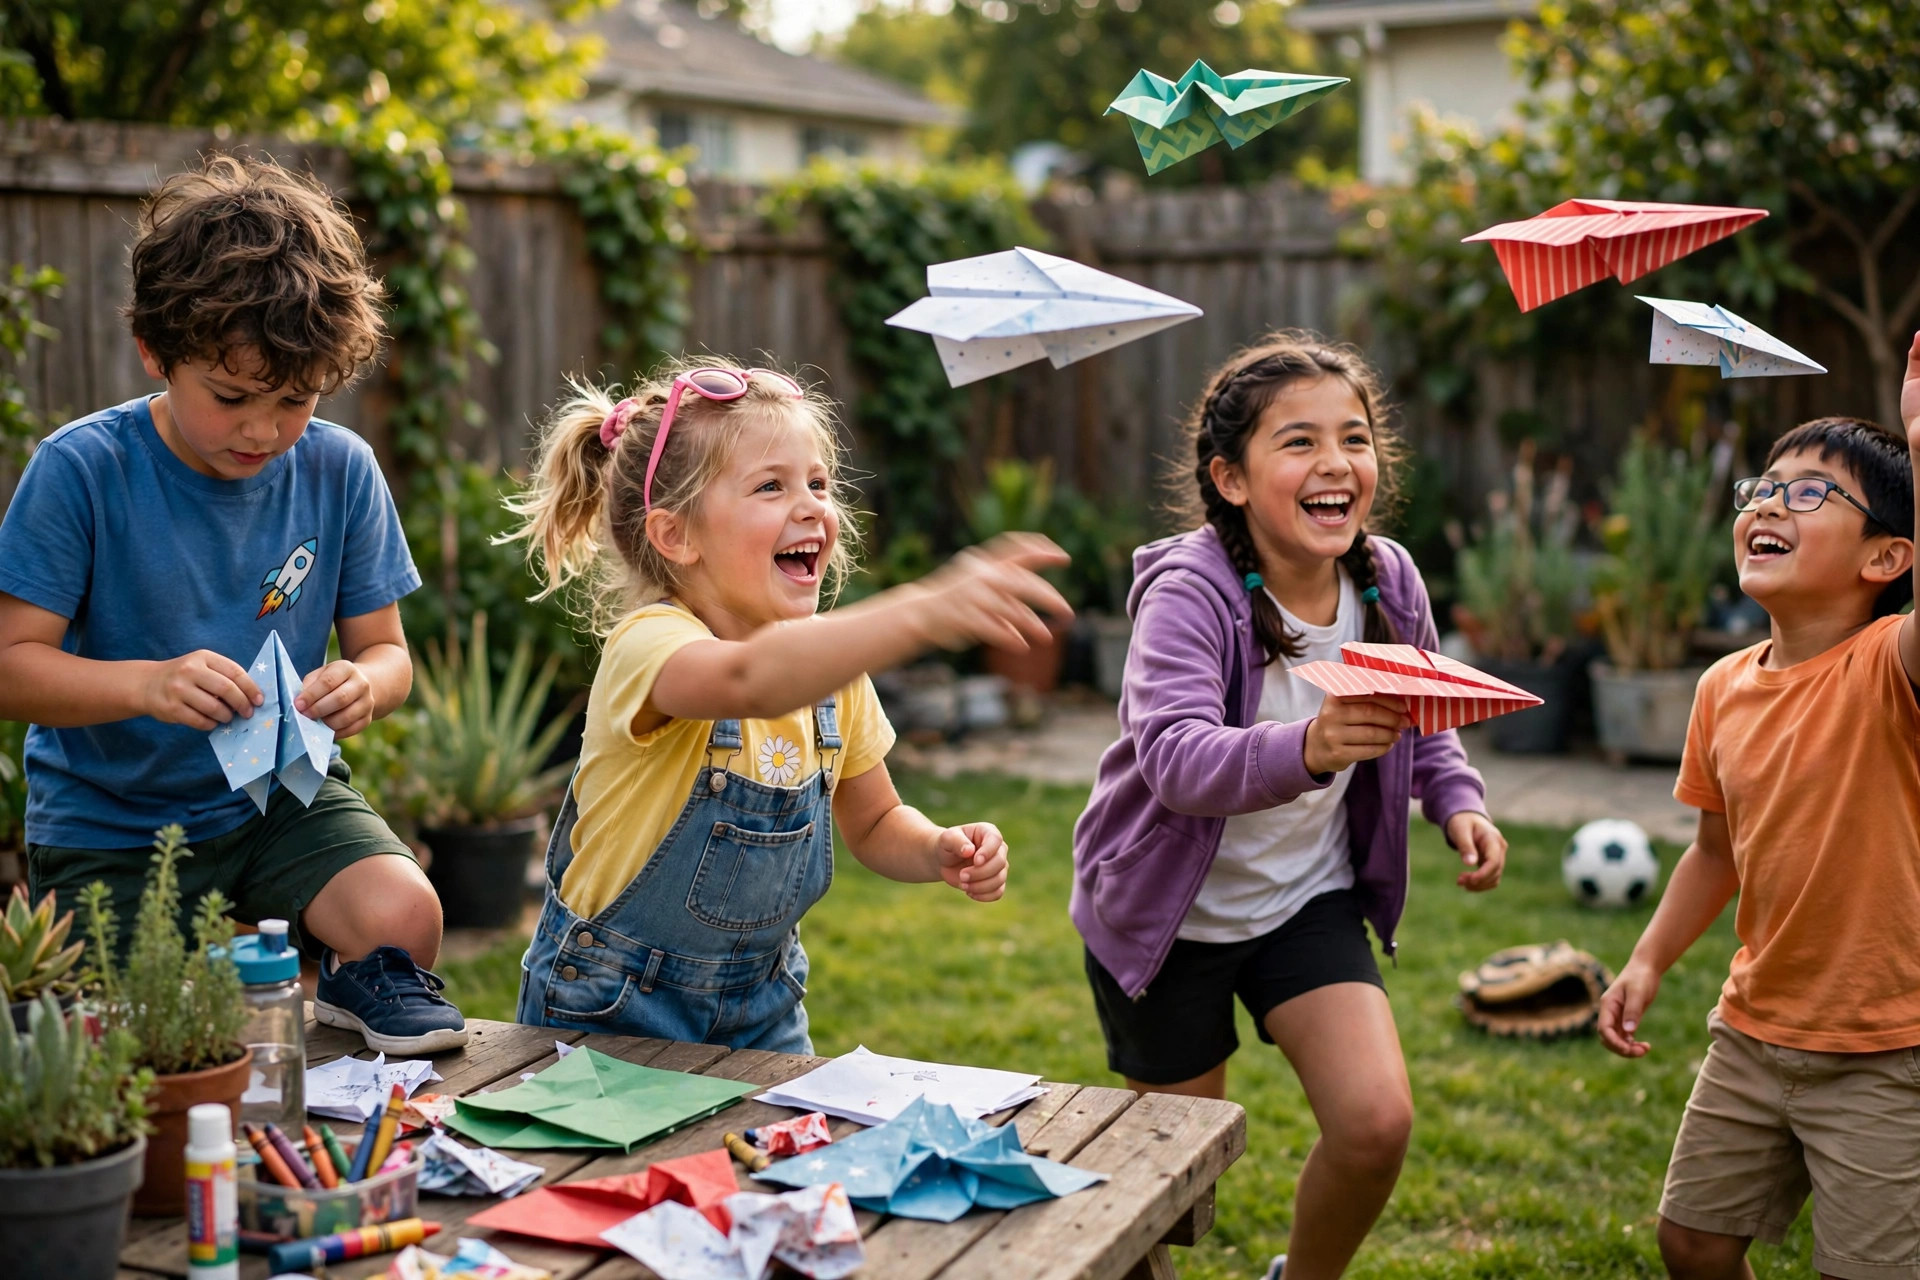
Everyone knows the basic dart, but there are dozens of paper airplane designs — gliders, stunt planes, boomerangs. My son and I spent a whole weekend testing different folds and measuring flight distances in the backyard. We use regular printer paper; heavier paper flies differently (good physics lesson). I print folding diagrams from the internet because my spatial reasoning is terrible. We have contests for longest flight, most loops, and best landing. This is secretly educational — it teaches following instructions, aerodynamics basics, and the scientific method (hypothesis, test, adjust). And it is just fun.
13. Tissue Paper Stained Glass
Tape tissue paper squares onto contact paper, then hang in the window — it looks like stained glass when light shines through. My kids make seasonal versions: autumn leaves, snowflakes, spring flowers. I cut the tissue into small squares ahead of time (tissue tears if kids try to cut it). The contact paper is sticky on one side; they just press the tissue on. We frame them with black construction paper borders for a real stained-glass effect. They are beautiful taped to windows and take 15 minutes. This is my go-to for playdates because every kid succeeds and they all look different.
14. Origami Bookmarks
Corner bookmarks — the ones that slip onto the page corner — are the perfect first origami project. Three folds and you have a functional bookmark. My daughter makes them as gifts, decorating each one as a monster, animal, or with patterns. They take 2 minutes once you know the folds. We use 6-inch squares of colorful paper. This is great for reluctant readers because making the bookmark gets them excited about using it. My son, who “hates reading,” made a shark bookmark and then needed a book to put it in. Crafty parenting win.
15. Paper Mosaic Art
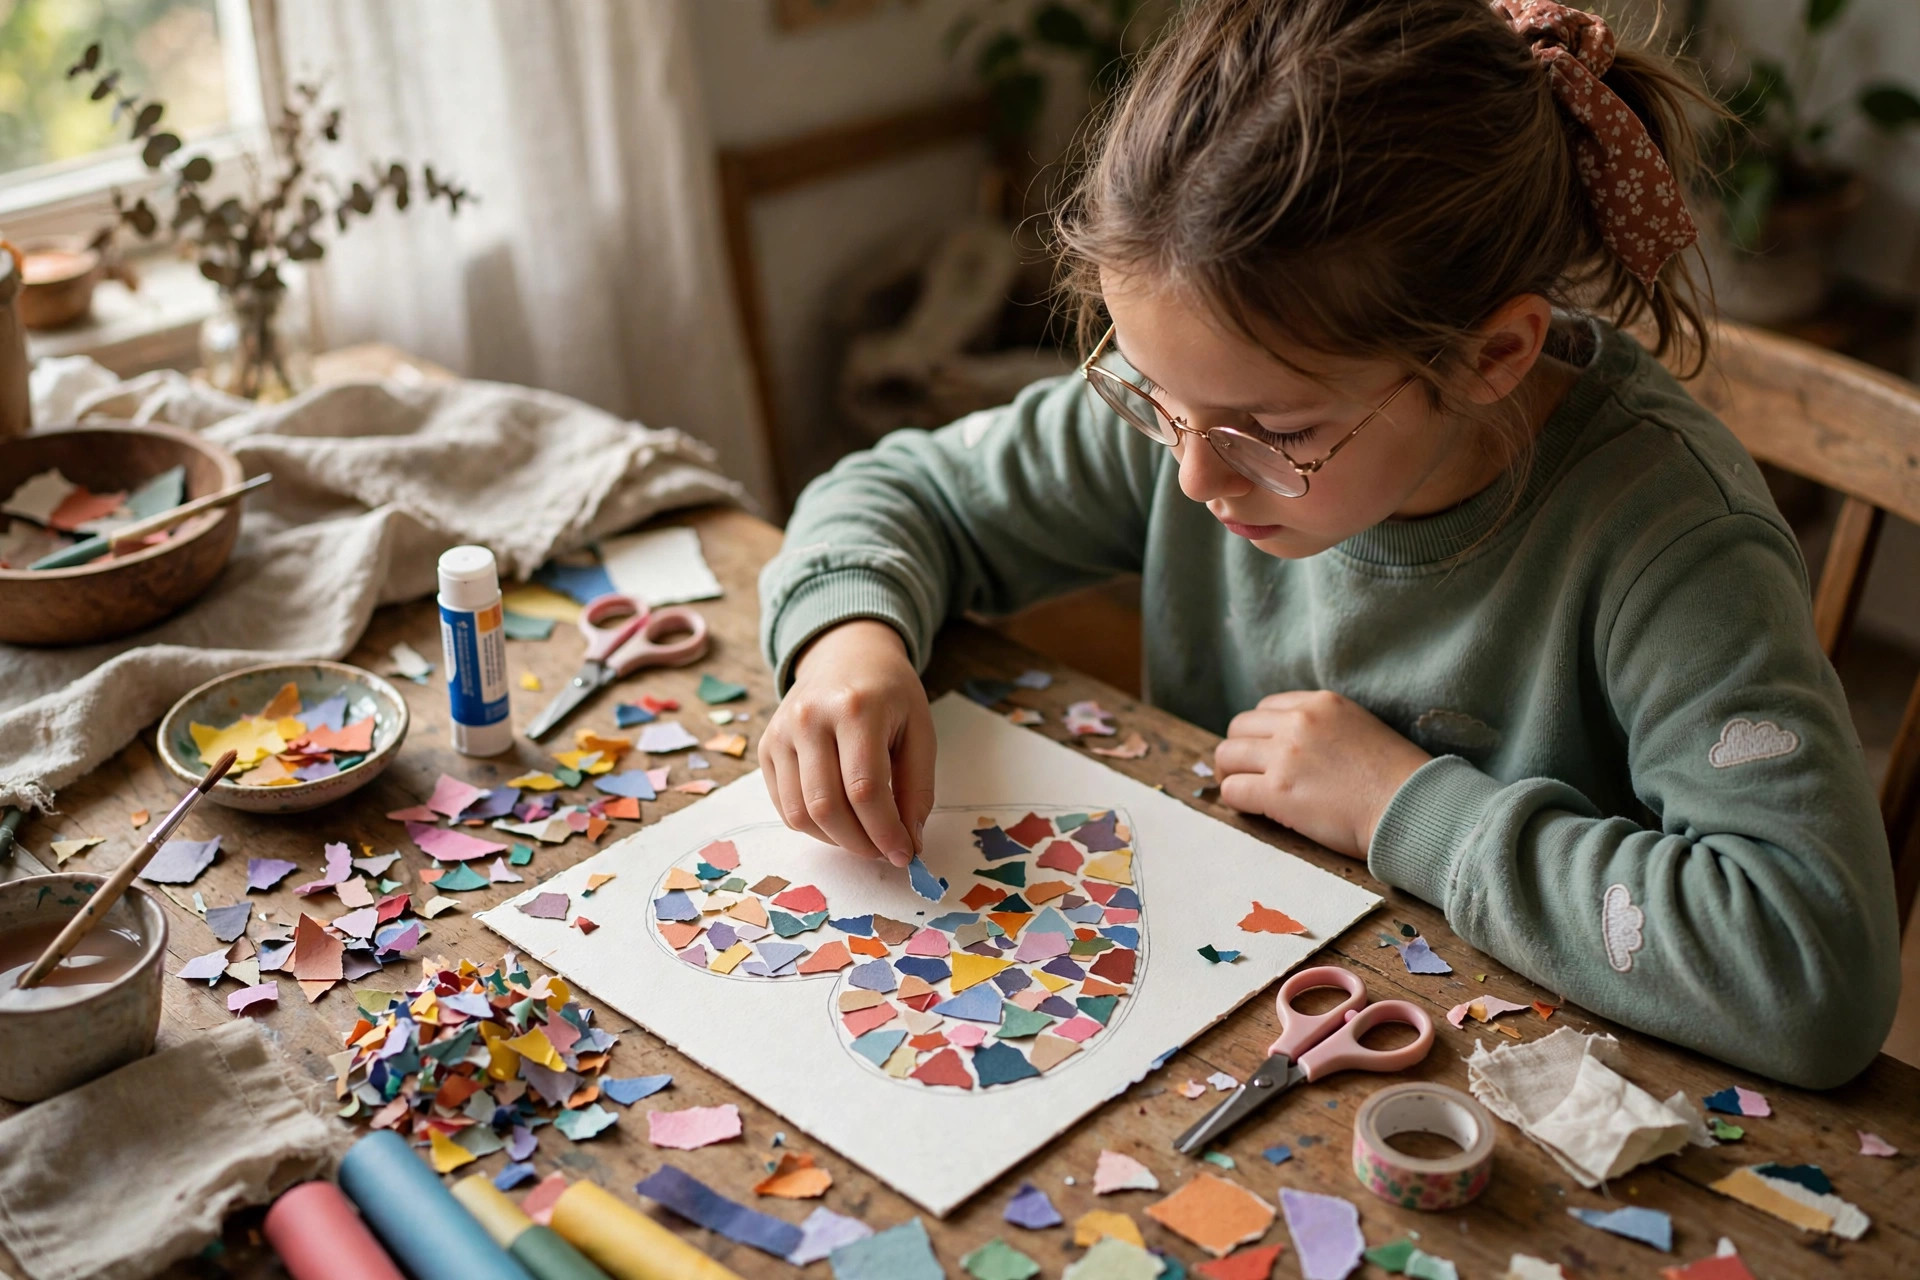
Tear or cut colored paper into small pieces and glue them onto a drawn outline to make mosaics. My kids fill in simple shapes — hearts, stars, animals — with the paper tiles. Tearing (instead of cutting) gives a nice textured edge and is easier for toddlers. I draw the outline in thick marker and let them fill it in. We use old magazines and junk mail for the paper, so it is basically free and eco-friendly. This is very forgiving — there is no wrong way to fill a shape with colorful pieces. The results look like real mosaic art from a distance.
16. Fortune Tellers (Cootie Catchers)
The playground classic never dies. Fold the square, fold the corners, flip, fold again — my kids make these constantly. We write fortunes, jokes, dares, or quiz questions inside. My daughter made a “what should we have for dinner” one that we actually use. The folding sequence is a great memory exercise; my 8-year-old can do it without instructions now. Use regular printer paper or fun patterned paper. This is pure nostalgia for parents and endless entertainment for kids. I have found these in backpacks, couch cushions, and once in my shoe.
17. Paper Lanterns
Fold a paper in half, cut slits from the fold (stopping before the edge), unfold, roll into a tube, and you have a lantern. My kids make these for every party — they hang them from the ceiling with string. We use colored construction paper and add a battery tealight inside for a real glow (never real candles). The cutting practice is excellent for scissor skills. For a variation, we glue tissue paper over the slits for a stained-glass effect. They flatten for storage and pop back open. I have a box of these we reuse for birthdays.
18. Woven Paper Hearts (Danish Hearts)
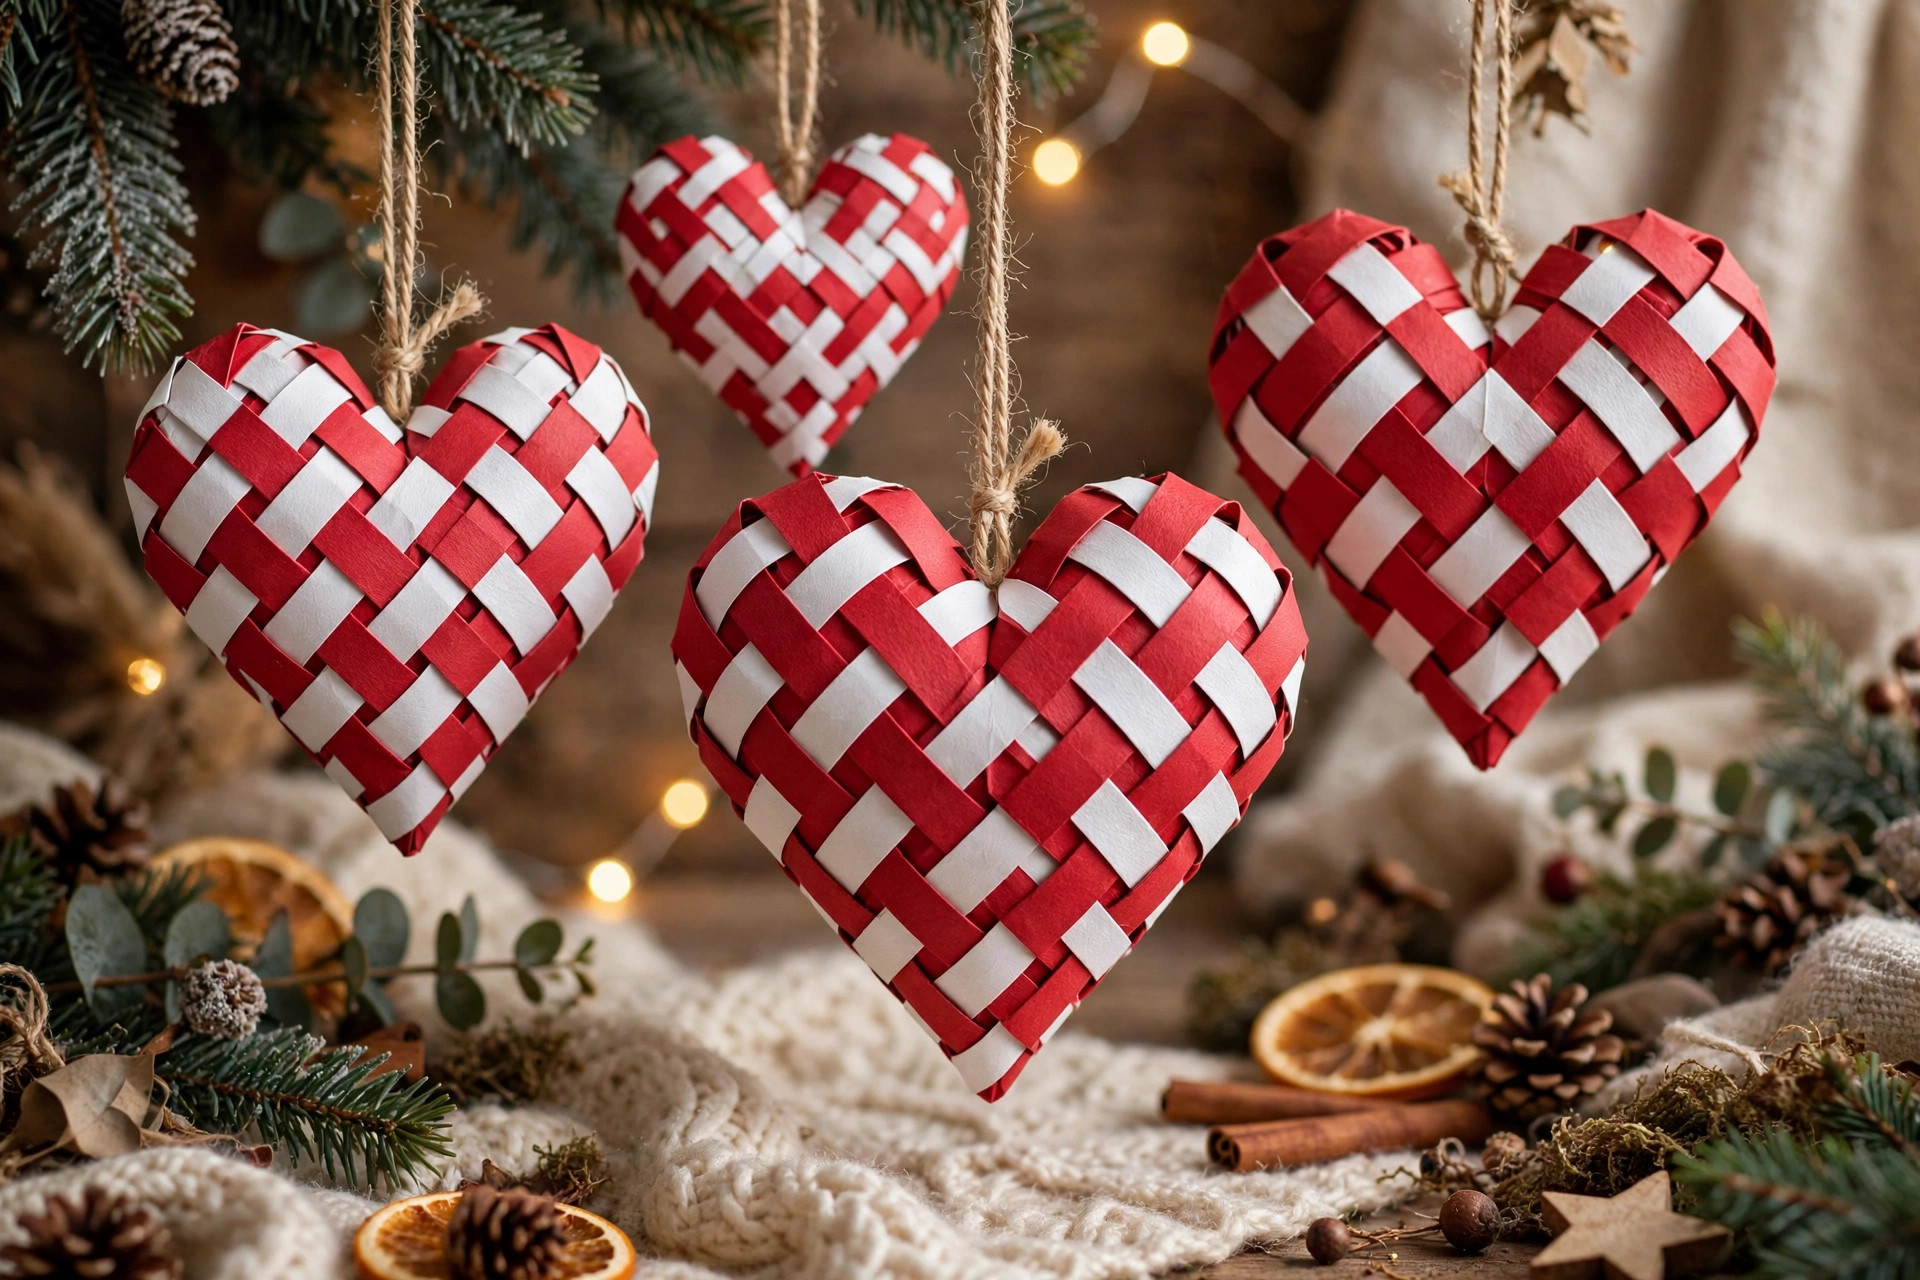
These woven hearts look incredibly complex but are just two pieces of paper cut and woven together. I learned them from my Danish neighbor — they are a traditional Scandinavian Christmas decoration. Kids 7+ can manage with some guidance on the weaving. We make them in red/white for Christmas, pink/red for Valentine’s, and they become little baskets that actually hold candy. The weaving is like a puzzle; my son found it deeply satisfying once it clicked. They hang beautifully on the tree or in windows. This is a craft with cultural heritage, which I love sharing.
19. Paper Plate Masks
Cut eye holes in a paper plate, decorate, add a stick or elastic — instant mask. My kids have been lions, superheroes, butterflies, and robots. The decorating is the fun part: paint, markers, feathers, glitter (okay, just this once). I cut the eye holes myself with a craft knife because safety. We do this before pretend play, and the masks transform the game. For a party activity, set out a mask station with pre-cut plates and let kids go wild. They wear them for the rest of the party. Simple, cheap, and the photos are hilarious.
20. Accordion Books
Fold a long strip of paper accordion-style, and you have a mini book. My kids write and illustrate their own stories — usually about our pets doing ridiculous things. We use a strip of cardstock about 3 inches tall and as long as we want. Each fold is a page. They write a sentence and draw a picture per page. It is creative writing disguised as craft time. My daughter has a whole series about a cat detective. These make wonderful gifts for grandparents. The format is less intimidating than a blank page, so even reluctant writers dive in.
21. Paper Snowflakes
The classic never fails. Fold, cut, unfold — every snowflake is unique, which is a great nature lesson. My kids and I make dozens every winter; we hang them in windows with fishing line. I teach the basic 6-point fold, then let them experiment with different cut patterns. Coffee filters work great for younger kids (already round, easy to cut). We have also made giant ones from butcher paper for wall decorations. They store flat in a folder. This is the craft I remember from my own childhood, and now my kids love it too. Some traditions are worth repeating.
Styling Tips
- Prep ahead: cut paper to size and set out supplies before inviting kids to the table — waiting kills enthusiasm.
- Use washable markers and glue sticks (not liquid glue) for kids under 7 to minimize mess and frustration.
- Cover the table with a cheap plastic tablecloth or newspaper; cleanup takes 2 minutes instead of 20.
- Let kids deviate from the instructions — the weird purple lion is more valuable than a perfect copy.
- Display finished crafts immediately (fridge, string with clothespins, dedicated shelf) — it validates their effort.
- Keep a “craft box” stocked with basics (paper, scissors, glue, markers) so you can start anytime inspiration strikes.
Frequently Asked Questions
What paper crafts are good for kids? The best starter crafts are paper plate animals, handprint art, paper chains, folded fans, and paper bag puppets — they need minimal supplies, have simple steps, and produce satisfying results quickly. For ages 7+, add origami frogs, quilling, and pop-up cards. Always match the complexity to the child’s age and scissor skills.
What age can kids start paper crafts? Toddlers (2-3) can do tearing, sticking stickers, and scribbling on pre-cut shapes. Ages 4-5 can cut simple shapes, glue, and fold with help. Ages 6-8 handle origami basics, weaving, and multi-step projects independently. There is no upper age limit — my 8-year-old still loves paper chains, and I enjoy quilling myself.
How do you keep paper crafts simple for toddlers? Pre-cut everything, use glue sticks instead of liquid glue, choose projects with 3 steps or fewer, and focus on process over product. Tearing paper, sticking pre-cut shapes, and stamping are perfect. Sit with them — toddlers need company more than instructions. Keep sessions to 15-20 minutes.
What supplies do I need for kids paper crafts? The essentials: construction paper, white printer paper, kid-safe scissors, glue sticks, washable markers, and paper plates. Nice to have: googly eyes, pipe cleaners, popsicle sticks, tissue paper, and stickers. You can do 90% of kids’ paper crafts with just the essentials — do not buy a kit until you know they enjoy it.
Final Thoughts
Paper crafts are the perfect kid activity: cheap, low-mess (mostly), educational, and genuinely fun. My kids have learned patience, fine motor skills, and creativity — all from paper and glue. Start with one of these 21 ideas this weekend. You might be surprised which one becomes the new family favorite. (For us, it was the jumping frogs. We are still finding them under furniture.) Turn December into a daily craft with these DIY advent calendar ideas the kids can help build.