20 Modern Bathroom Ideas on a Budget
Walk into a bathroom that was updated a decade ago and you can usually tell within seconds: the faucet with water spots baked on, the cloudy-edged medicine cabinet mirror, grout that’s gone grey no matter how hard you scrub. A full gut renovation is the expensive answer — but most of what reads as modern comes from a dozen small, cheap decisions: swapping finishes, changing the light, rethinking what hangs on the wall. The twenty ideas below are those moves, focused on small bathroom ideas that change how the whole room feels without the cost of a full remodel.
Most of these land under $50 in materials; a few stretch to $150–$250, and none require tearing out plumbing or hiring a contractor. Pick the ones that fit your room’s size and the condition of what’s already there, and skip the rest — five well-chosen changes beat twenty half-hearted ones.
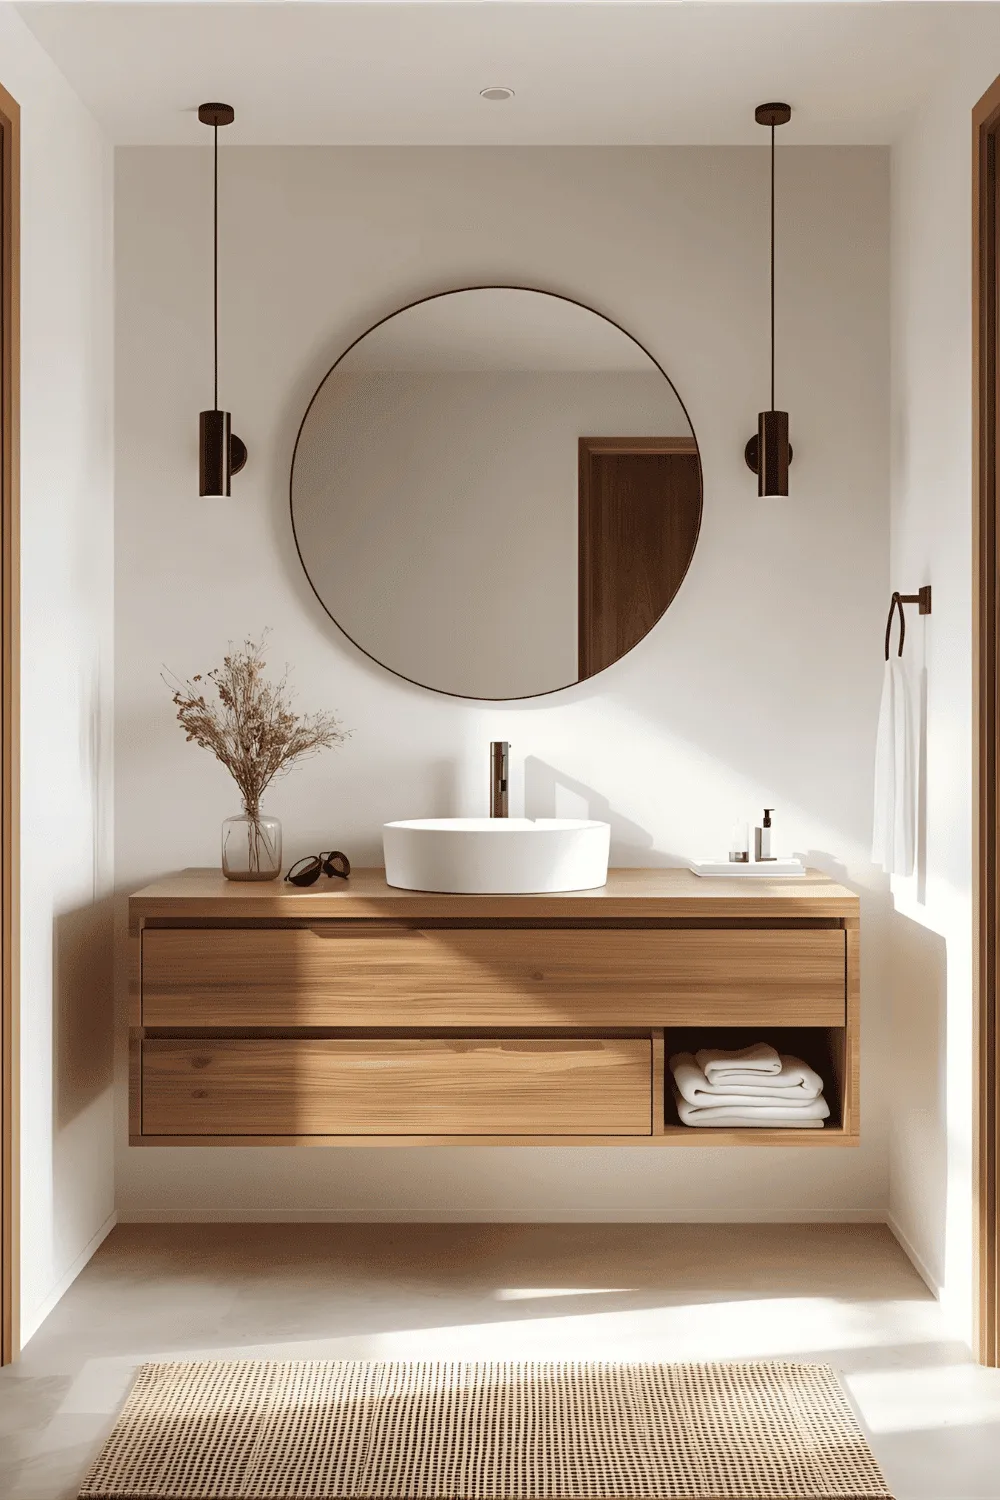
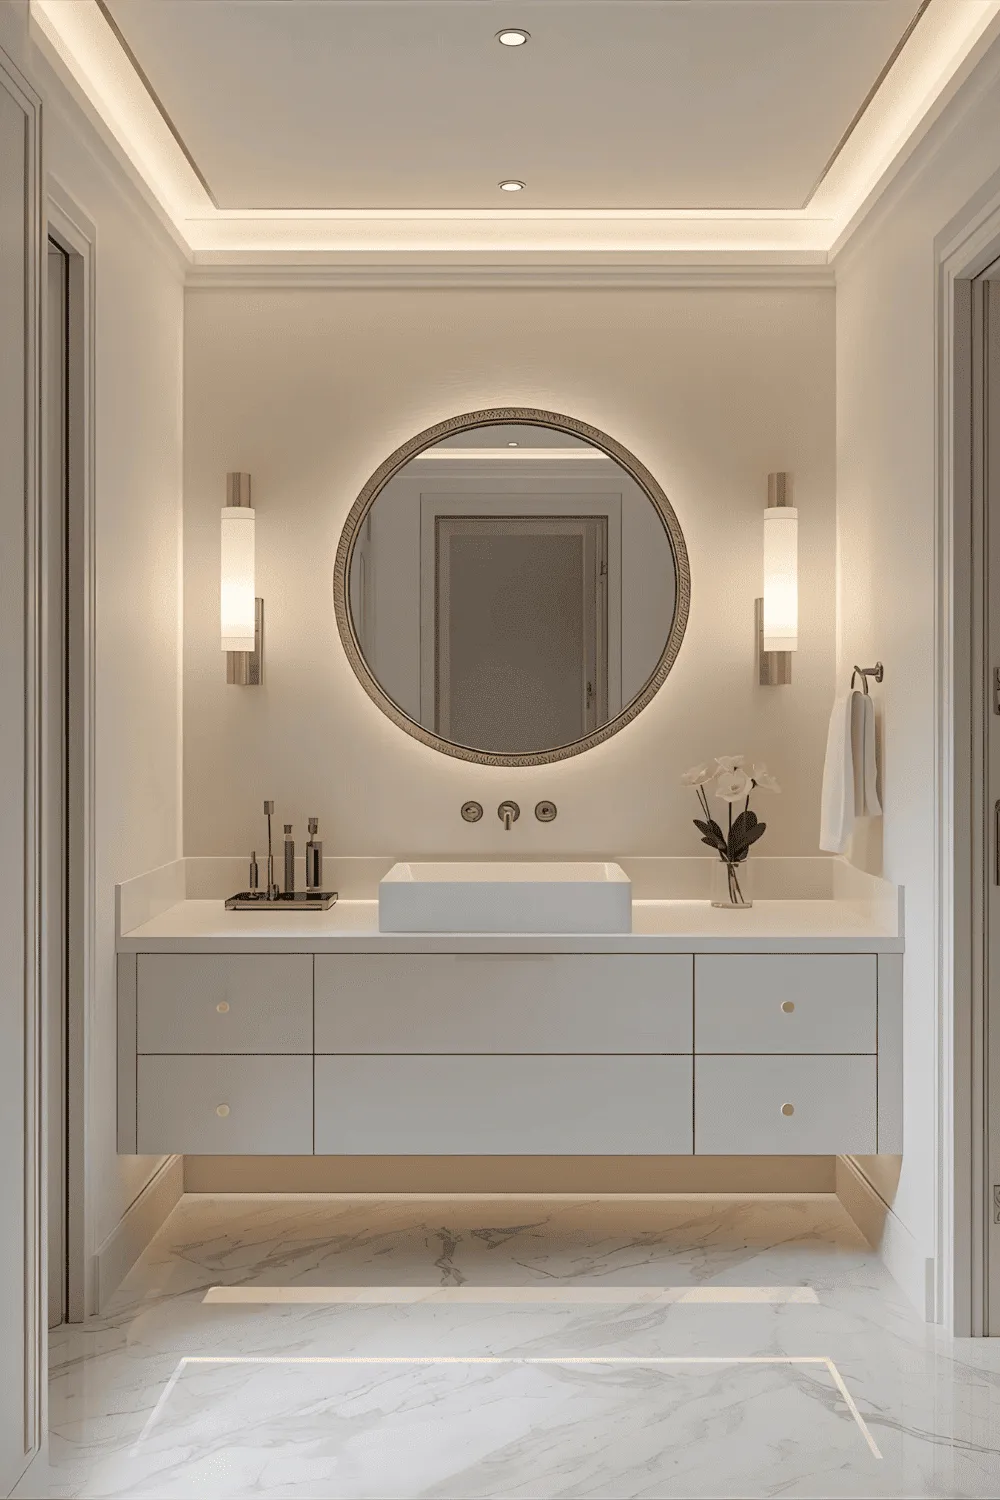
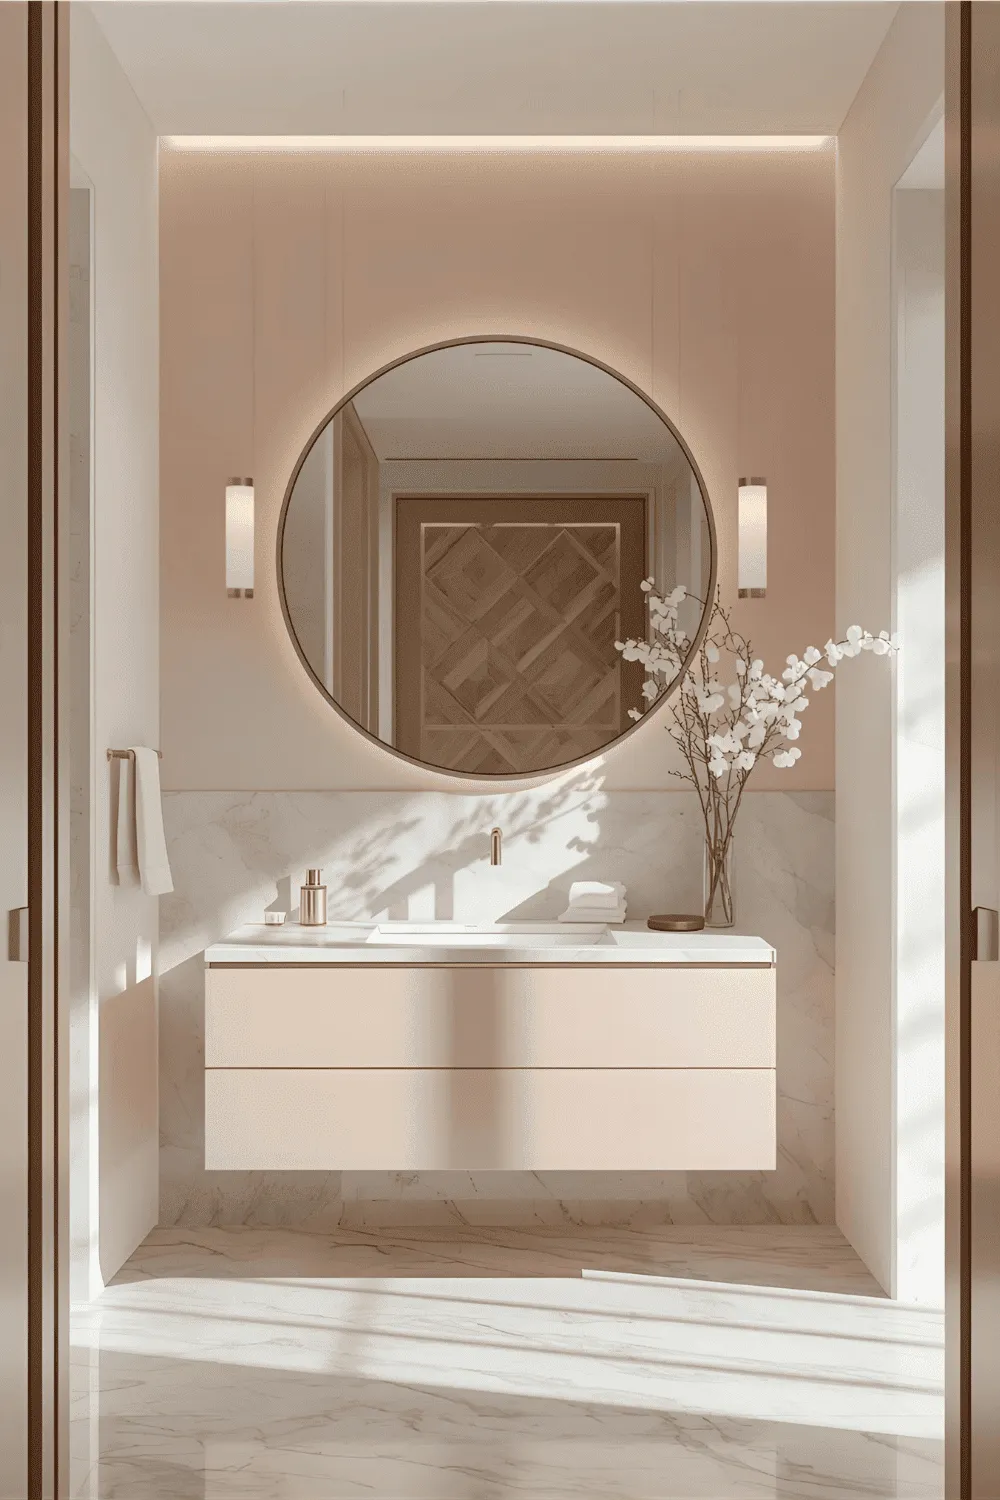
1. Install a Floating Vanity for a Clean, Modern Look
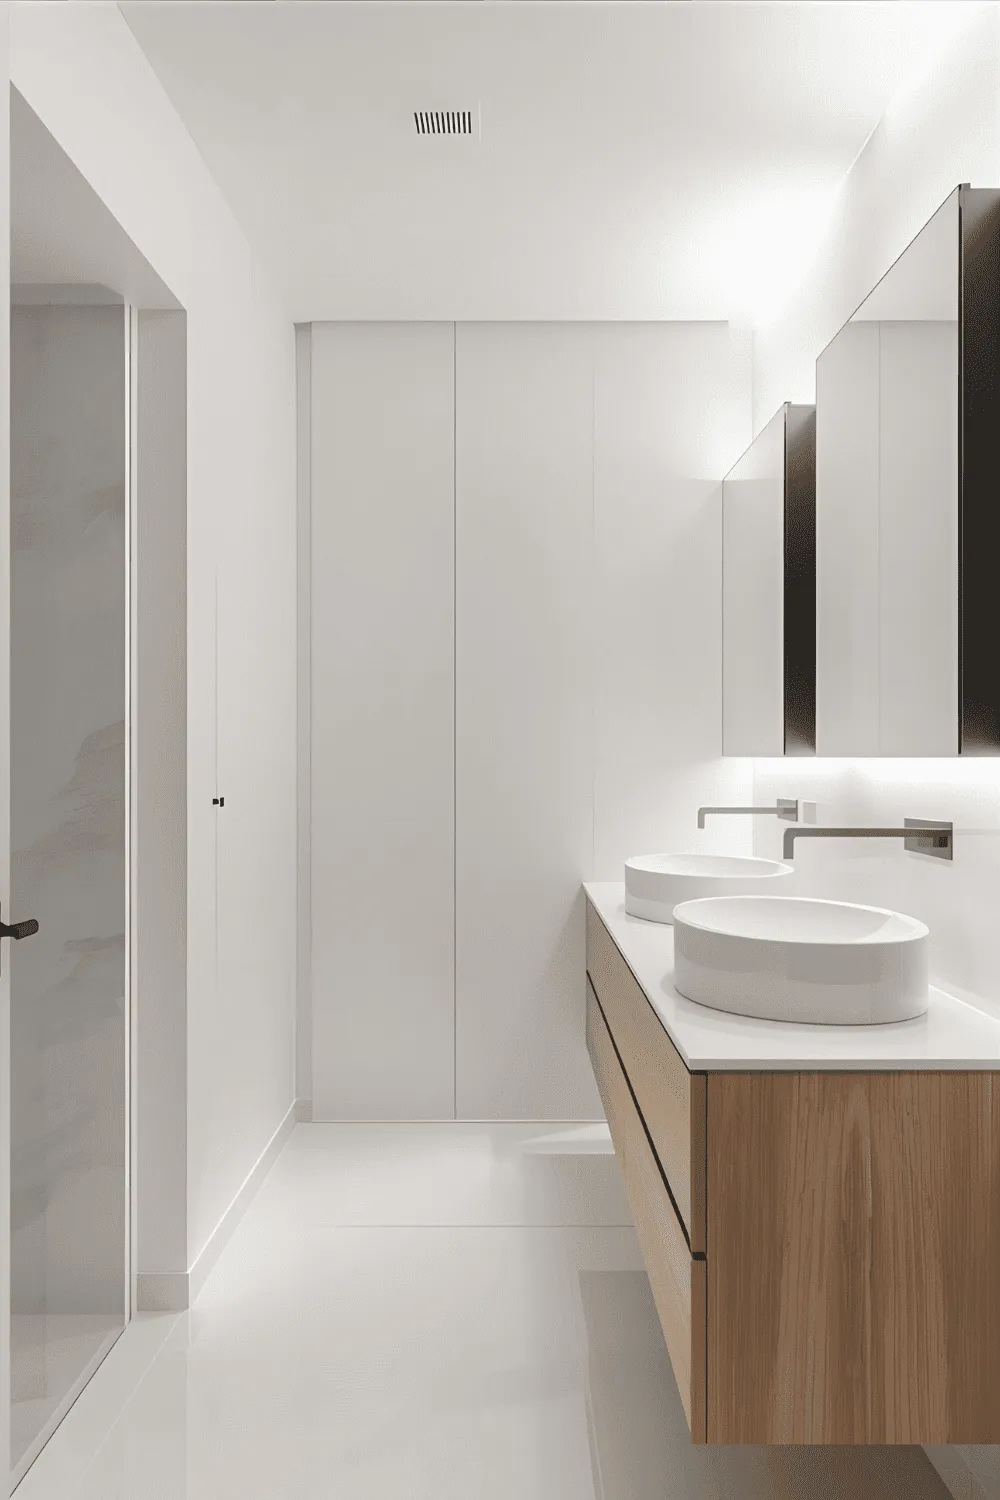
A floating vanity makes the floor visible all the way to the wall, which tricks the eye into reading the room as bigger than it is — the single most effective move in a narrow bathroom. Ready-made versions in oak-look laminate or matte white start around $120 at big-box stores, and the wall-mount bracket installs in an afternoon with two lag bolts into studs. Keep the basin shallow (under 7 inches deep) so the unit stays slim.
Running a $15 adhesive LED strip along the underside throws a soft glow onto the tile at night, which doubles as a nightlight for kids’ bathroom trips. One caution: mount the vanity 18–20 inches off the floor — lower looks chunky, higher leaves an awkward gap. Pair it with a rectangular vessel or undermount basin and matching black or brass hardware to finish the look.
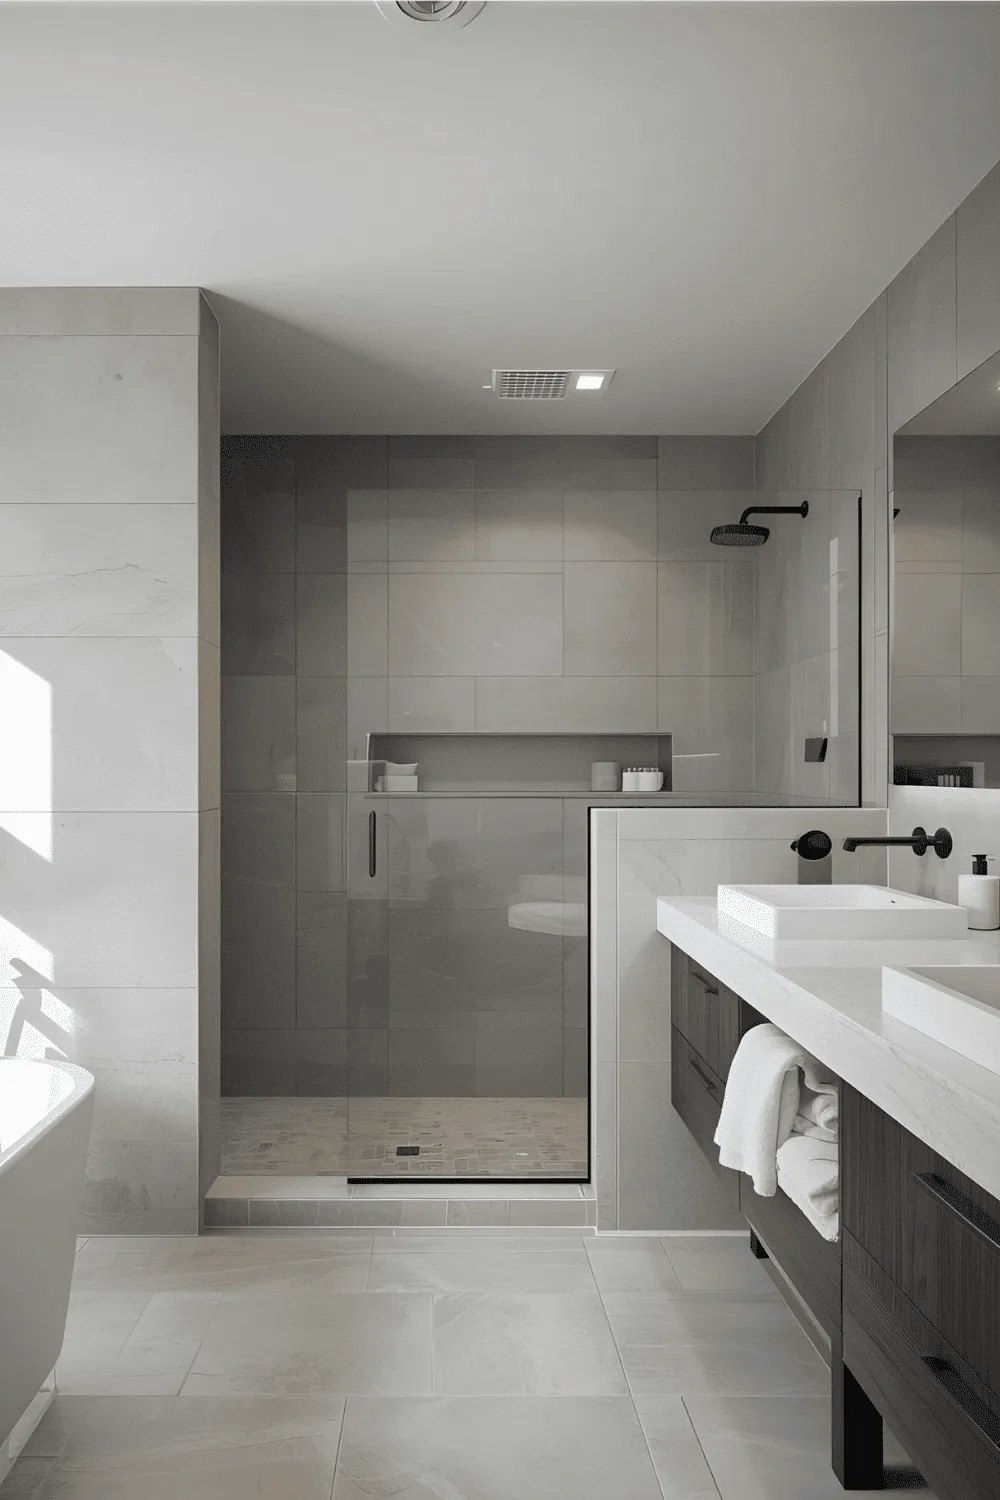
2. Use Large Format Tiles to Create a Sleek Surface
A 12×24 porcelain tile has roughly one-ninth the grout lines of a 4×4 mosaic, which means less scrubbing and a calmer-looking floor. Stone-look and concrete-look porcelain now runs $2–$4 per square foot — a fraction of real travertine — and big-box stores carry it in stock. The one real cost is labor: large tiles need a flat substrate, so budget a day for leveling if your floor is wavy.
In a small room, run the same tile from floor to one shower wall with no border strip; the uninterrupted surface makes a 5×8 bathroom read noticeably wider. Keep the grout color close to the tile (a medium grey with grey tile) so the grid fades instead of shouting. Even doing just the floor — about 40 square feet in a standard bath — takes a weekend for a first-timer with a rented wet saw.
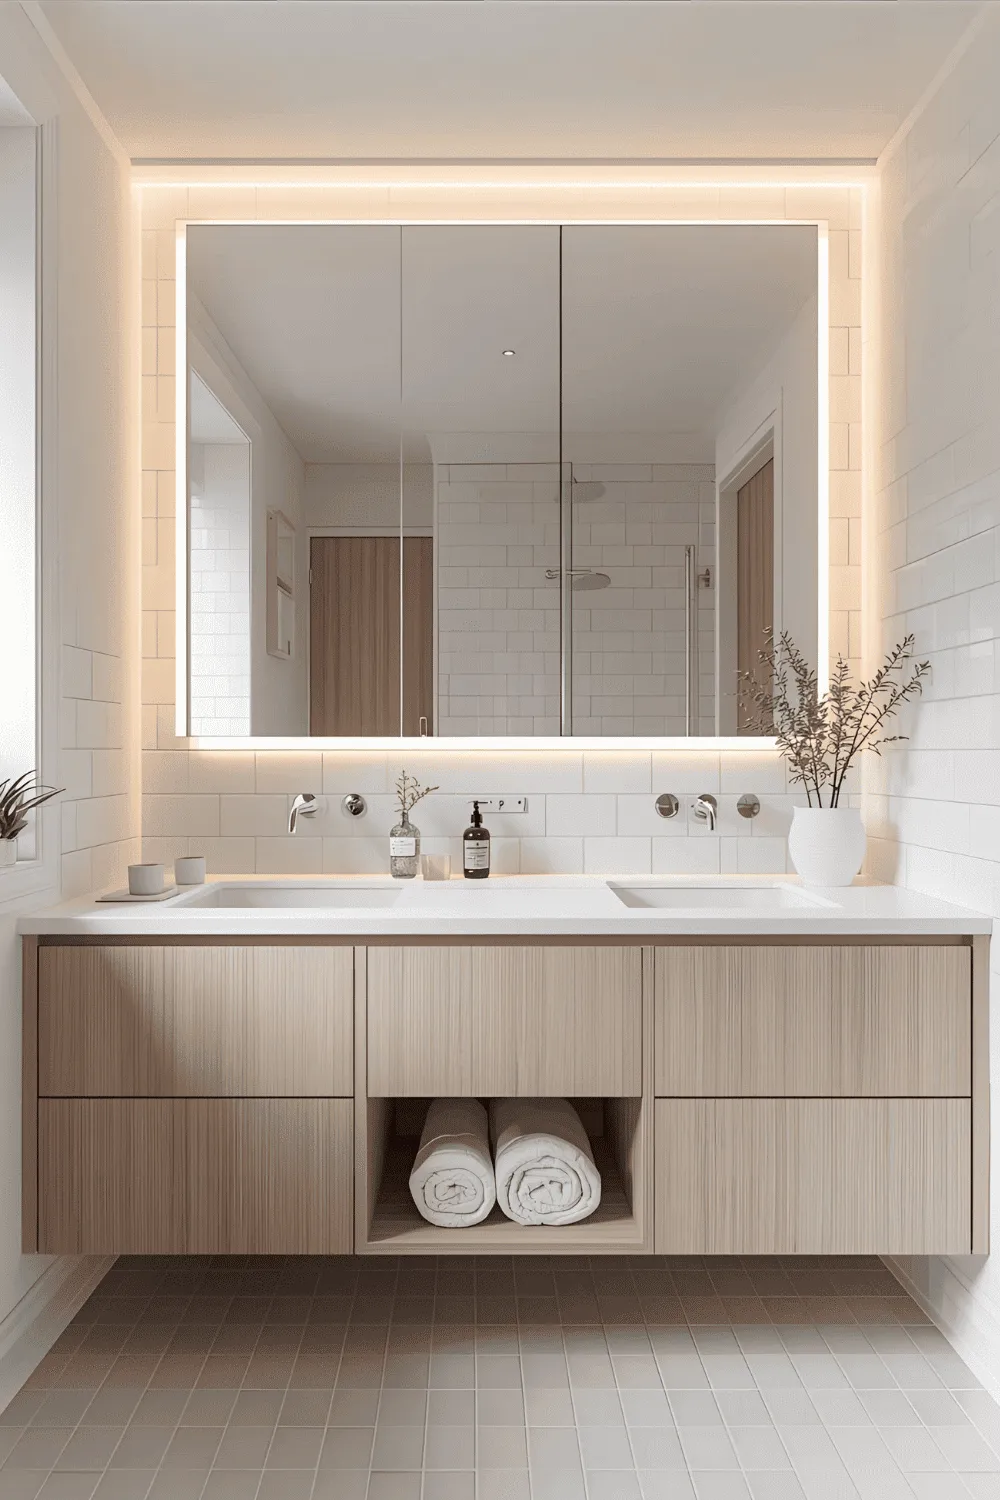
3. Add a Backlit Mirror to Boost Light and Style
A backlit mirror is the fastest way to fake a high-end hotel bathroom: the halo of light flatters faces, kills the harsh shadows that overhead bars cast, and turns the mirror itself into the room’s focal point. Look for 3000–4000K color temperature (daylight without the morgue feel) and a built-in defogger if your shower steams up the room — both features are standard on $80–$150 models now.
These mirrors draw about as much power as a nightlight, and most mount on a simple French cleat in twenty minutes. Round works best over pedestal or round sinks; go rectangular and wide (within 2 inches of the vanity width) over a floating vanity for that clean lined-up look. One is usually enough — skip the extra sconces and let the mirror carry the lighting.
4. Replace Old Hardware with Contemporary Finishes
This is the cheapest transformation on the list. A ten-pack of matte black cabinet pulls costs about $25, and swapping every handle, hook, and towel bar in the room takes an hour with a screwdriver. The rule that makes it look intentional instead of random: pick ONE finish and commit — mixed metals read as ‘couldn’t decide.’ Measure the hole spacing (usually 3 or 3-3/4 inches) before ordering.
Renters can do all of this and reverse it on move-out day — just bag the original hardware in a labeled ziplock and stash it under the sink. Faucets are the one step up in difficulty: shut off the angle stops, have a basin wrench handy, and give yourself an hour. If the old faucet is corroded on, a $5 tube of plumber’s grease on the new threads saves the next person the same fight.

5. Refresh the Wall Color with a Modern Palette
Paint is the highest-impact dollar you can spend in here. Warm whites (think Swiss Coffee, not blue-white) flatter skin tones in the mirror; deep charcoal or olive on one wall makes white fixtures pop like a showroom. Buy paint labeled kitchen-and-bath — the mildewcide additive is the difference between paint that survives five steamy years and paint that peels in one. One gallon covers a standard bathroom with two coats.
Prep decides everything: wash the walls with TSP substitute, sand glossy spots, and caulk the tub-to-wall joint before you open the can — paint over old caulk cracks and they’ll telegraph through in a month. If the room has no window, lean lighter; dark colors in a windowless bath need twice the artificial light to avoid feeling like a cave.
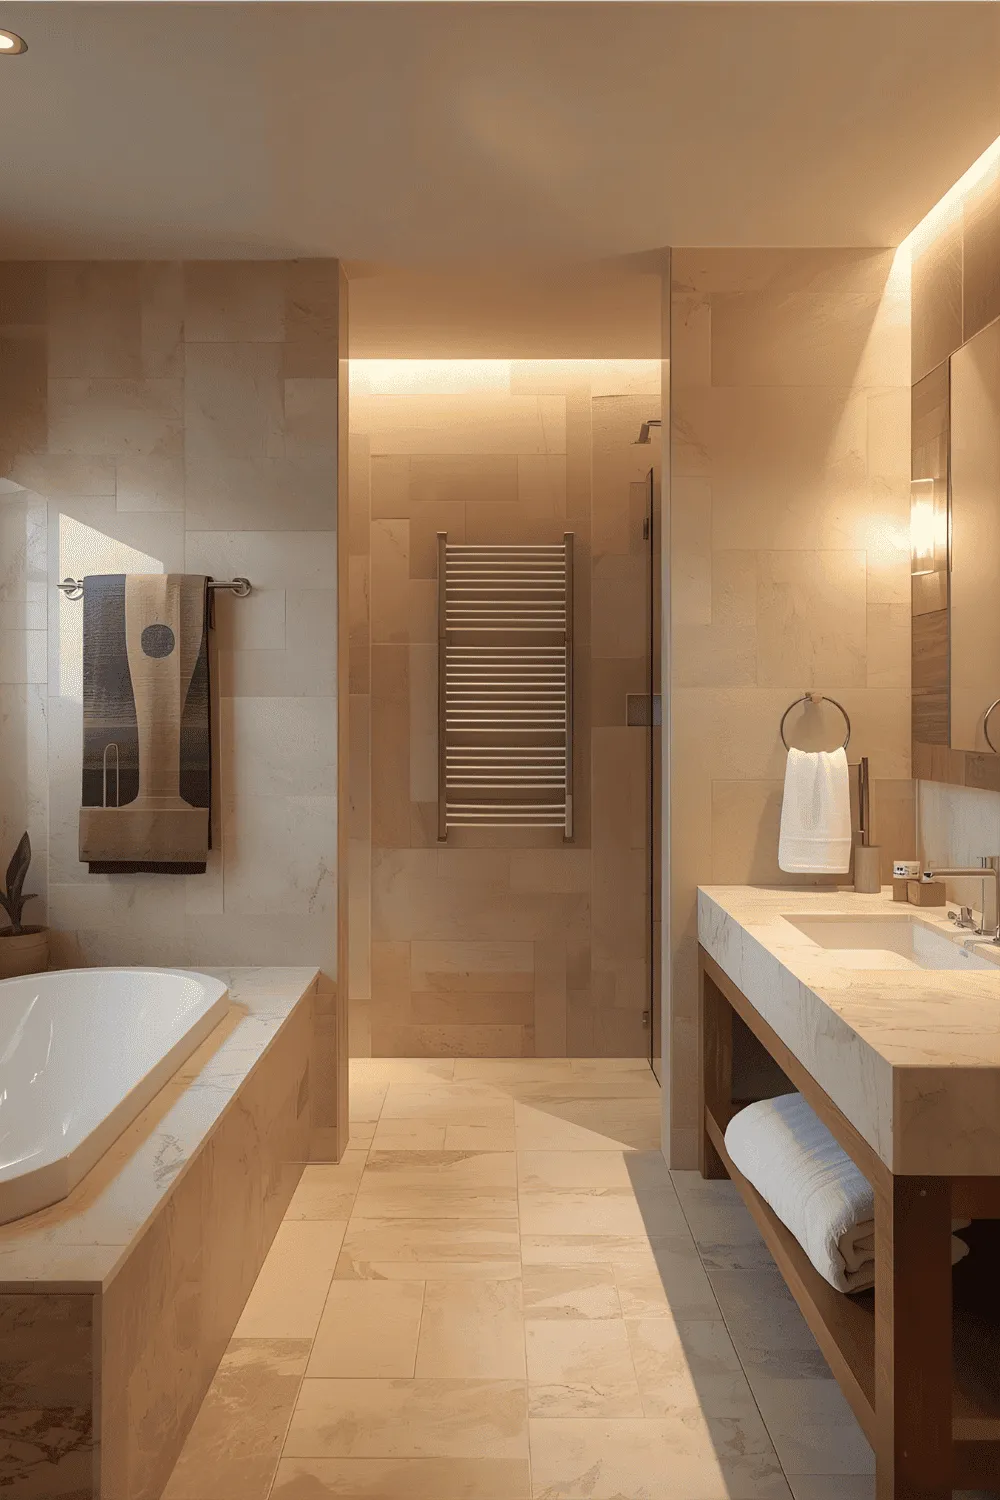
6. Create a Modern Shower Niche for Better Storage
A recessed niche beats a rusting corner caddy in every way: bottles sit flush with the wall, nothing dangles into your elbow room, and a niche tiled in a contrasting mosaic becomes a design feature instead of an eyesore. Plan it between studs (14-1/2 inches wide is the sweet spot) and slope the bottom shelf a hair toward the shower so water drains instead of pooling.
The time to add one is during any retiling — cutting into finished tile later costs three times as much in patching. A preformed waterproof niche insert ($30–$60) makes the waterproofing nearly foolproof; tile right over its flange. Keep shampoo bottles to what fits and the niche stays tidy on its own.
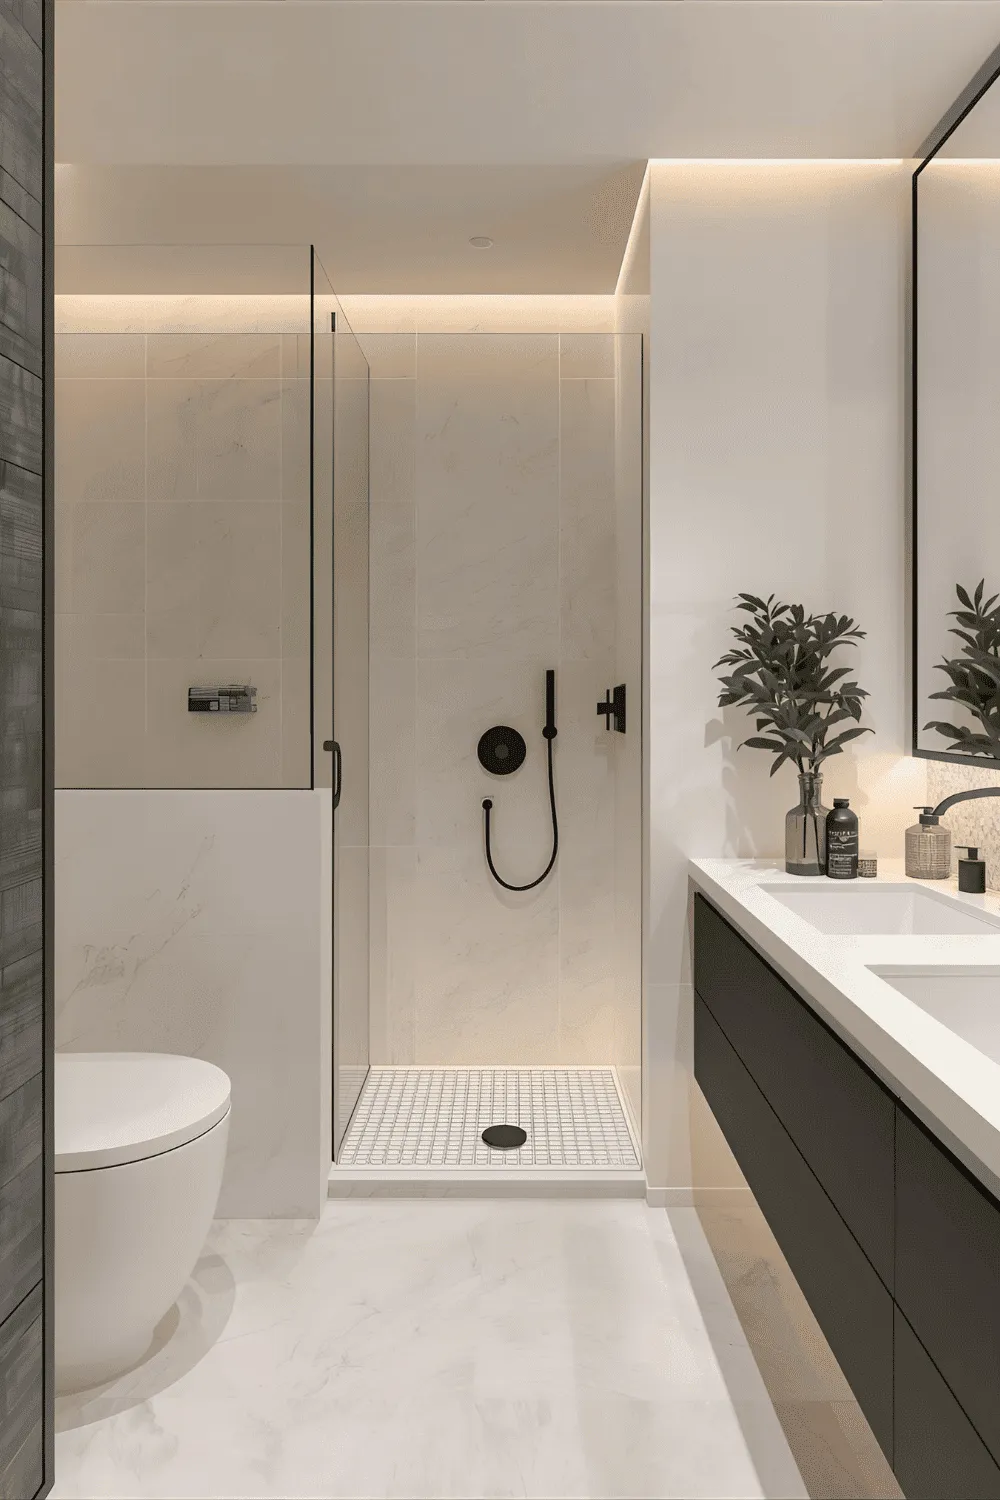
7. Use Peel and Stick Wall Panels for a Fast Upgrade
Peel-and-stick panels are printed vinyl or PVC that convincingly fakes marble, concrete, or beadboard — no thinset, no grout, no dust. A 10-square-foot kit runs $30–$60 and covers the wall behind a vanity in an afternoon. The trick to a believable result: start panels plumb with a level, not following a crooked wall, and wrap the outside corner with a matching trim strip instead of leaving a raw edge.
Stick to one accent wall — a full room of faux marble reads as exactly what it is. Ventilation matters: these panels tolerate humidity fine, but they peel in a shower that never gets the fan run. Squeegee the wall dry after steamy showers and they’ll last years; ignore it and you’ll be re-sticking edges in six months.
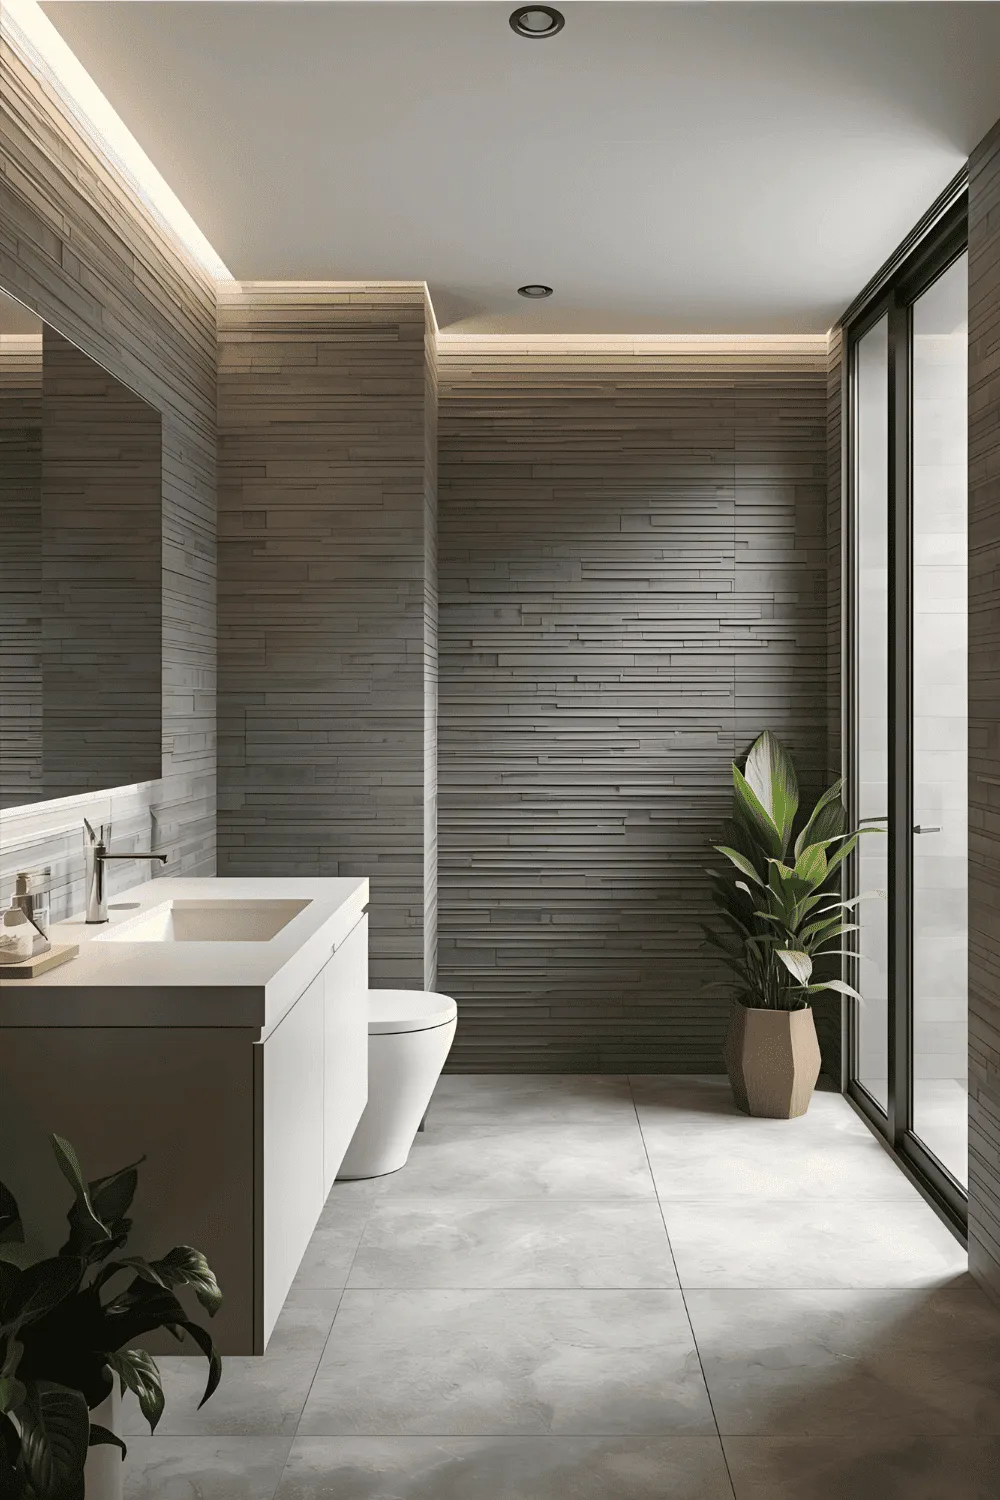
8. Swap Curtains for a Clear Glass Shower Screen
A fabric curtain chops the room in half visually; a clear fixed panel lets your eye travel the full length of the tub, which is why even a 60-inch alcove suddenly feels bigger. A 34-inch fixed frameless panel costs $150–$250 and mounts to the wall with two brackets — no door hardware to clean, no track to trap mildew. Keep a squeegee on a hook and give it a ten-second wipe after each shower; hard-water spots are the only real maintenance.
If you hate the wipe-down routine, a panel with a factory water-repellent coating (often sold as ‘easy-clean’ glass) cuts spotting noticeably. Skip the curved ‘bow front’ rods here — they fight the clean-lined look this swap is going for. The panel edge should stop 2–3 inches above the tub rim so splashes stay in but the panel never sits in standing water.
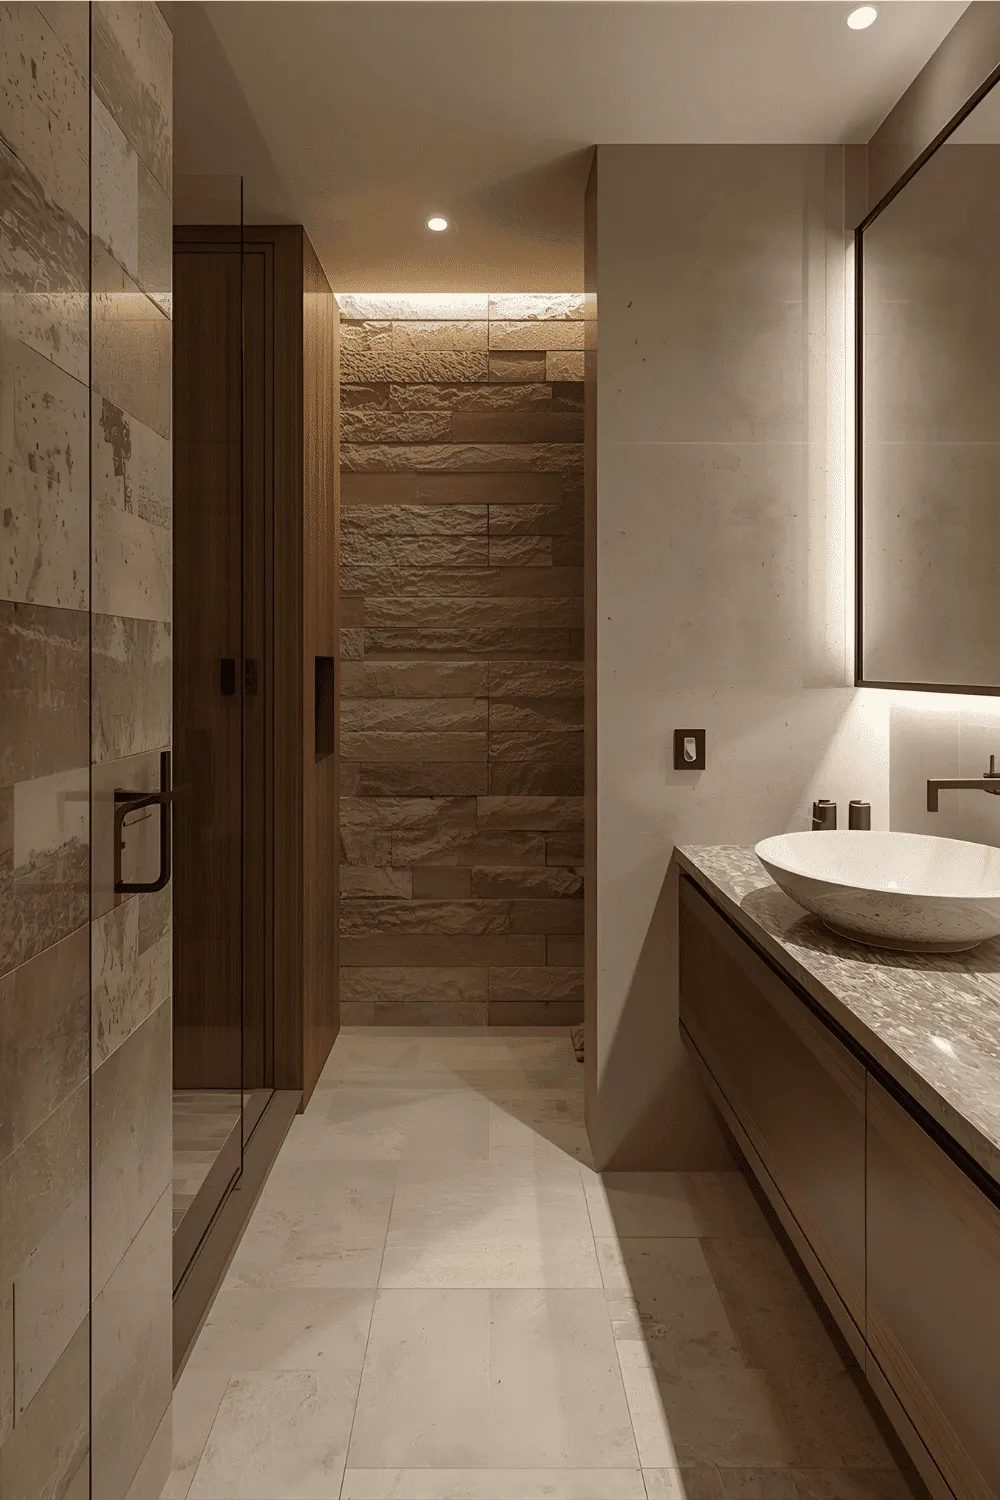
9. Add LED Strip Lights for Soft, Modern Illumination
LED strips are the $15 cheat code for atmosphere: tuck one under a floating vanity, behind a mirror, or along a toe-kick and the bathroom glows instead of glaring. Buy the 24-volt, IP65-rated kind (splash-proof) and a dimmer remote — full brightness for cleaning, low warm glow for midnight visits. Warm white (2700–3000K) flatters tile; cool white (5000K+) makes grout look dingy.
Stick them with the included adhesive, but wipe the surface with rubbing alcohol first or they’ll peel within weeks — the number-one reason these ‘fail.’ One 16-foot reel covers a vanity underside plus a mirror backlight with room to spare, and the whole project takes about thirty minutes including hiding the driver behind the vanity.
10. Introduce Modern Open Shelving for Extra Storage
Open shelving keeps daily stuff at arm’s reach and costs a fraction of a cabinet — two 24-inch solid-pine boards with black brackets run under $40. The catch: everything is on display, so decant shampoo into matching pump bottles and roll towels instead of stacking them; visual clutter is what makes open shelves look messy, not the shelves themselves. Limit each shelf to one row deep.
Give every shelf a job — top for towels, middle for daily products, bottom for a basket of backstock — and the ‘organized’ look maintains itself. Wipe the boards monthly; bathroom humidity plus dust makes a grimy film faster than in any other room. If you rent, use heavy-duty removable adhesive strips rated for 5+ pounds per pair of brackets.
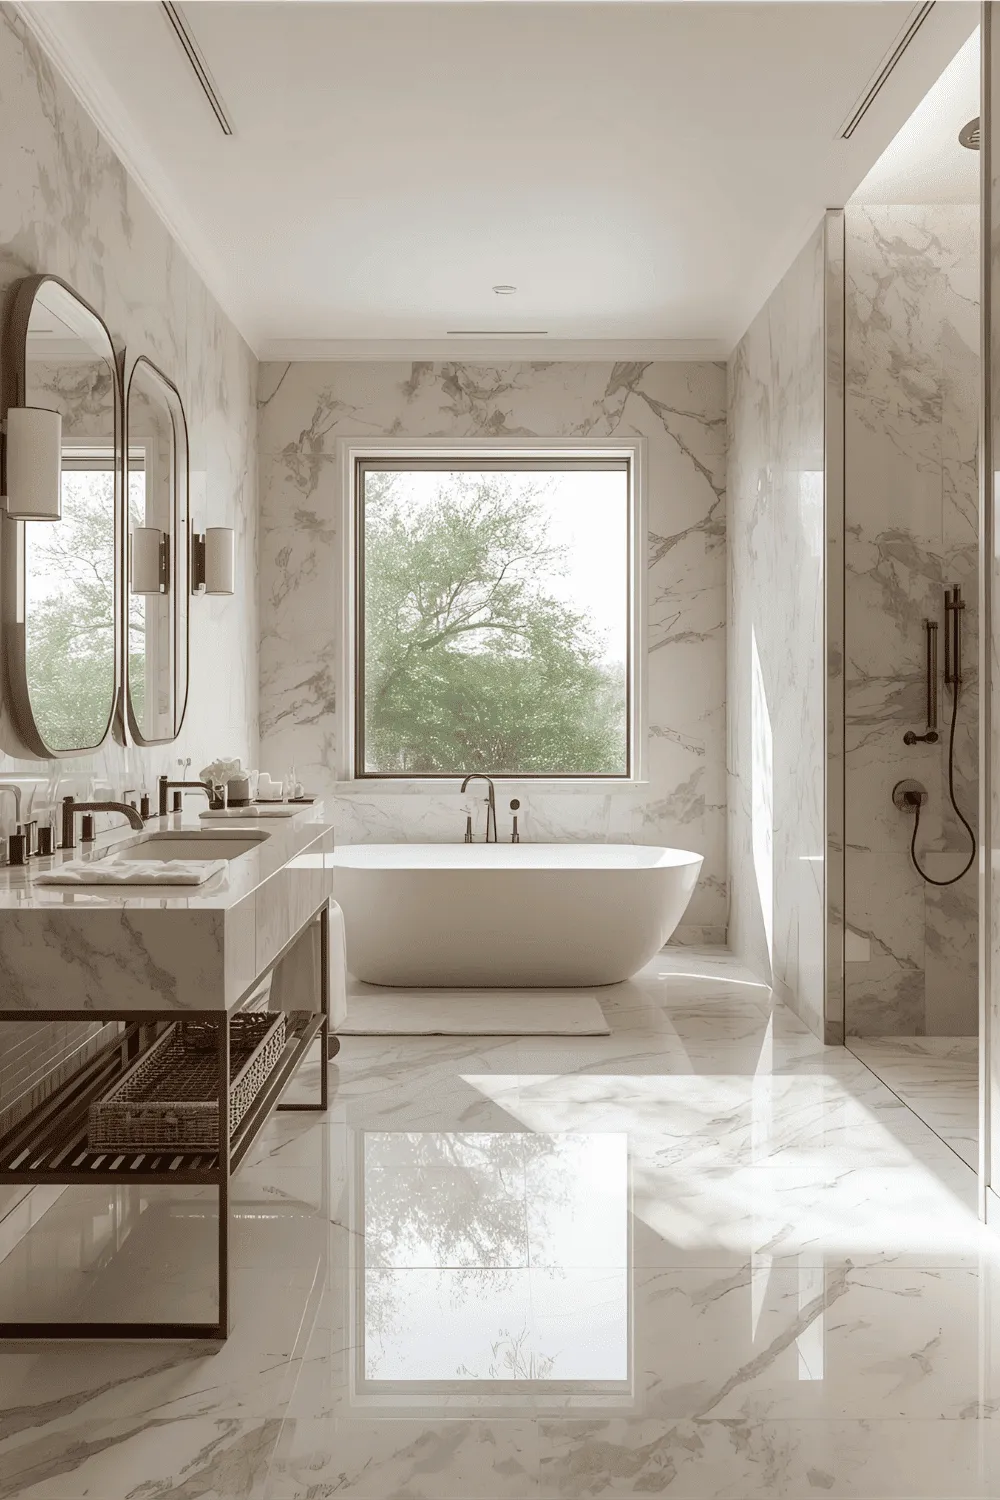
11. Install a Statement Faucet to Anchor the Vanity
A single-handle faucet with a clean silhouette can drag a dated vanity into this decade for $60–$120. Match the finish to your other new hardware (matte black with matte black, not ‘close enough’ chrome) — mismatched finishes are the fastest way to make new parts look cheap. Check your hole count first: a 4-inch centerset won’t cover a widespread’s three holes without an escutcheon plate.
While you’re under there, replace the crusty supply lines and the drain assembly — they’re $12 in parts and it’s the same disassembly. A matching pop-up drain in the same finish is the detail people notice without knowing why the sink suddenly looks expensive. Give yourself a full hour and keep a bucket and towels handy; there’s always more water in the trap than you expect.
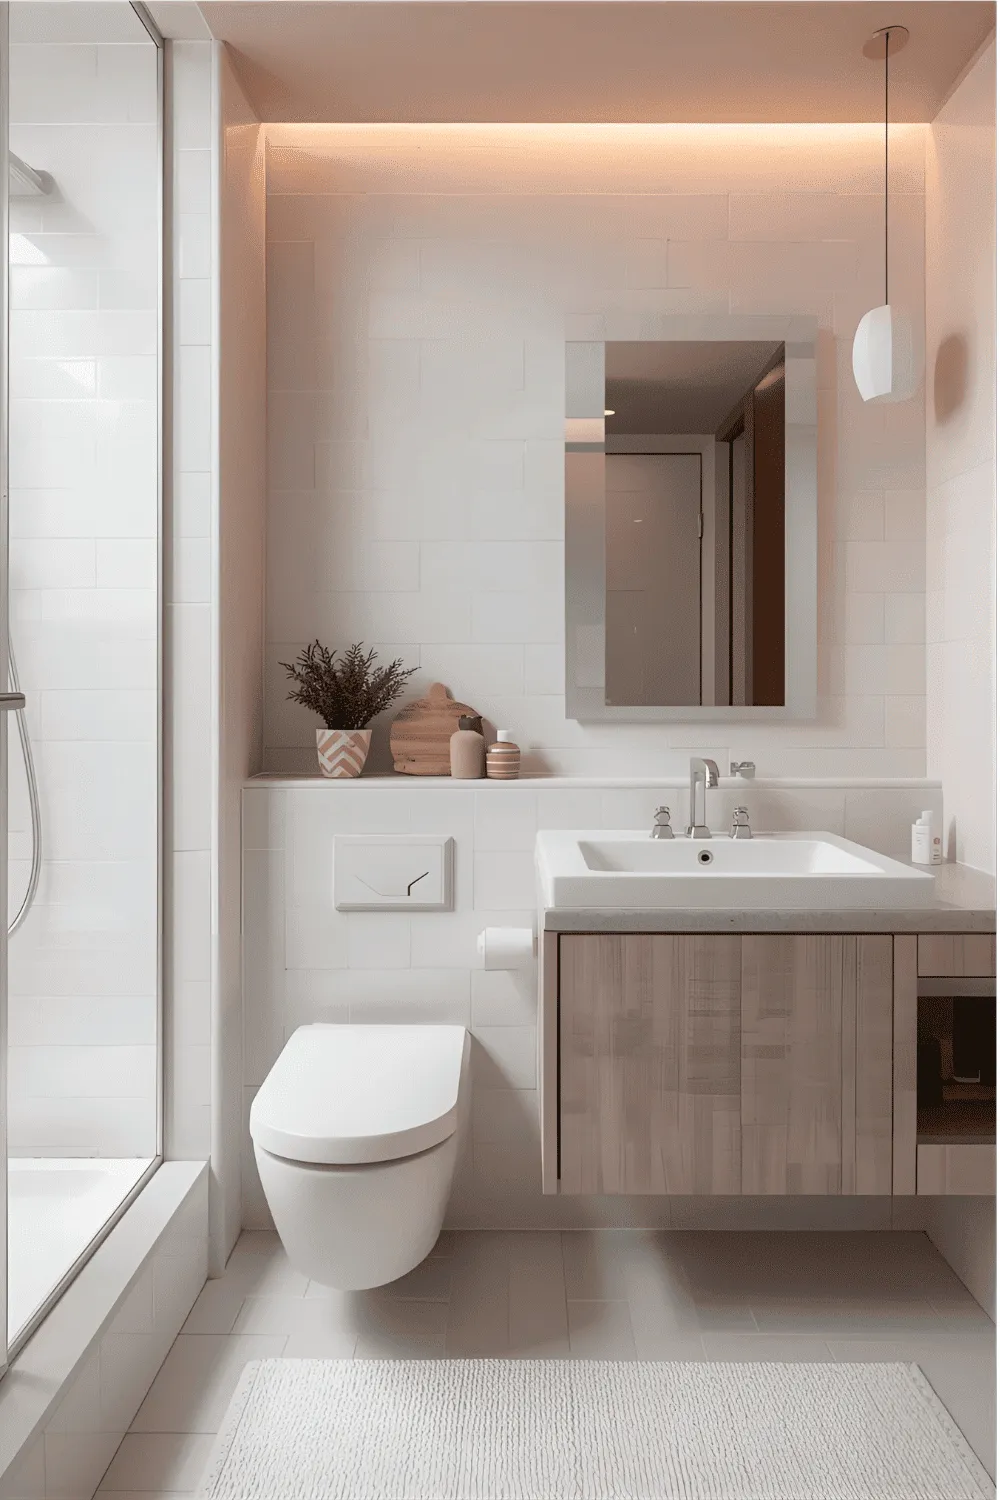
12. Add a Compact Wall Mounted Toilet for More Floor Space
A wall-hung toilet hides the tank in the wall and leaves the floor completely clear underneath — mopping becomes a thirty-second job and small bathrooms gain real visual square footage. The in-wall carrier frame is the hidden cost (around $200–$300 plus opening the wall), so this one makes most sense during a planned remodel, not as a standalone swap. Check that your wall has the depth for the carrier: most need a 2×6 wall or a furred-out chase.
Once installed, the bowl height is adjustable before the wall closes up — set it at 17–19 inches if anyone in the house has knee trouble; standard 15-inch bowls are needlessly low for adults. Pair it with a floating vanity and large-format tile and the whole room reads as one continuous, easy-to-clean surface.
13. Use Textured Tiles for Subtle Depth
A ribbed or fluted tile catches light and throws soft shadows, which gives a flat white wall the kind of depth that usually costs three times as much in stone. Use it on ONE surface — the shower back wall or the vanity splash — and keep everything else plain; texture plus pattern plus color all at once is how bathrooms end up looking busy. Handmade-look zellige tiles are the trendy version, but fluted porcelain is cheaper and flatter to clean.
Order 10% overage — textured tile shows lippage more than flat tile, so you’ll cull a few warped pieces. A dark grout in the grooves adds drama; a matching grout keeps it subtle. Either way, seal natural-stone textures (porcelain doesn’t need it) or body oils will darken the high-touch spots within a year.
14. Add Plants for an Organic, Modern Touch
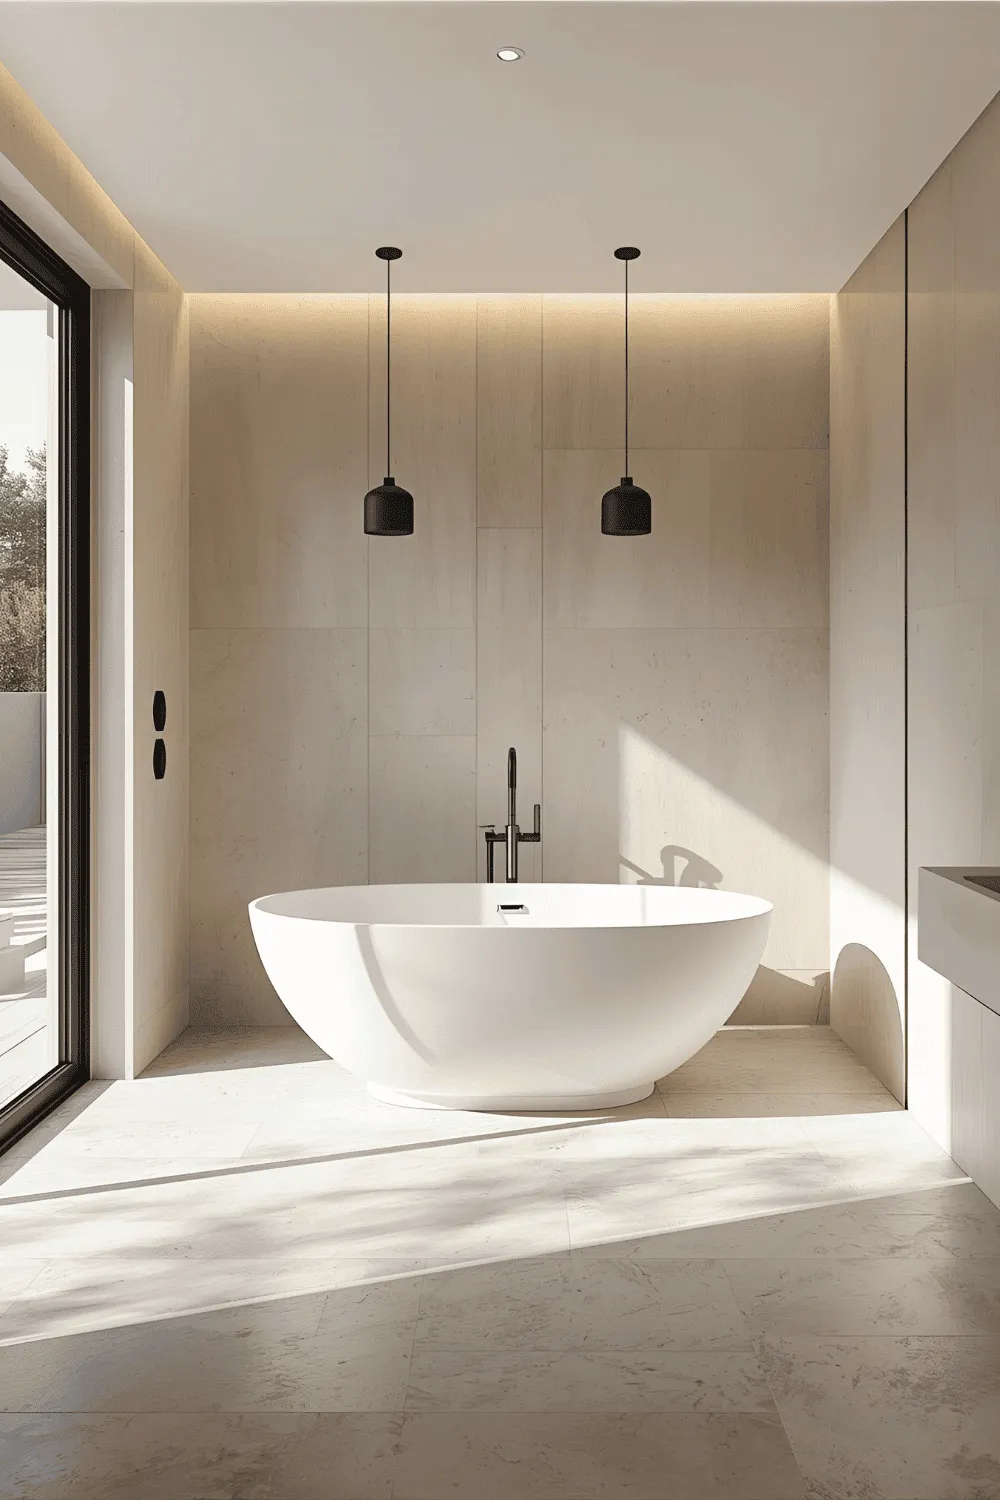
A bathroom is actually a great home for plants: the humidity does half the watering for you. Pothos and snake plants tolerate the low light of a frosted window, and a fern on top of a tall cabinet thrives on shower steam. Skip succulents here — they rot in constant humidity. One medium plant beats five tiny ones; a single 6-inch pot on the vanity or tank lid reads intentional, a crowd of 2-inch pots reads cluttered.
Match the pot to the room: matte white or black ceramic keeps the modern line, and a pot with a drainage hole set inside a cachepot prevents the ring of doom on wood vanities. Wipe leaves monthly — bathroom dust plus moisture makes a film that blocks light. If your bath has zero natural light, a $12 grow bulb in the vanity light for a few hours a day keeps them alive.
15. Choose a Frameless Mirror for a Clean Profile
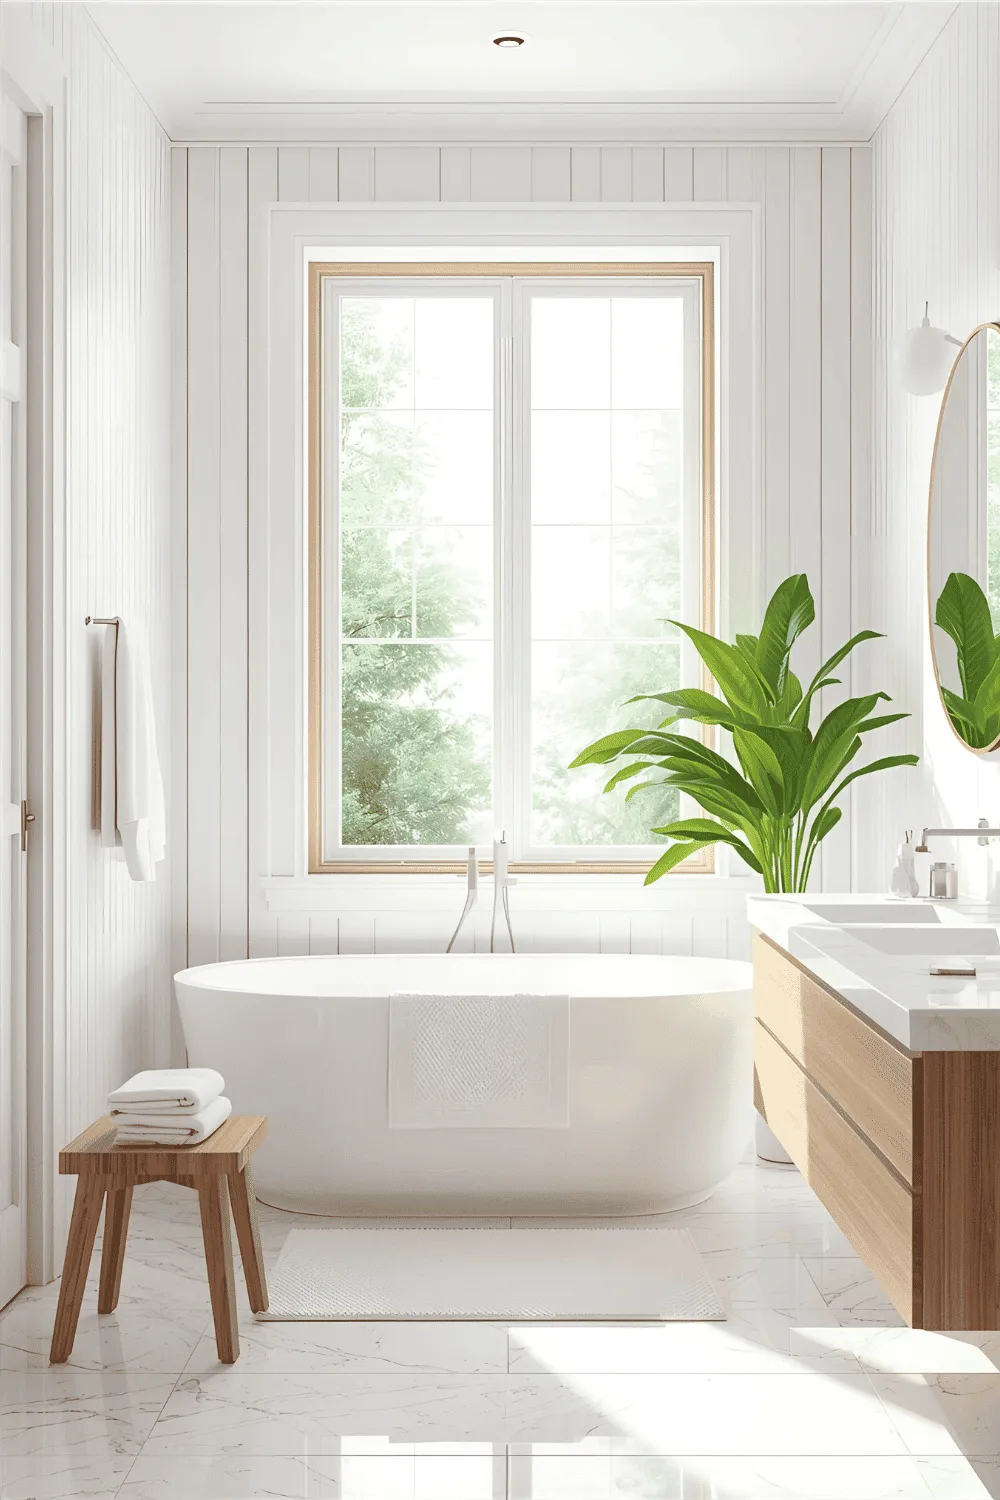
A frameless mirror is just glass with a polished edge — no frame to date it, no finish to match, nothing competing with the tile. Hang it with mirror clips or construction adhesive rated for mirrors (regular adhesive can eat the silvering). Size it to the vanity: 2–4 inches narrower than the countertop on each side is the proportion that looks deliberate rather than leftover.
Round frameless mirrors soften a room full of hard rectangles; go big — a 30-inch round over a 36-inch vanity is a statement, a 20-inch one looks apologetic. Clean with a 50/50 vinegar-water mix and a microfiber cloth; paper towels leave lint that shows up the second the backlight hits it.
16. Use Neutral Towels and Accessories to Maintain a Cohesive Look
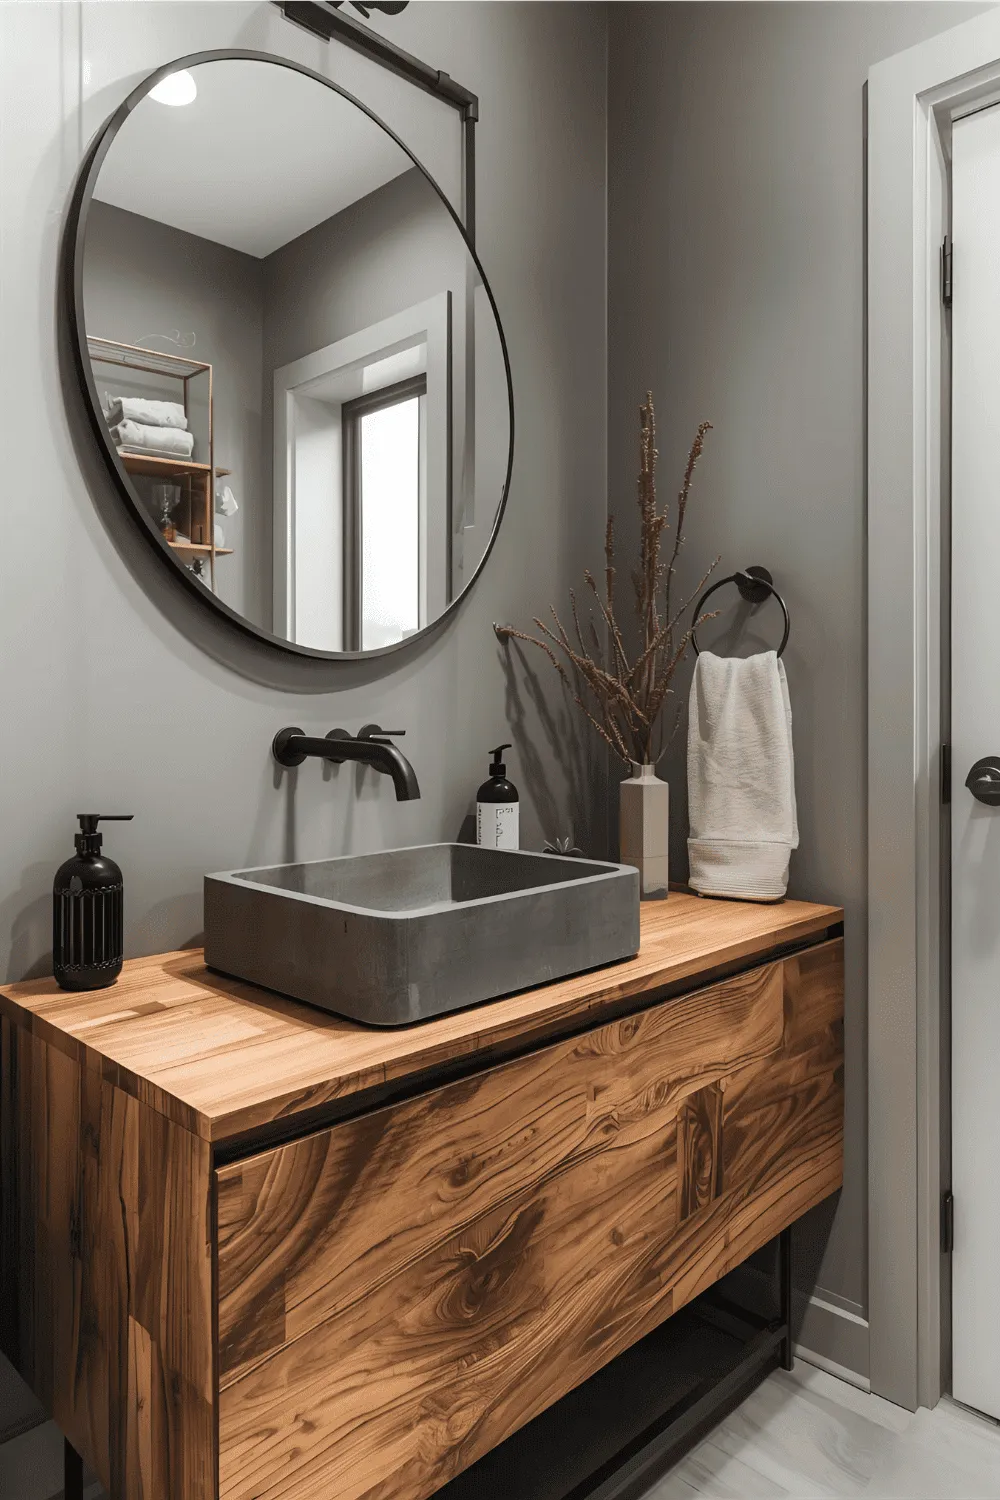
White towels are the hotel trick: they always match, bleach brings them back from grey, and a stack of them looks crisp against any tile. Buy 100% cotton at 500+ GSM if you want that thick spa feel — thinner towels feel cheap no matter the color. Wash new towels twice before first use; the factory sizing is what makes them repel water instead of absorbing it.
Decant soap, cotton balls, and q-tips into matching dispensers and jars — it’s the $20 move that makes a counter look styled instead of stocked. Keep the set to one material (all frosted glass, all matte ceramic) and hide everything else in a drawer. The goal is a counter you could photograph, not a pharmacy shelf.
17. Install a Modern Rain Showerhead
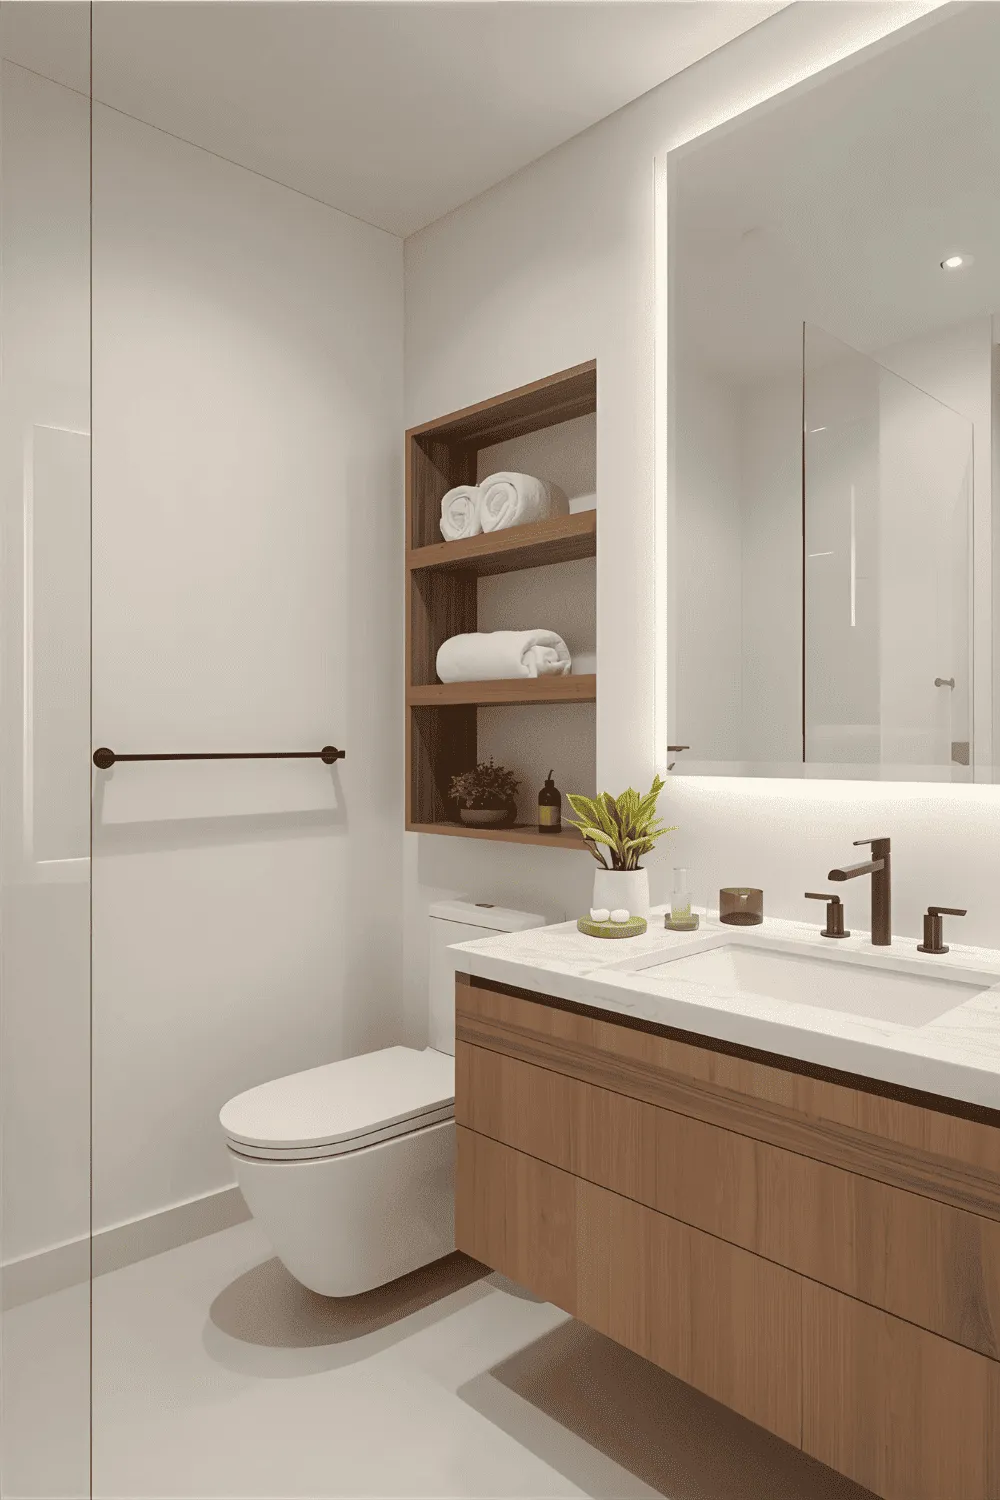
A 10-inch rain head turns an ordinary shower into the closest thing to a spa most homes get, and basic models start around $40. Most screw onto the existing shower arm — no plumber, no tile work. Check your water pressure first: rain heads need decent flow to feel good, and in a low-pressure house a smaller 8-inch head actually performs better than a big one.
Match the finish to the rest of your new hardware and keep the arm short — a rain head mounted 80+ inches high with a 6-inch arm puts the water where it belongs instead of spraying the curtain. If your shower is on an exterior wall in a cold climate, an $8 foam sleeve over the arm stops that first icy blast.
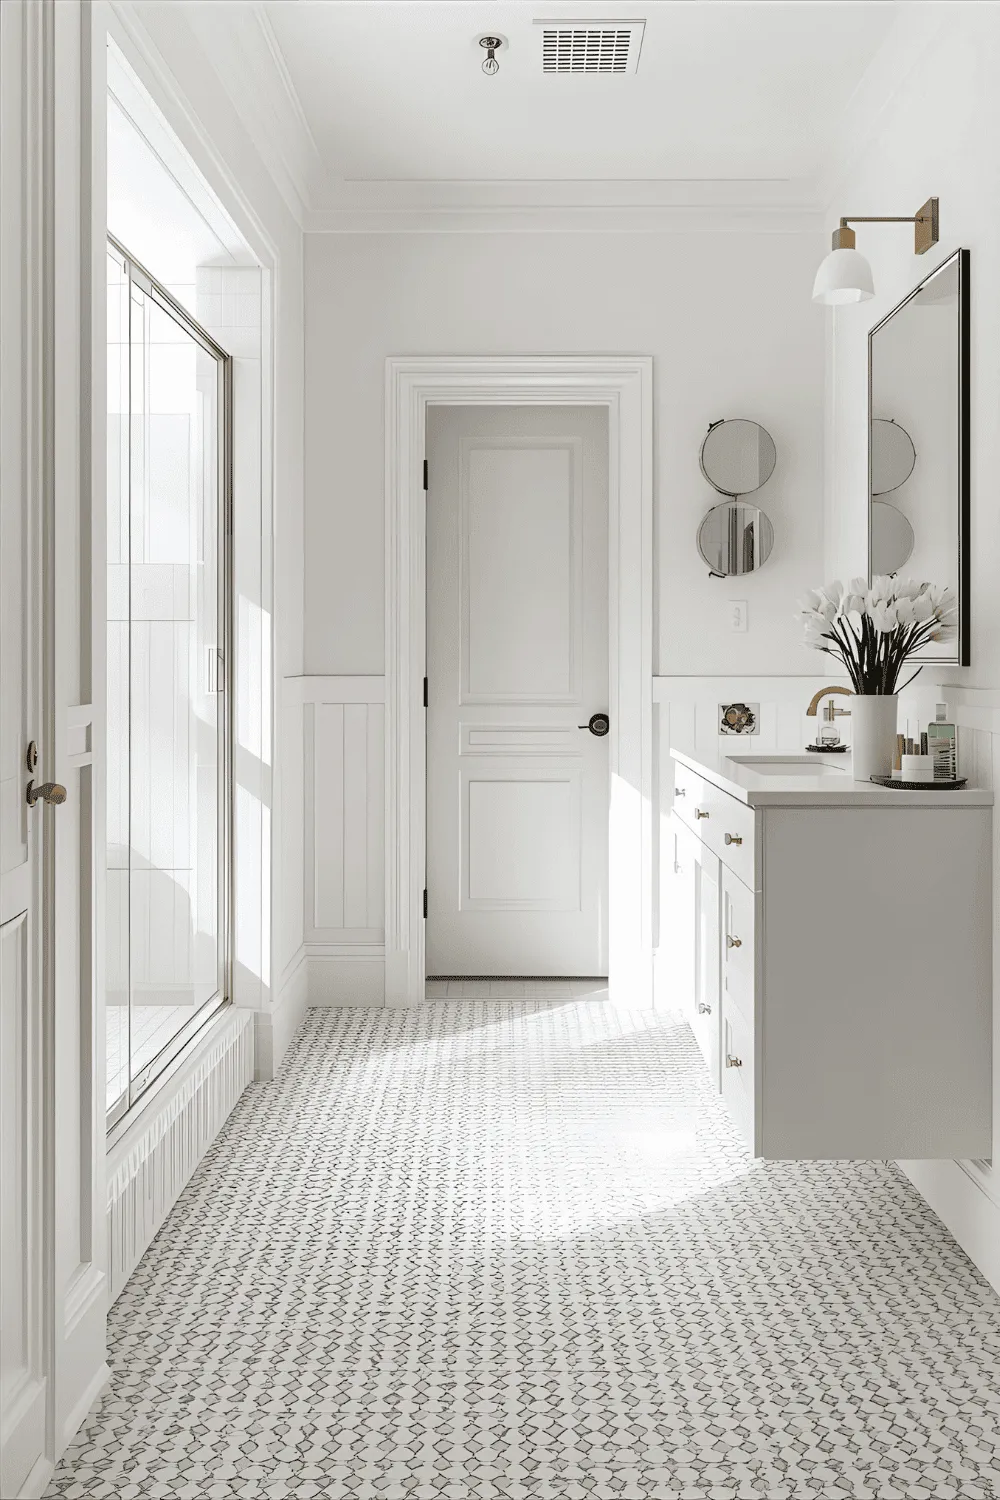
18. Upgrade Ventilation with a Quiet Modern Fan
The fan is the most-skipped upgrade and the most regretted skip: without real ventilation, that new paint peels and the grout mildews no matter what you bought. Size it by CFM — roughly 1 CFM per square foot of bathroom, minimum 50 — and look for under 1.0 sones; you’ll actually leave a quiet fan running the recommended 20 minutes after a shower. Humidity-sensing models ($60–$90) do it automatically.
Venting into the attic is the classic mistake — it just moves the mold upstairs. The duct must terminate outside through the roof or a gable vent, insulated if it runs through cold space. If you’re replacing an old unit, measure the housing: many ‘4-inch’ fans are actually different box sizes, and a retrofit model that fits the existing hole saves cutting drywall.
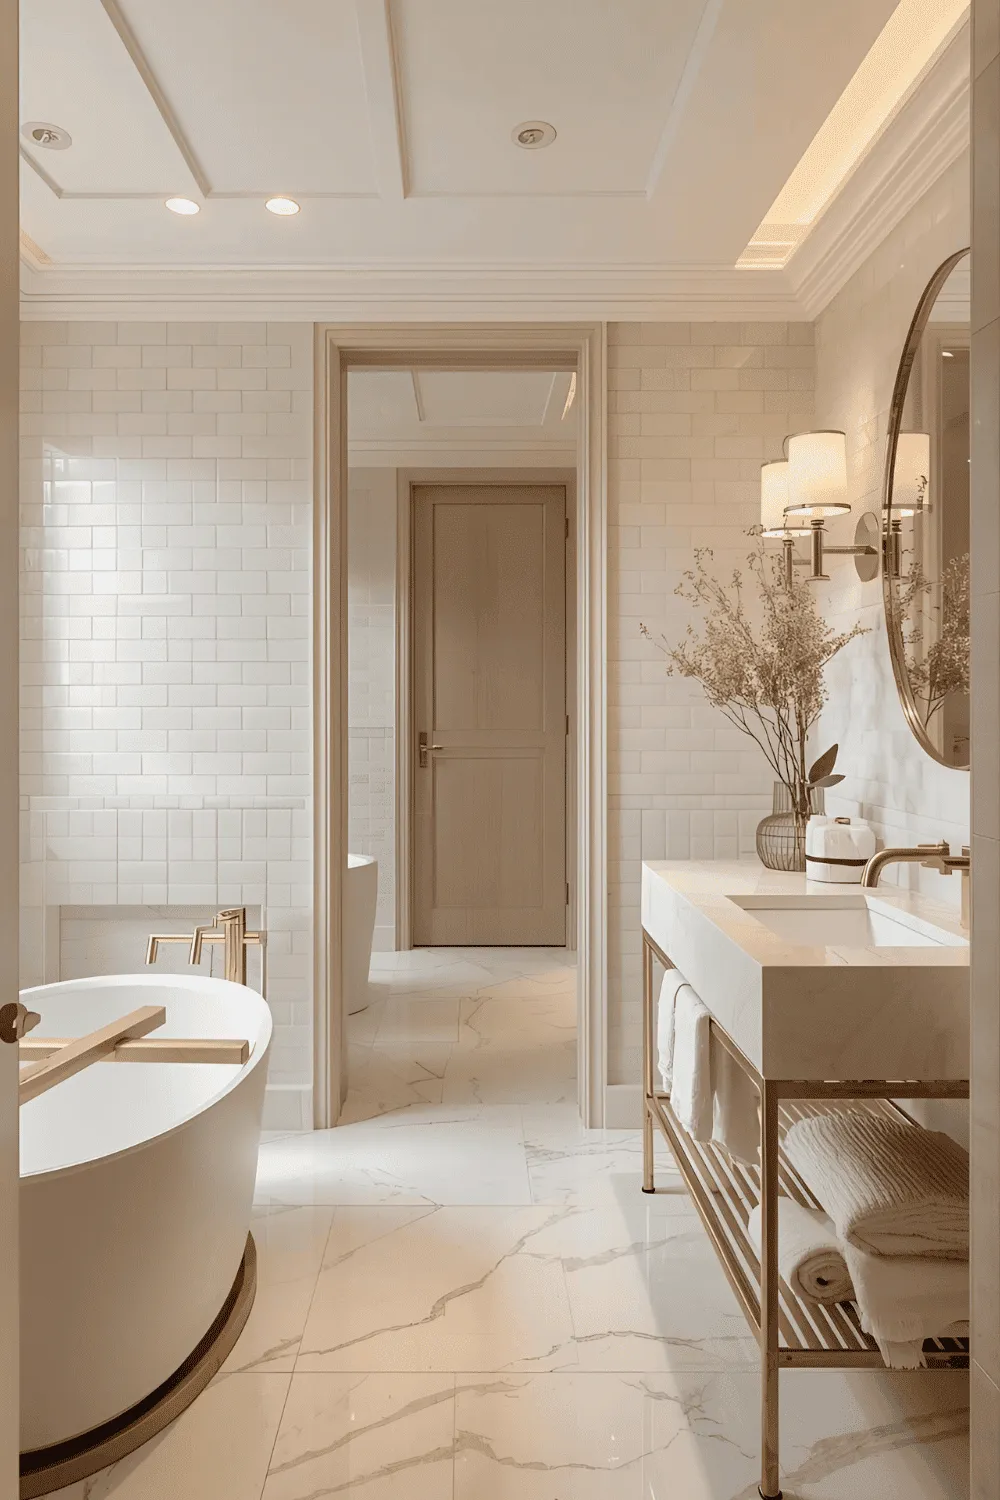
19. Choose a Simple Glass Shelf Above the Sink
A 24-inch tempered-glass shelf above the sink holds the toothbrush cup, soap, and a small plant without the bulk of a cabinet — and because you see through it, the wall behind keeps working visually. Mount into studs or use toggle bolts; suction-cup shelves fail at 2 a.m. and take the soap dispenser with them. Tempered glass is non-negotiable — regular glass over a sink is a shattering hazard.
Keep it to one shelf, maybe two if the wall is tall: a stack of glass shelves starts looking like a laboratory. A small lipped tray on top corrals bottles so they don’t migrate to the edge. Wipe it weekly — water spots on glass are visible from across the room, which is the one downside of the invisible look.
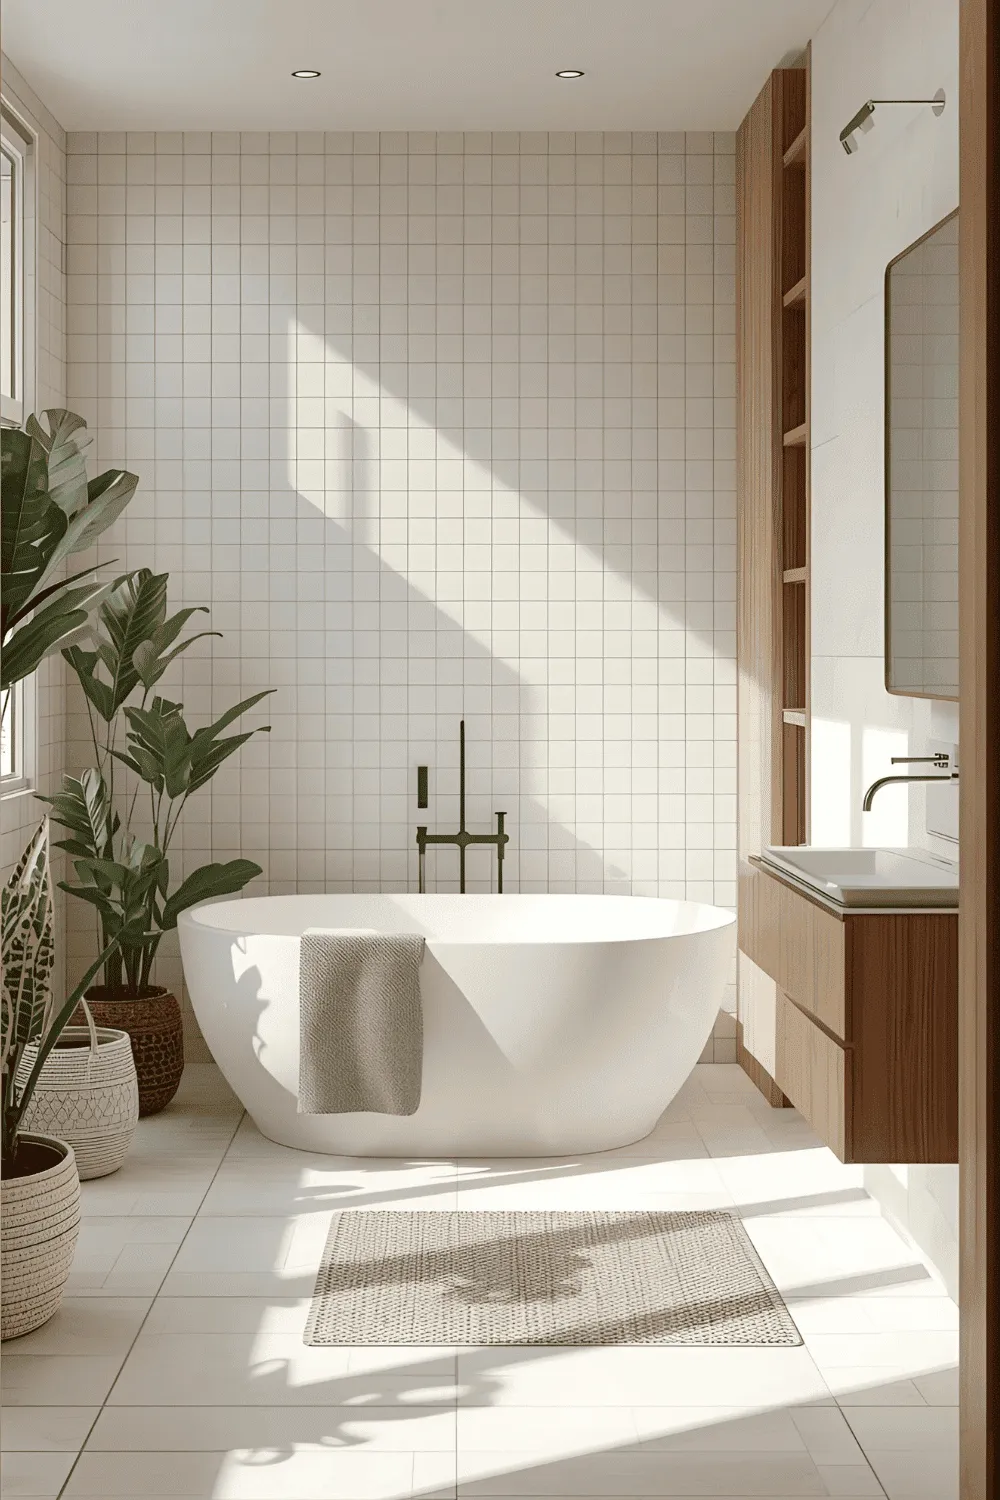
20. Use Minimalist Art or Prints for a Modern Accent
Small framed prints are the cheapest personality you can buy — a $5 thrift-store frame with a free printable abstract does more for a blank wall than another towel hook. Keep frames thin and all the same finish, and hang art where steam won’t hit it directly (not over the tub). Two small prints side by side beat one big one in a narrow room; the pair fills the wall without overwhelming it.
Match the art’s palette to something already in the room — the grout, the towels, the tile undertone — and it looks curated instead of random. Avoid anything valuable or irreplaceable: humidity fades prints over a few years even framed. When in doubt, a simple line drawing or botanical print is nearly impossible to get wrong.
FAQs for Modern Bathroom Ideas