Introduction
Carving is messy, the knives scare me a little, and a carved pumpkin rots in days. No carve pumpkin decorating ideas changed how I do fall decor entirely — you get pumpkins that last for weeks, no pumpkin guts under your fingernails, and the kids can do every step without a single sharp tool in sight. I’ve decorated dozens of pumpkins without carving over the years, and honestly the decorated ones always looked better than my sad, lopsided carved attempts ever did. These 20 ideas decorating pumpkins without carving cover everything from paint and decoupage to thumbtacks and yarn — each one genuinely doable in an afternoon, most for just a few dollars. Whether you’re after elegant pumpkin decorating designs for the porch or fun no carve pumpkin decor the kids can make, there’s something here.
1. Matte Solid-Paint Makeover
The simplest of all decorated pumpkin ideas without carving might also be the most transformative. Grab a few bottles of Americana acrylic paint in creamy white, warm beige, or muted sage, and give an orange pumpkin two thin coats — the color shift alone makes it look like a totally different, far more expensive pumpkin. I like a flat or matte finish because it photographs beautifully and hides every brushstroke, unlike gloss which shows every flaw. This is my go-to when I want pumpkins that blend into a neutral fall mantel instead of screaming Halloween. Don’t skip a light sanding or a wipe-down first; real pumpkins have a waxy skin that paint slides off if you don’t clean it. If mini pumpkins are more your speed, my 25 mini pumpkin painting ideas has dozens of tiny-canvas color combos. Two coats, an hour of drying, done — elegant enough for a dining table, easy enough for a weeknight.
2. Chalkboard Paint Pumpkins
Chalkboard paint turns a pumpkin into a reusable message board, and I’ve never seen a porch decoration get more comments. Brush on two coats of chalkboard paint (a foam brush keeps it streak-free), let it cure a full day, then season the surface by rubbing the side of a chalk stick over it and wiping it off. Now you’ve got a pumpkin you can label with your family name, a countdown to Halloween, or a rotating fall quote. The best part? When the party’s over you wipe it clean and start over — one pumpkin, infinite designs. This works beautifully on both real pumpkins and craft-store foam pumpkins, and the faux ones let you keep the chalkboard look year after year. For handwriting, chalk markers give crisper lines than dusty sticks, though sticks wipe off easier. I keep a tall one by the front door with our last name on it all season long.
3. Napkin Decoupage with Mod Podge
Decoupage is how you get intricate, expensive-looking patterns on a pumpkin with zero artistic skill — I’ve done plaid, vintage florals, and even map prints this way. Pick up pretty paper napkins (separate the printed top ply from the white backing layers), tear or cut the designs out roughly, and brush them onto the pumpkin with Mod Podge, smoothing gently from the center outward. Work in small sections so the glue doesn’t dry before the napkin’s placed. The torn edges disappear once you add a thin sealing coat of Mod Podge over the top, which also protects your work from drizzle on a covered porch. Autumn florals, buffalo check, and botanical prints all look stunning. Because you’re working with thin paper, this technique hugs the pumpkin’s curves far better than stickers or vinyl ever could.

4. Washi Tape Stripes and Geometry
Washi tape is the no carve pumpkin decor shortcut nobody talks about enough. It sticks to the pumpkin’s waxy skin just well enough, comes in every fall pattern imaginable, and peels right off when you change your mind — zero commitment. I wrap stripes around the pumpkin following its natural ribs for a polished, graphic look, or cut triangles and diamonds for a modern geometric design. Copper and gold metallic tapes look especially rich against a deep orange or white pumpkin. The trick is pressing each piece down firmly and smoothing out air bubbles as you go, then trimming ends with a sharp craft knife so the lines stay clean. If a piece wrinkles, just peel and restick — that’s the beauty of tape. Kids can absolutely do this one solo, and it’s completely reversible for rental-porch decorating.
5. Thumbtack and Sequin Pin Designs
Push pins, sequin pins, and flat thumbtacks pressed straight into a pumpkin create studded designs that catch the light beautifully — polka dots, zigzags, initials, even spider webs. I did a whole set of these one October when I wanted something dramatic for a grown-up Halloween party and had exactly zero interest in carving. Mapping the pattern first with a washable marker saved me from lopsided results; you can draw a light grid or spiral as your guide. Gold and copper pins against a white or black-painted pumpkin look luxe, while colored sequin pins read playful and fun. Work the pins in snugly so they don’t pop out in wind. Fair warning: use real pumpkins for this one, since the thick flesh holds the pins far better than hollow foam ones. A whole studded pumpkin takes about twenty minutes.
6. Gold Leaf Accents
Nothing says “this cost more than it did” like gold leaf on a pumpkin. You only need a small booklet of imitation gold leaf, some adhesive sizing, and a soft brush — the whole kit runs under ten dollars at any craft store. Brush the sizing onto the pumpkin in loose patches or stripes, wait until it’s tacky, then press the leaf on and burnish it gently with the brush. I deliberately leave some areas imperfect because the patchy, antique look is what makes it feel high-end rather than crafty. Gold leaf loves dark backgrounds, so try it on pumpkins painted charcoal, deep green, or midnight blue. Seal it with a clear coat so the leaf survives porch weather. Among carveless pumpkin ideas, this is the one that makes guests ask where you bought your “designer” pumpkins.

7. All-Over Glitter Pumpkins
A glitter pumpkin is maximalism in the best way, and it’s dead simple: brush on a coat of craft glue or Mod Podge, shower the pumpkin with fine glitter, tap off the excess, and seal it once dry. Fine glitter gives a smoother, more elegant finish than chunky glitter, which can look bumpy — I prefer rose gold or champagne on white pumpkins for fall, and black glitter on orange for Halloween drama. Here’s what nobody tells you: do this outside or inside a big cardboard box, because glitter will travel to every corner of your house otherwise. One thick coat is usually enough, though a second pass after drying fills bare spots. Let them dry on a paper plate so you can funnel the runoff glitter back into the jar. They’re shamelessly sparkly and kids absolutely adore them.
8. Yarn-Wrapped Pumpkins
Wrapping a pumpkin in yarn gives you the coziest texture in this whole list — it looks like a knitted sweater for your porch. Dab a dot of hot glue at the stem base, press the yarn end in, then wind the yarn around the pumpkin in the grooves between the ribs, adding tiny glue dots as you go to keep rows from sliding. Chunky cream or mustard yarn reads classic farmhouse; a variegated fall-toned yarn does the color work for you. This one is a genuine multi-evening project for a big pumpkin — put on a podcast and wind — but a mini pumpkin takes maybe fifteen minutes. Because the yarn covers every imperfection, this is the perfect rescue for lumpy, ugly pumpkins that aren’t pretty enough for paint. Once wrapped, the pumpkin lasts as long as the pumpkin itself does underneath.
9. Fabric-Wrapped Pumpkins with Burlap and Scraps
If you’ve got a scrap bin, you can decorate a pumpkin for free. Cut fabric scraps — burlap, linen, buffalo check, even old flannel shirts — into squares, drape them over the pumpkin, and gather everything at the top with twine or a rubber band, trimming the excess for a neat ruffle or leaving it shaggy. I love wrapping the pumpkin body in burlap and tucking a sprig of dried wheat or eucalyptus into the twine at the stem. This is also where foam pumpkins shine, since you can hot-glue the fabric permanently and reuse the pumpkin every fall. No-carve ideas decorating pumpkins with fabric are wonderfully forgiving: wrinkles just look like texture. A set of three in coordinating fabrics, grouped on a tray with pinecones, is one of my favorite easy centerpieces.

10. Temporary Tattoo Transfers
Those cheap temporary tattoos from party stores are secretly one of the best no-carve decorated pumpkin ideas — the floral and metallic ones look like hand-painted art from a distance. Cut out the design, peel the backing, press it image-side-down on the pumpkin, hold a damp cloth over it for thirty seconds, and slide the paper away. White pumpkins are the ideal canvas since the transfers show up crisp, but metallic gold tattoos also pop on orange. This is the fastest technique on this list — a fully decorated pumpkin in five minutes flat. I’ve used botanical tattoos for an elegant fall table and skull tattoos for Halloween, same pumpkin, two looks. Because they’re removable with rubbing alcohol, you can change designs mid-season. A great one for impatient decorators and for kids who want “real” art without the drawing skills.
11. Paint Pen Doodle Art
A white paint pen on an orange pumpkin (or a black one on a white pumpkin) is all you need for doodle art — mandalas, zentangle patterns, cute faces, spider webs. This is my favorite of the pumpkin decorating designs that kids can genuinely do themselves, because there’s no wrong answer; a wobbly line just looks hand-drawn and charming. Start at the top and work down so you don’t smudge fresh ink, and let each section dry a few minutes before rotating the pumpkin. Oil-based paint pens give the brightest, most opaque lines and survive light rain, while water-based ones are easier for little hands to use. I did a whole pumpkin in white doodle mandalas last year and people assumed I’d bought it at a boutique. For more kid-safe craft inspiration, see my 21 easy paper crafts for kids — half of them work as warm-ups for this technique.
12. Faux Marble Pour Paint
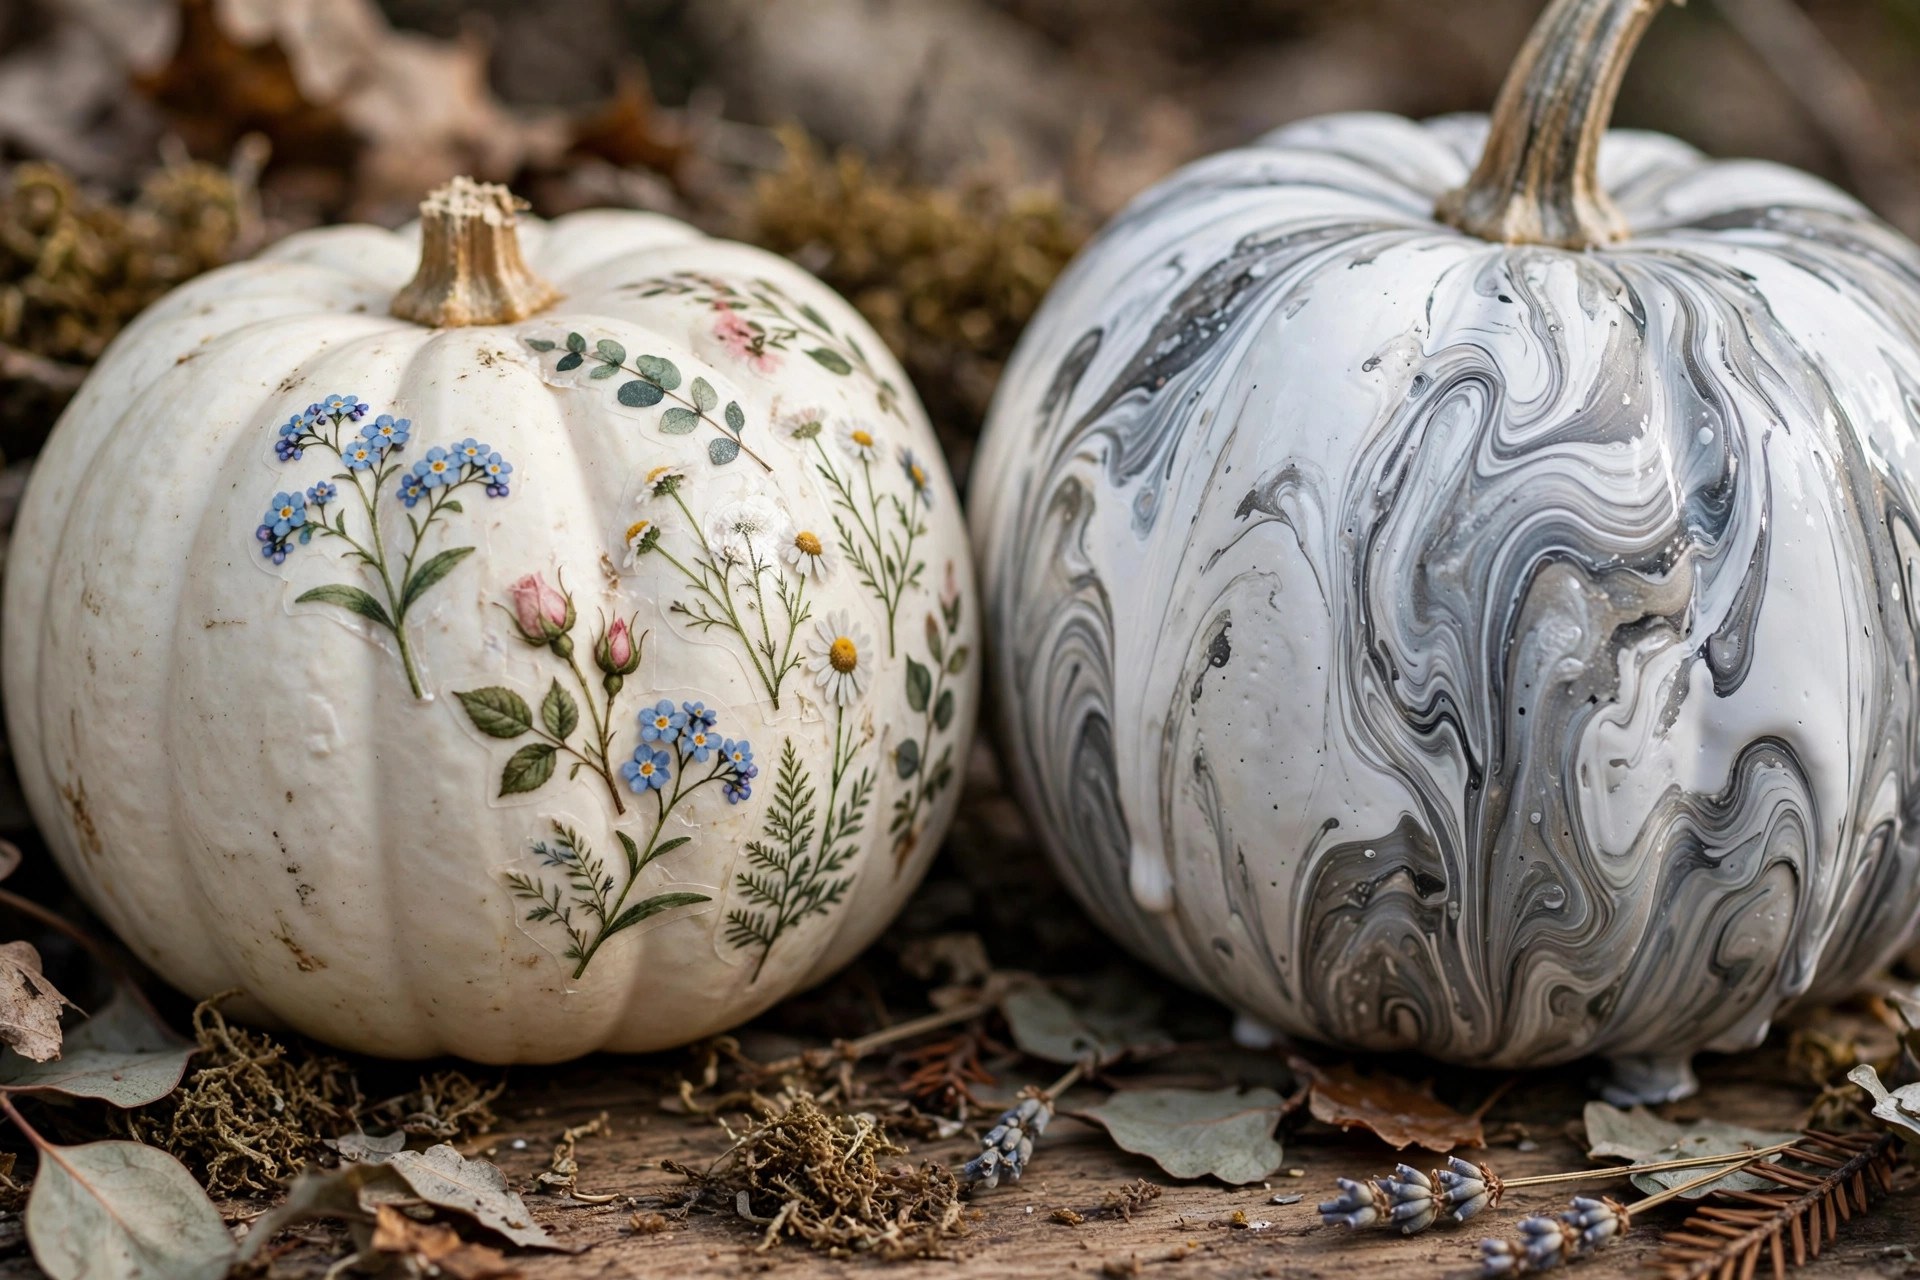
The acrylic pour trend works on pumpkins shockingly well and creates a faux marble effect that looks nothing like a craft project. Mix white, gray, and a touch of gold craft paint with a little pouring medium (or just water it down slightly), drizzle the colors over the top of the pumpkin, and tilt it slowly so the paint runs down the sides and marbles naturally. Every single one comes out different — that’s the whole appeal. I set mine on a disposable cup inside a foil tray to catch the drips, and the paint usually needs a full day to cure. This is one of those decorated pumpkin ideas without carving where “messy process, gorgeous result” is exactly the point. Don’t overthink color choice: white with gray veining looks like real marble, while black and gold reads dramatic and moody for Halloween.
13. Distressed Chalk Paint Farmhouse Look
Chalk paint gives pumpkins that soft, powdery farmhouse finish that’s everywhere in fall decor, and distressing it takes ten extra minutes for a huge payoff. Brush on two coats of chalk paint in cream, sage, or dusty blue, let it dry, then lightly sand the raised ribs and edges with fine sandpaper so a hint of orange peeks through — instant vintage character. I finish with a clear wax or matte sealer so the finish doesn’t chalk off on hands and furniture. A cluster of these in muted tones, mixed with dried hydrangeas, is the whole modern-farmhouse fall look in about an hour. These pair beautifully with the rest of a seasonal home — if you’re styling beyond the pumpkin, my 20 fall decor ideas shows how to build the full room around them. Foam pumpkins are ideal here since the paint adheres perfectly and they last for years.
14. Raised Hot-Glue Designs
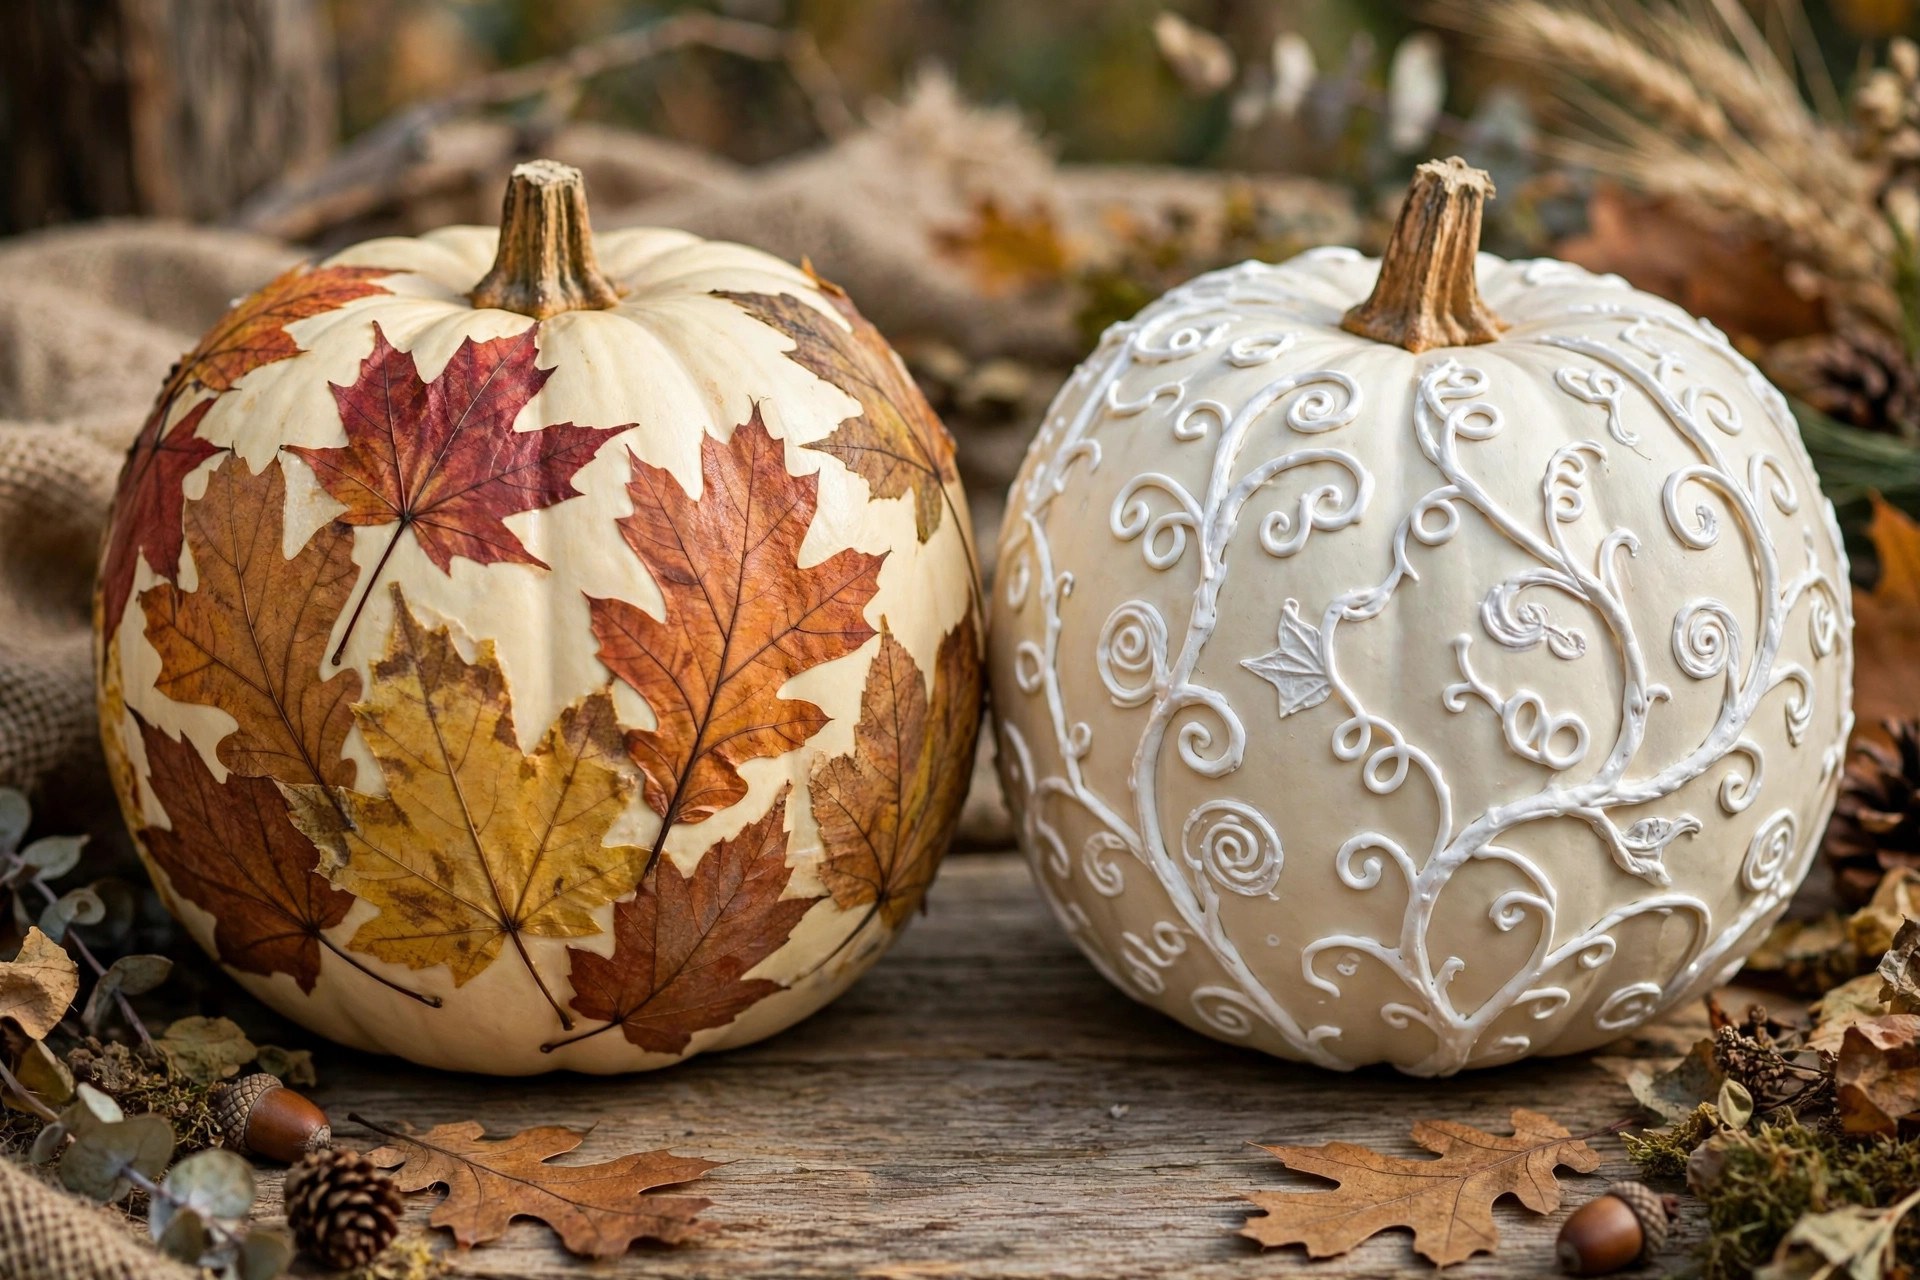
Here’s a trick that looks like expensive embossed ceramic: draw your design — vines, dots, a monogram — directly on the pumpkin with a hot glue gun, let it harden, then paint the entire pumpkin one solid color over the top. The raised glue lines catch the paint and cast tiny shadows, giving you a textured, carved-without-carving look. I’ve done leafy vines on a cream pumpkin that fooled everyone at my fall dinner party. Keep the glue lines thin and work in small sections so nothing strings or blobs; a low-temp gun gives you more control on the curves. Two thin paint coats cover the glue completely. This is one of the sturdiest no carve pumpkin decor options for kids’ hands too, since the texture actually invites touching and it holds up to being handled.
15. Pressed Leaf and Botanical Decoupage
Real pressed fall leaves decoupaged onto a pumpkin is the most autumn thing I’ve ever made, and it costs literally nothing. Collect maple, oak, and fern leaves, press them in a heavy book for a week (or microwave-press them between paper towels in thirty-second bursts for same-day results), then Mod Podge them onto a white or cream-painted pumpkin. I overlap them in a loose wreath pattern around the middle and add a few sprigs of dried lavender at the stem. The translucent leaves glow when light hits them, which makes these gorgeous as porch decor at golden hour. Seal with two thin Mod Podge topcoats so wind doesn’t lift the edges. Unlike glitter or paint, this one genuinely smells like fall and looks like the season itself decided to decorate.
16. Felt Applique Shapes
Cut shapes from craft felt — leaves, acorns, stars, simple pumpkin faces — and glue them on with a hot glue gun for a soft, kid-friendly finish. Felt is wonderfully forgiving: it doesn’t fray much, it hides lumpy glue jobs, and the matte texture contrasts beautifully with a pumpkin’s glossy skin. I layer two tones of felt for leaves (a darker vein cut from the second color glued on top) and it takes the whole thing from kindergarten to boutique. Felt faces are the no-carve answer to jack-o’-lanterns — triangle eyes and a zigzag mouth in black felt, no knives, no scooping, and they peel off cleanly at the end of the season. This is my top recommendation for toddlers and preschoolers, since there’s nothing sharp, nothing toxic, and nothing that stains clothes.
17. Ombre Gradient Pumpkins
An ombre pumpkin — deep plum melting into blush pink, or burnt orange fading to cream — looks like it belongs in a home decor catalog. The technique is easier than it looks: paint the whole pumpkin your lightest shade, then while it’s still slightly tacky, dry-brush the mid-tone around the middle and the darkest shade at the bottom, blending where they meet with a soft, dry brush. Work quickly and in thin layers; thick paint won’t blend. I do most of my blending with a cheap chip brush because the rough bristles feather the colors naturally. A set of three pumpkins in the same ombre family, each starting at a different intensity, makes a stunning stair or mantel arrangement. Among carveless pumpkin ideas, this one delivers the most “wow” for the least actual skill required.
18. Stenciled Fall Lettering
Stencil a word — HARVEST, GRATEFUL, BOO, your family name — across a pumpkin and you’ve got instant porch signage. Adhesive stencils hug the pumpkin’s curve best; tape regular stencils down well and use a nearly-dry stencil brush with an up-and-down dabbing motion so paint doesn’t bleed underneath. I like white lettering on a deep green or charcoal pumpkin for maximum contrast, though metallic gold letters on cream are beautiful too. One long word wraps nicely around a medium pumpkin, while short words fit smaller ones. This is the technique I use every year for my front steps — a row of pumpkins spelling out a phrase is the highest-compliment decoration I own. See how I style the full entryway in my 23 fall porch decor ideas for 2026. Peel the stencil while the paint is still slightly wet for the crispest edges.

19. Lace and Doily Wrap
Drape lace fabric or paper doilies over a pumpkin and either leave them as a wrap or use them as a stencil — both look gorgeous. For the wrap version, cut a square of lace large enough to cover the pumpkin, gather it at the stem with a ribbon, and let the scalloped edge fall naturally. For the stencil version, lay a doily flat against the pumpkin, dab paint over it with a sponge, and lift the doily away to reveal a delicate lace pattern. I prefer the stencil method on white pumpkins with gray or sage paint because the result looks like fine china. Vintage lace from a thrift store is perfect for this and costs almost nothing. This is one of the most romantic pumpkin decorating designs on the list, and it takes about ten minutes once you’ve got your doily positioned.
20. Donut “Sprinkle” Pumpkins
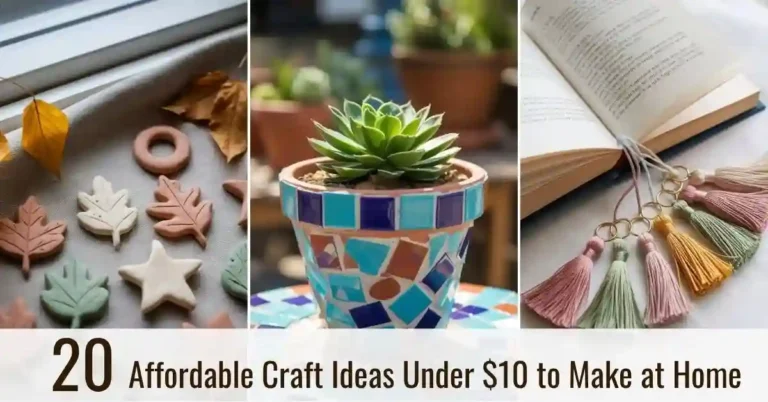
Paint a pumpkin to look like a frosted donut — pink, chocolate, or mint “icing” on top with colorful sprinkle dots — and kids will lose their minds. Paint the top two-thirds in your icing color with a wavy dripping edge, then add sprinkles using the end of a paintbrush dipped in bright colors: pink, yellow, blue, white. A real stem doubles perfectly as the donut’s… well, there’s no hole in a donut pumpkin, but the stem sells the illusion anyway. I made these with my niece last fall for under five dollars total, using paint I already had and a bag of mini pumpkins from the grocery store — proof that the best no carve pumpkin decor doesn’t need a craft-store run. They never last long at our house because someone always claims one for their bedroom. For more ideas that cost almost nothing, browse my 20 affordable craft ideas under $10.
Crafting Tips
- Clean every pumpkin first with a damp cloth and let it dry — paint, glue, and tape all stick far better to a clean, dry surface.
- Work on real pumpkins within a week or two of decorating; no-carve designs last as long as the pumpkin stays fresh, which is usually 2-4 weeks indoors.
- For designs you want to keep for years, use craft-store foam pumpkins — paint and decoupage adhere beautifully and they never rot.
- Seal painted and glittered pumpkins with a clear matte spray so porch drizzle doesn’t ruin your work overnight.
- Keep a damp cloth handy while working — wiping a paint pen slip or repositioning washi tape immediately saves more projects than any technique.
- Do the messy steps (glitter, pour paint, spray sealer) outside or in a lined box; your dining table will thank you.
Frequently Asked Questions
What is the best way to decorate pumpkins without carving? Painting is the most versatile answer — two coats of acrylic or chalk paint completely transform a pumpkin, and from there you can add stencils, decoupage, or doodles. For zero-skill options, washi tape and temporary tattoos give great results in minutes, while decoupage with Mod Podge looks the most high-end. My honest pick: start with a solid matte paint base (idea 1), then layer one more technique on top.
What are the best no-carve pumpkin decorating ideas? The standouts from this list are the matte paint makeover for elegance, gold leaf for luxury, thumbtack studding for drama, yarn wrapping for coziness, and the donut sprinkle pumpkins for kids. The “best” really depends on your goal — porch curb appeal, a table centerpiece, or a kid-friendly afternoon project — but every idea here is knife-free and doable in under an hour except the yarn wrap.
How long do no-carve decorated pumpkins last? Much longer than carved ones — a carved pumpkin rots in 3-5 days, while an uncarved decorated pumpkin lasts 2-4 weeks indoors or 1-3 weeks on a porch depending on the weather. Cool, dry conditions extend their life; heat and direct sun shorten it. If you decorate craft-store foam pumpkins instead of real ones, your designs last for years and can be reused every fall.
Can I use real pumpkins for no-carve decorating, or do I need faux ones? Real pumpkins work perfectly for every idea on this list — paint, decoupage, tape, and pins all adhere to real pumpkin skin. The only exception is anything you want to keep: use faux foam pumpkins for designs you’ll reuse year after year, since real ones eventually soften. One note: thumbtack designs actually hold better in real pumpkins because the thick flesh grips the pins.
Final Thoughts
Skipping the carving knife doesn’t mean skipping the fun — it usually means better-looking pumpkins that last longer and a craft table the whole family can gather around safely. Pick one technique that caught your eye, grab a pumpkin this week, and try it. I’d love to hear which of these 20 ideas made it onto your porch.