Introduction
There is a specific kind of magic in a well-decorated Christmas tree — the kind that makes you stop mid-step on your way to the kitchen and just stand there, mug in hand. I have been decorating trees for over two decades now, everything from a lopsided dollar-store spruce in my first apartment to a nine-foot Fraser fir that nearly took out a chandelier. These 21 Christmas tree decorating ideas are the ones I keep coming back to: the ribbon technique that changed my tree game forever, the lighting trick that makes even a budget tree look expensive, and this year’s trending looks like pink Christmas and moody black trees. Whether you put your tree up the weekend after Thanksgiving or you are one of those gloriously unapologetic November 1st people, you will find a look here worth trying.
1. The Ribbon Cascade
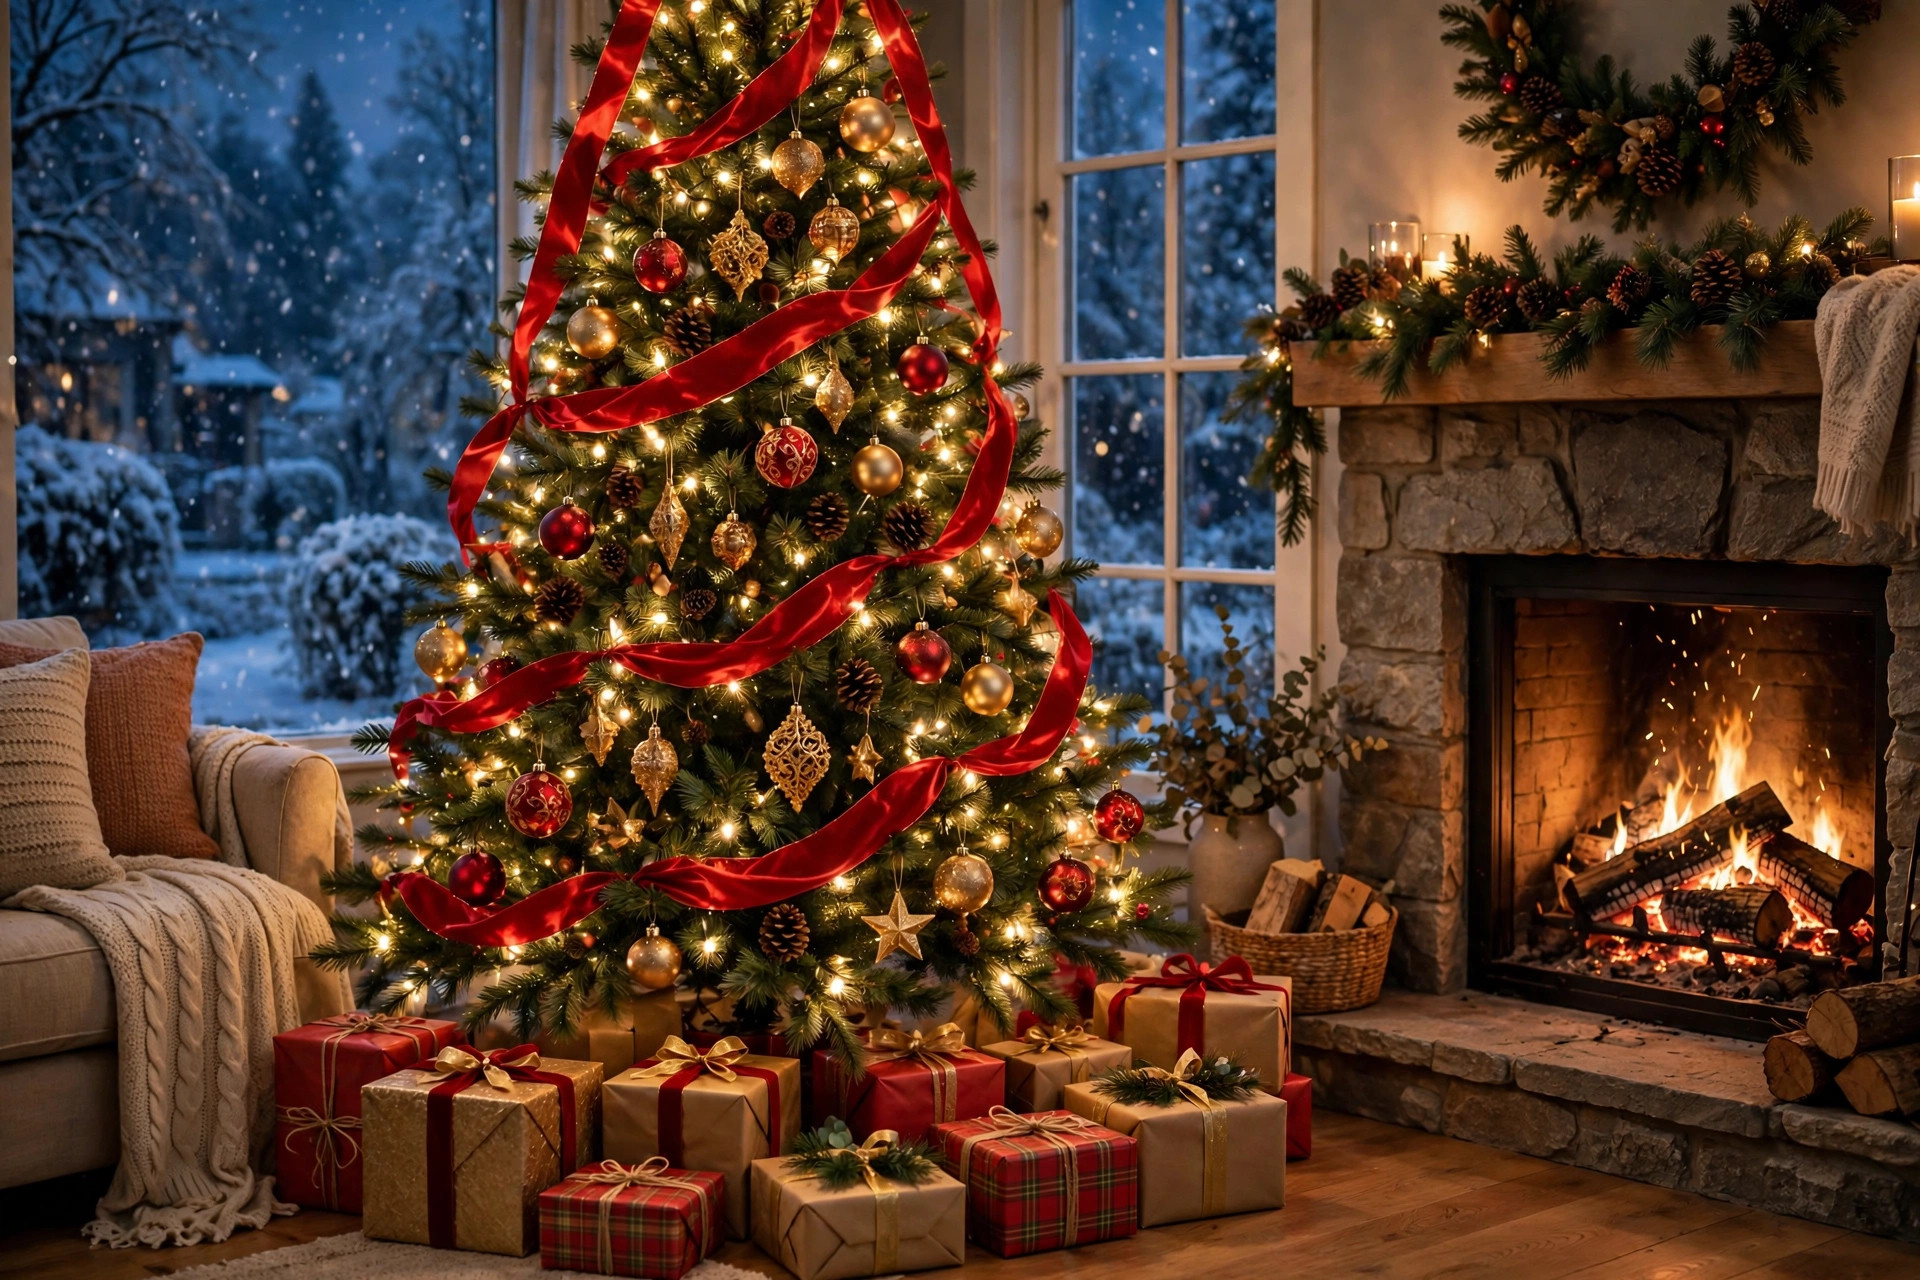
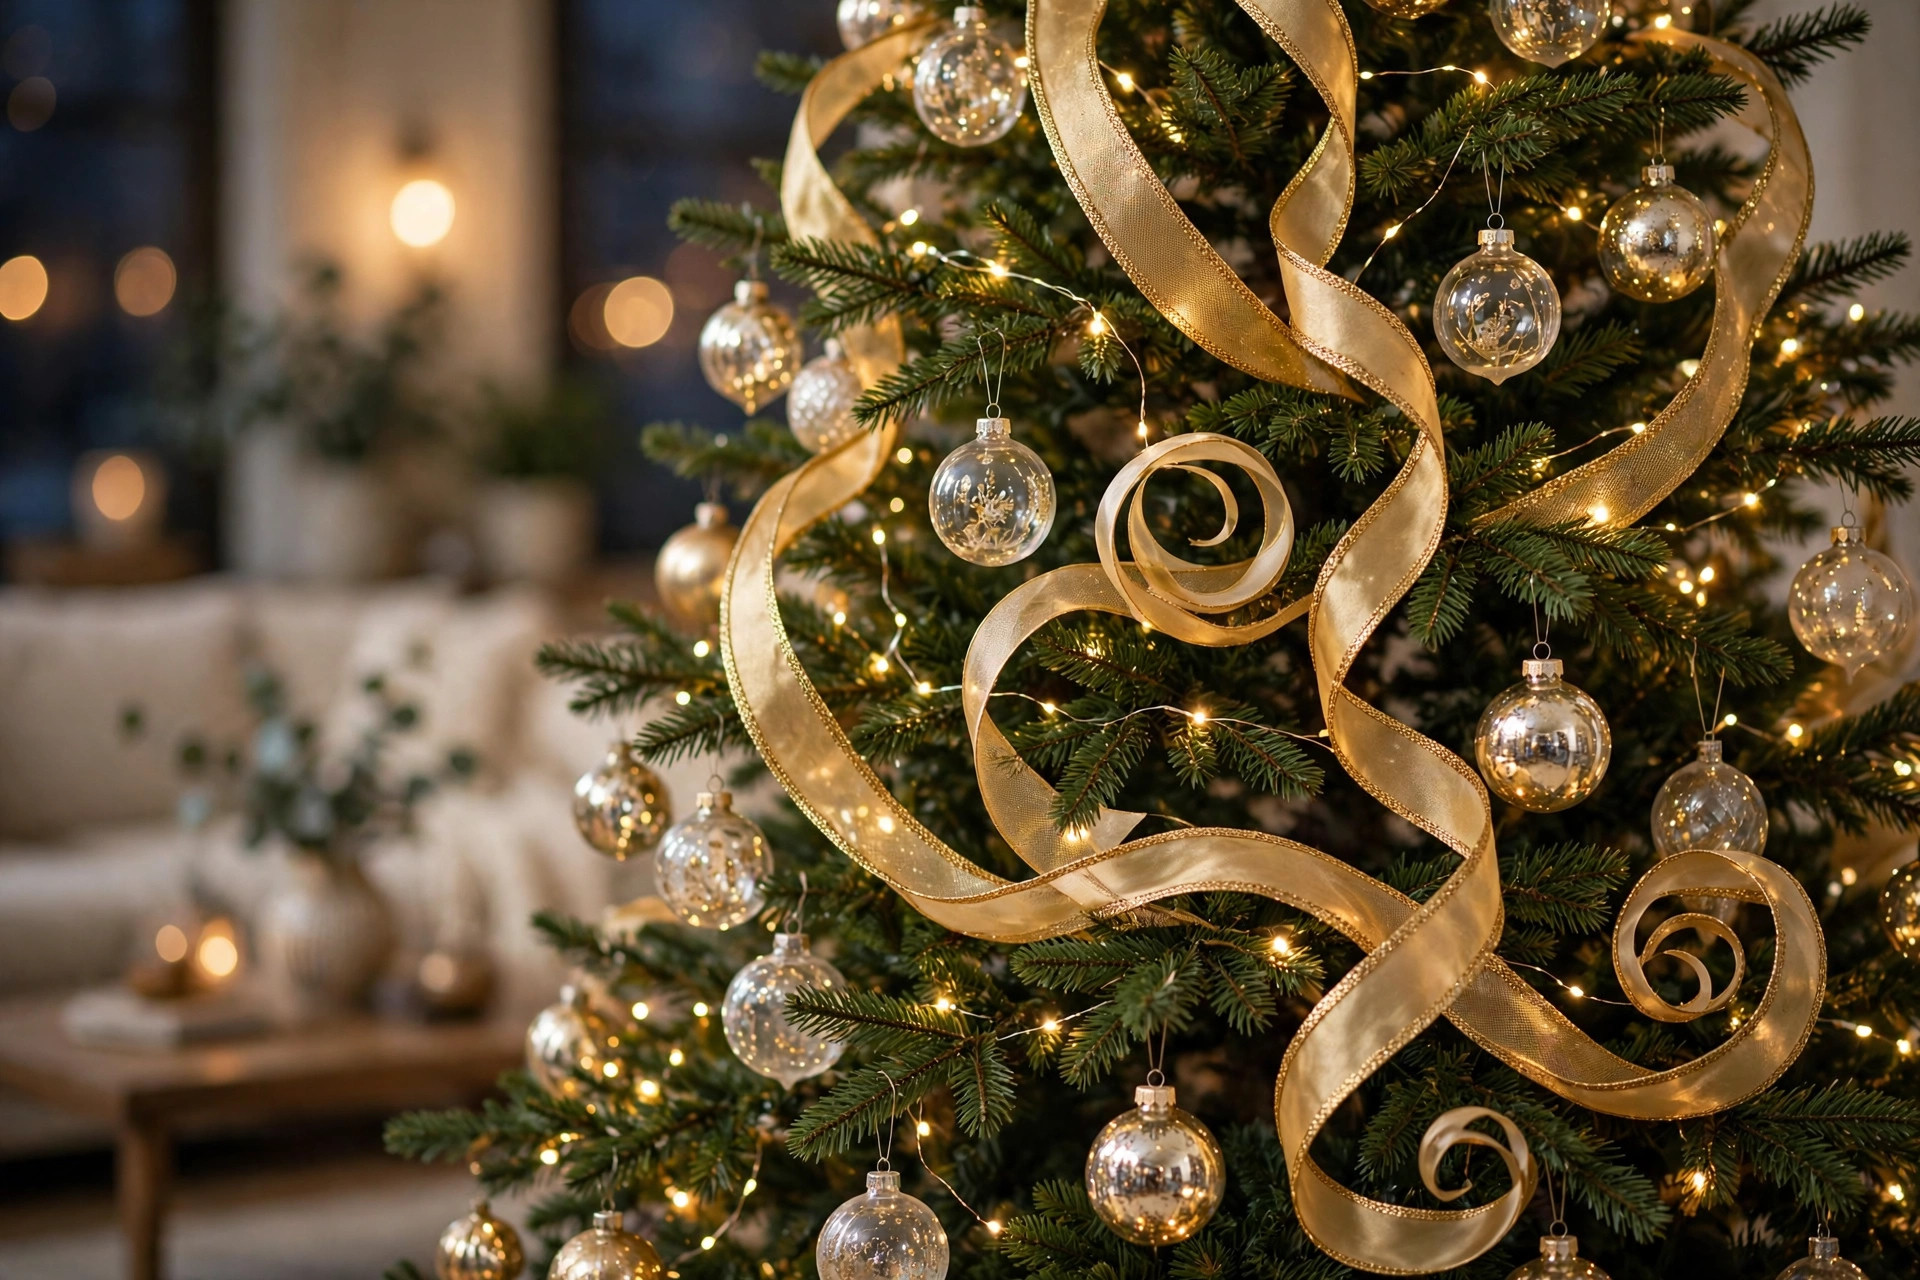
If you learn one tree skill this year, make it this. Wired ribbon — the kind with thin metal edges that holds its shape — tucked in loose vertical swoops from top to bottom adds more drama than any ornament ever could. I use two-and-a-half-inch wired ribbon from Michaels or Target’s Wondershop line; wider looks cheap, narrower disappears. Start at the top and push the ribbon six inches into the branches every foot or so, letting it billow out between tucks. Alternate directions so the swoops crisscross. My first attempt looked like a maypole gone wrong, so do not stress if yours needs adjusting — step back, squint, and rearrange. Two colors layered together (say, gold mesh over red satin) look especially rich on a classic green tree.
What you need
Wired ribbon, 2.5 inches wide — plan on about three rolls for a seven-foot tree. Sharp scissors, and patience.
How I do it
I cut the ribbon into four-foot lengths instead of one endless strand. Easier to control, easier to fix, and you waste less when a piece goes sideways.
2. Lights First, Woven Deep
Here is the question I get asked most every December: how do you put lights on a Christmas tree so it actually glows? The answer is you put them on first, before a single ornament, and you weave them in and out — not just draped on the branch tips. Start at the top, run the strand down one side weaving behind some branches and in front of others, then zigzag up the next side. Push some bulbs deep toward the trunk and leave others at the tips. That layering creates depth, so the whole tree glows from inside instead of looking like a Christmas tree wrapped in a light net. Count on 100 bulbs per foot of tree as a minimum — 700 for a seven-footer. I check every strand on the floor before it touches the tree, because nothing ruins a decorating evening like discovering a dead strand at 10 p.m.
3. Fluff for Fullness
People always ask me how I make my Christmas tree look full — and honestly, half of it is just fluffing. An artificial tree straight out of the box looks like a sad green umbrella; the same tree fluffed properly can fool guests into thinking it is real. Spend a full hour working every branch: pull the tips outward and down, separate the layered branchlets, stagger them so no two point the same way, and bend the outer tips slightly upward to cradle ornaments. For real trees, fluffing still matters — shake it out, prune any branches poking into walkways, and rotate the sparse side toward the wall. Here is my honest trick for thin trees: hang your largest ornaments deep inside the branches first. They fill the dark gaps near the trunk, and suddenly a skinny tree looks twice as lush.
How I styled it
On my artificial Balsam Hill, I fluff section by section from the bottom up, then step back every section to check for bare spots before moving on.
4. Flocked Winter Wonderland
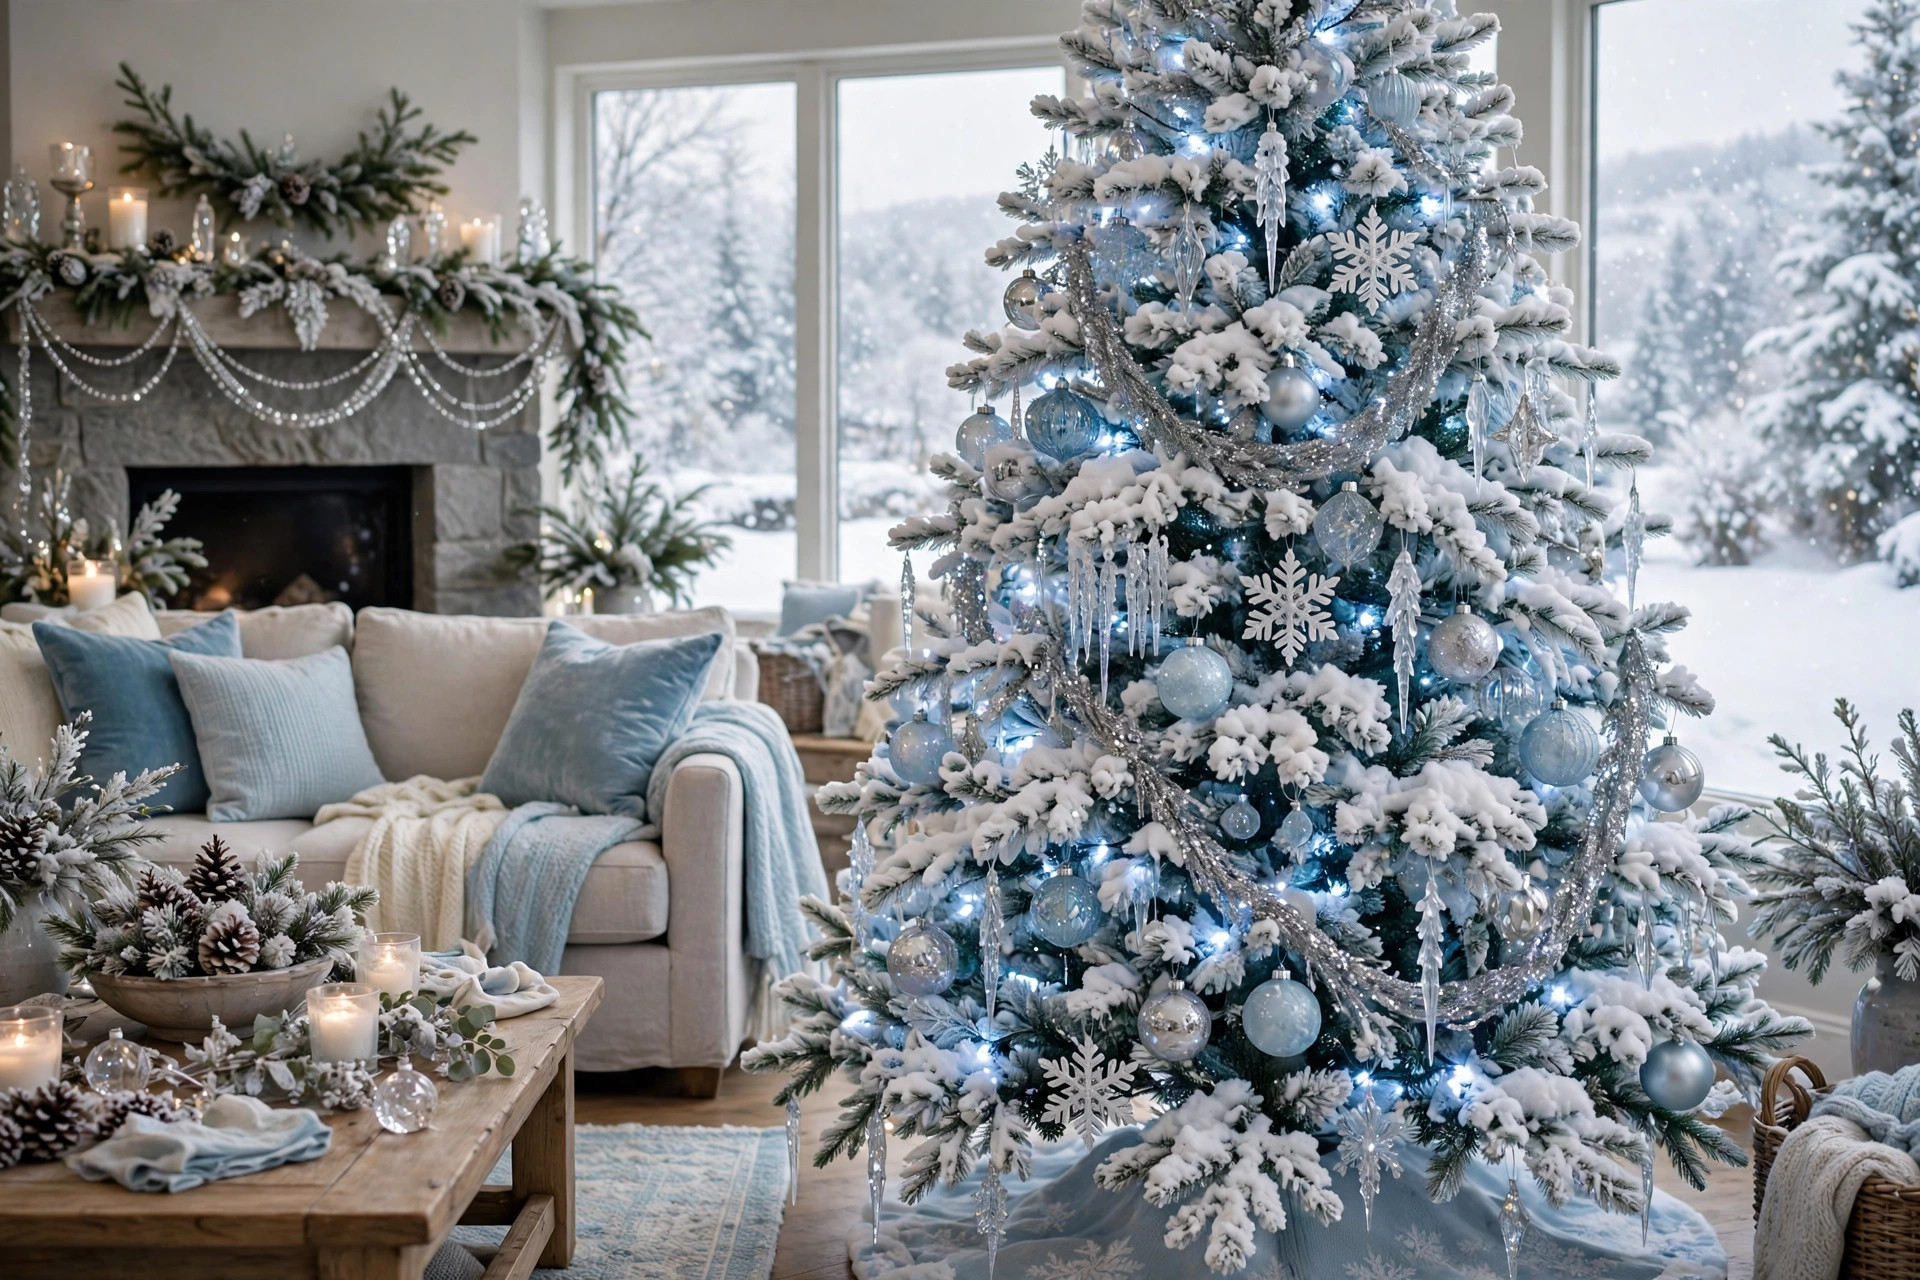
Flocked trees — the ones dusted white like they just came in from a snowstorm — have a permanent place in my heart. The flocking does half your decorating for you: it hides imperfections, adds built-in contrast, and looks stunning with minimal ornaments. I decorate mine in silvers, icy blues, and crystal, and keep the palette tight. Two rules from experience: flocked trees shed like a cat in spring, so lay down a sheet and skip the flocking if you have asthma or white-shedding sensitivities in the house; and use cool-white LEDs rather than warm, because warm bulbs turn the snow yellow-ish under the lights. A silver or white tree skirt finishes the look. My flocked tree is the one guests photograph most, and I put maybe forty ornaments on it. Less really is more here.
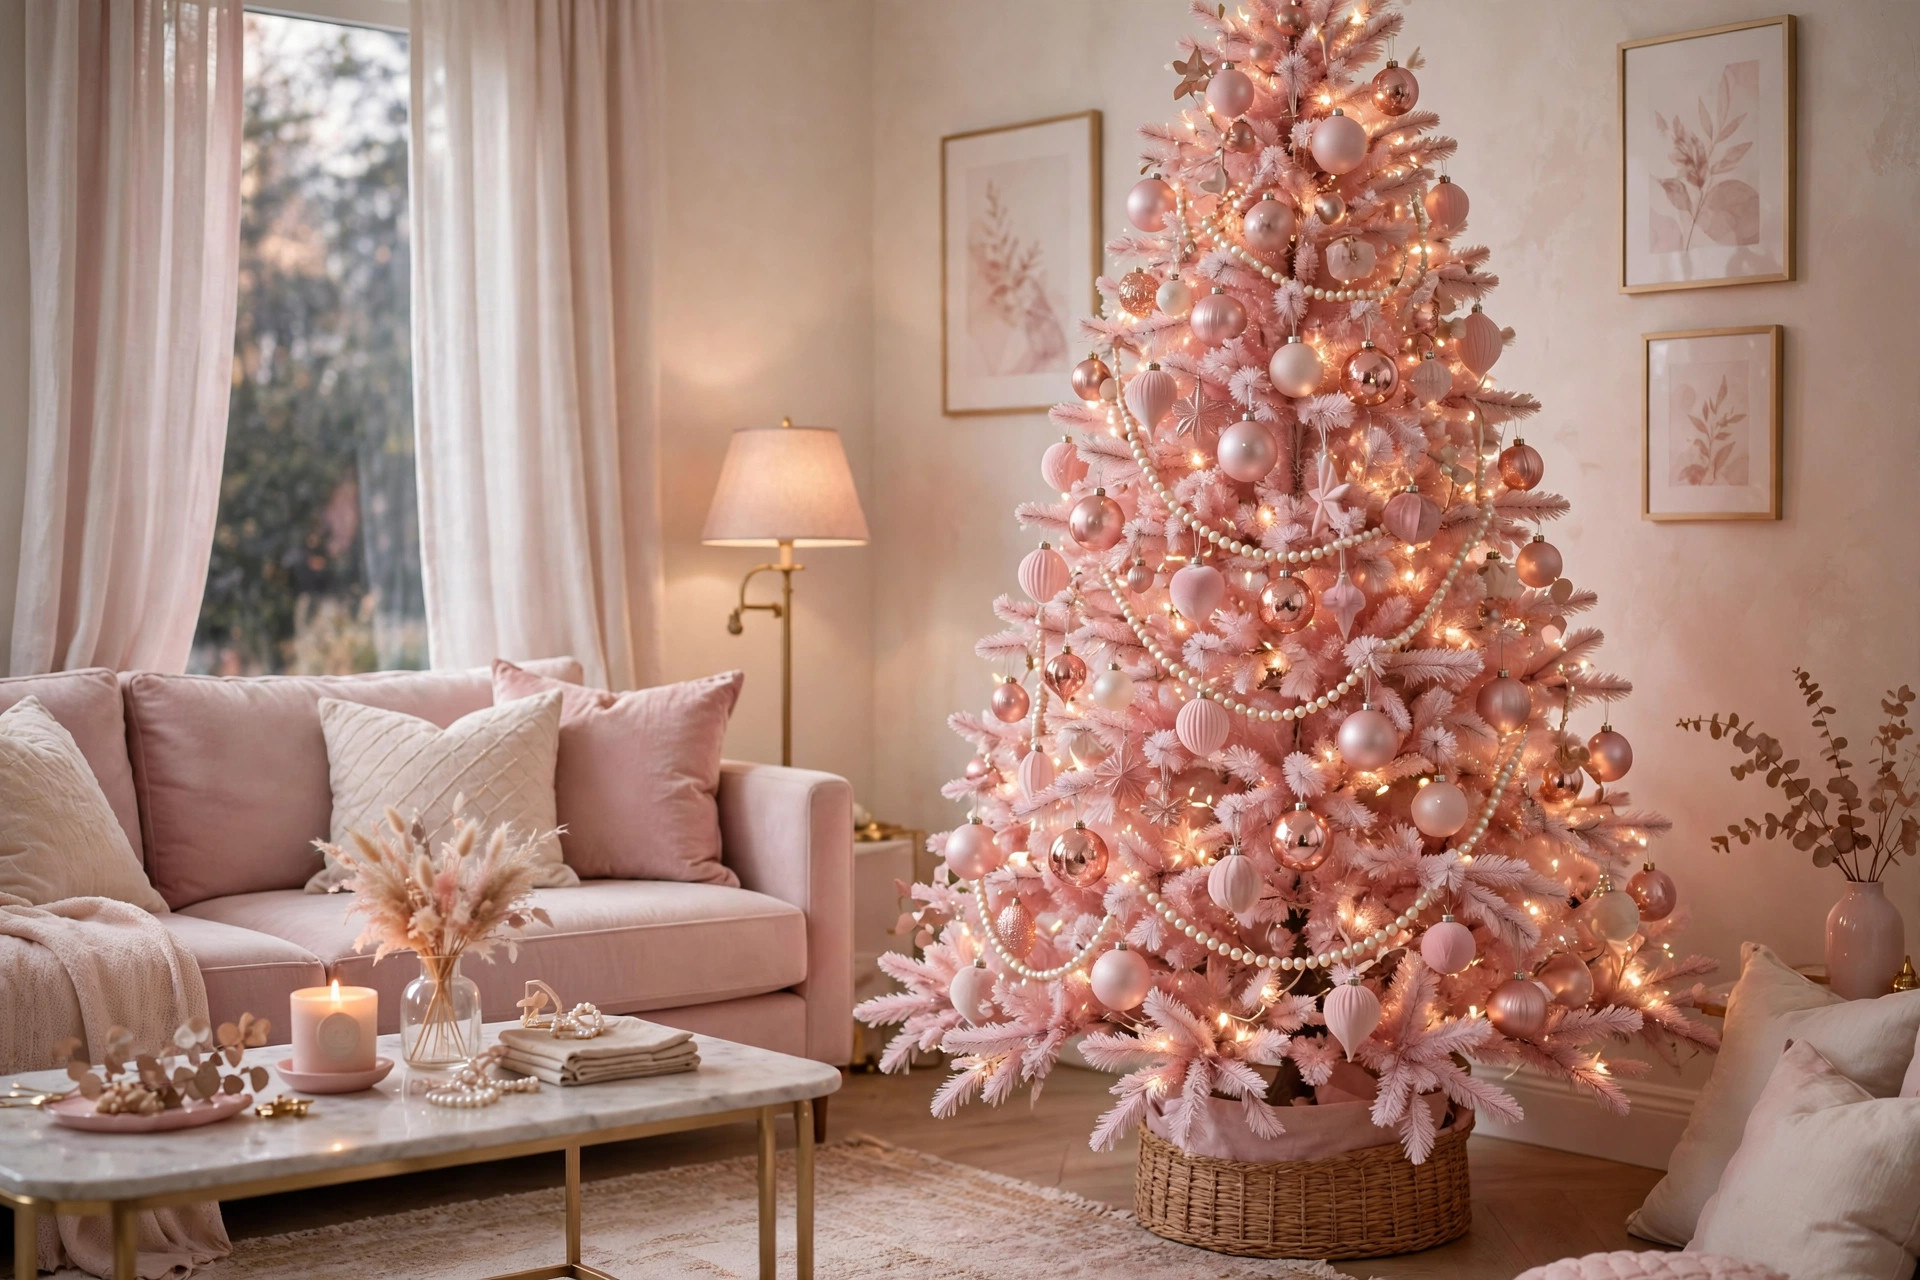
5. Blush Pink and Rose Gold Christmas
Pink Christmas is not a passing fad — it has been climbing Pinterest searches for three straight seasons, and 2026 is its biggest year yet. The look works best on a white or flocked tree, but I have also seen it pull off beautifully on green. Layer blush pink, rose gold, and champagne ornaments in different textures: matte balls, glittered baubles, glass drops, and a few oversized statement pieces. Add white fairy lights and a pearl garland for softness. My honest opinion? Commit to the theme. One pink ornament on a traditional tree looks like a mistake; a whole tree of them looks like a statement. I added pink velvet ribbon to mine and my teenage daughter, who normally rolls her eyes at my decorating, actually asked me to keep it up through January.
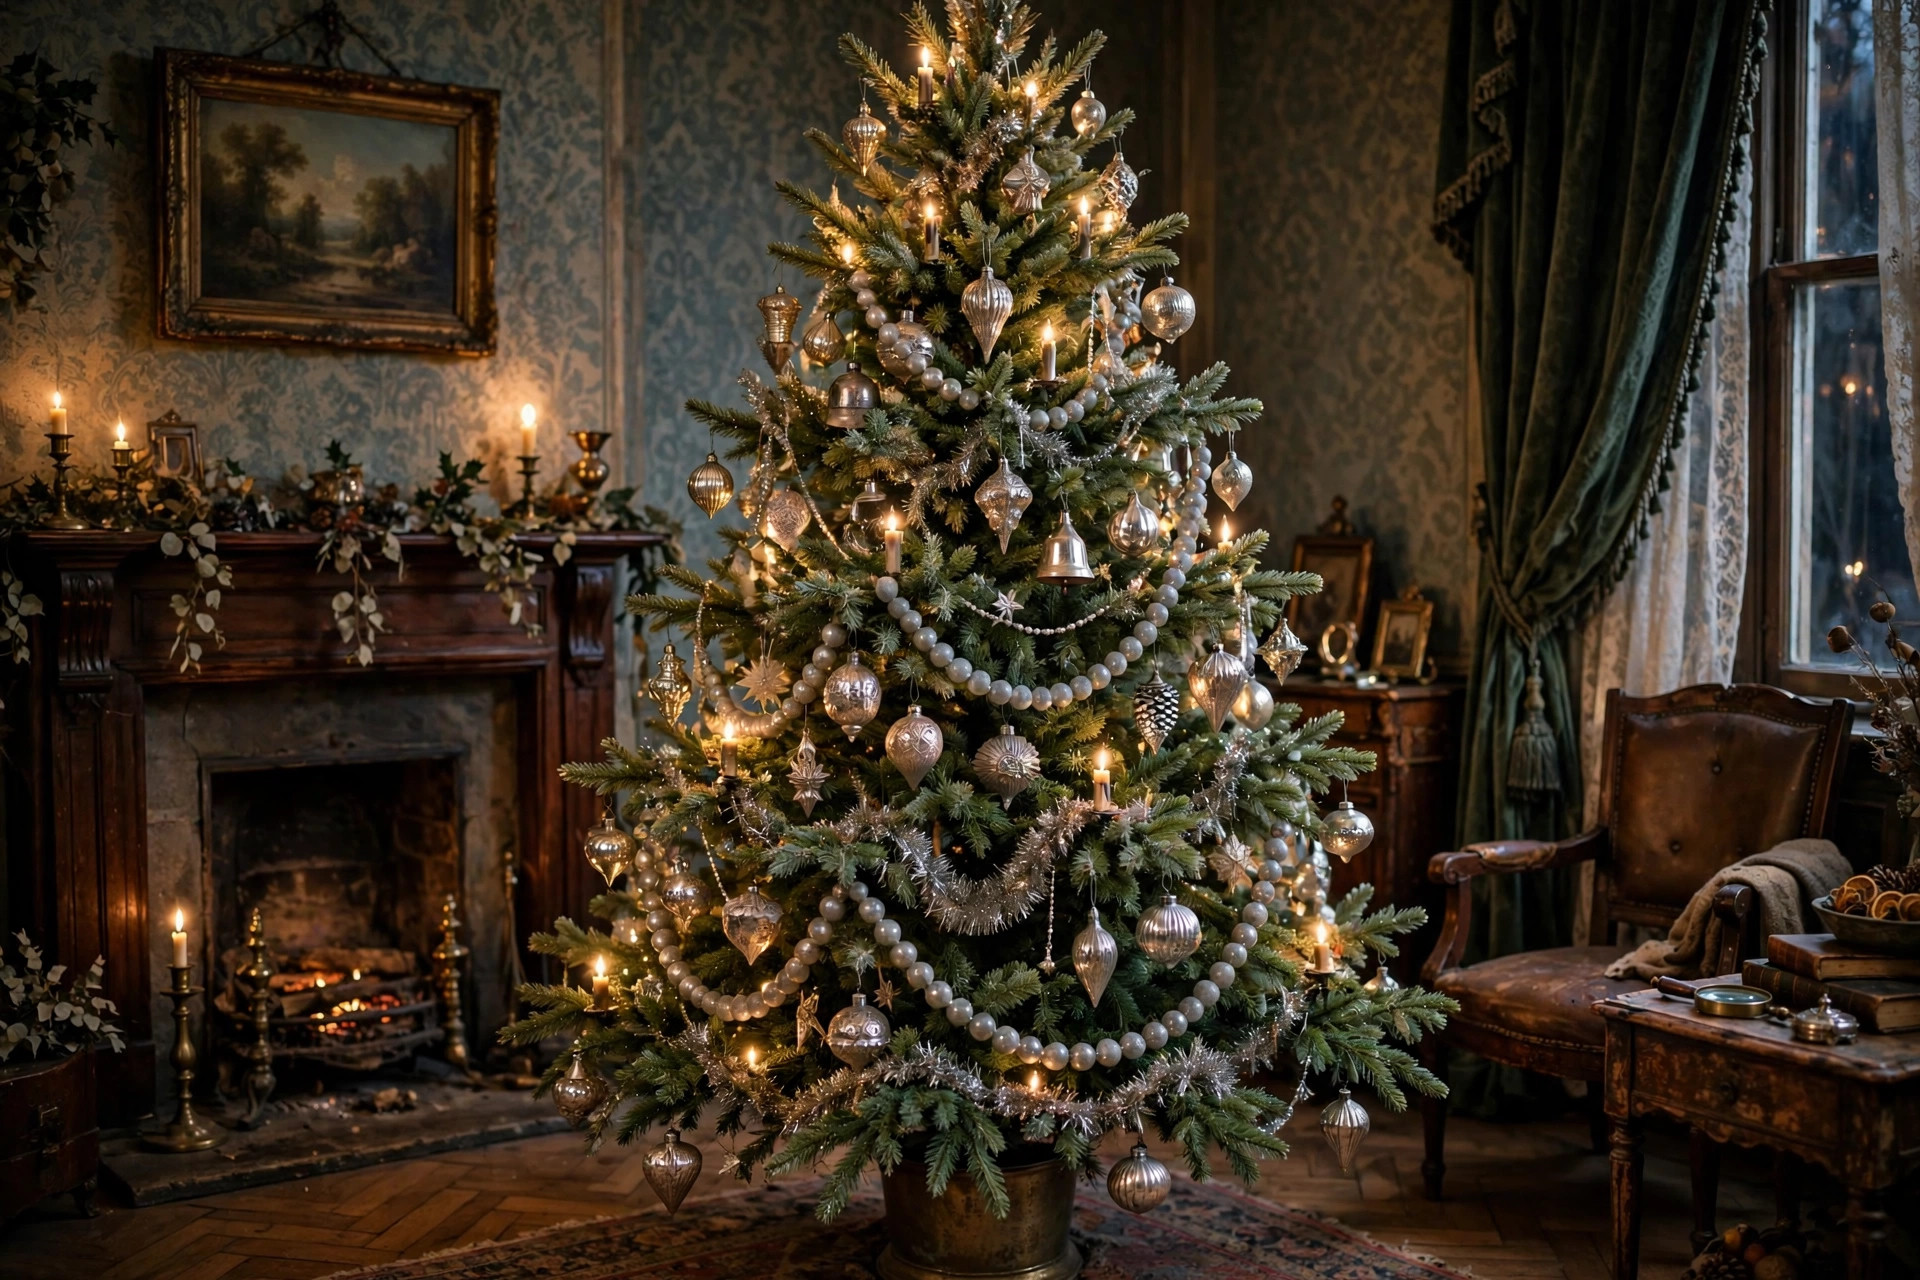
6. Vintage Mercury Glass Revival
There is something about mercury glass — that mottled silver finish — that instantly reads “grandmother’s attic in the best way.” I have been collecting mercury glass ornaments from thrift stores and flea markets for years; mixed with a few reproductions from Homegoods or At Home, nobody can tell old from new. Drape a mercury glass bead garland in long swags between the branches, add the vintage-style tinsel I finally learned to appreciate (the trick: hang it strand by strand, not tossed in clumps), and top it with a silver star. Warm white lights only — cool bulbs make mercury glass look cold and flat. The whole tree costs less than you would think if you shop secondhand, and it photographs like a Norman Rockwell Christmas.
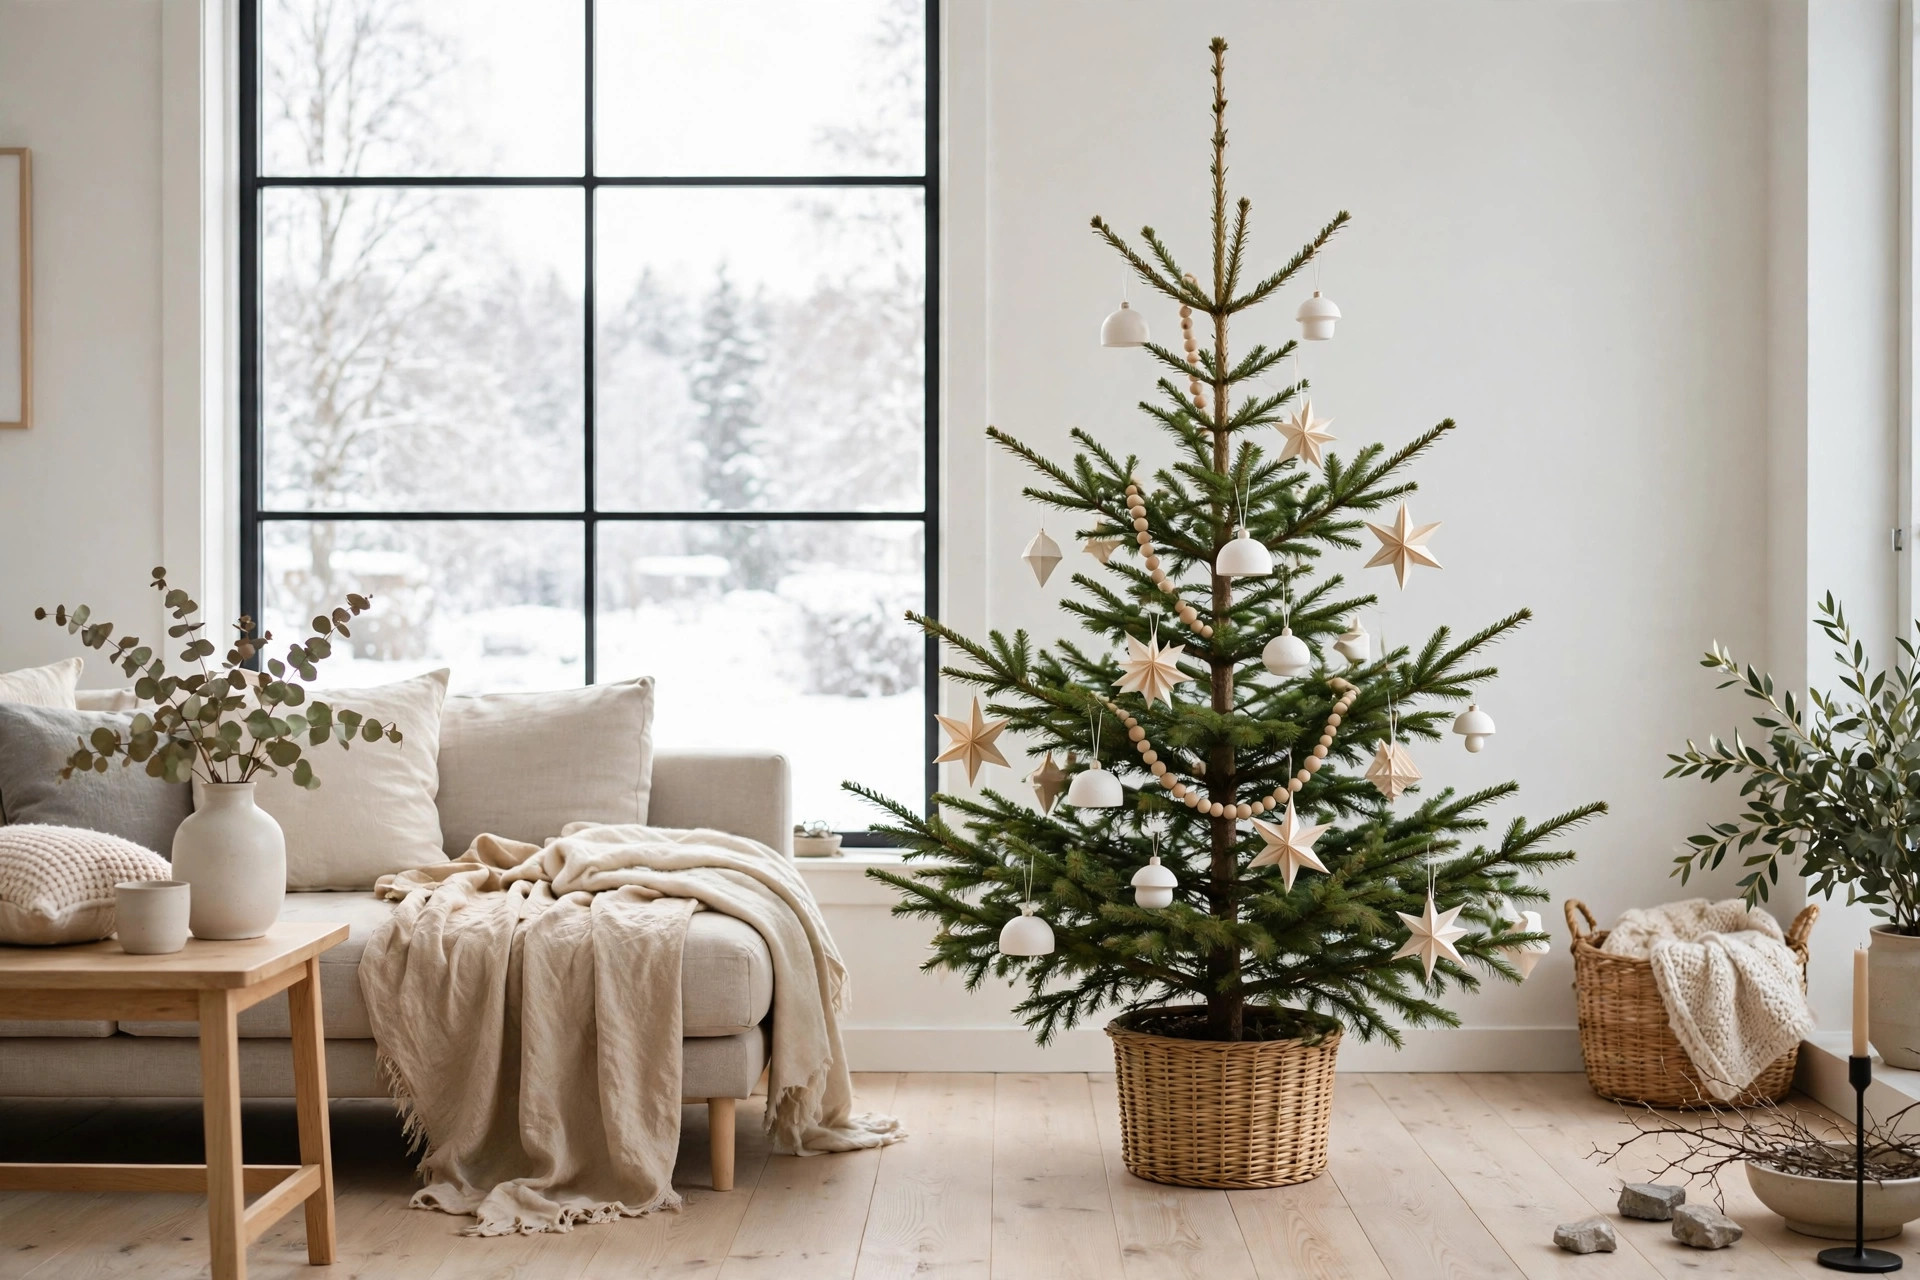
7. Scandinavian Minimalist
Some years I am too tired for a full production tree, and that is when the Scandinavian look saves me. Sparse branches, a handful of ornaments, lots of breathing room. Think white ceramic baubles, natural wooden beads, small paper stars (IKEA’s Stråla lantern stars work beautifully), and nothing else. The trick is intentionality: every piece earns its spot. I use warm white lights sparingly — just enough to make the paper stars glow. Real tree or artificial both work, but a real spruce with its slightly wild shape sells the look best. My minimalist tree took forty minutes total, and I genuinely loved it as much as trees I had labored over for hours. If you are decorating-shy, this is your style: it is almost impossible to get wrong.
What you need
A real or sparse artificial tree, 15–20 simple ornaments in white/natural wood, one strand of warm lights, and the discipline to stop there.
8. Rustic Woodland Lodge
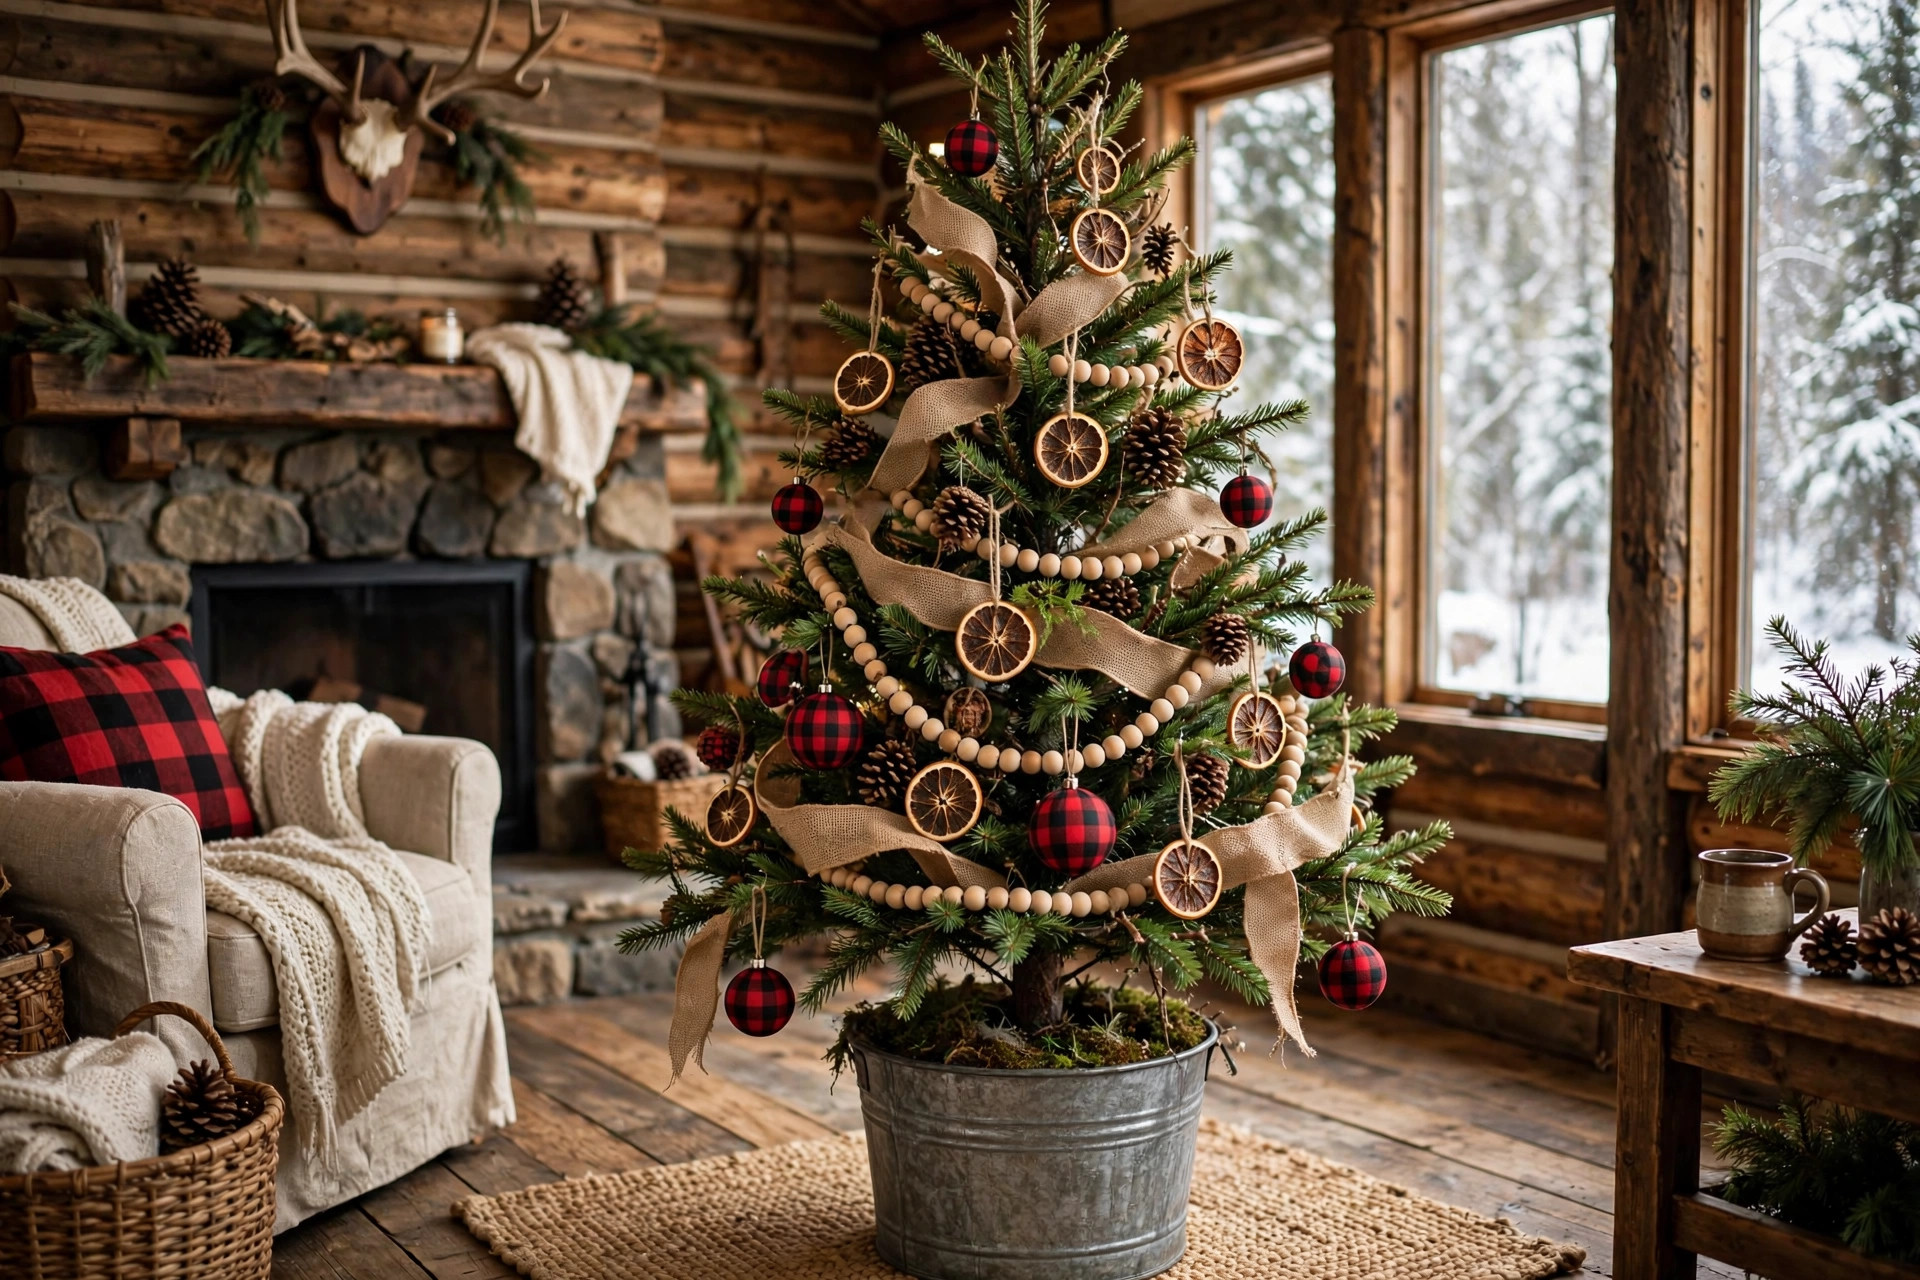
This is the tree that smells like a cabin vacation even if you have never been on one. Natural materials do all the talking: pinecones wired onto branches with florist wire, burlap ribbon in loose loops, dried orange slices on twine, a wooden bead garland, and a few plaid ornaments for color. Set it in a galvanized metal bucket instead of a tree stand — it hides the stand completely and looks like you planned it. I gather pinecones from my own yard in October and spray-paint half of them gold for contrast. One honest warning: if you use a real tree, the pinecones and dried fruit add real weight, so wire everything on snugly. A star made of twigs or a burlap bow tops it off, and suddenly your living room feels like a lodge in Vermont.
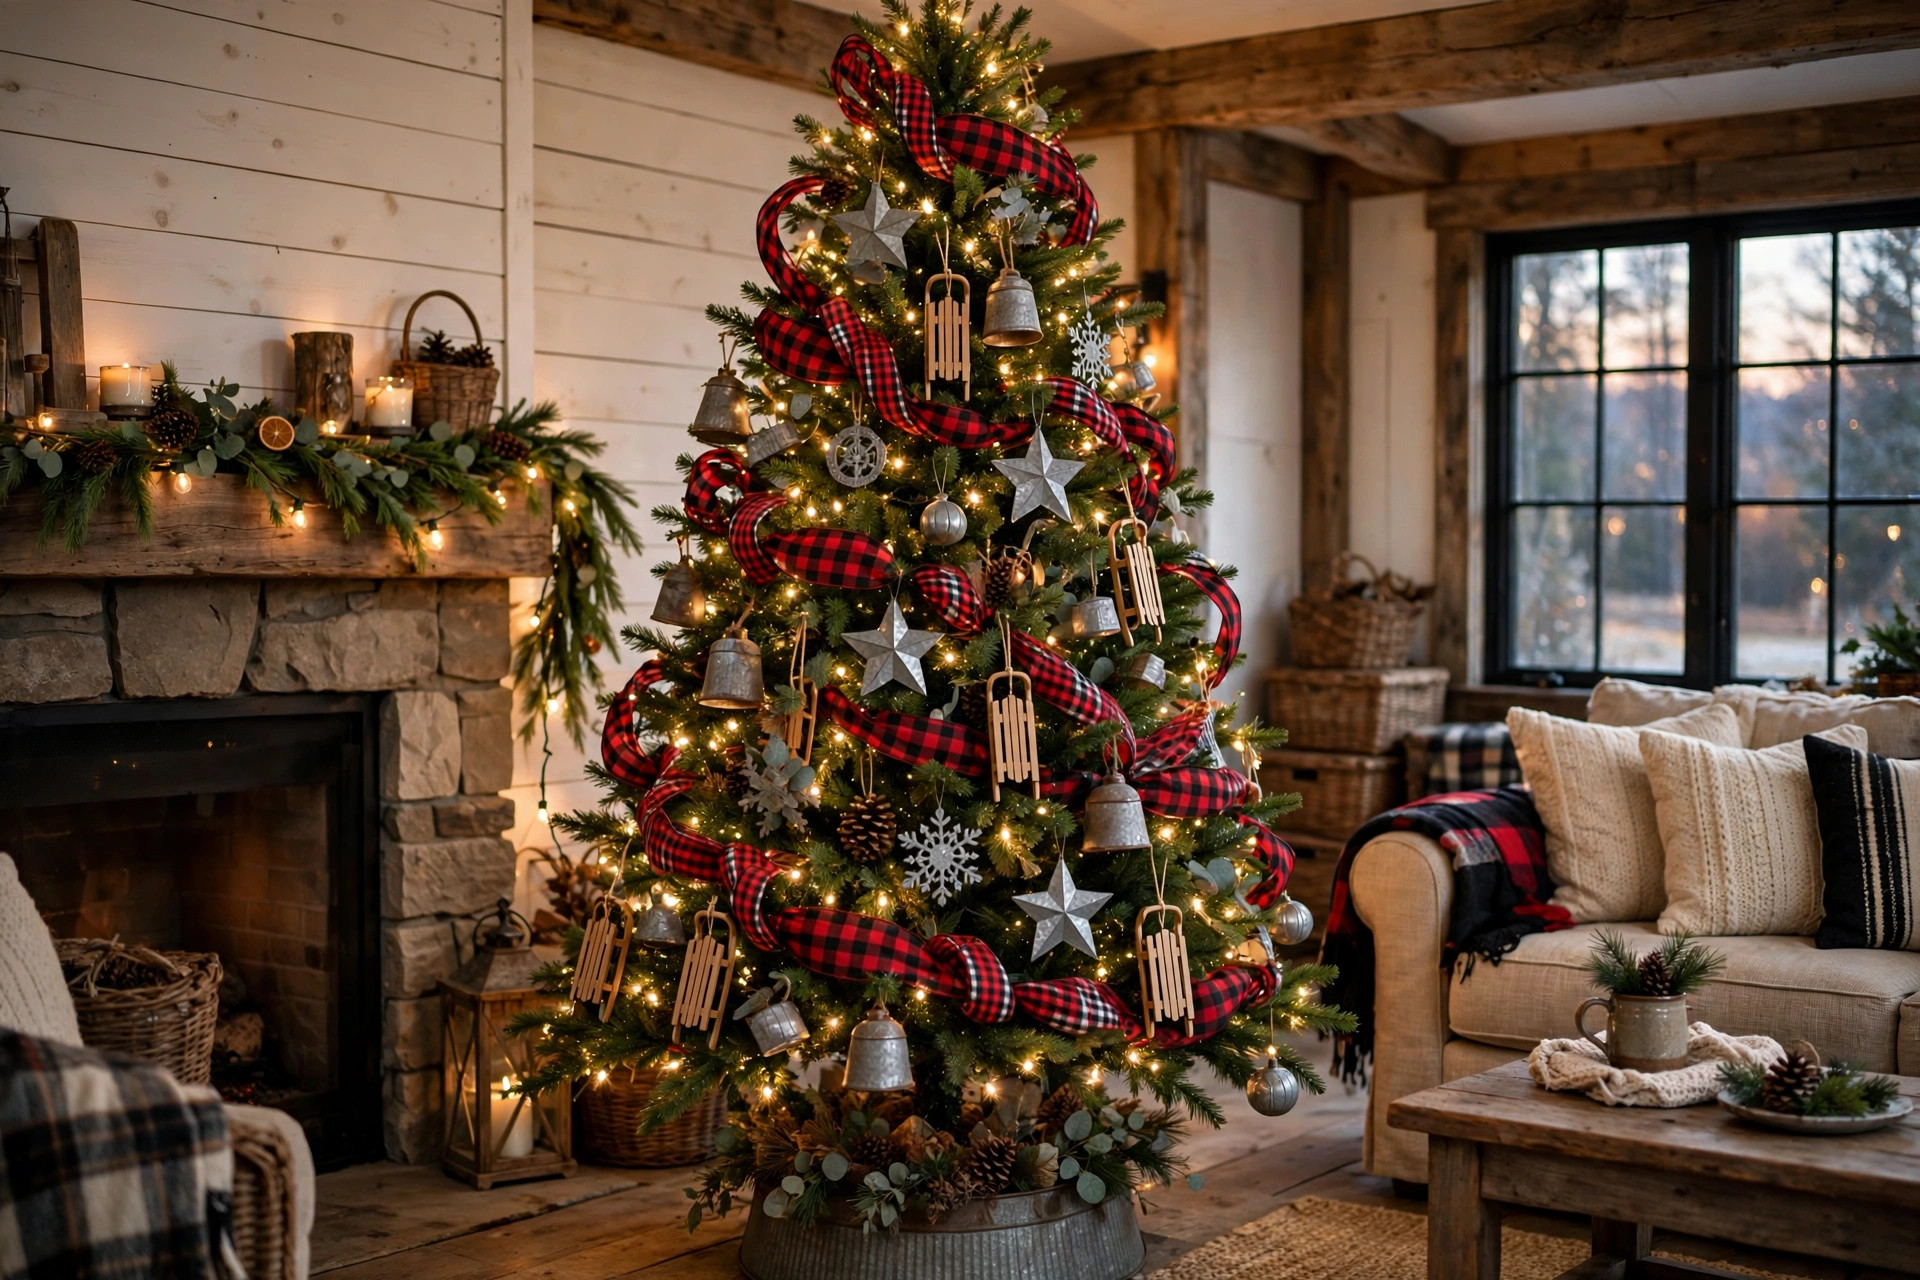
9. Buffalo Check Farmhouse
Red and black buffalo check is the farmhouse Christmas uniform, and it translates perfectly to trees. I do wide buffalo check ribbon tucked in the ribbon-cascade style, galvanized metal ornaments, red truck ornaments (yes, the little red pickup — it is a classic for a reason), and warm white lights. A plaid tree skirt or a simple burlap one ties it together. The style is forgiving: it looks good slightly messy, slightly overflowing, slightly overdone — which is exactly how farmhouse decorating works. My buffalo check tree sits in a corner of my kitchen-family room, and it handles the chaos of a busy household beautifully. Nothing precious, nothing breakable at toddler height. I hung the delicate ornaments up top and the shatterproof ones down low, a system that has saved me more than one ornament casualty.
10. Coastal Christmas in Blues and Whites
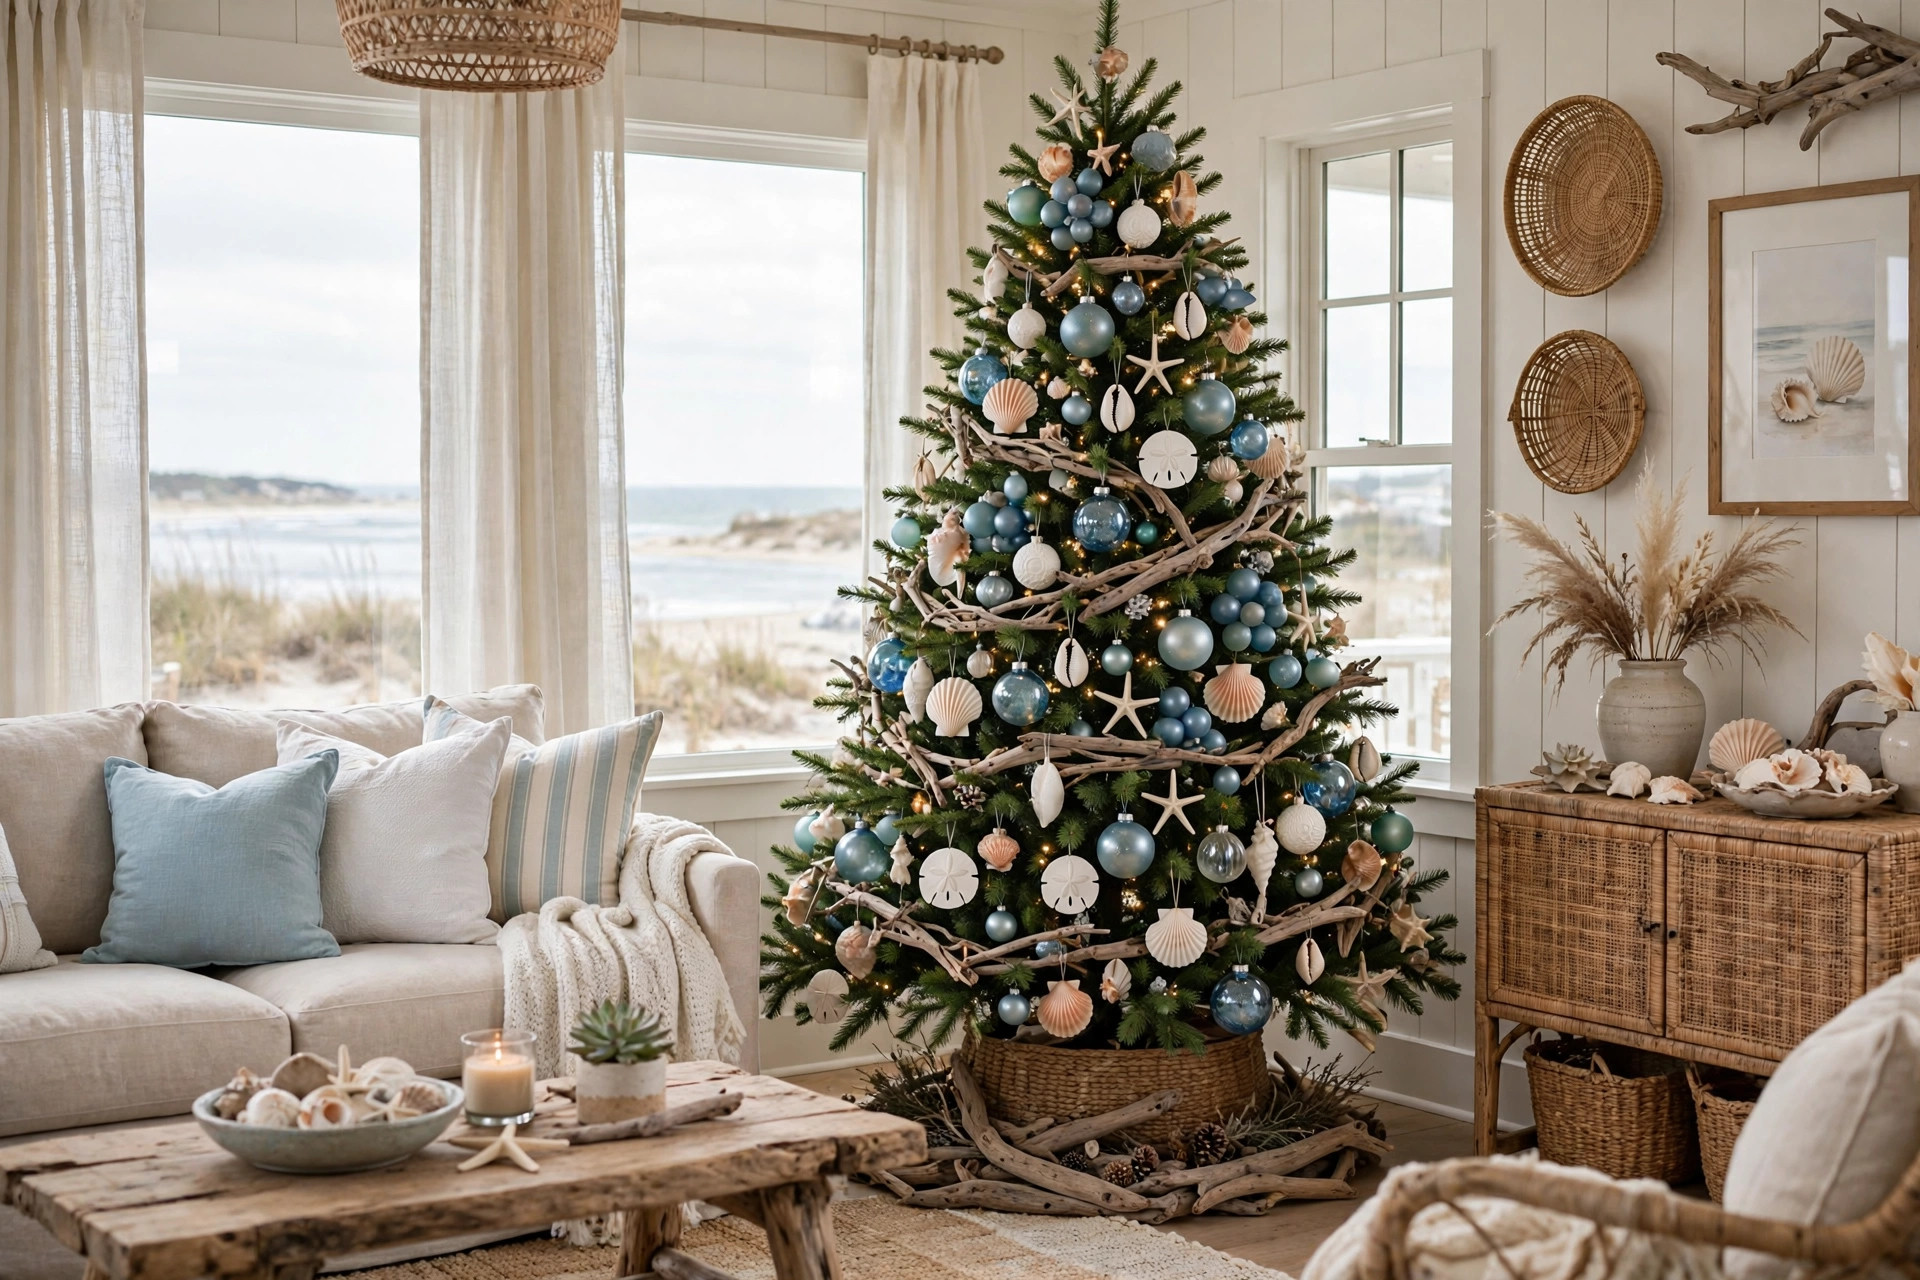
Who says Christmas has to be red and green? A coastal tree in sea-glass blues, sandy whites, and driftwood tones looks fresh and calm — and if you live somewhere warm, it fits the actual weather outside your window. I use white and pale blue ornaments, starfish and sand-dollar ornaments (Dollar Tree has surprisingly good ones), a driftwood garland, and cool white lights. The garland on this tree matters more than usual, since it bridges the tree to the rest of the room. Linen or jute ribbon instead of satin keeps the beachy feel honest. My sister in Florida does a version of this every year, and it always looks like a breath of fresh sea air. Pair it with my coastal mantel notes for a whole-room story.
11. Jewel-Toned Elegance
Emerald, sapphire, ruby, amethyst — jewel tones on a tree look like a jewelry box exploded in the most luxurious way possible. This is my pick for formal living rooms and anyone who wants their tree to look expensive. The secret is a dark green tree (real Fraser firs are ideal) so the colors sit against depth, plus metallics: gold and bronze ornaments to bridge between the saturated colors. I skip ribbon here and let the ornaments carry it, using larger statement baubles — three- and four-inch — mixed with smaller fillers. The effect is richer if you cluster ornaments in groups of three rather than spreading everything evenly. A gold star or an elaborate finial topper finishes it. This tree takes the most ornaments of any style I do — budget for more than you think you need.
How I styled it
I clustered emerald and gold together, sapphire and silver together, letting the colors pool like light through stained glass.
12. Retro Multicolor and Tinsel Throwback
Every few years I ditch the tasteful neutral tree and go full retro: big multicolor C9 lights, shiny plastic ornaments in every color, and unapologetic vintage tinsel. It is the tree of my childhood in the 90s, and decorating it feels like time travel. Big bulbs matter here — the tiny modern LEDs do not give the same glow; look for the chunky faceted C9 LED retrofits that screw into traditional strands. Hang the tinsel at the very end, one strand at a time, letting it drape from branch tips. Is it tasteful? Absolutely not. Does it make the whole room glow with a kind of joyful chaos that a curated tree never can? Every single time. My kids vote for the retro tree every year, and I will admit the vote gets closer each December.
13. Candy Land Whimsy
Peppermint swirls, giant candy canes, lollipop ornaments, pink and red baubles, white pom-pom garland — the candy tree is pure joy and a magnet for kids. I built mine around red-and-white striped ribbon, oversized candy ornaments from the craft store, and pastel pink baubles to soften it. The trick to keeping it from looking like a party supply store exploded: stick to three colors (red, pink, white) and repeat them in different textures. Add a white faux-fur tree skirt for the “snowy candy land” base. Honestly, this tree photographs insanely well for holiday cards. My neighbor’s version won our street’s decorating contest last year, and the trophy is currently a gold plastic candy cane.
14. Dried Botanicals and Citrus
Dried orange slices, cinnamon bundles tied with twine, eucalyptus sprigs, dried lavender, whole star anise — a botanical tree smells incredible and costs almost nothing if you dry things yourself. Slice oranges thin, bake low and slow until dry, string them on twine. The oranges glow like stained glass when backlit by warm white lights. I weave eucalyptus through the branches for scent and softness, then add simple wooden or glass ornaments so the botanicals stay the star. This tree pairs beautifully with a natural winter wreath on the door and dried arrangements elsewhere. One caveat: keep it away from curious pets — star anise and some dried botanicals are not pet-friendly, and my cat has strong opinions about anything dangly.
15. The Kid-Made Memory Tree
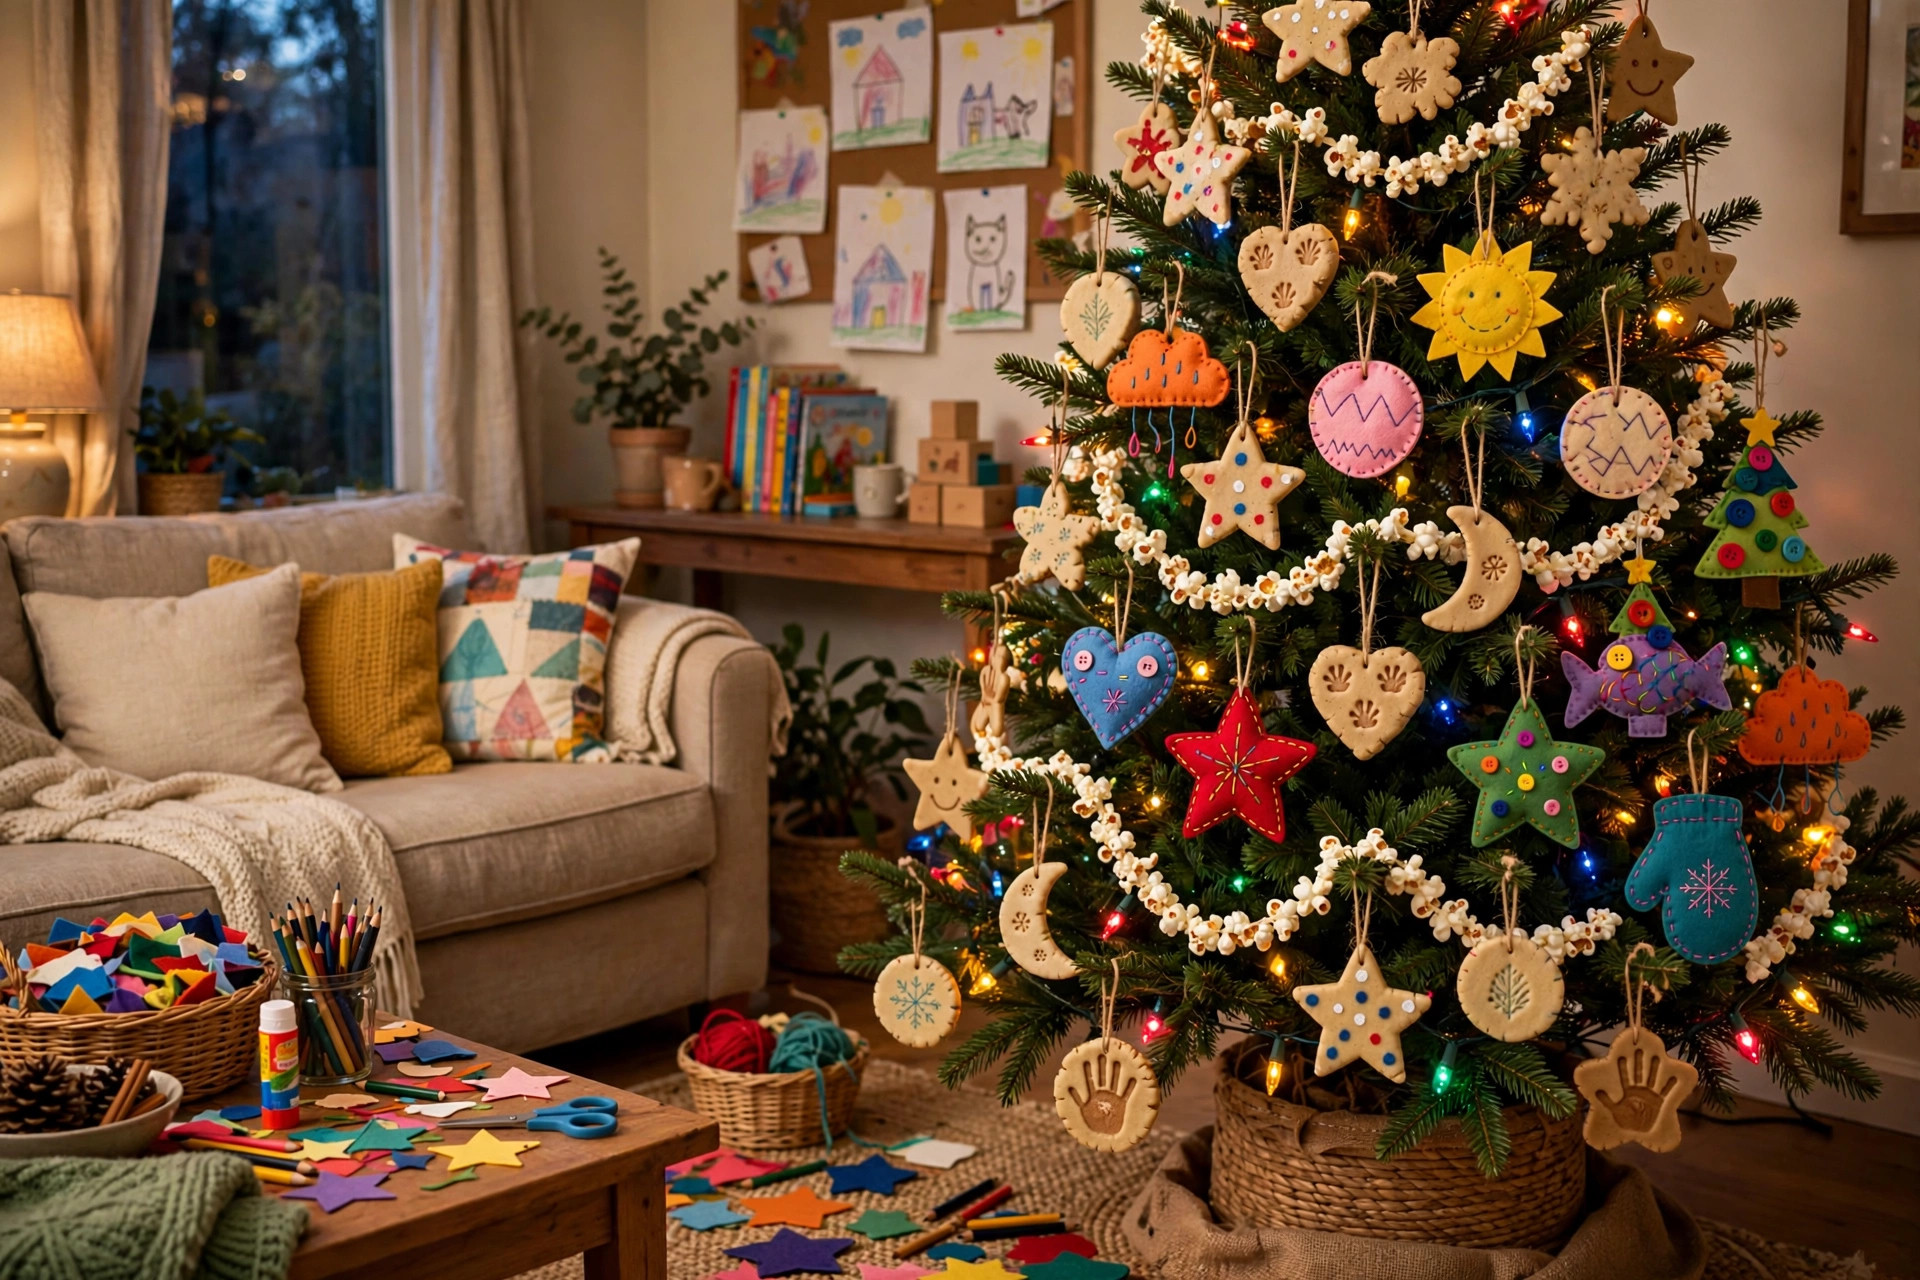
Every December, my kitchen table disappears under construction paper, salt dough, and glitter for a full weekend, and the resulting ornaments go straight onto our family tree. Salt-dough handprints, popsicle-stick snowflakes, painted pinecones, photo ornaments in cheap frames — the tree ends up gloriously chaotic and absolutely priceless. I keep one “pretty” tree in the living room for my designer itch and let the family tree be the memory tree. Practical tip: multicolor lights make everything look intentional, even the ornament that is clearly a blob with googly eyes. And date every ornament on the back with a marker. Future you will cry happy tears reading “made by Emma, age 6” fifteen years from now. I know, because I did.
What you need
Salt dough (flour, salt, water), acrylic paints, ribbon for hanging, clear sealant spray — and a vacuum for the glitter aftermath.
16. Woodland Creature Accents
Owls, deer, cardinals, foxes — woodland animal ornaments turn a tree into a storybook. I use a base of classic red and gold, then tuck in a dozen or so animal figures: felt owls, glass cardinals, a brass deer. The animals should sit at different depths, some peeking from inside the branches, so the tree feels discovered rather than arranged. Feather ornaments add lovely texture here. This is a great theme if you already have a nature-loving kid or a cabin aesthetic elsewhere in the house. If you want to take it further, my DIY Christmas ornament ideas include a salt-dough owl that costs pennies and looks like a boutique find.
17. Navy and Gold Glam
Navy and gold is the sophisticated cousin of classic red and gold — same richness, fresher feel. Deep navy ornaments (matte, shiny, and glittered mixed together), champagne gold accents, and a navy velvet ribbon cascade make a tree that looks straight out of a holiday magazine. I use warm white lights, never cool, because navy needs warmth to glow rather than go flat. A gold tree collar — those metal ring bases — looks sharp with this palette and hides the stand in one move. This is my choice for the dining room tree, the one guests see during Christmas dinner. It pairs beautifully with navy and gold table settings, and honestly, the whole room feels more pulled-together when the tree matches the table.
18. The Slim Pencil Tree
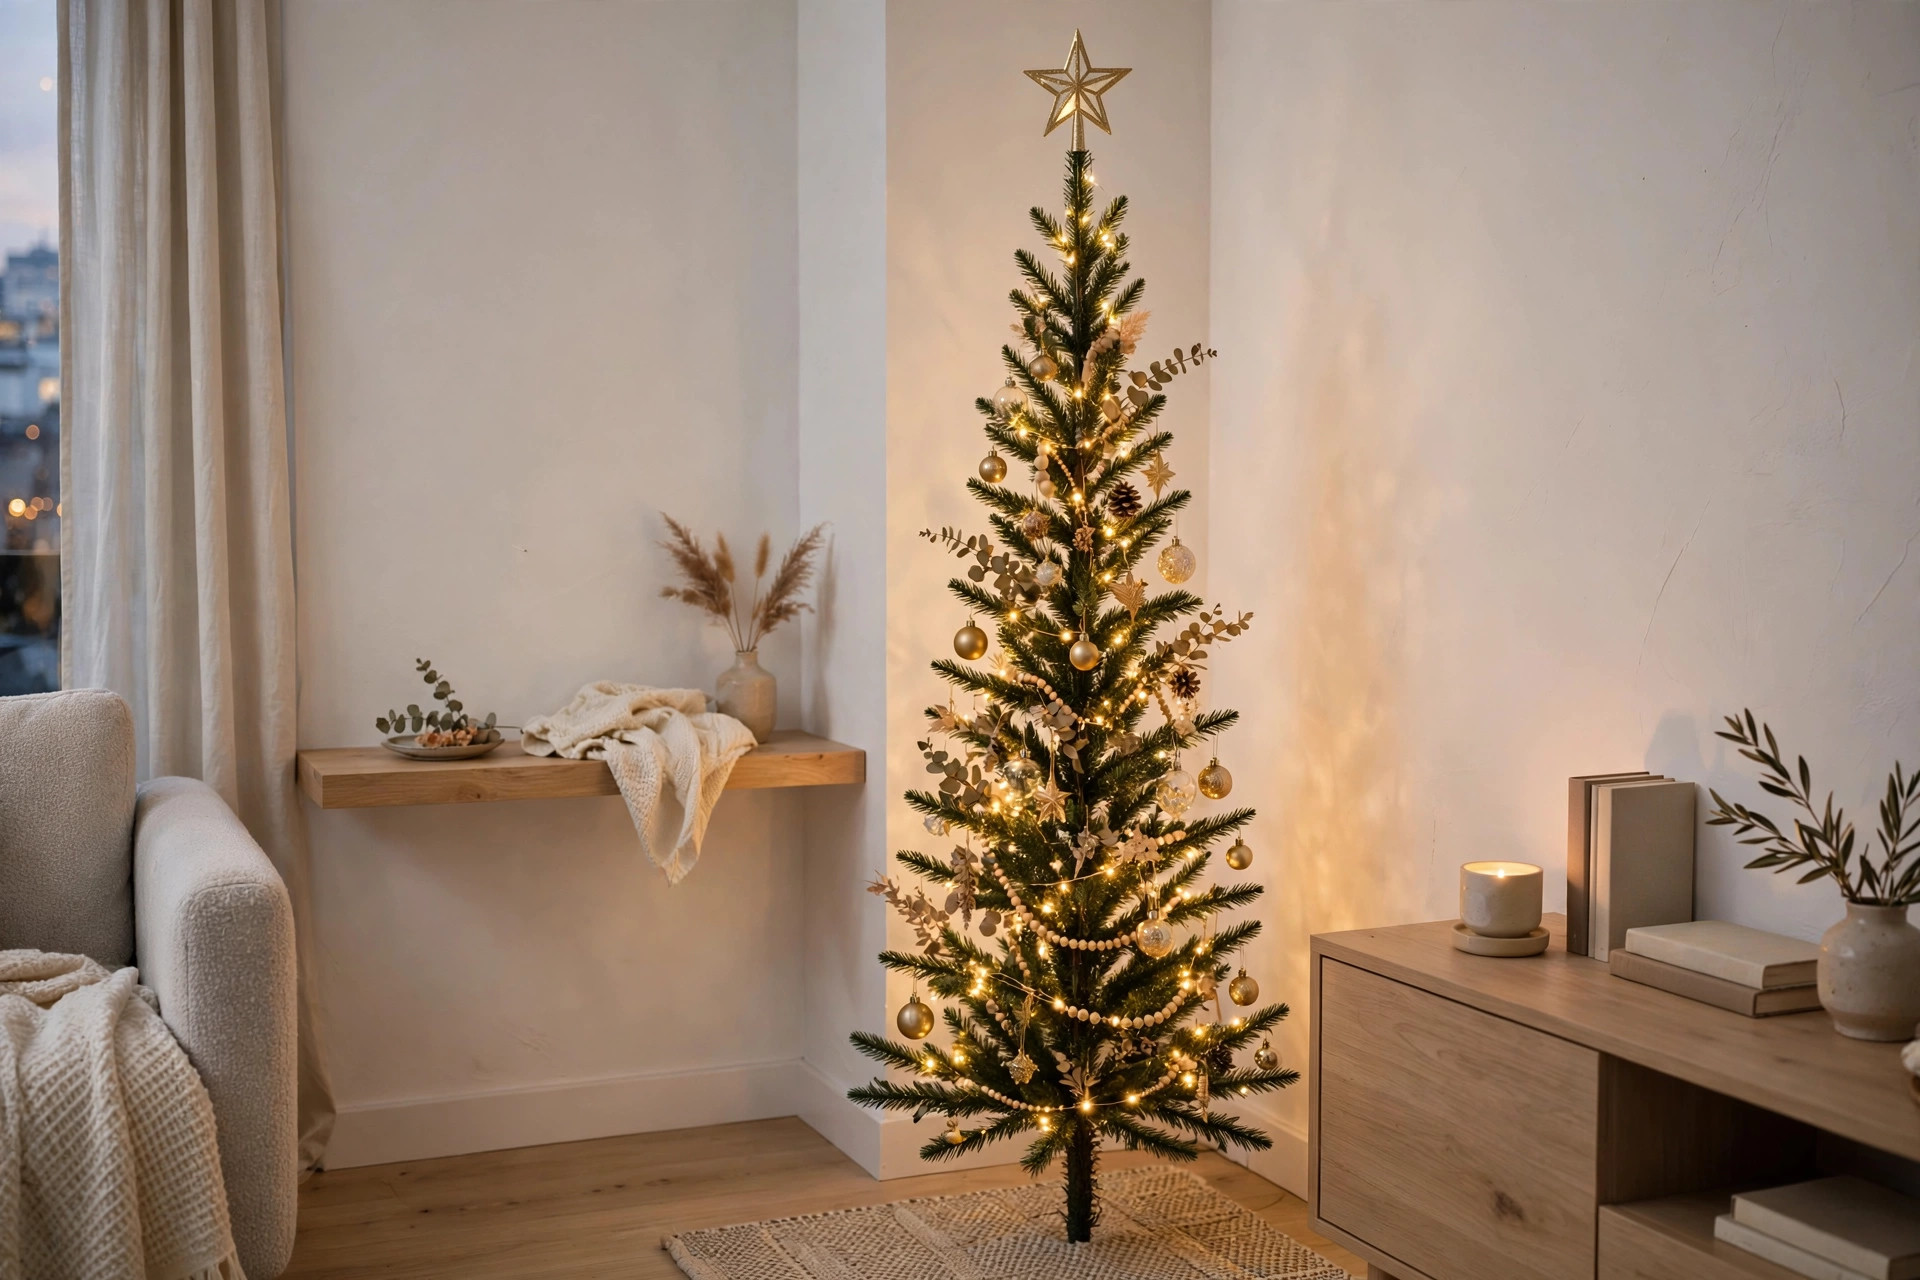
Small apartment? Narrow corner? The pencil tree — tall and skinny, sometimes only two feet wide — is the answer. I decorated one in my studio years ago and learned that scale discipline is everything: small ornaments, thin ribbon, and a star or angel sized for the tree (a big topper will look like it is wearing a hat). Vertical decorating works best: let the eye travel up with a spiral of thin garland or a single color story from top to bottom. My small-space rule: one statement element, like a gorgeous topper or a beautiful tree collar, plus simple everything else. A slim tree in a pretty corner with the right lighting looks intentional and chic, never like a compromise. And yes, it still fits presents underneath — you just get strategic about it.
19. Statement Tree Toppers That Steal the Show
The topper is the exclamation point of your tree, and it deserves more thought than a dusty angel from 1987 (no judgment — mine lived on for years). Oversized bows made from layered wired ribbon are everywhere this season and surprisingly easy: loop, pinch, wire, fluff. A big starburst or Sputnik-style topper reads modern glam; a lush floral pick cluster in your tree’s colors reads designer. My current favorite is a simple bundle of birch branches with fairy lights woven through — rustic, dramatic, and free from my yard. Whatever you choose, anchor it deep: toppers fall off at 2 a.m. and the crash is unforgettable. Wire it to the top branch, not just perched on it.
How I styled it
For my jewel-tone tree I used a gold starburst; for the woodland tree, birch branches and a burlap bow. The topper should echo the tree’s story.
20. Tartan Plaid Ribbon Tree
Tartan plaid ribbon — the dressier cousin of buffalo check — brings a classic, almost preppy elegance to a tree. I love a deep red and green tartan woven through the branches in the ribbon-cascade style, paired with gold ornaments and warm lights. It reads heritage Christmas: think Ralph Lauren holiday ad, but in your living room. The plaid does the heavy lifting, so keep ornaments simple — solid golds, deep reds, maybe a few glass finials. A tartan tree skirt or even a folded tartan throw as the skirt ties it all together. This look also photographs beautifully for Christmas cards, which is exactly why I started doing it the year my daughter was born. Twelve years later, it is still the tree in our family photo.
21. Moody Black and Gold Tree
The boldest trend of 2026: the black Christmas tree. Before you dismiss it, picture this — a black tree with gold and champagne ornaments, warm white lights glowing against the dark branches, gold ribbon catching the light. It is dramatic, glamorous, and honestly stunning in a modern living room. Black trees come flocked or matte; I prefer matte with warm lights, because flocking plus black can look gray. Keep the palette tight — black, gold, maybe deep burgundy — and let negative space do the work. Fewer ornaments, more impact. This tree is not for everyone, and that is exactly the point. My friend did one last year and her Instagram post got more comments than her wedding photos. Commit or do not, but if you commit, go all in.
Styling Tips
- Fluff and light before you hang a single ornament — these two steps are 80% of a professional-looking tree, and most people rush them.
- Hang ornaments in this order: largest and heaviest first (deep inside), then medium, then small and delicate at the branch tips.
- Step back every fifteen minutes and squint. Squinting blurs detail and shows you the overall balance — where the color pools and where it is thin.
- Weave garland, beads, and ribbon horizontally around the tree, but let ribbon cascade vertically — mixing the two directions adds dimension.
- Hide the tree stand with a tree collar, a pretty skirt, or a basket — it is a five-minute upgrade that changes the whole base.
- Keep one box of “tree only” supplies: extra ornament hooks, florist wire, spare bulbs, and ribbon. Future December-you will be grateful.
Frequently Asked Questions
How do you put ribbon on a Christmas tree? Use wired ribbon, 2.5 inches wide, cut into four-foot lengths. Starting at the top, tuck the ribbon about six inches deep into the branches every foot or so, letting it billow out between tucks in loose vertical swoops. Alternate the direction of the swoops so they crisscross, and work in pairs of colors for a layered look. Step back often to check the balance.
How do you put lights on a Christmas tree? Put lights on first, before any ornaments. Start at the top and weave the strand in and out of the branches — some bulbs deep near the trunk, some at the tips — working down one side and zigzagging up the next. Plan on 100 bulbs per foot of tree, and test every strand on the floor before hanging.
How do you make a Christmas tree look full? Fluff every branch individually, pulling tips outward and separating layered branchlets so no two point the same way. Rotate sparse sides toward the wall. Then hang your largest ornaments deep inside the branches first — they fill the dark gaps near the trunk and make even a thin tree look twice as lush.
When should you put up a Christmas tree? The classic answer is the weekend after Thanksgiving, but there is no wrong answer. Many families now put trees up right after Halloween and enjoy them for two full months. If you buy a real tree early, keep it well watered and away from heat vents — a fresh Fraser fir can easily last from mid-November through New Year with daily water.
Final Thoughts
Here is what two decades of tree decorating has taught me: the “best” tree is the one that makes your household happy when the lights go on. Some years that is a jewel-toned showpiece; some years it is a lopsided family tree covered in glitter handprints. Pick the idea from this list that made you smile, gather your supplies, put on some music, and take your time with the fluffing and the lights — those two steps do the real magic. And once the tree is done, do not forget what goes under it: my Christmas gift basket ideas will help you fill the space beneath the branches. Then stand back with your mug and enjoy it. That quiet moment, tree glowing in a dark room, is the whole point of Christmas decorating.
Want a tree you can keep out all year? These crochet Christmas tree patterns range from mini tabletop trees to chunky farmhouse showpieces.
Once the tree is done, the door deserves the same treatment — these Christmas wreath ideas work for front doors, windows, and mantels.