20 Small Easy to Make Raised Bed Vegetable Layouts
A 4×8-foot rectangle of soil doesn’t sound like much until you do the math: 32 square feet can hold 32 pepper plants, 128 lettuces, or a summer’s worth of tomatoes for two people. The catch is that small beds punish sloppy planning — every wasted inch is an inch you paid for in lumber and soil. These twenty layouts are about spending those inches deliberately.
Each one solves a specific small-space problem: shade, slope, a bad back, or just not much ground to work with. Pick the layout that matches your constraint and adapt it freely. For the bigger picture — materials, bed styles, and build tips — our roundup of raised-bed vegetable garden ideas covers that ground.
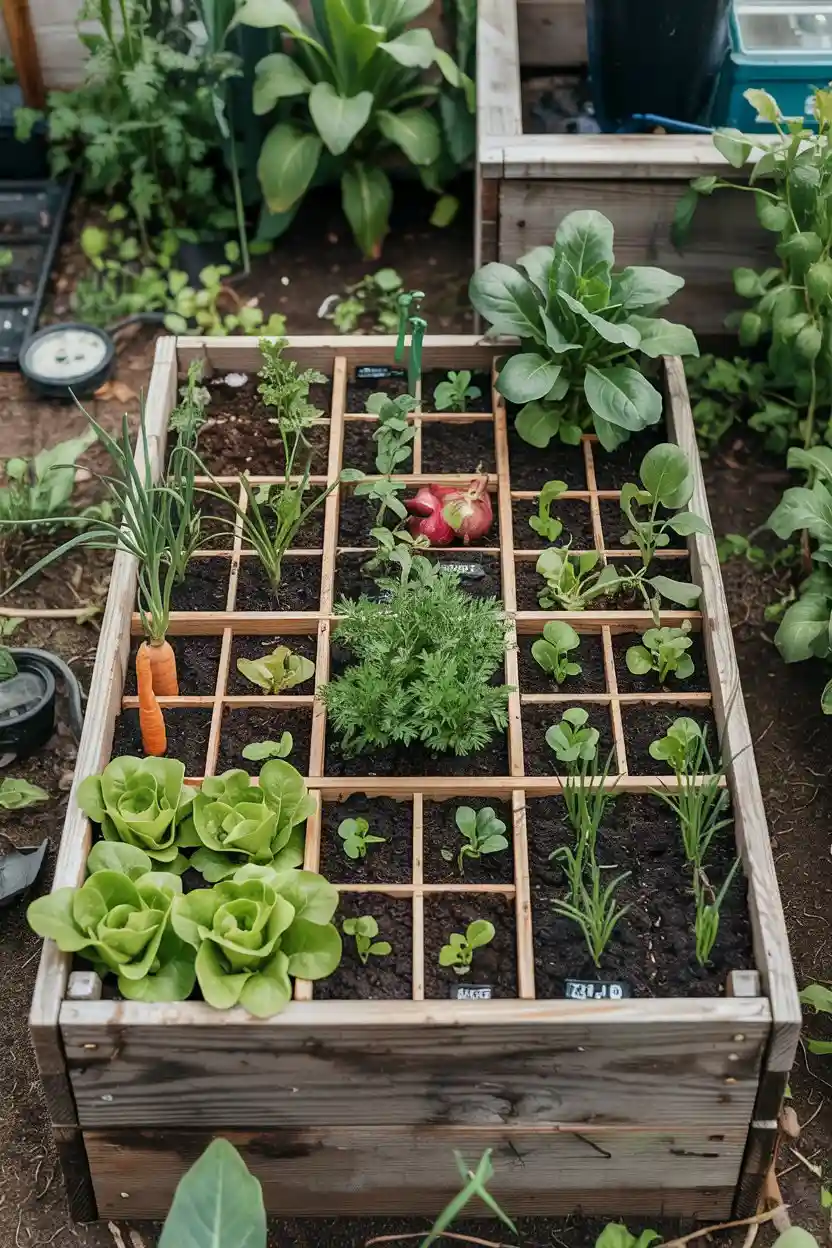
1. Square Foot Gardening Layout
Mark a 4×4 bed into sixteen 1-foot squares and the spacing guesswork vanishes: one tomato per square, four lettuces, nine beets, sixteen carrots. The grid forces you to plant intensively but not overcrowded, which is exactly where beginners usually go wrong.
Because each square is its own unit, succession planting becomes obvious — when the radish square empties in May, it becomes the basil square in June. Weeds stay minimal too, since the dense planting shades the soil surface.
2. Vertical Trellis Layout
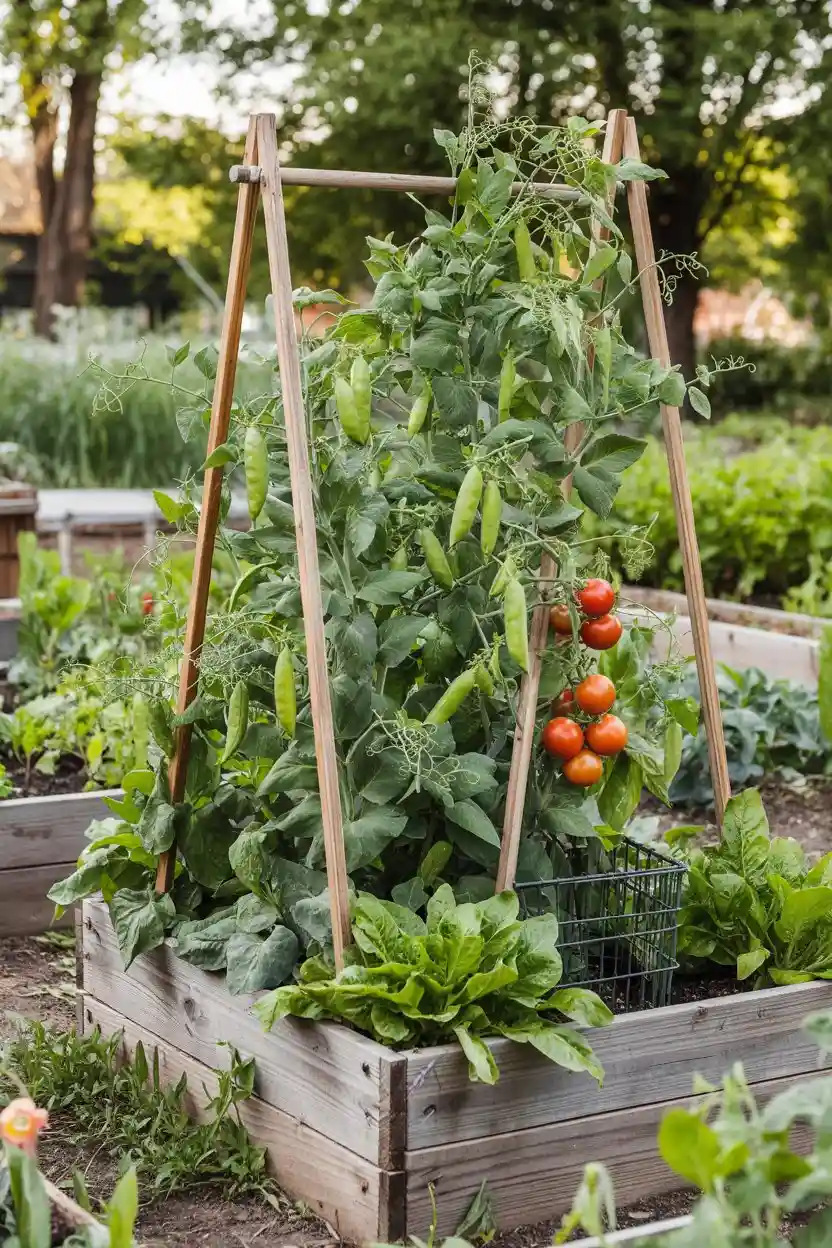
When the footprint is small, the only direction left is up. A trellis along the north side of the bed — a cattle panel, a simple string trellis, or even sturdy stakes with twine — carries peas, pole beans, and cucumbers vertically while the ground below stays free for low growers.
The airflow bonus is real: vines lifted off damp soil dry faster after rain, so fungal problems drop off. Just keep the trellis on the north side so the climbers don’t throw shade over the peppers and basil in front.
3. Raised Bed Rows Layout
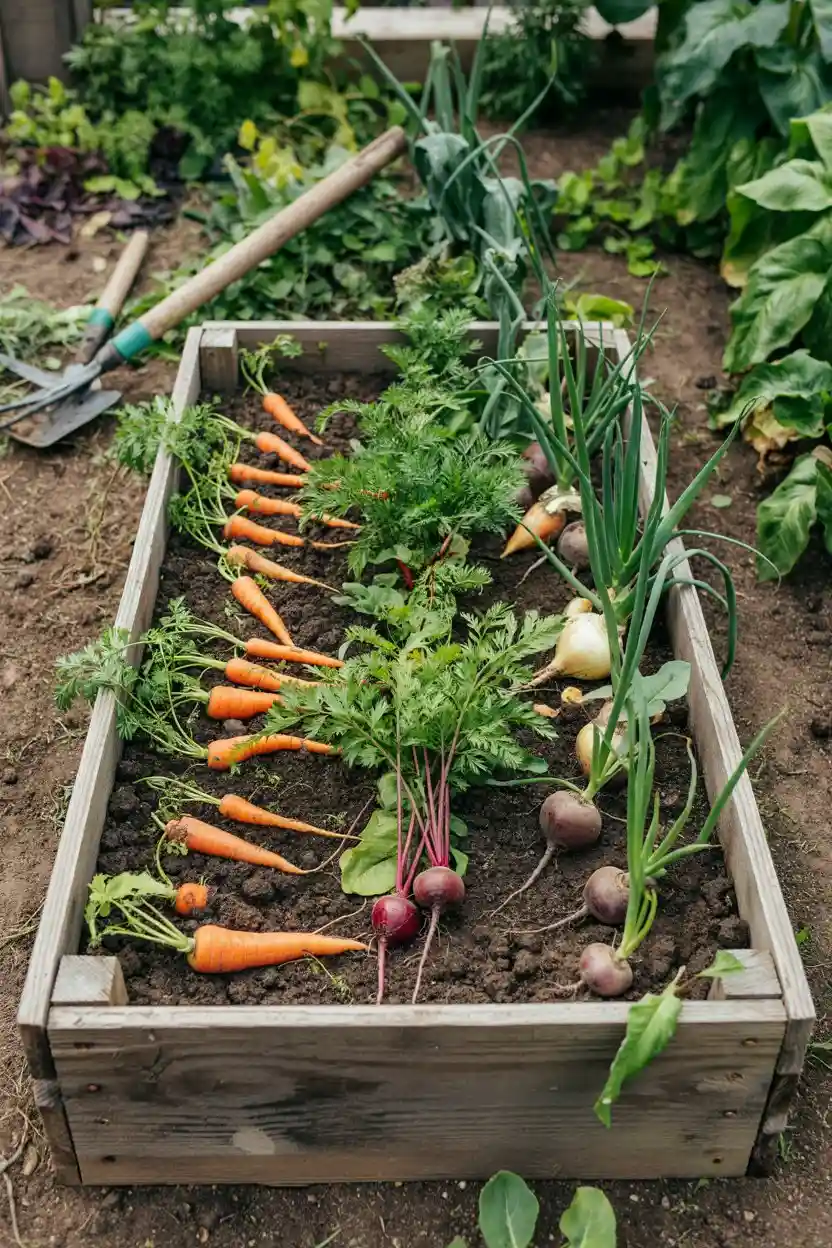
Sometimes the simplest plan wins. Straight parallel rows inside the bed suit root crops — carrots, beets, onions — that want consistent spacing and room to push downward. Rows make thinning, weeding, and harvesting mechanical: you work one line at a time without hunting through a jumble.
Alternate vegetable rows with pest-confusing companions — a row of onions between carrot rows, for instance, muddles the scent that attracts carrot fly. It’s an old market-garden habit that scales down perfectly.
4. L-Shaped Corner Layout
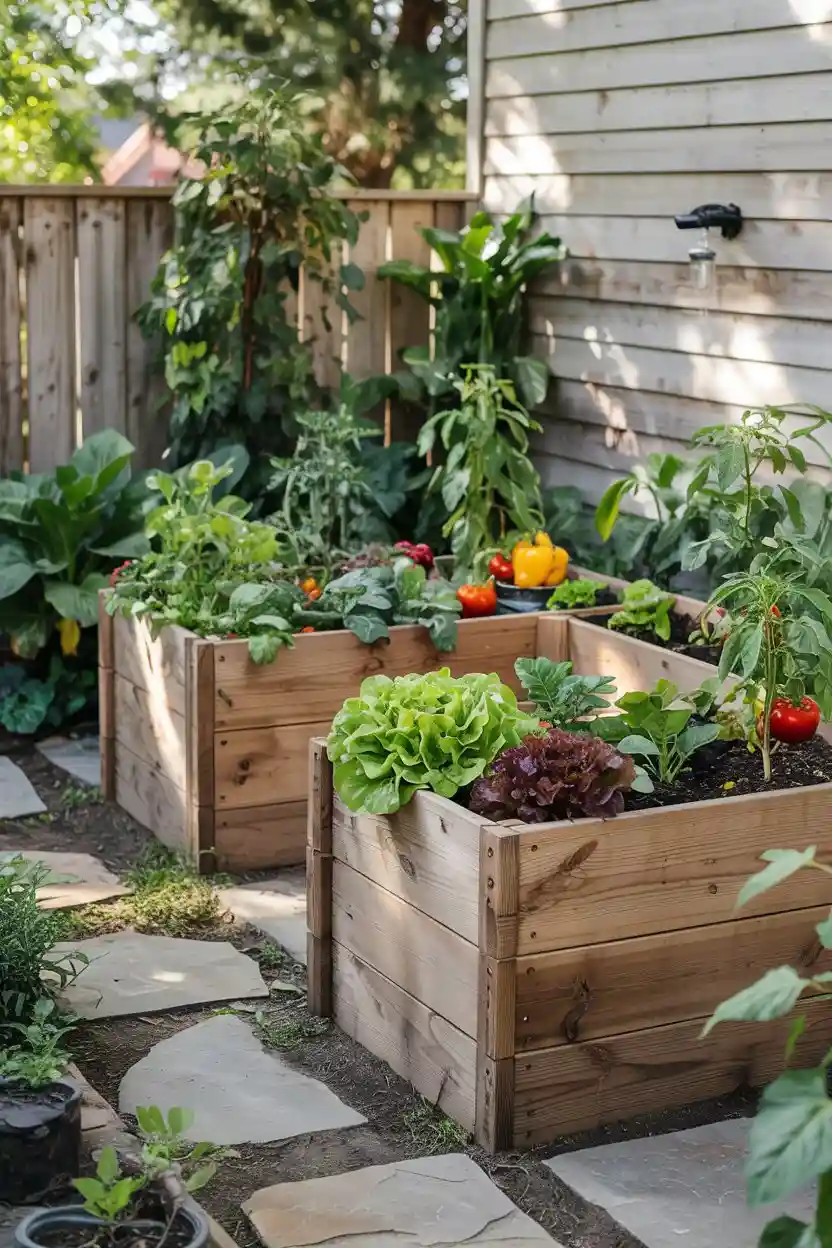
Corners are wasted space in most yards, but an L-shaped bed turns them productive — a natural fit for small yards and small patios alike. Run one arm along the fence and the other along the boundary, and the strip you used to edge around becomes growing space.
The bend gives you two exposures for free. The south-facing arm runs warmer for tomatoes and peppers; the inner corner, shaded part of the day, suits lettuce and cilantro that bolt in heat. Trellis the outer edges so tall crops don’t shade the bend itself.
5. Mixed Companion Planting Layout
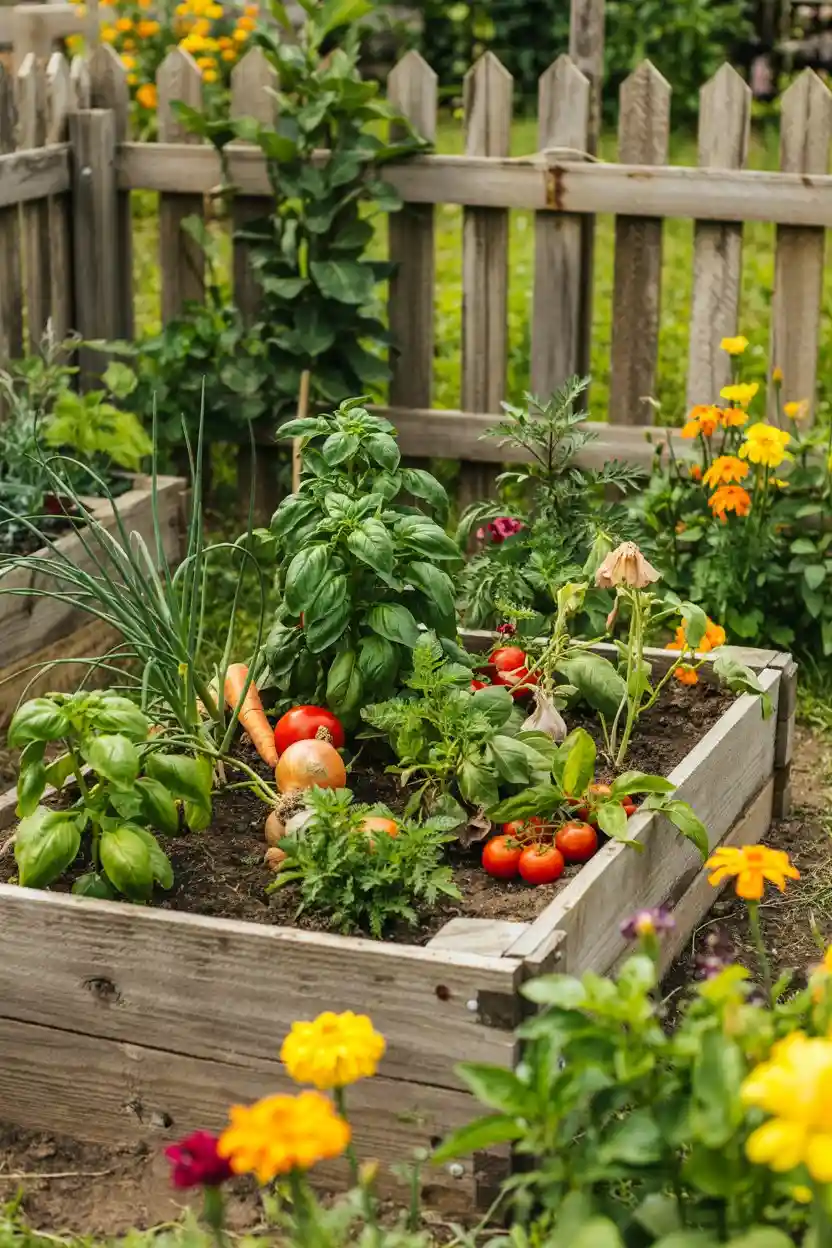
Companion planting isn’t mysticism — it’s logistics. The classic trio still works: corn provides the pole, beans fix nitrogen, squash shades the ground. On a smaller scale, basil near tomatoes, onions threaded through carrot rows, and marigolds at the corners each solve a real problem.
Plan companions at planting time, not as an afterthought. Sketch which plants share each square foot so heavy feeders aren’t fighting each other, and keep aggressive spreaders like mint in their own pots sunk into the bed.
6. Tiered Raised Bed Layout
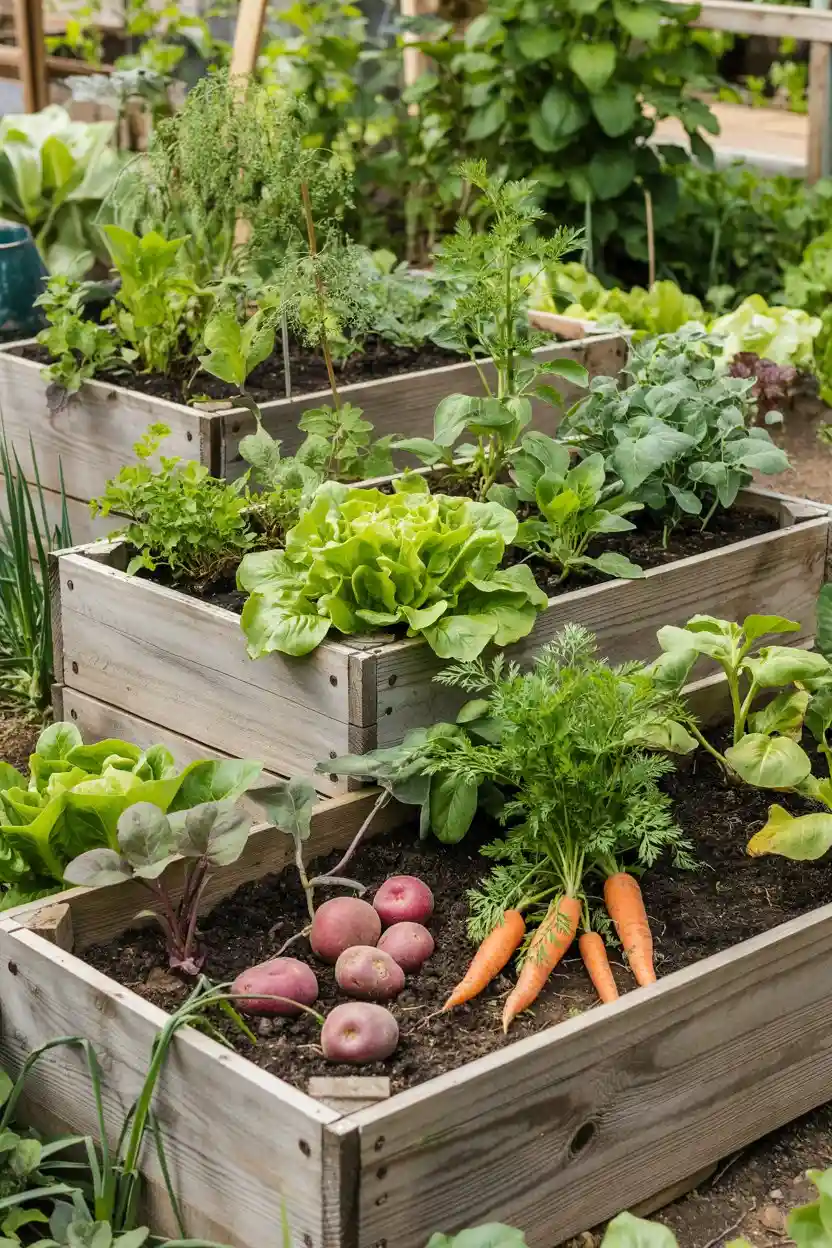
On a slope, flat beds either slide or pond. Terracing into two or three shallow steps — 8 to 12 inches of rise each — stops erosion and turns the grade into an advantage: each level drains into the next instead of off the property.
Assign crops by height and sun. Tall, sun-hungry plants take the top tier; shade-tolerant greens settle on the lower ones. Keep each tier about 2 feet deep so you can reach the back without climbing in.
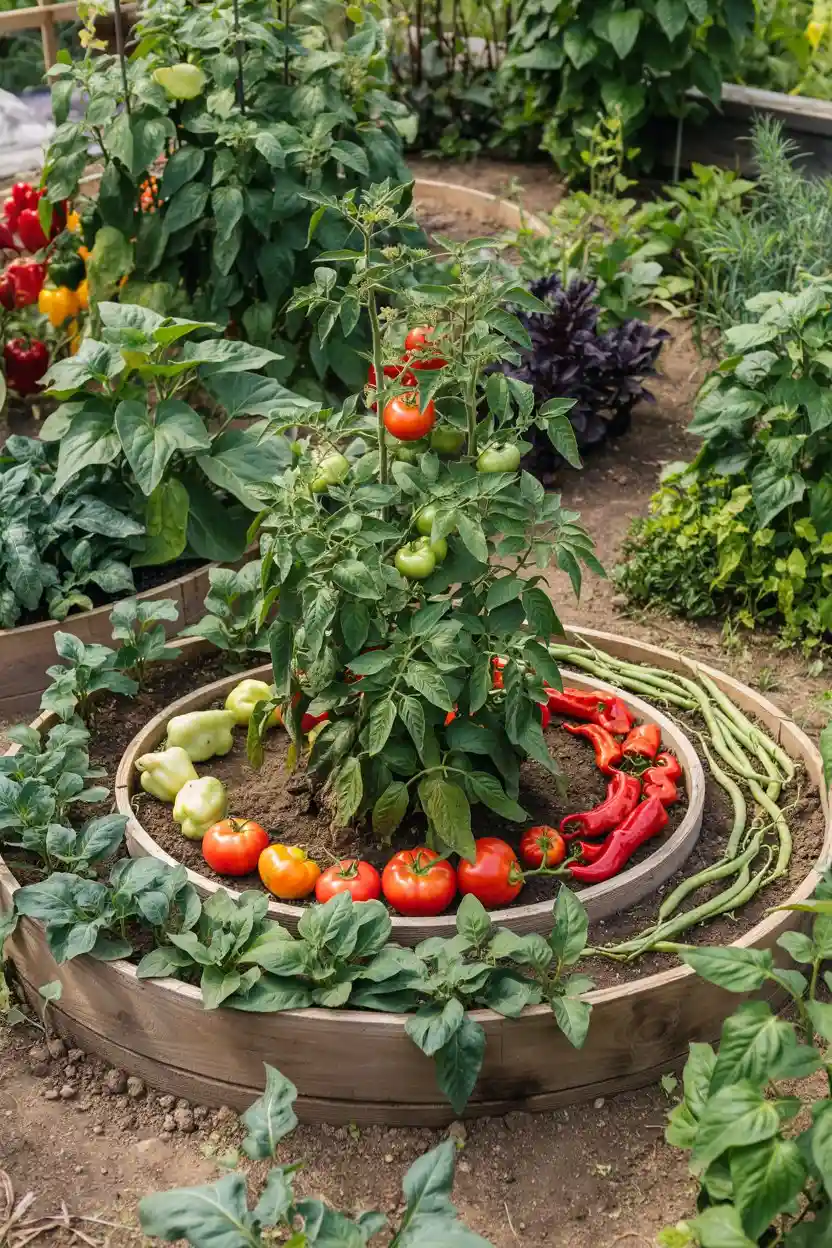
7. Round Raised Bed Layout
A round bed — a galvanized steel ring or a circle of stacked stone — works like a keyhole garden without the path cut in. You walk around it and reach the center from every side, which means zero wasted path space inside the footprint.
The center is prime real estate: put one heavy feeder there — a tomato, a squash — and ring it with progressively shorter crops. It’s also the prettiest shape for a front-yard vegetable patch.
8. Modular Raised Bed Layout
Slotted composite boards, stackable blocks, corner brackets — modular kits let you start with a single 4×4 and bolt on more beds each season. That matters for rotation: instead of shuffling crops inside fixed beds, you reconfigure the beds around a multi-year plan.
They’re also the most forgiving option when you misjudge the sun. A bed that looked perfect in March can turn out shaded by June; with a modular kit you unclip it and shift it in an hour instead of demolishing a nailed frame.
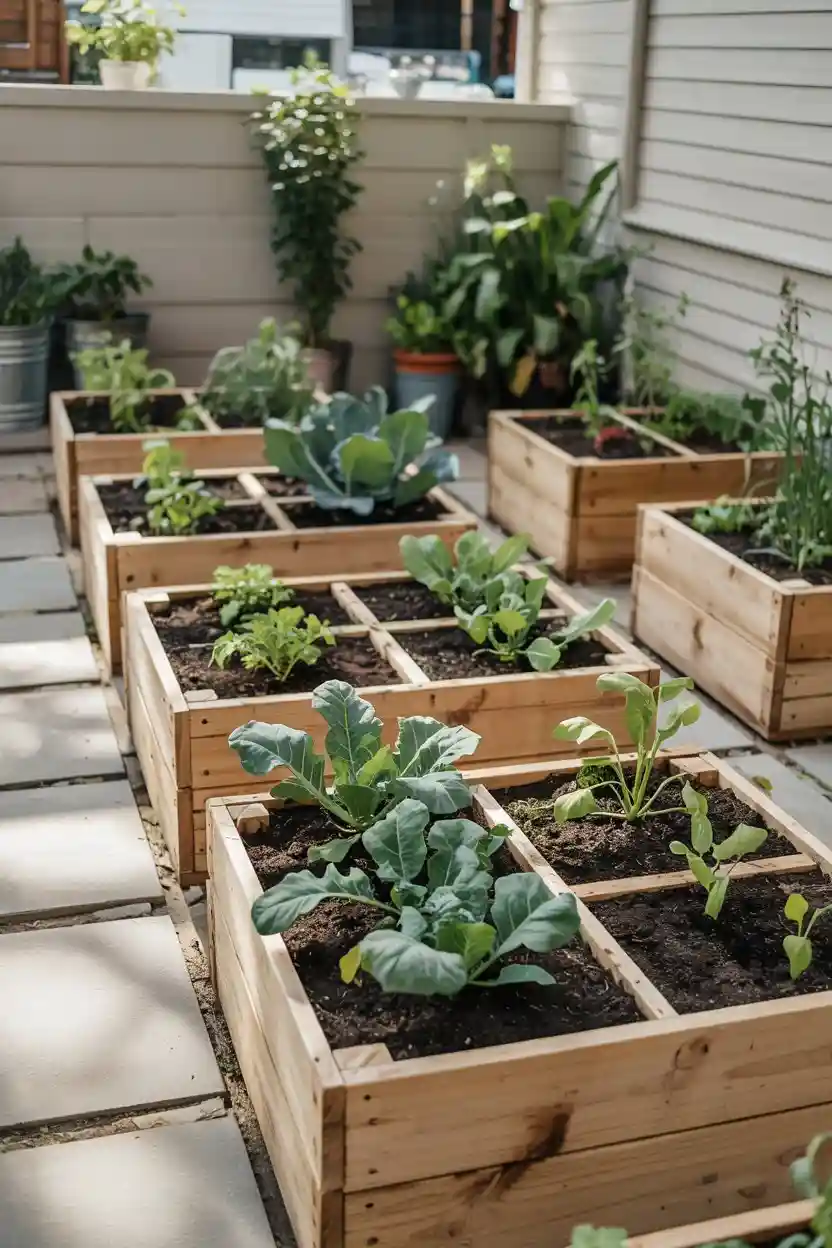
9. Raised Bed with Mulch Pathways Layout
Wood-chip mulch on the paths between beds does three jobs: it suppresses weeds, keeps your shoes clean, and slowly feeds the soil as it breaks down. Lay paths 18 to 24 inches wide — enough for a wheelbarrow — over cardboard to smother the grass underneath.
Top up the chips once a year; they compact and decompose. And keep mulch a few inches back from bed walls made of untreated wood, since constant moisture shortens their life.
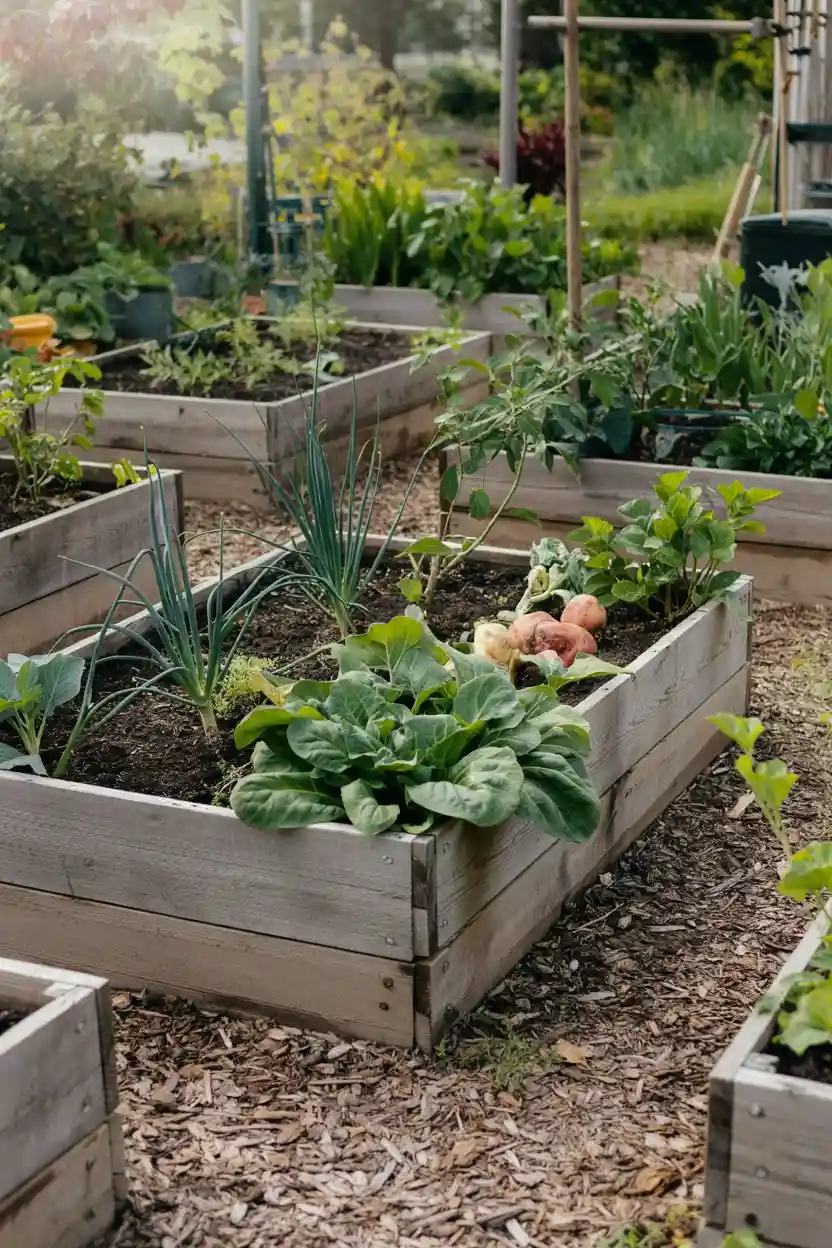
10. Herb and Vegetable Combo Layout
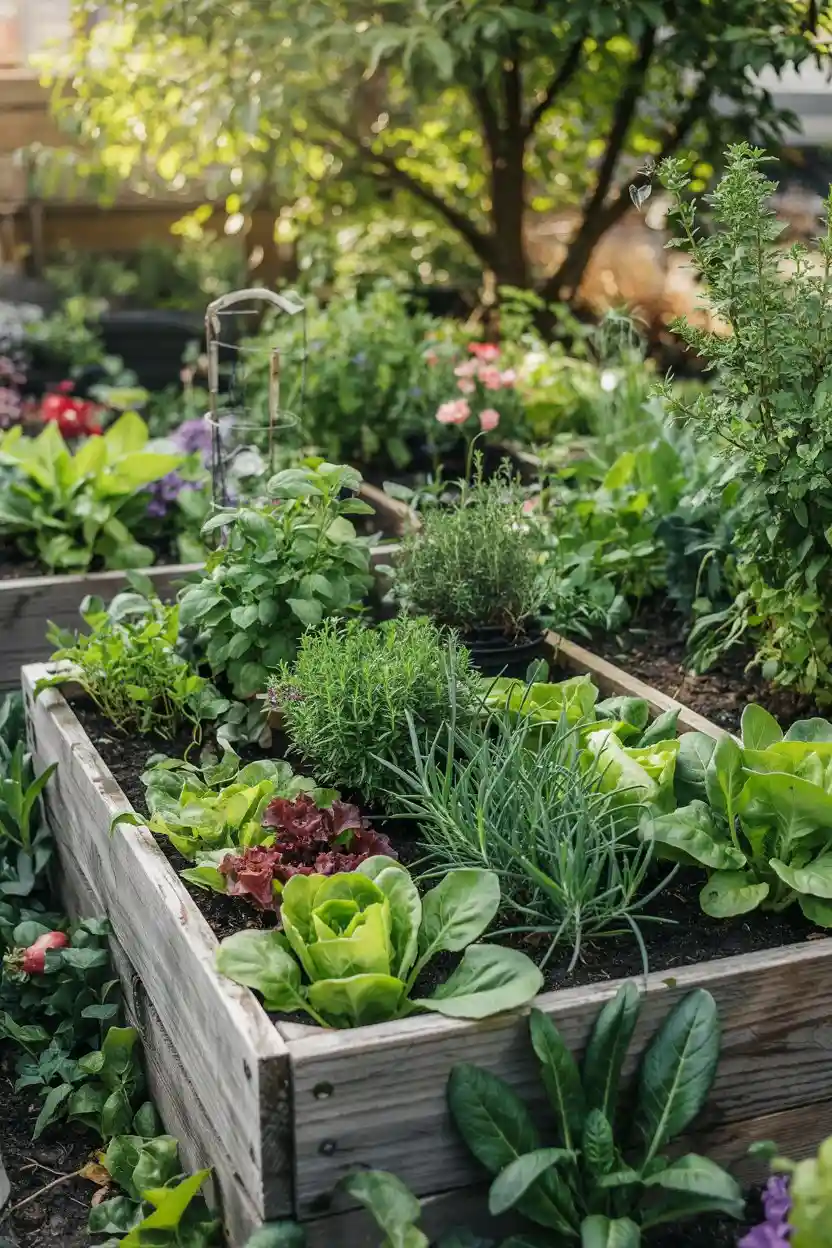
Herbs earn their place in the vegetable bed twice over: they’re ingredients you’ll actually harvest daily, and their strong scents confuse pests hunting your crops. Ring the bed with basil, parsley, and chives, tuck thyme into the corners, and let dill flower at one end for beneficial insects.
Keep mint and oregano in buried pots — they’ll colonize the whole bed if you let them. Harvest herbs aggressively; most produce more the harder you cut them.
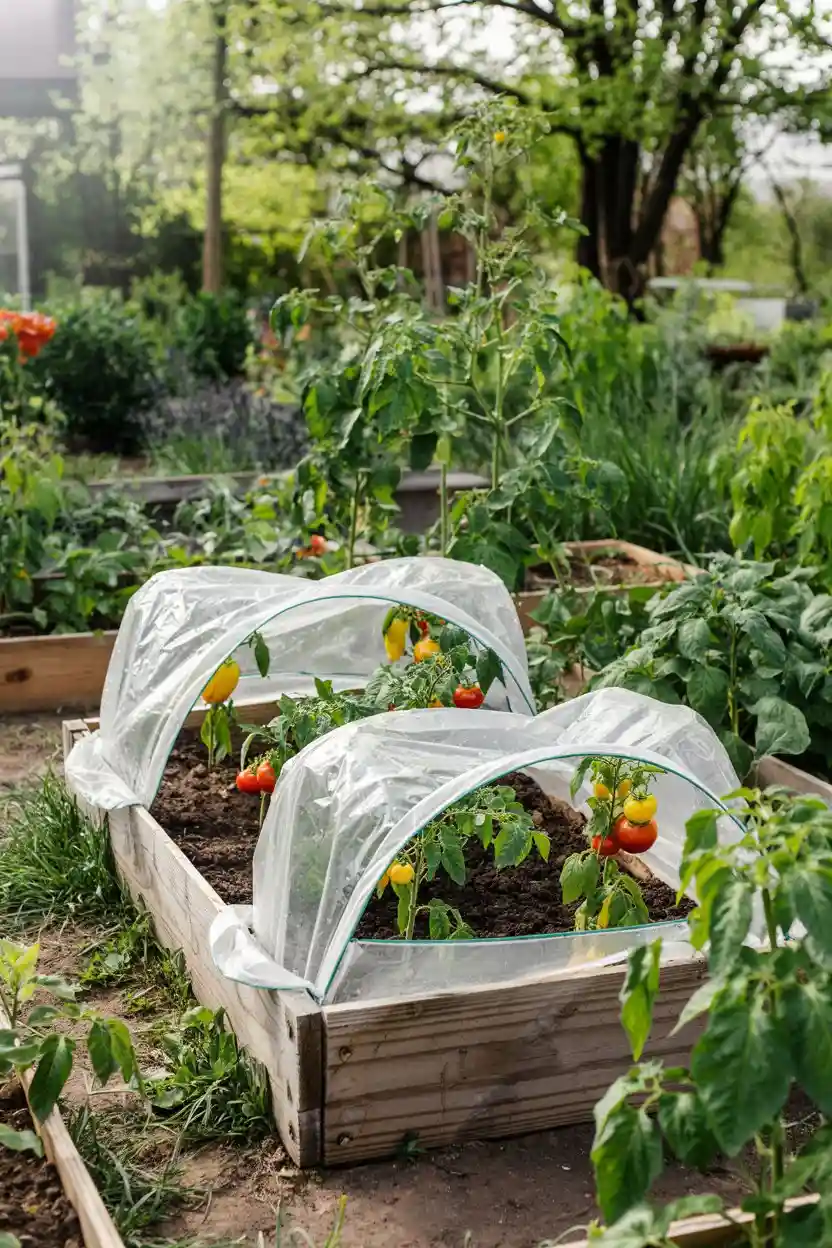
11. Raised Bed with Protective Covers Layout
Half-inch PVC hoops slipped over rebar stakes turn any bed into a protected one in an afternoon. Drape frost cloth for 2 to 4 weeks of extra season on each end, or insect mesh in summer to keep cabbage moths off brassicas without a single spray.
Size the hoops to your tallest crop plus a few inches — crushed tomato tops under a low tunnel invite disease. Anchor the fabric edges with sandbags; a spring gust will find any loose corner.
12. Raised Bed with Drip Irrigation Layout
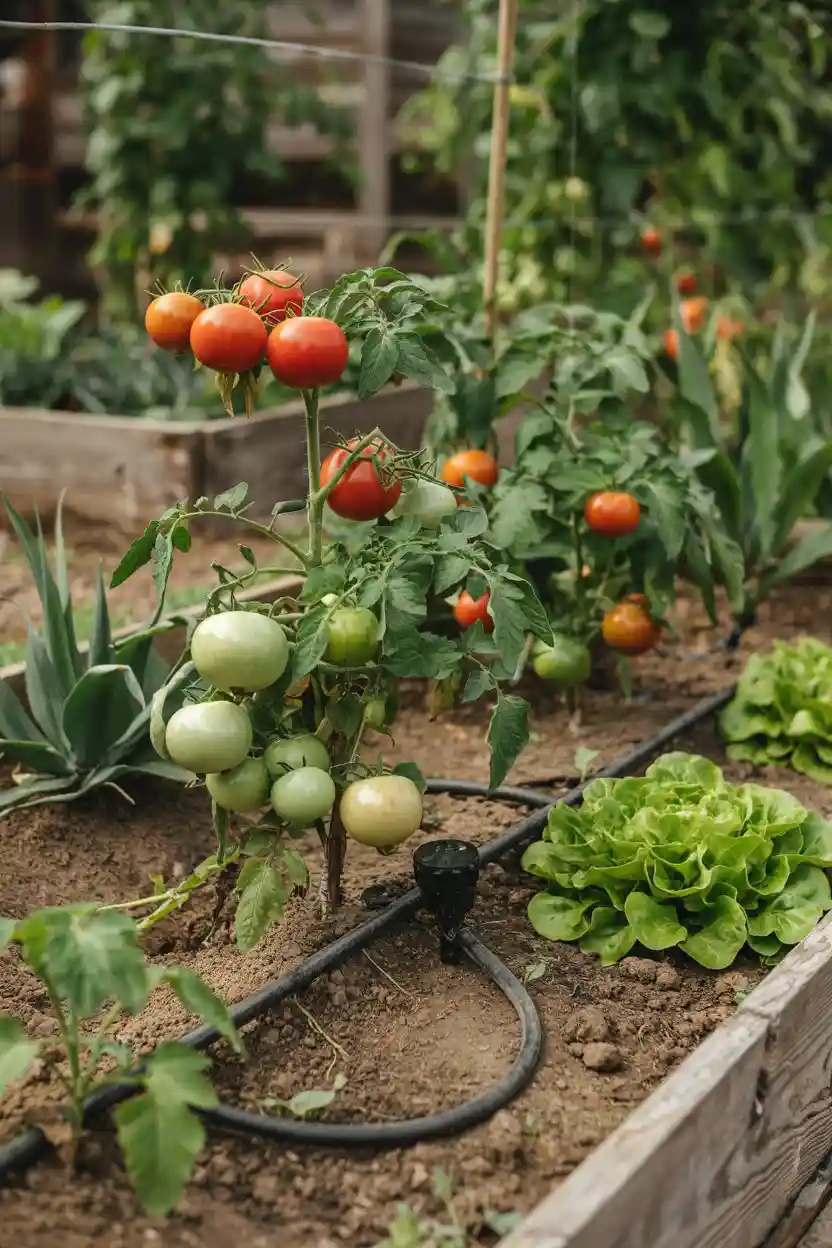
Small beds dry out fast, and drip irrigation solves it at the root zone. Run ¼-inch emitter line in loops 12 inches apart, put it on a $30 battery timer, and water deeply two or three mornings a week instead of sprinkling daily.
Because the foliage stays dry, fungal problems drop sharply. Mulch over the lines to hide them and cut evaporation further — the combination can halve your water use.
13. Raised Bed for Tomatoes Layout
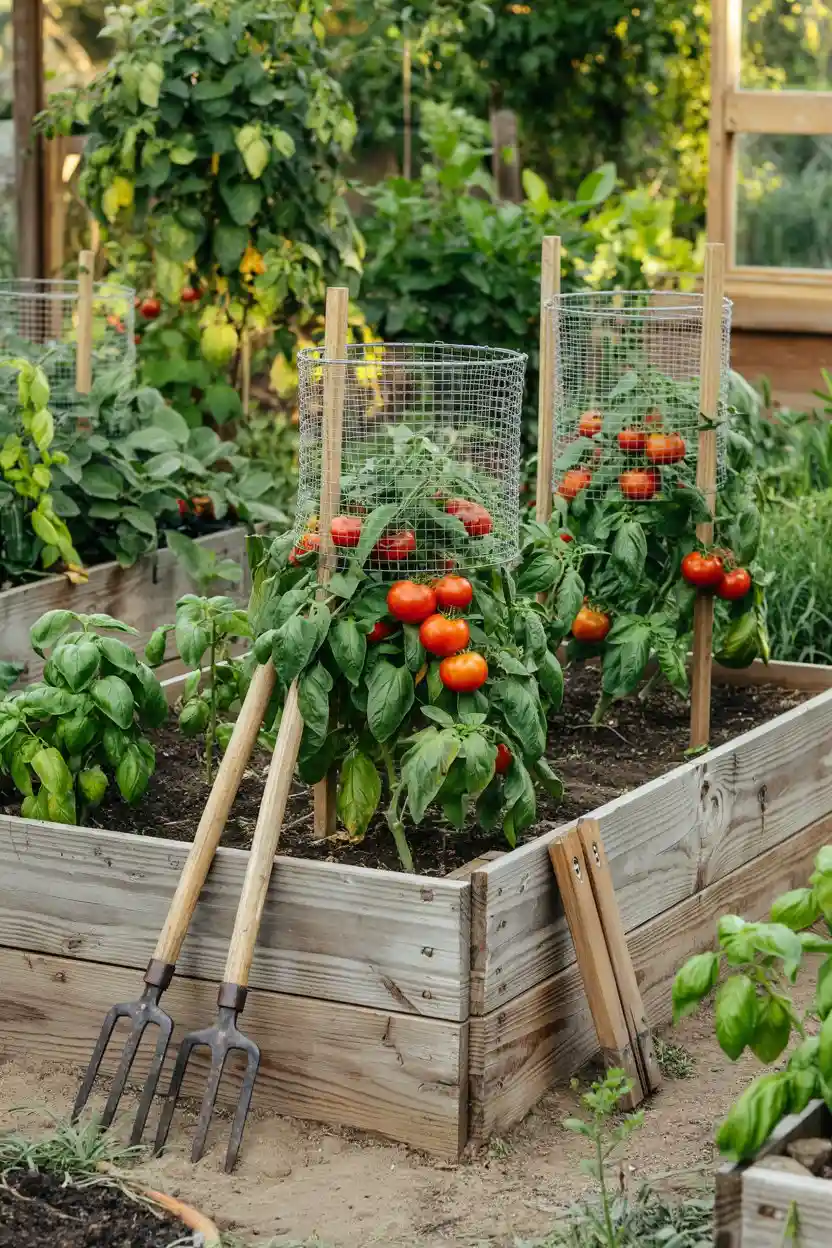
Tomatoes deserve their own plan because they’re divas about spacing. Give indeterminates 18 to 24 inches and a serious stake or cage; determinates can go a bit tighter. One 4×8 bed holds about eight staked plants — plant more and you’re growing a jungle, not a crop.
Prune suckers on indeterminates to one or two main stems, mulch heavily to stop soil splash (the main route for blight), and water at the base, never overhead. Do those three things and most tomato problems never start.
14. Small Raised Garden Box Layout
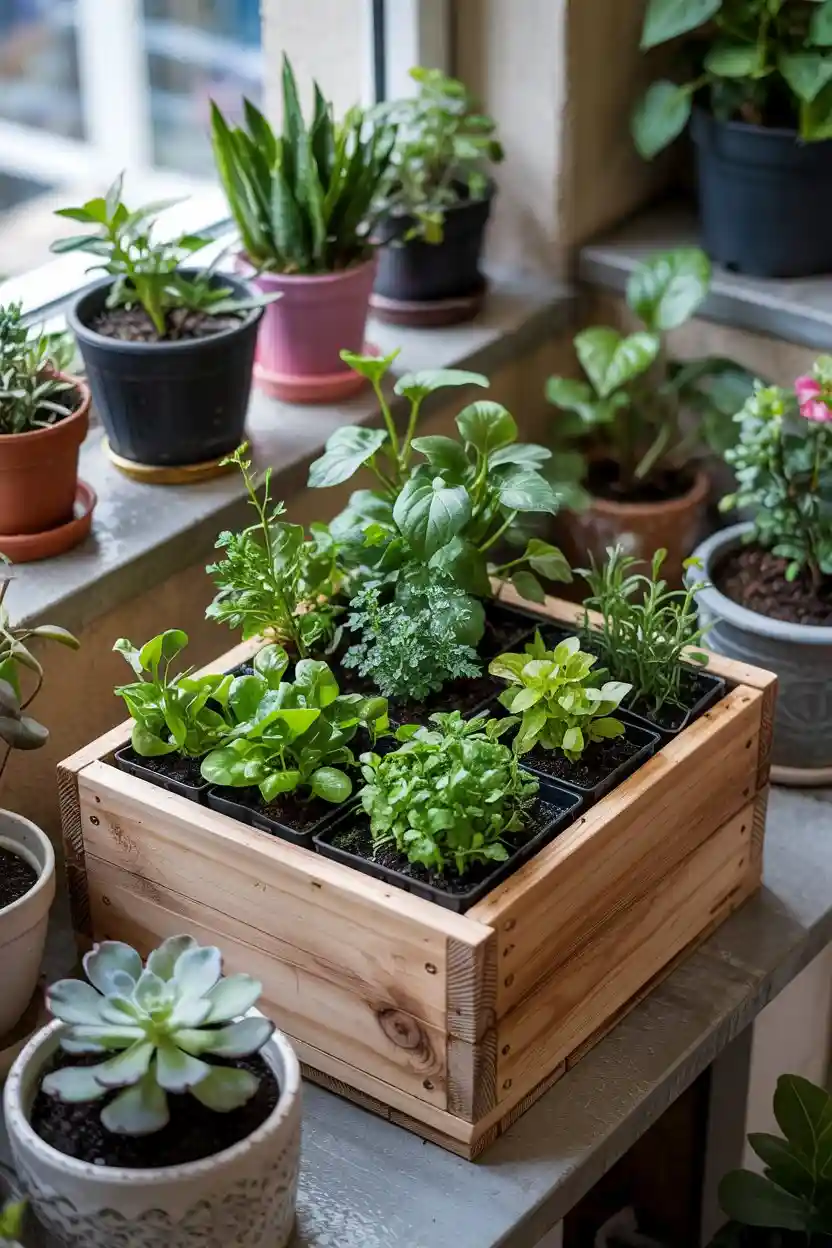
A 2×2 or 2×4-foot box is the honest starter size — big enough to matter, small enough to tend in ten minutes. One 2×4 bed planted in cut-and-come-again lettuce, a cherry tomato, and a row of radishes can keep one person in salads for months.
Start here even if you dream bigger. You’ll learn your sun, your soil, and your actual appetite for weeding on a scale where mistakes cost almost nothing.
15. Raised Bed with Succession Planting Layout
Succession planting is just scheduling: as soon as one crop finishes, another takes its square. Radishes in April become bush beans in June become kale in August — three harvests from the same footprint in one season.
Keep a simple calendar on the fridge. The most common failure is forgetting to sow the next round on time; set a phone reminder for two weeks before each transition and the bed never sits empty.
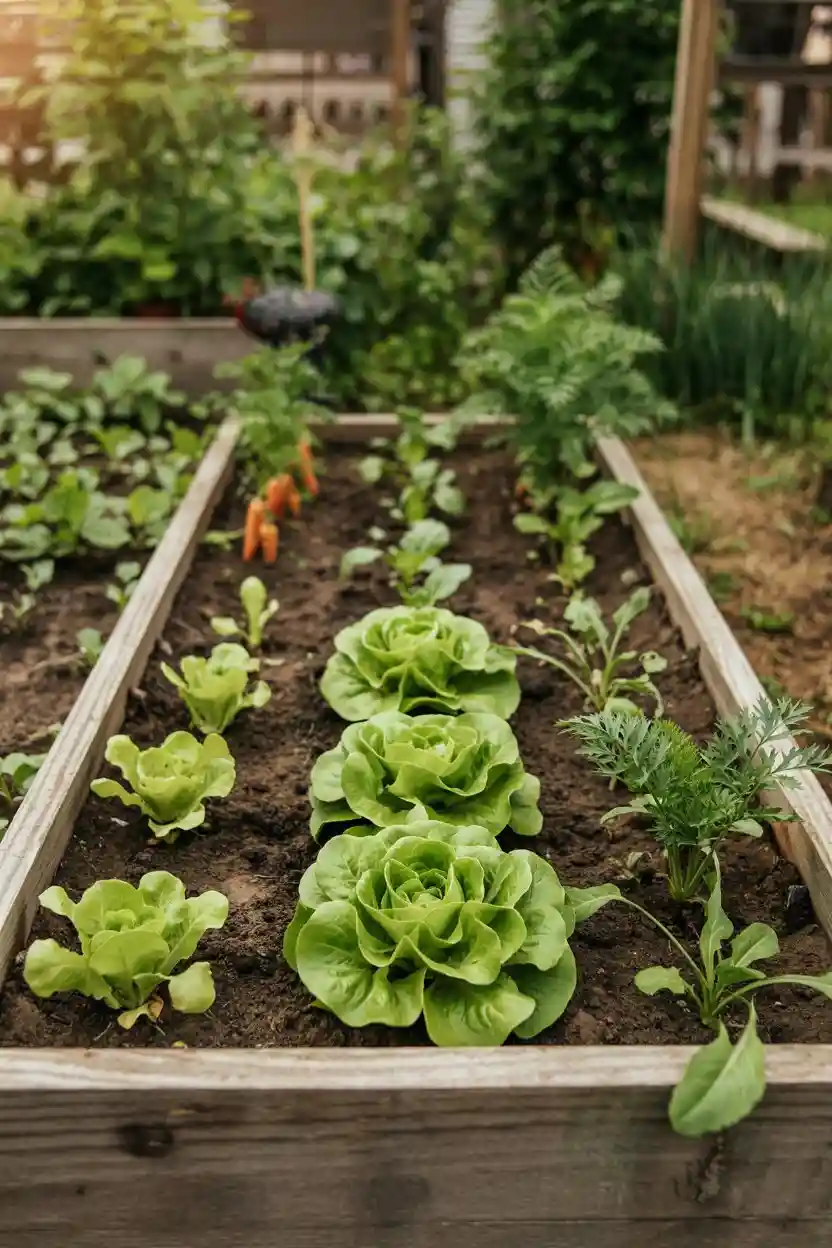
16. Raised Bed with Crop Rotation Layout
Don’t plant tomatoes in the same spot year after year. Rotate through four groups — fruiting crops, roots, legumes, leafy greens — so each family returns to a given bed only every fourth year. Soil-borne diseases starve out, and each group leaves something different behind.
Legumes are the linchpin: beans and peas fix nitrogen that the next group’s heavy feeders will use. In a small bed this just means shifting which end holds the tomatoes each spring — draw the plan once and reuse it.
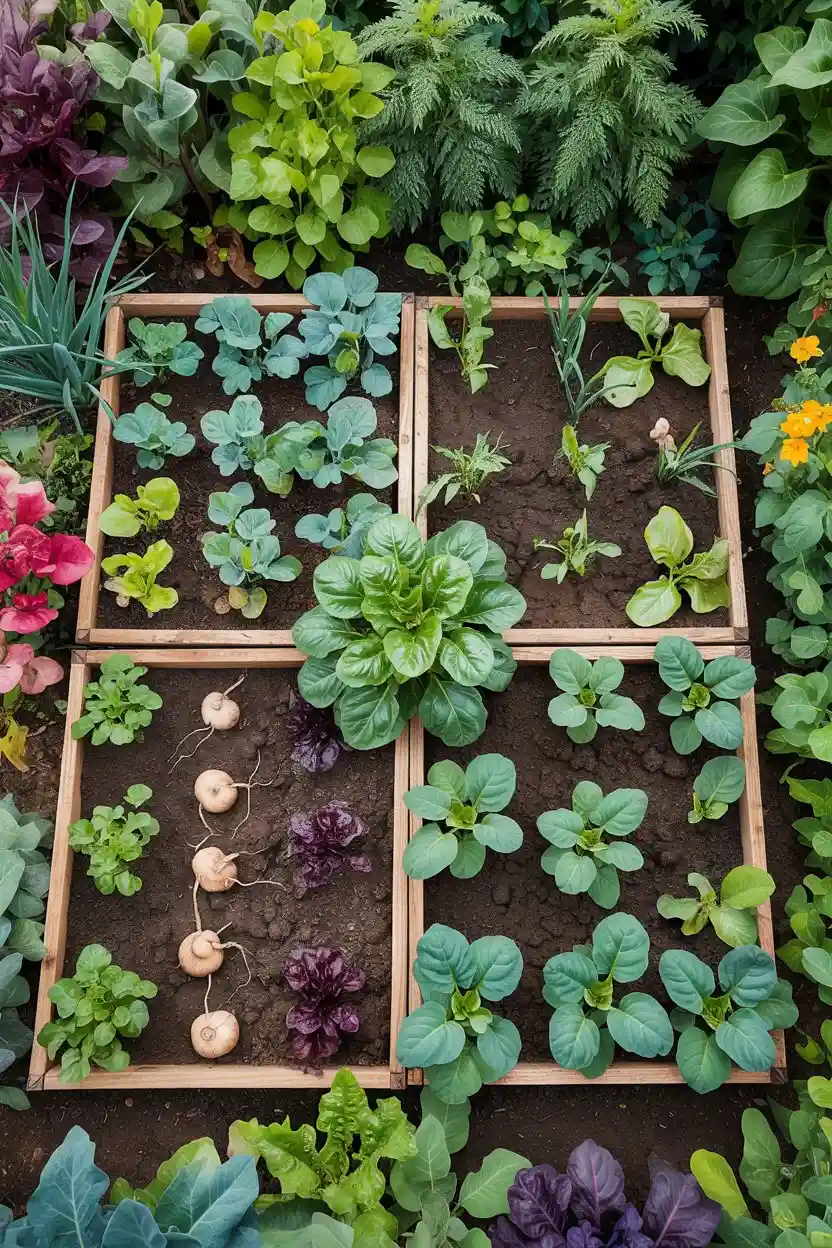
17. Raised Bed with Companion Flower Planting Layout
A border of flowers isn’t decoration; it’s infrastructure. Sweet alyssum along the edges feeds hoverflies whose larvae eat aphids. Nasturtiums act as a trap crop, luring aphids away from your beans. Borage near squash and tomatoes draws pollinators all summer.
Keep flowers to edges and corners so they don’t steal the prime center from crops. Deadhead regularly — most of these bloom harder the more you cut.
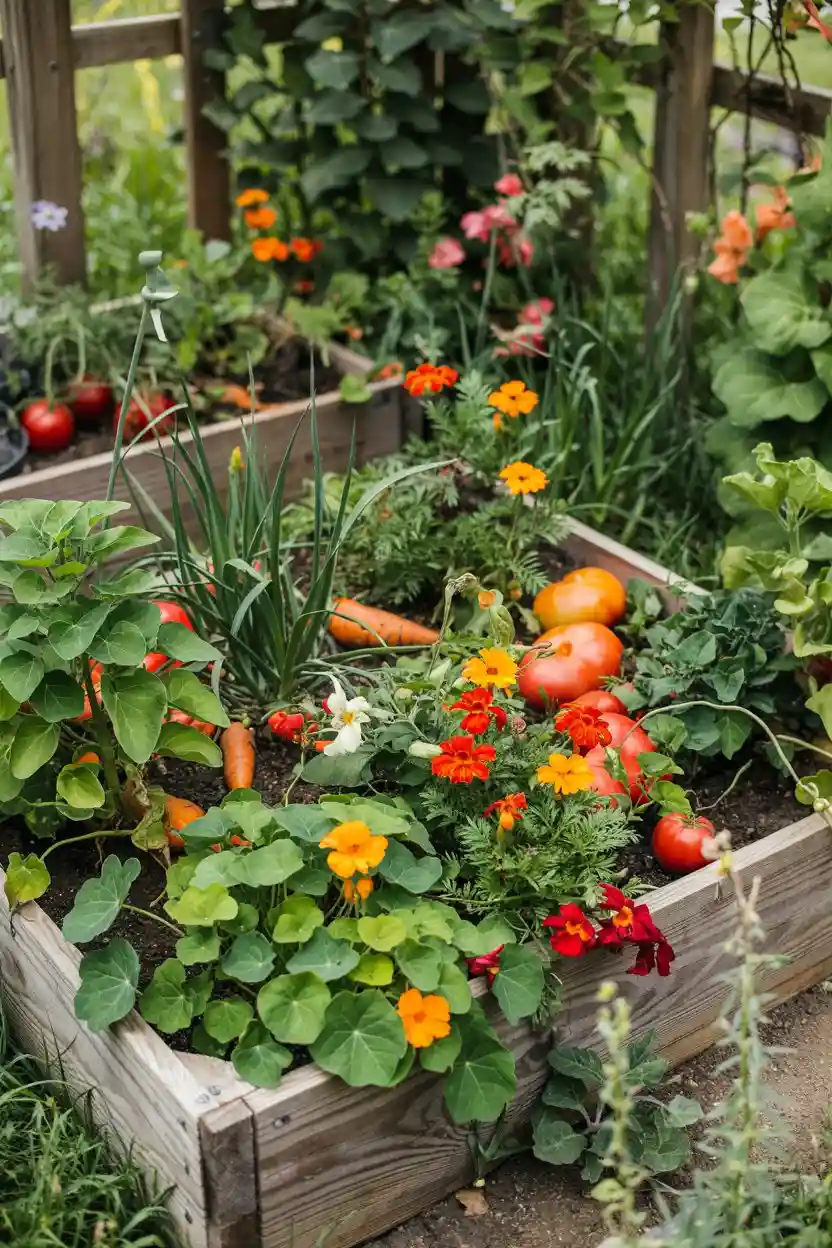
18. Elevated Raised Bed Layout
Elevated beds on legs, built waist-high, are the answer for bad backs, knees, or wheelchairs. You garden standing up, which turns a chore into something you’ll actually do daily. Ten to twelve inches of soil depth handles most vegetables except long carrots.
The trade-off is water: shallow, exposed boxes dry out quickly. Line the bottom with landscape fabric, add a drip line, and mulch — or build in a small reservoir and make it self-watering.
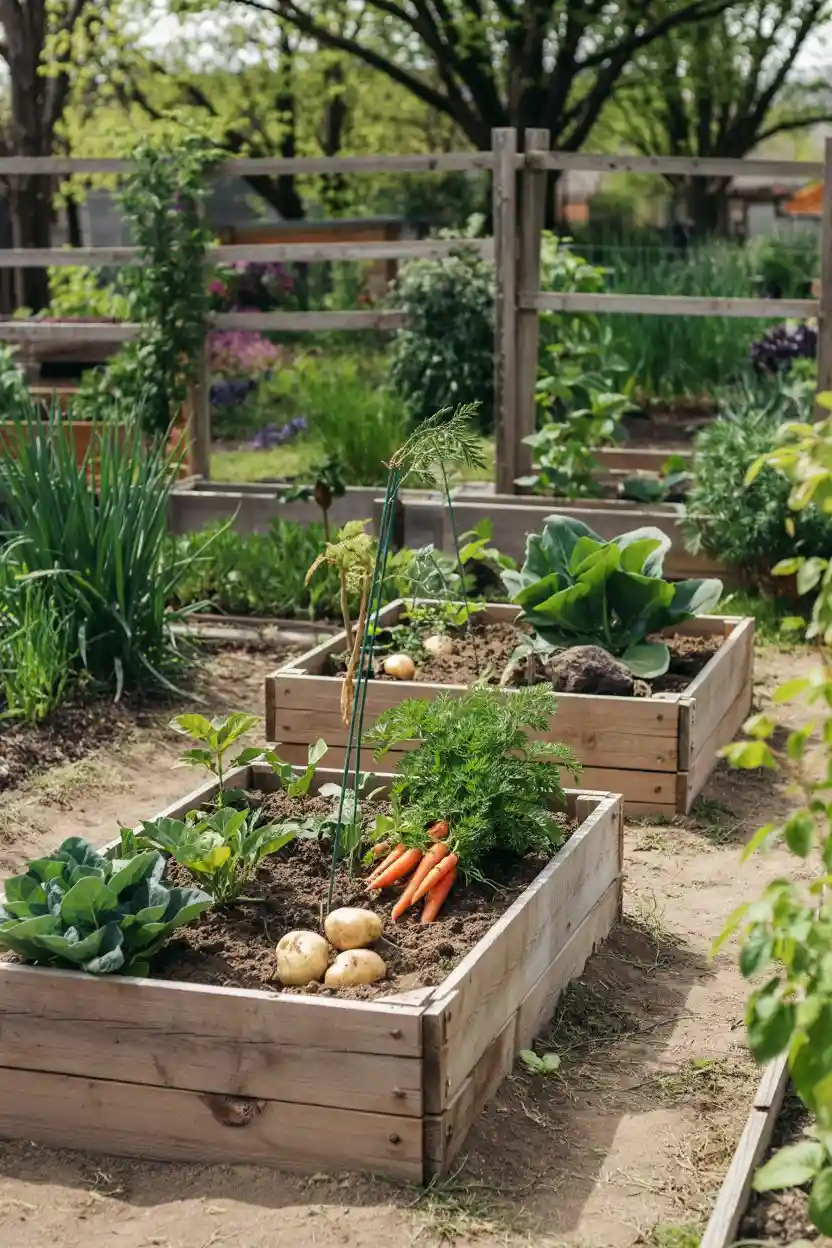
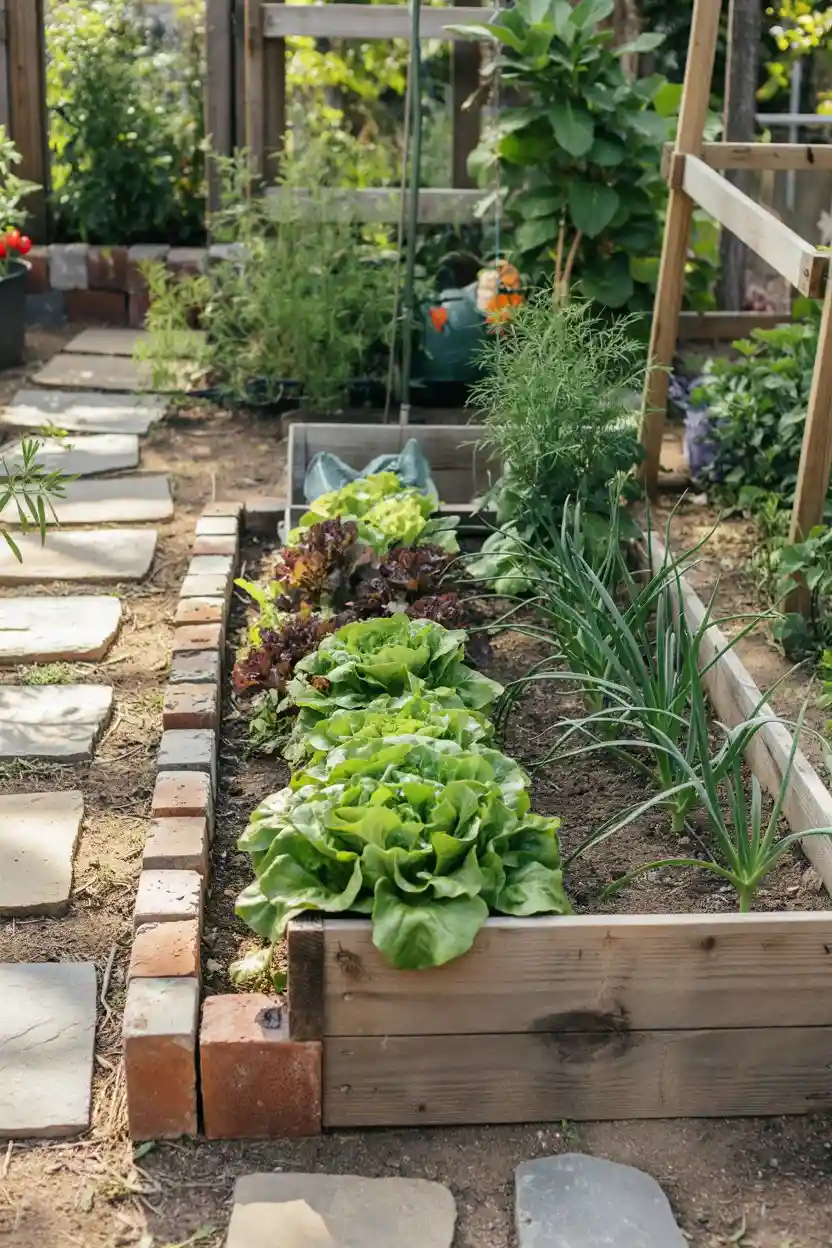
19. Raised Bed with Edging and Pathway Layout
Crisp edges make a vegetable garden look intentional instead of improvised. Steel landscape edging, brick, or even a clean spade-cut line between bed and path keeps grass from creeping in and mulch from migrating out.
20. DIY Corrugated Metal Raised Bed Layout
Pair tidy edging with gravel or chip paths and the whole patch takes on a calm, modern minimalist feel — proof that a working vegetable garden can look as considered as any ornamental border.
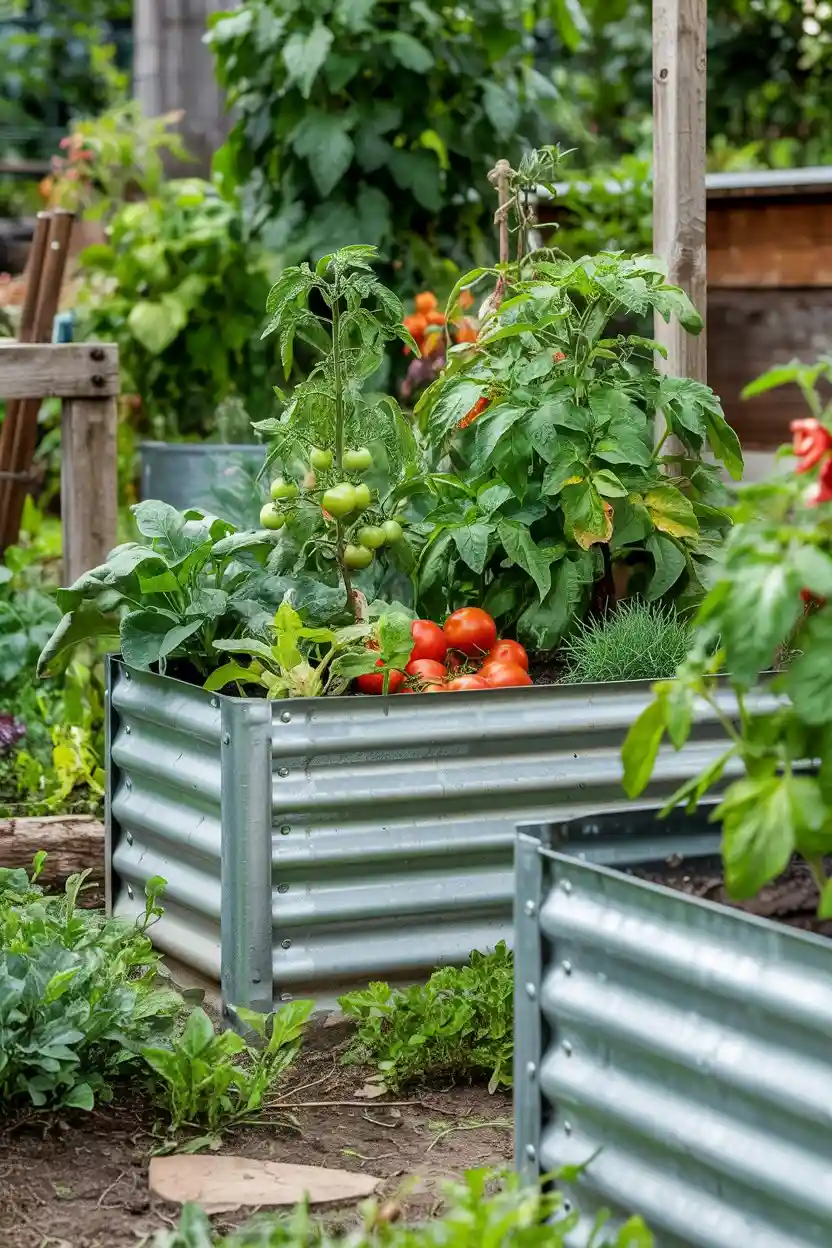
Corrugated metal roofing panels, cut to size and framed with 2x4s, make beds that outlast wood three times over and cost less than cedar. They arrive in standard widths, bend into curves if you want them, and the ridges give climbing beans something to grip near the walls. Just fold or cap the sharp top edge — gloves aren’t optional during the build.
FAQs for Small Raised bed Vegetable Layout