25 Beginner Raised Bed Vegetable Plans That Actually Work
The best first bed is a boring one: a simple rectangle, built in an afternoon, planted with things that forgive mistakes. Fancy designs can wait — what you need first is a win. These twenty-five plans start with that win and work outward, from a single 4×4 box to setups that can feed a family.
1. Classic Wooden Raised Bed for First-Time Gardeners
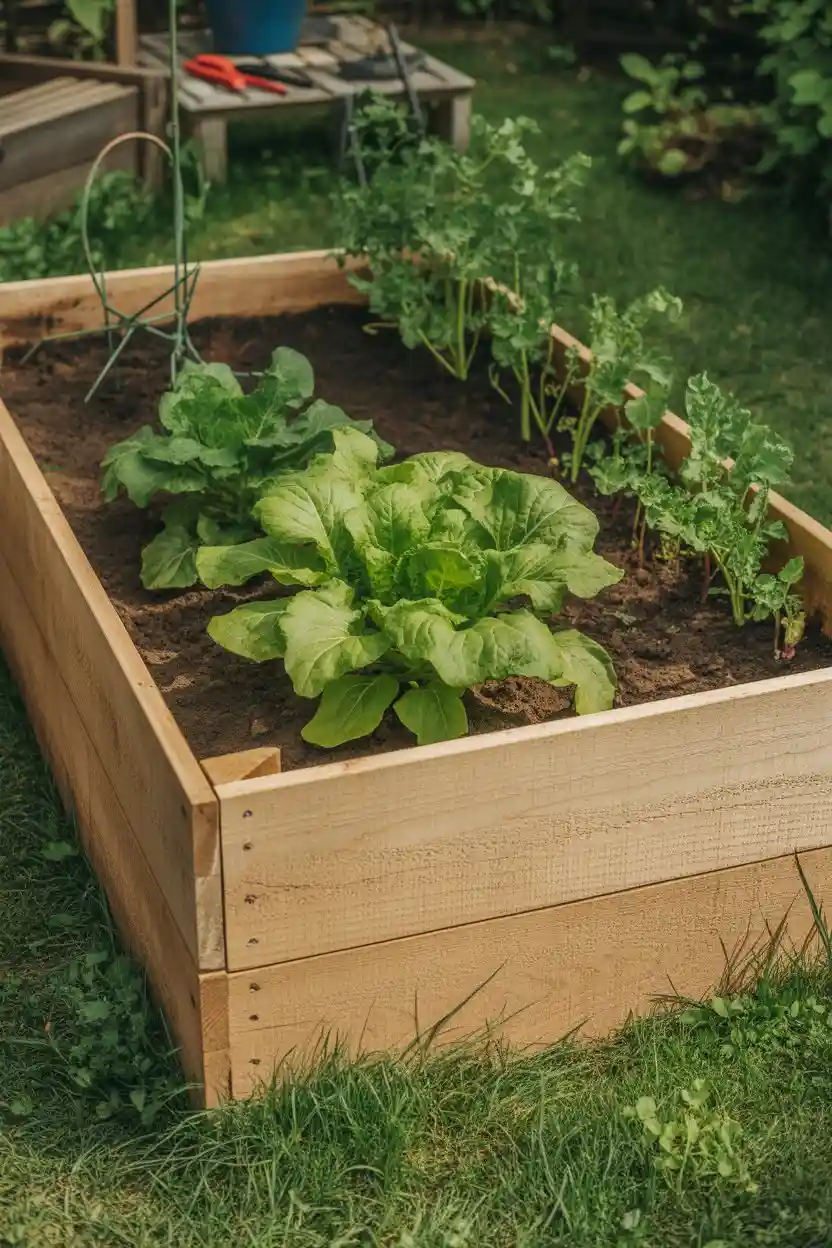
Untreated pine or fir 2x8s, cut into two 8-foot and two 4-foot lengths, screwed at the corners with 3-inch exterior screws — that’s the whole build, and it takes about an hour. Expect to spend $40 to $60 on lumber for a 4×8 bed that will last four to six years.
Set it in full sun, fill with a 60/30/10 mix of topsoil, compost, and perlite, and plant forgiving crops first: lettuce, radishes, bush beans, zucchini. Save the fussy stuff for year two.
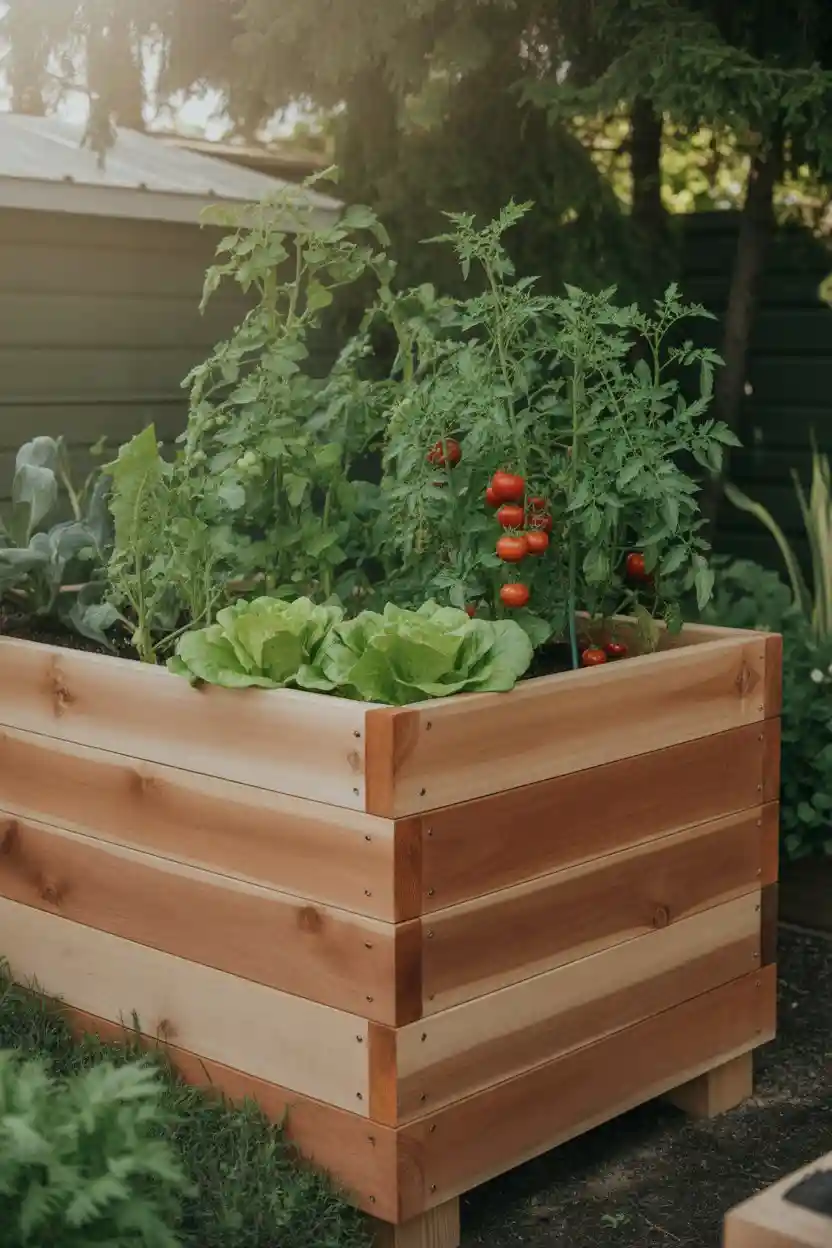
2. Cedar Raised Bed for Long-Term Vegetable Growing
When the pine bed eventually rots, cedar is the upgrade. The wood resists decay and insects naturally — no stains or treatments needed — and a cedar frame typically lasts 8 to 12 years, roughly double the life of pine.
Build it the same way, just with 2×8 cedar boards and stainless or coated screws (plain steel can react with cedar’s tannins). The higher upfront cost pays for itself by the third season you don’t rebuild.
3. Budget-Friendly Cinder Block Raised Bed Plan
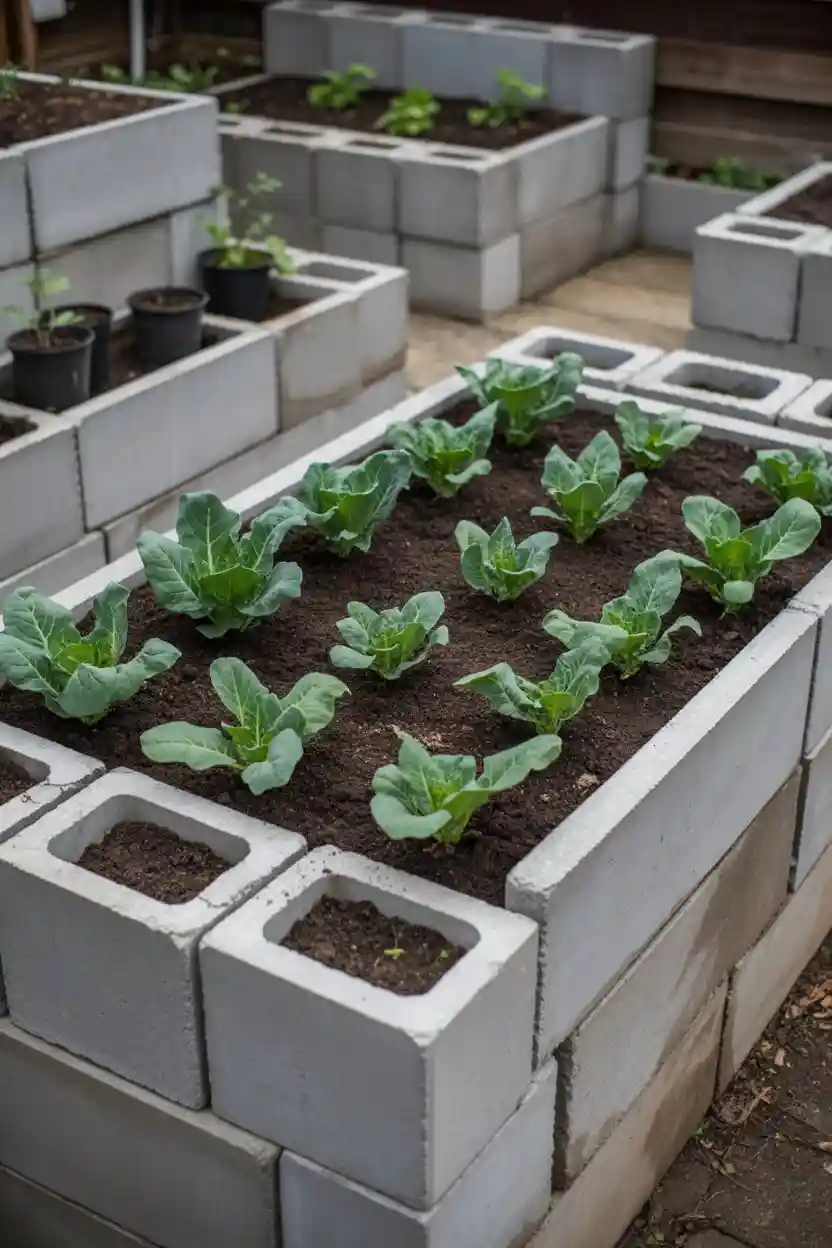
At around two dollars a block, cinder blocks are the cheapest rigid wall you can buy. Dry-stack them two high — no mortar, no cutting — and you’ve got a bed in twenty minutes that will outlast any wooden frame.
Fill the hollow cores with soil and plant herbs, strawberries, or marigolds in the holes: free extra growing space. Line the inside with landscape fabric if your blocks are old and crumbly.
4. Small Raised Bed Garden for Limited Spaces
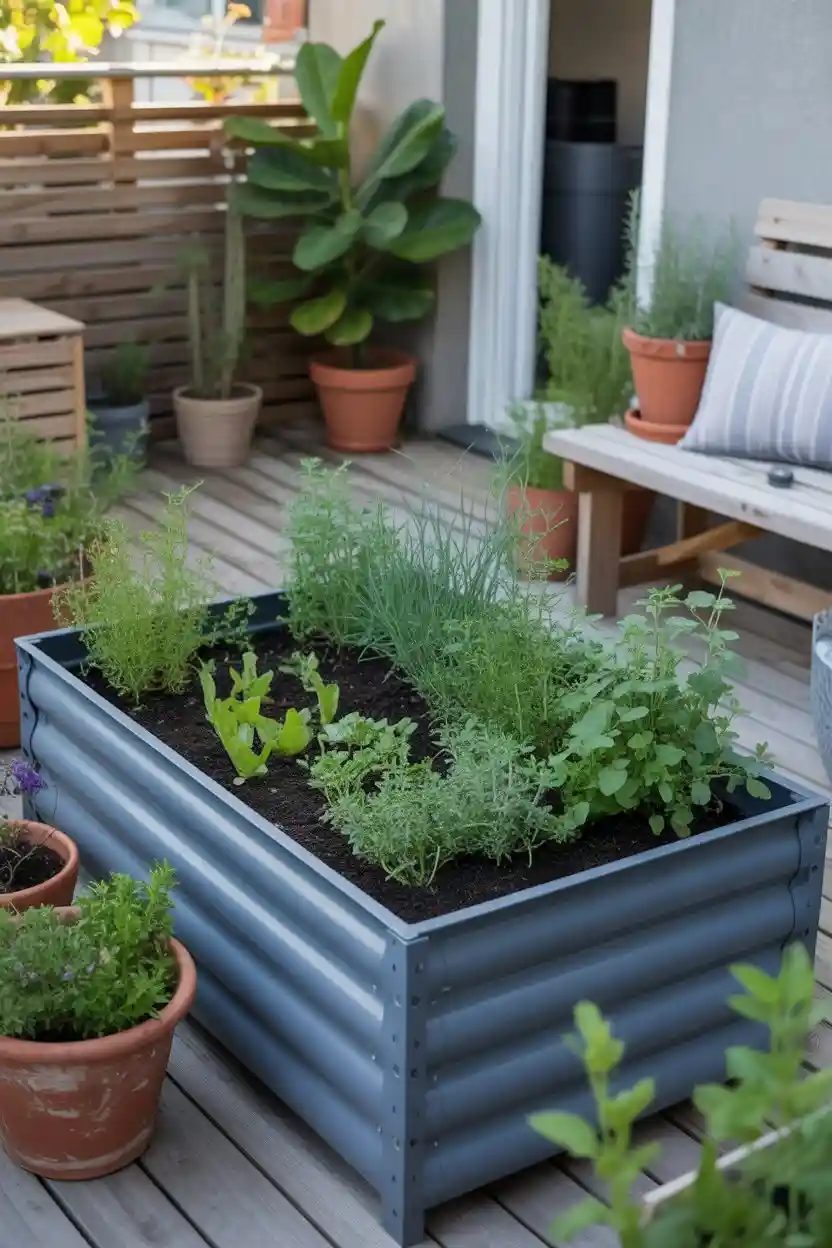
A 2×4-foot box on a patio or balcony is the lowest-stakes way to start — big enough for a cherry tomato, a row of lettuce, and a basil plant. If tight quarters are your reality, our Small raised beds roundup shows how far a tiny footprint can go.
Small beds dry out faster, so mulch the surface and check moisture daily in summer. On the plus side, you can tend the whole thing in ten minutes and reach every weed without stepping in.
5. Metal Raised Bed for Modern Vegetable Gardens
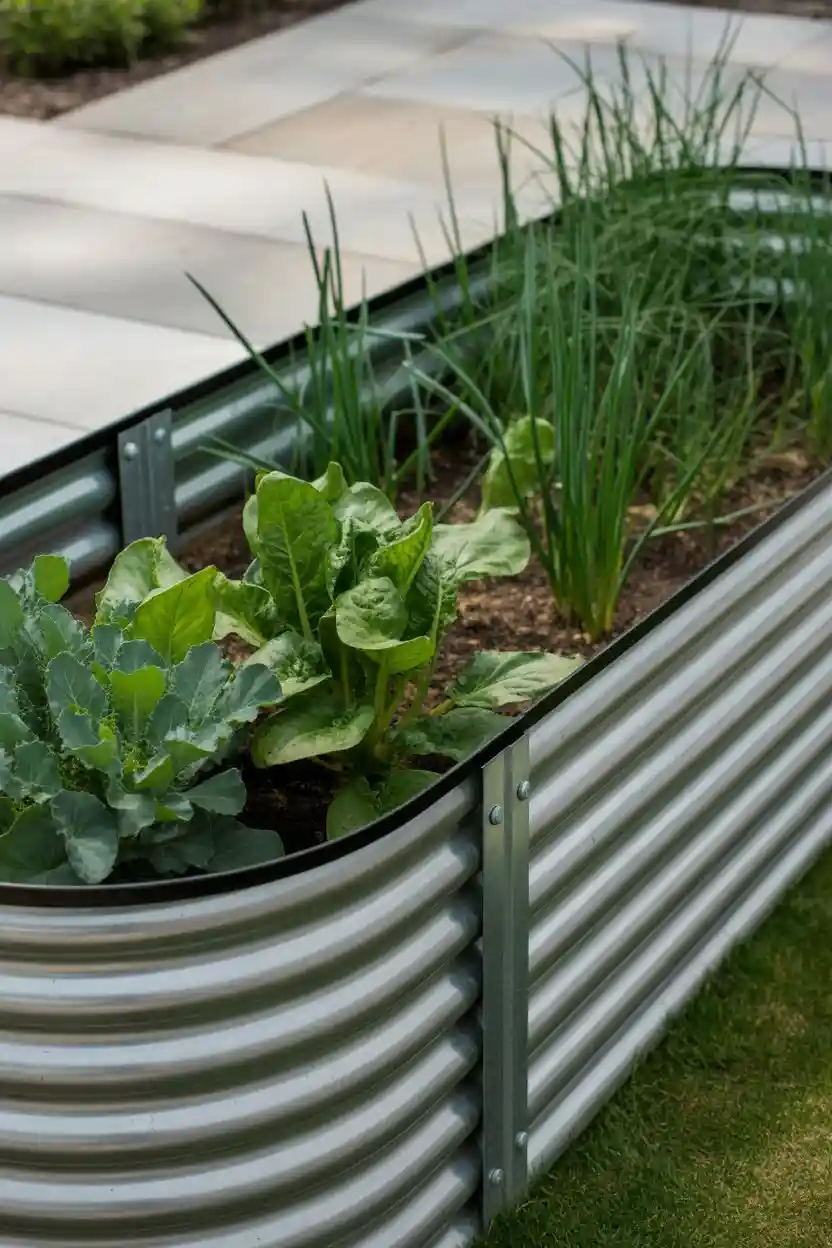
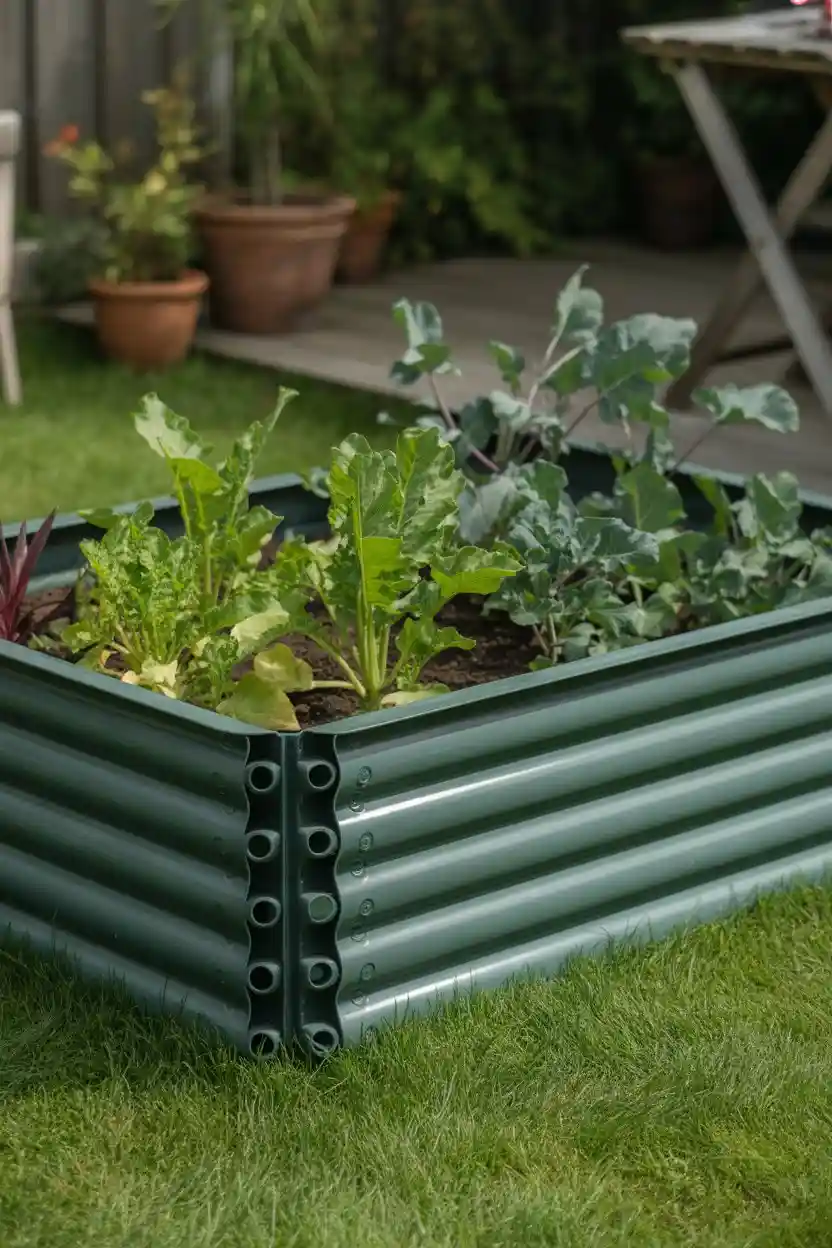
Galvanized steel kits — usually about 17 inches tall — warm up faster in spring than wood, buying you a week or two of earlier planting. They assemble with bolts in under an hour and never rot.
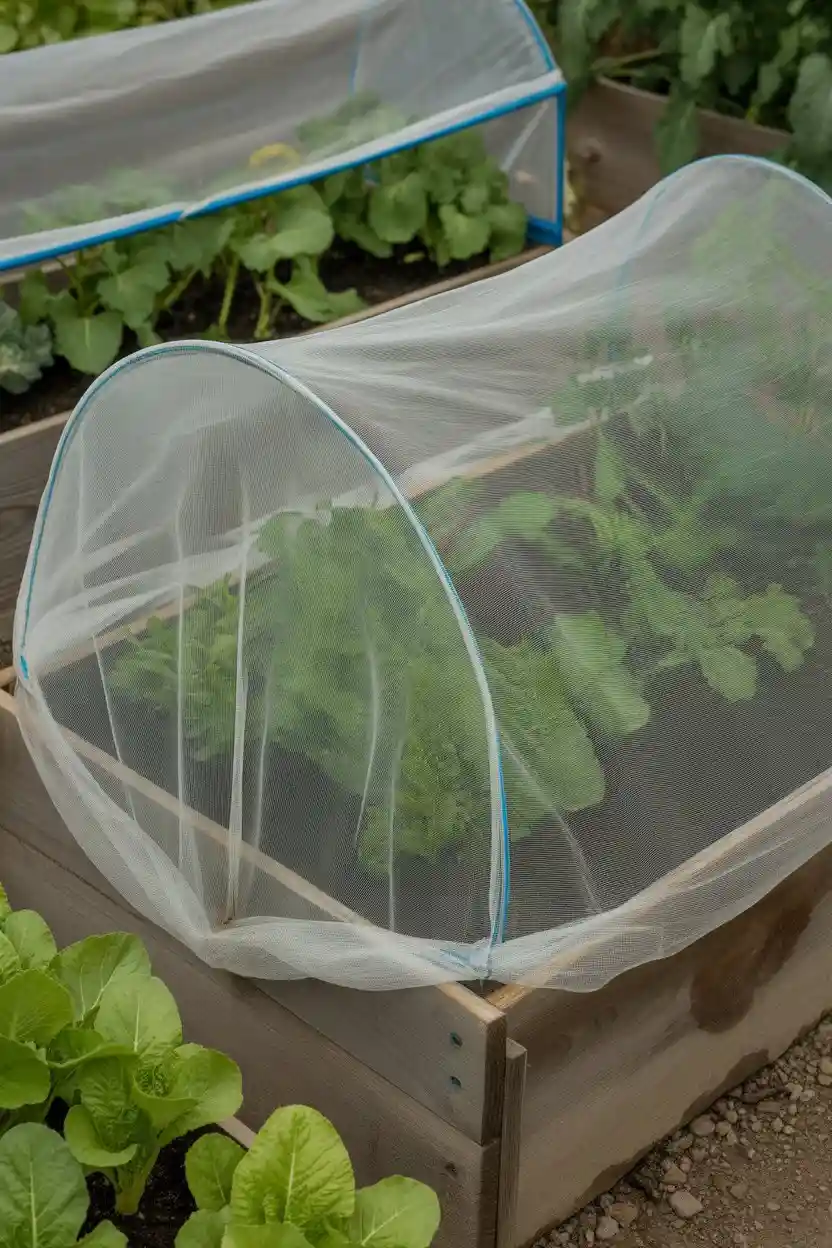
6. Raised Bed Vegetable Plan with Protective Covers
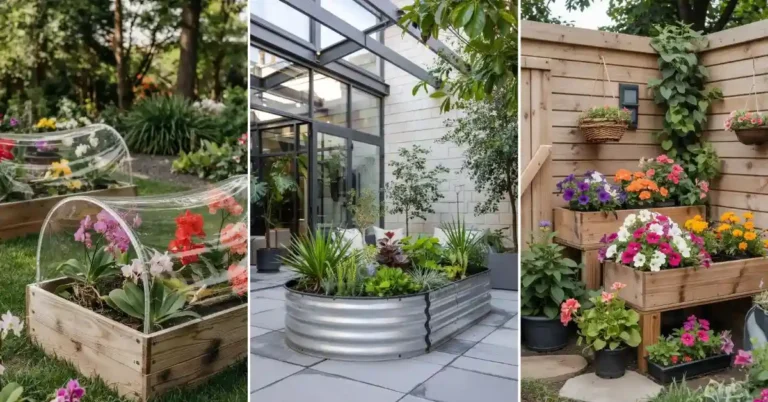
Half-inch PVC hoops slipped over rebar stakes, draped with frost cloth, stretch your season three to four weeks on each end. The same hoops carry insect mesh in summer to keep cabbage moths off brassicas — pest control with zero spray.
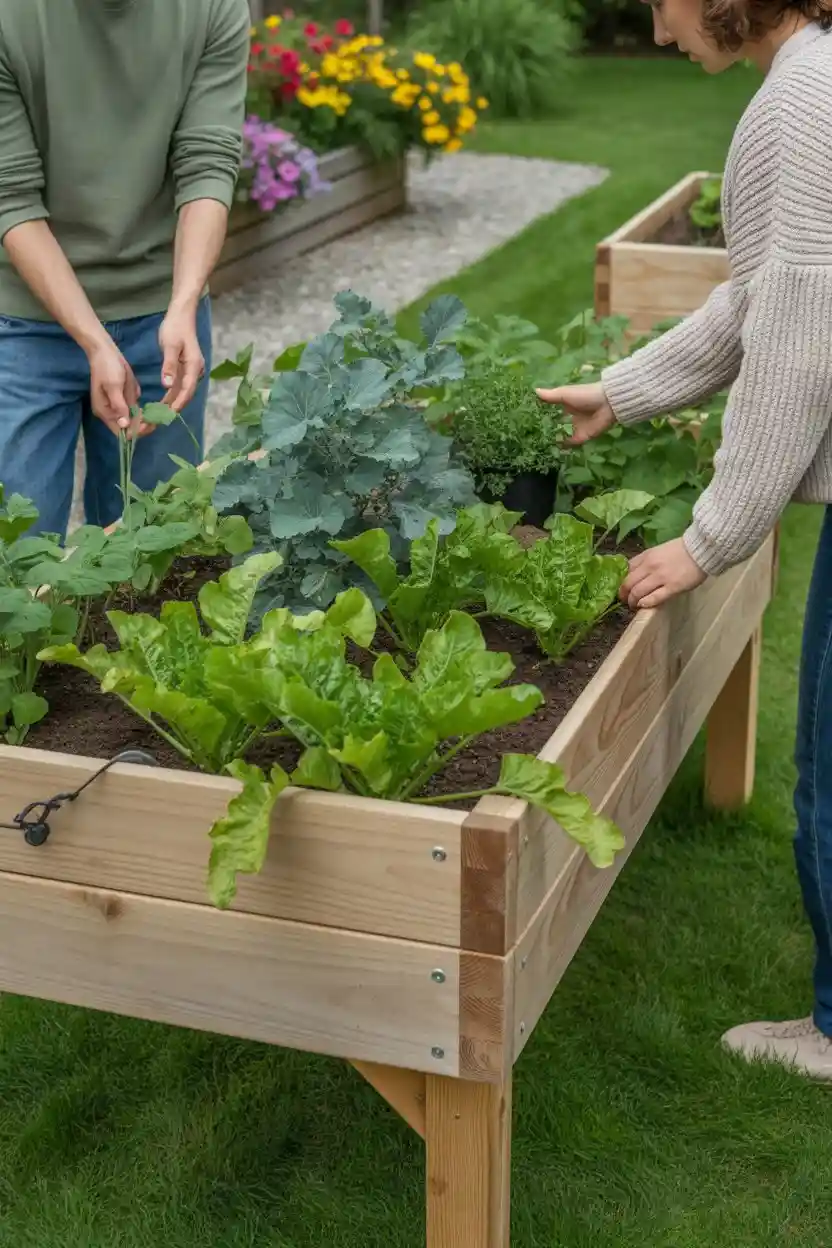
7. Elevated Raised Bed for Easy Access Gardening
A bed on legs at waist height means gardening without kneeling or bending — the difference between tending daily and avoiding the chore. Ten to twelve inches of soil depth handles everything except long carrots; add a drip line since shallow boxes dry fast.
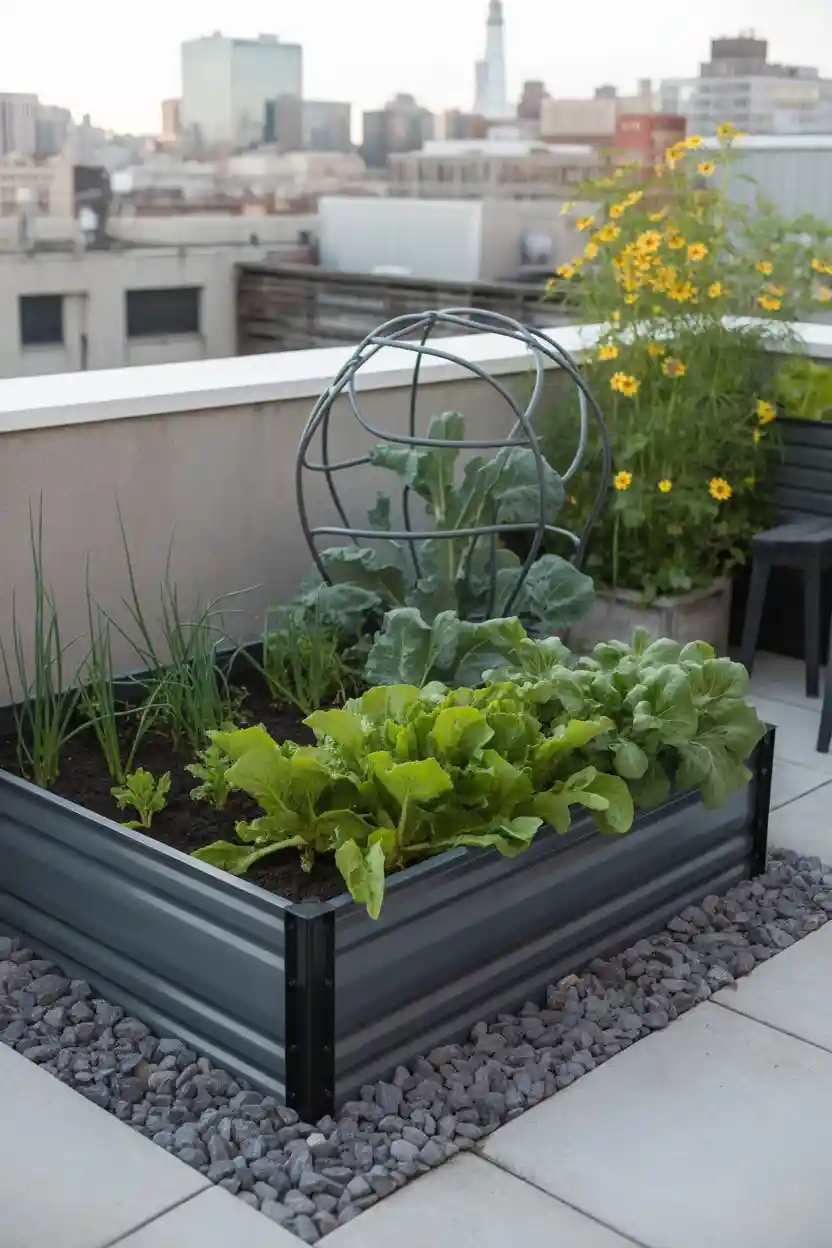
8. Raised Bed on Concrete for Urban Homes
Concrete works fine as a base as long as water can escape: drill drainage holes every foot or lay 2 inches of gravel under the soil. Twelve inches of mix minimum — on concrete there’s no subsoil to borrow from.
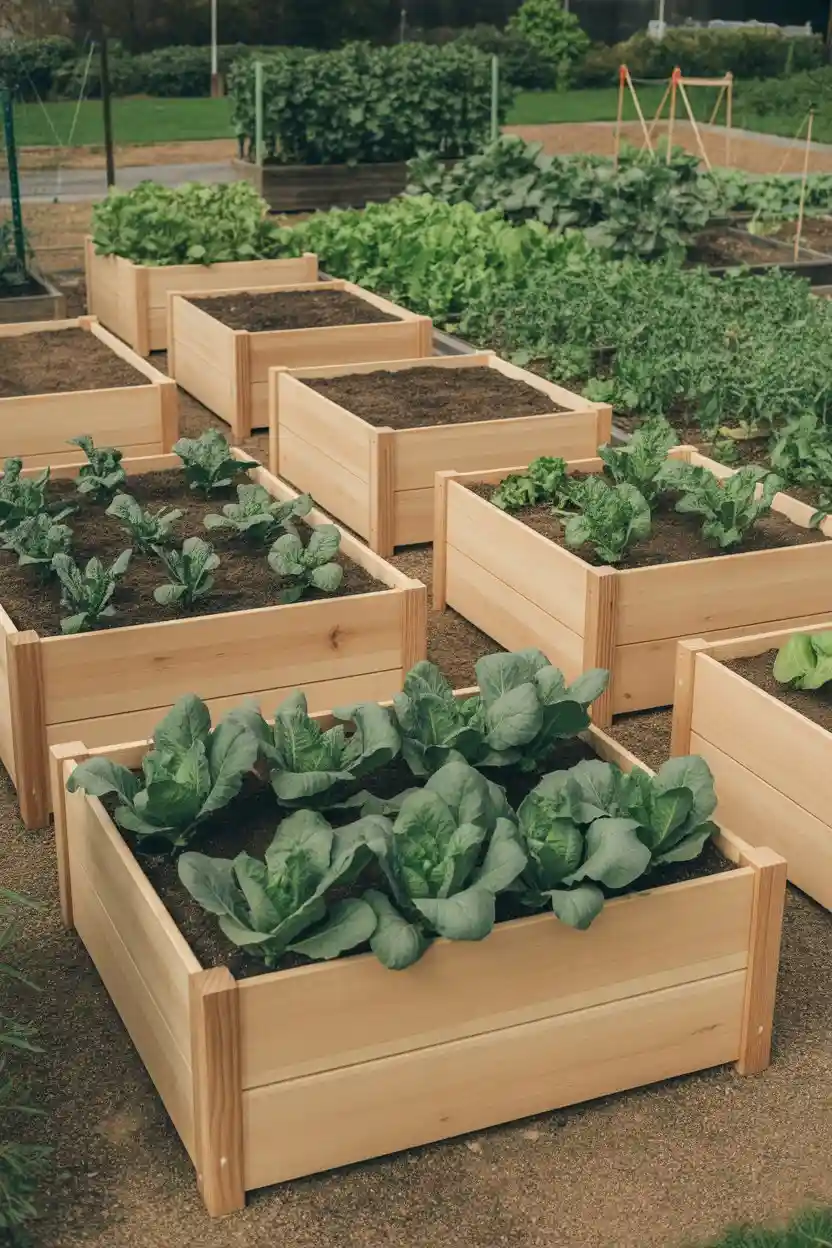
9. Modular Raised Bed for Expanding Gardens
Slotted-board kits and stackable blocks let you begin with one 4×4 bed and bolt on more as confidence grows. Buy one brand with standard dimensions so next year’s pieces still fit this year’s.
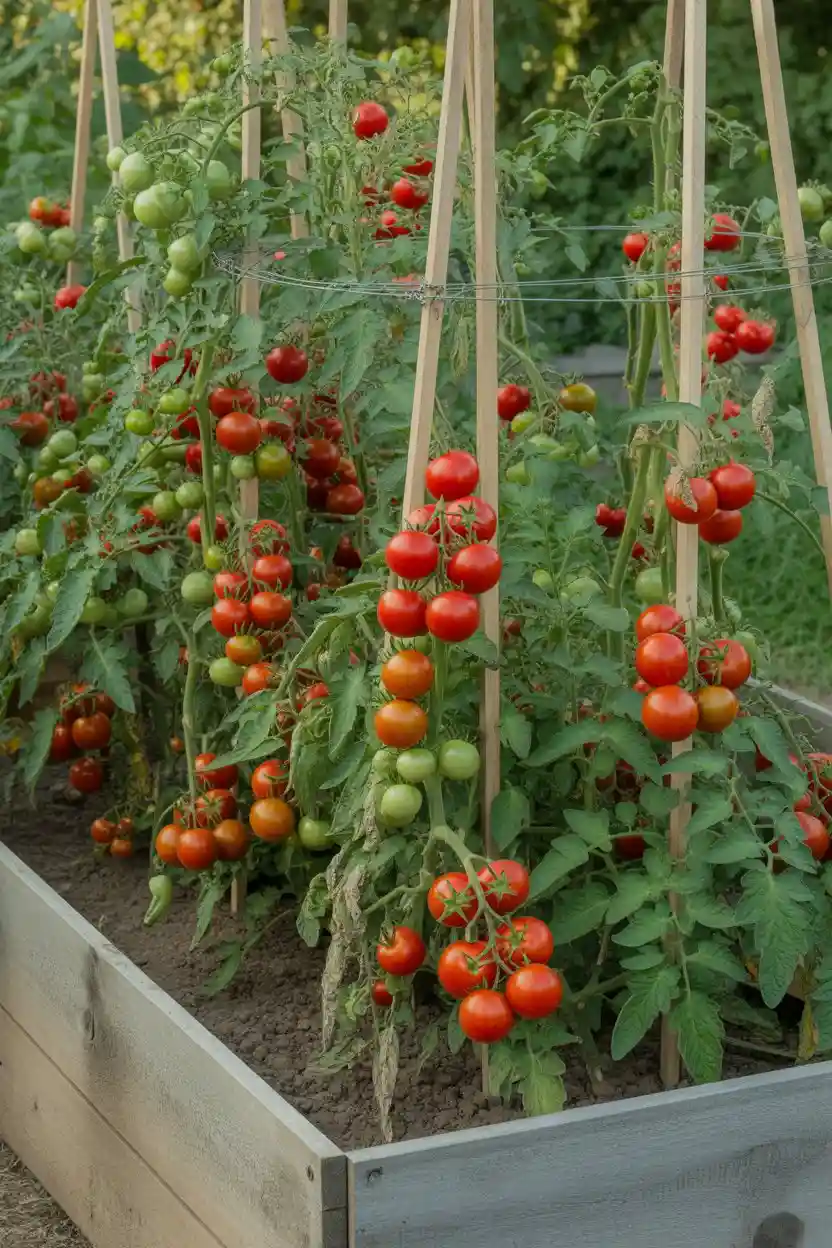
10. Raised Tomato Bed for Strong Summer Harvests
Dedicate one bed to tomatoes and do it properly: eight staked plants in a 4×8 bed, 18 to 24 inches apart, pruned to one or two stems, mulched heavily to stop soil splash. That single bed can bury a household in tomatoes by August.
11. Deep Raised Bed for Root Vegetables
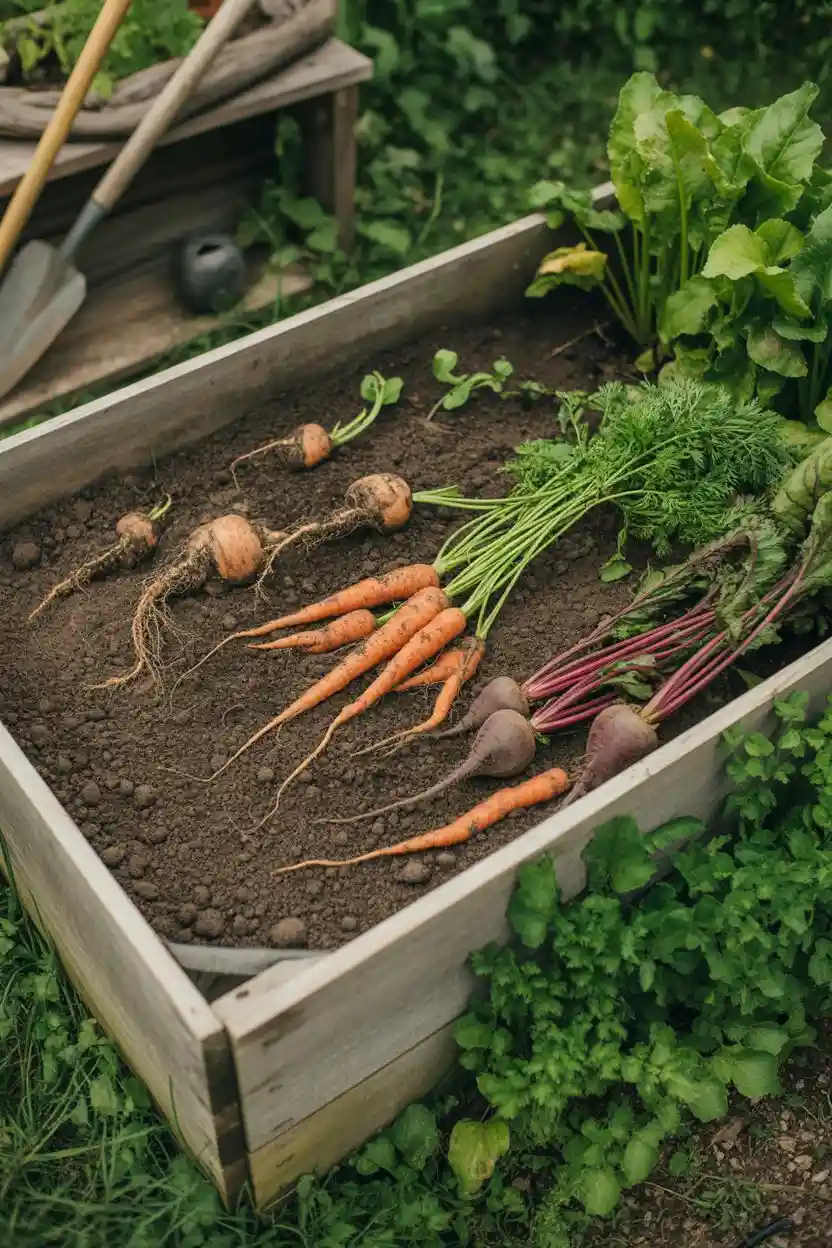
Carrots, parsnips, and potatoes want 18 to 24 inches of loose soil — anything less and you get forked, stubby roots. Save money on fill with the hugelkultur trick: logs and branches in the bottom half, a foot of growing mix on top.
12. Brick Raised Vegetable Bed for Permanent Gardens
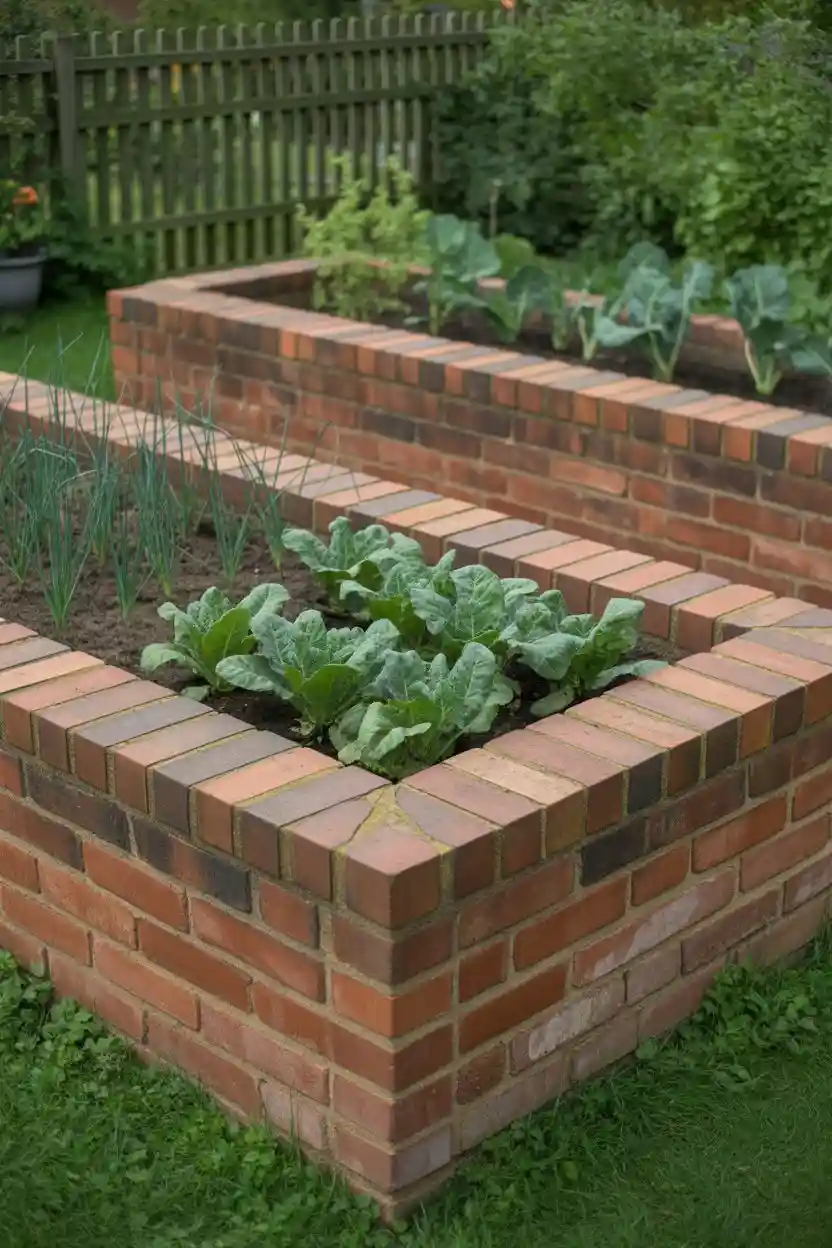
Dry-stacked brick or block takes a weekend and lasts decades. The thermal mass smooths temperature swings, keeping soil a few degrees warmer on cold nights — peppers and basil notice. Cap the walls with flat stones for a finished look and a place to sit.
13. Plastic Raised Bed for Lightweight Gardening
Food-grade, UV-stable plastic kits are the renter’s friend: light enough to carry, snap together without tools, and they disassemble flat for moving day. Avoid thin bargain kits that bow outward once filled — wall thickness matters more than color.
14. Tall Raised Bed for Compact Crop Rotation
Extra-tall beds — 24 inches and up — hold enough soil volume to rotate crop families properly in a small footprint. Pair them with the material ideas in our raised bed vegetable garden ideas guide to pick a wall that suits the height.
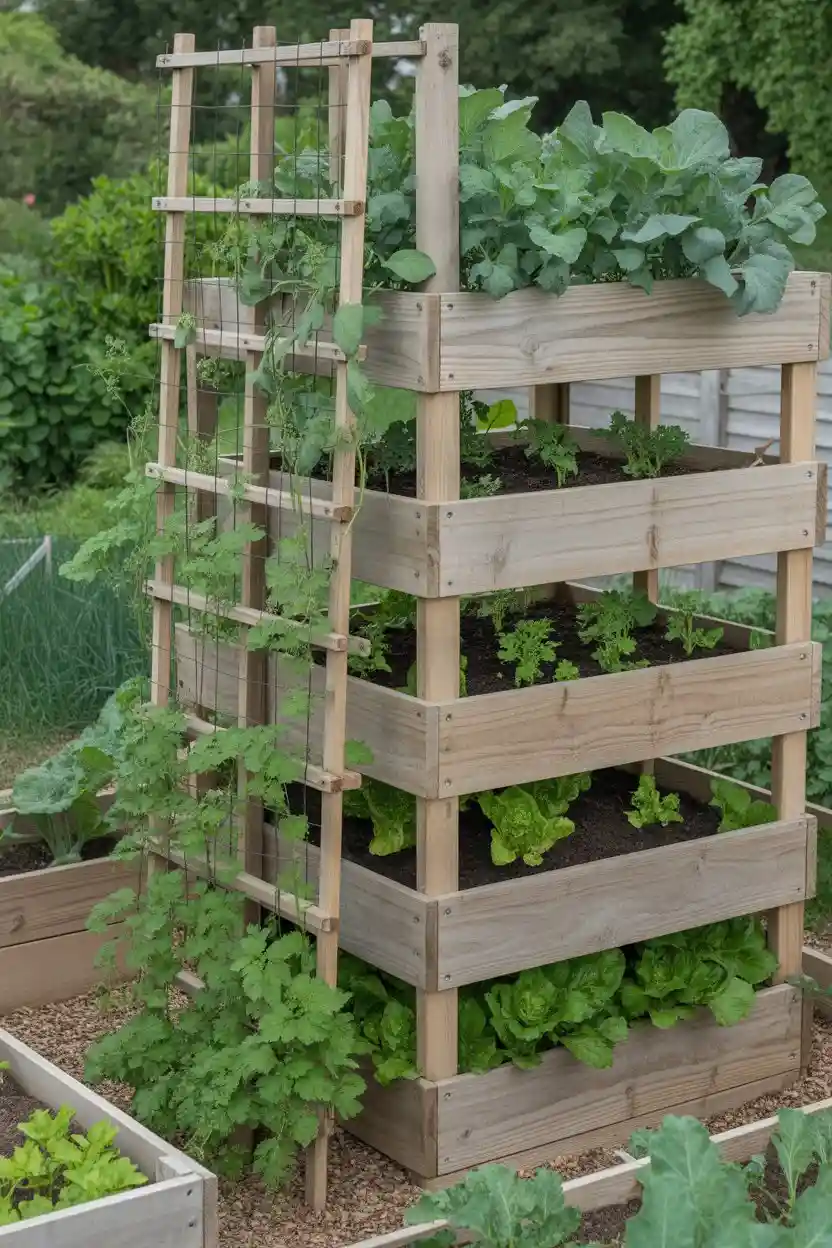
15. Raised Bed Vegetable Plan for Leafy Greens
Lettuce, spinach, arugula, and kale thrive in just 8 to 10 inches of soil and prefer it a little cool. Plant cut-and-come-again varieties, harvest the outer leaves weekly, and one shallow bed feeds salads for months.
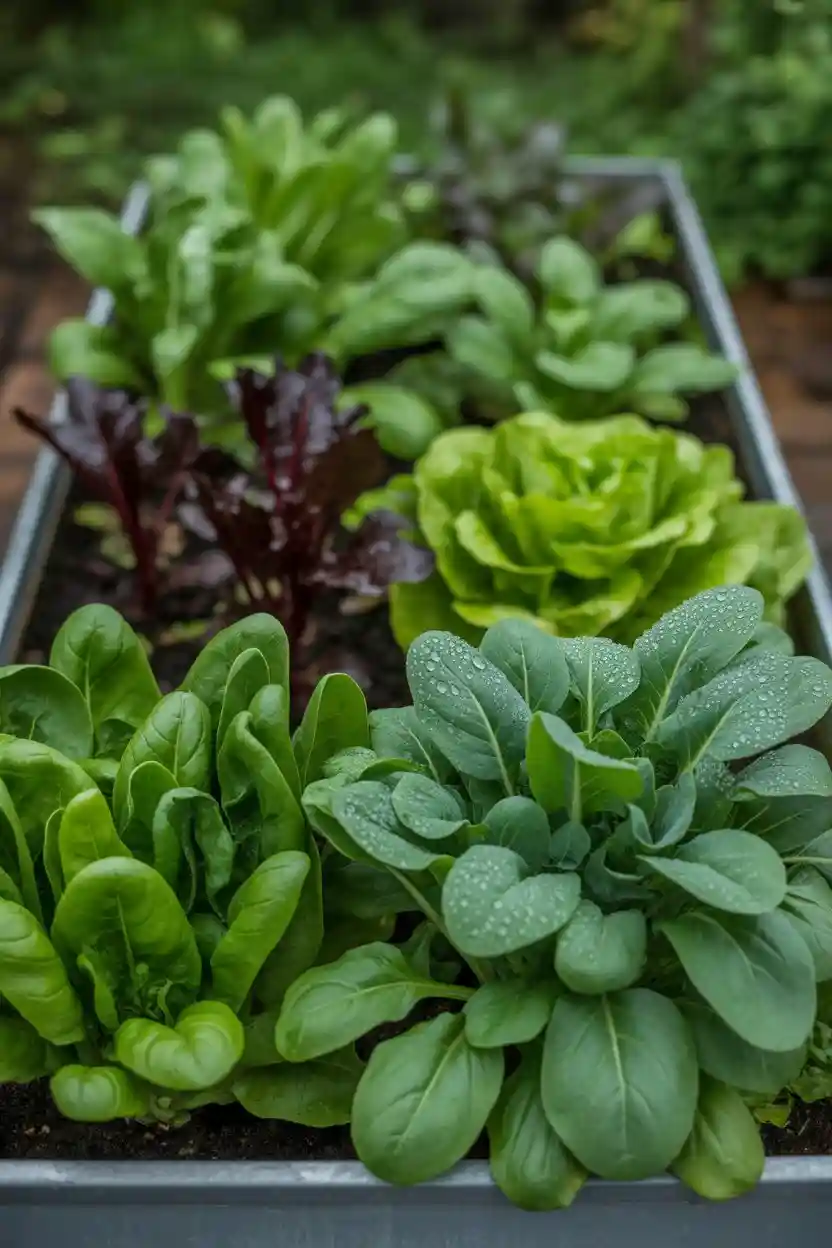
16. Raised Bed with Mulching System Built In
Plan mulch from day one, not as an afterthought: 2 to 3 inches of straw or shredded leaves on every bed the moment seedlings are up. It cuts watering in half, smothers weeds, and feeds the soil as it breaks down.
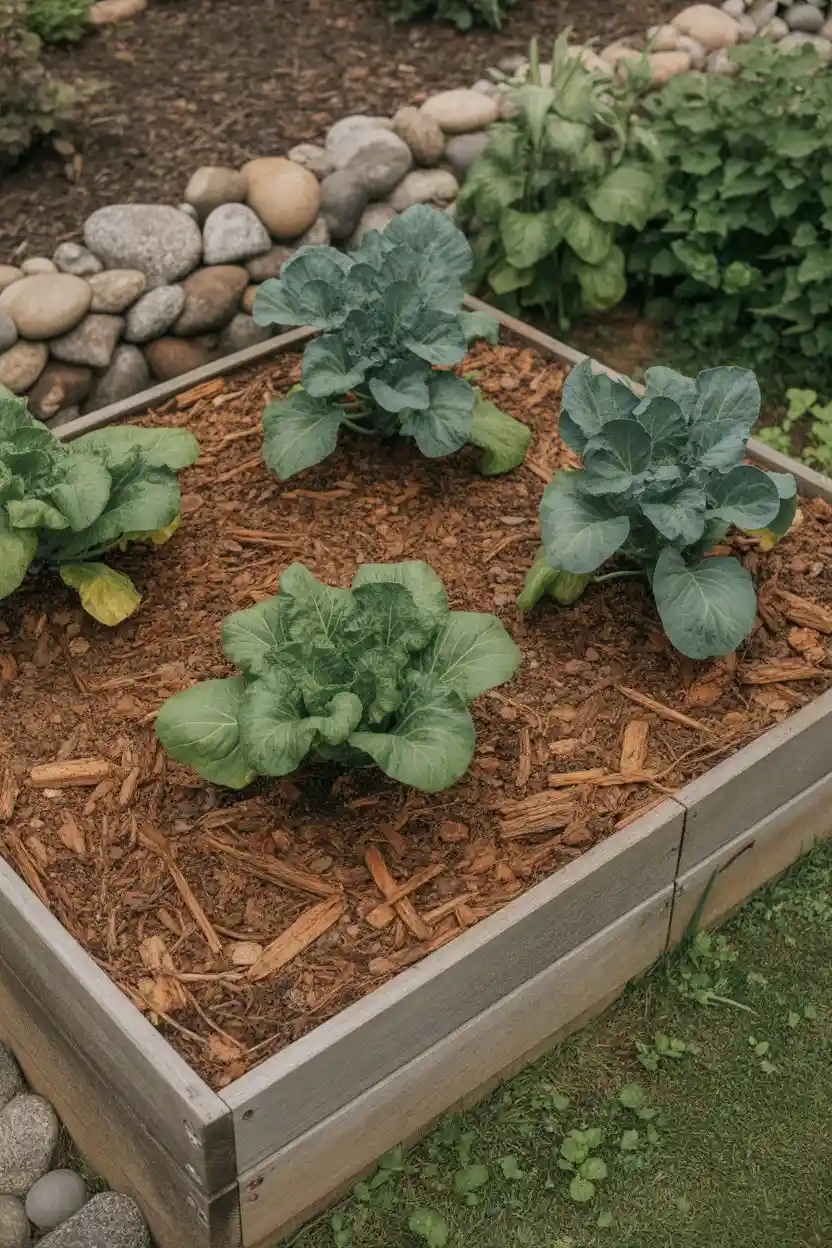
17. Raised Veg Beds for Sale Starter Setup
Pre-cut kits remove the measuring and sawing — worth it if you don’t own tools. Check that boards are at least 1 inch thick (thinner ones bow) and that corner hardware is metal, not plastic.
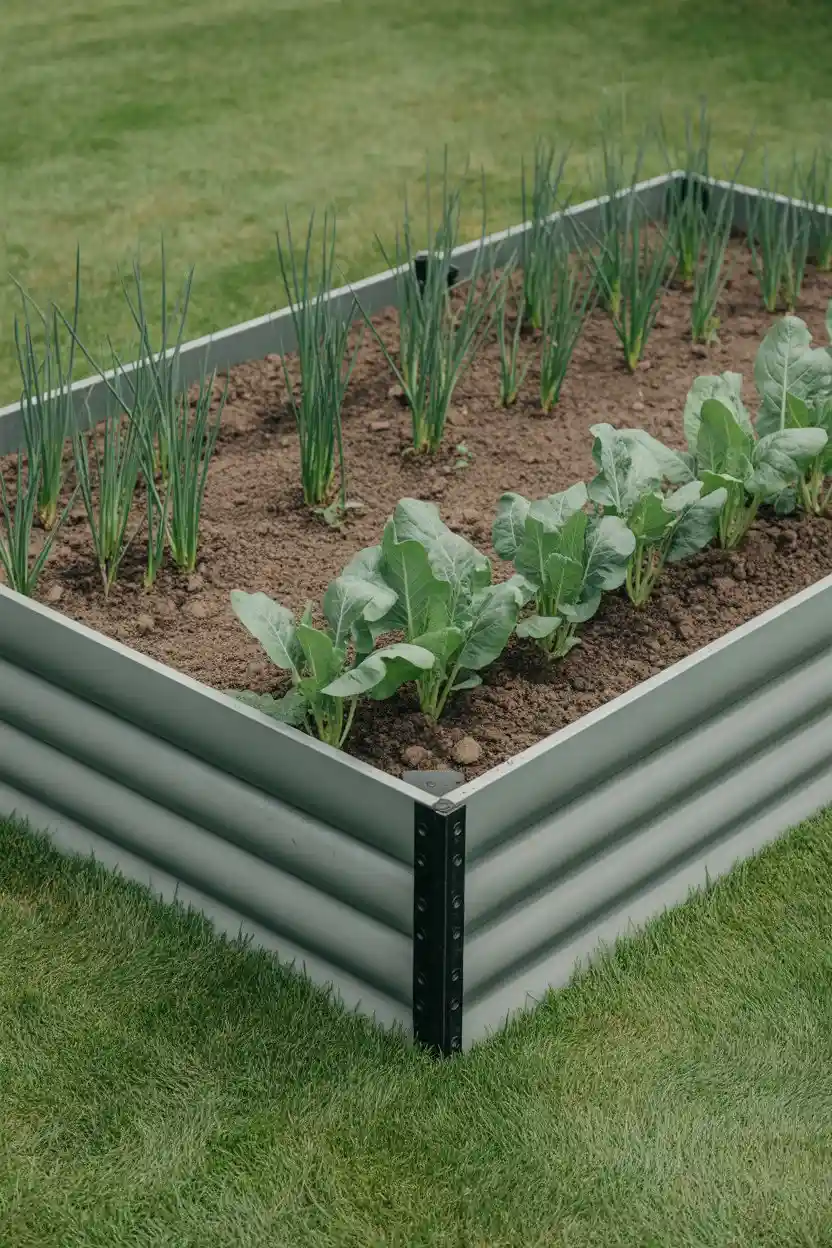
18. Raised Planter Bed DIY for Learning Construction
You need exactly three tools: a saw, a drill, and a tape measure. Straight cuts only — no angles, no joinery. Pre-drill every screw hole to stop the boards splitting, and you’ll have a bed that looks store-bought.
19. Stone Raised Bed for Temperature Stability
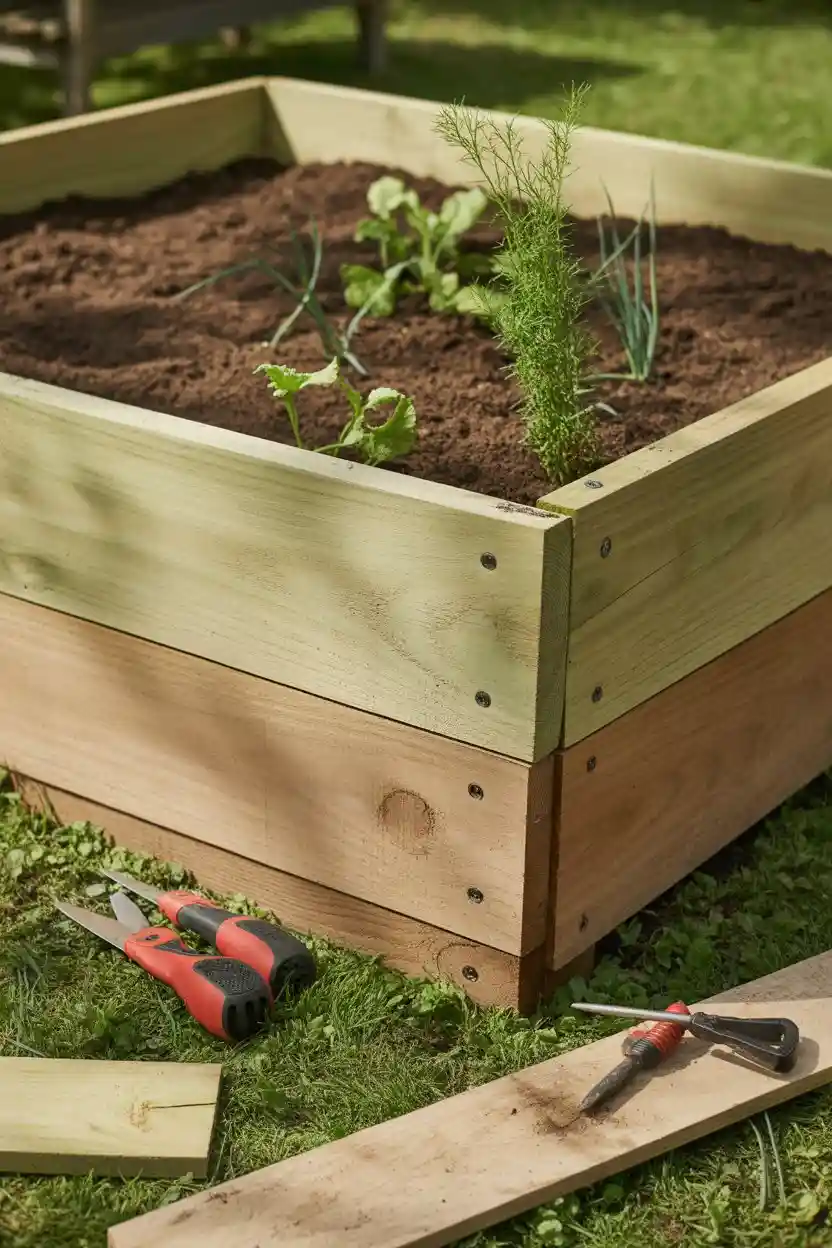
Dry-stacked stone absorbs daytime heat and releases it overnight, buffering the temperature swings that stress young transplants. It’s slow to build but essentially permanent — a weekend project that outlives the gardener.
20. Corner Raised Bed for Efficient Layouts
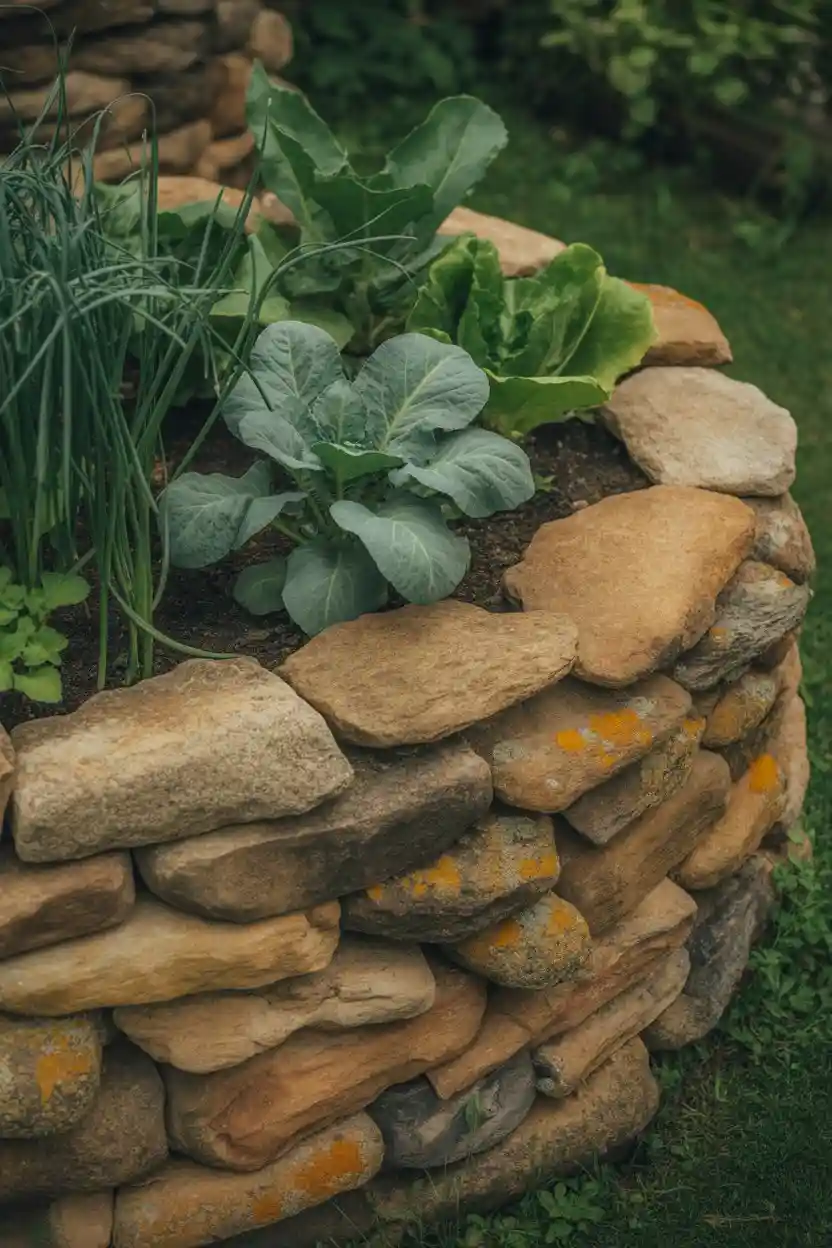
An L-shape tucked into a fence corner converts dead space into the most productive part of the yard. The two arms get different sun exposures, so put heat-lovers on the south arm and bolt-prone greens in the shadier bend.
21. Round Raised Garden Bed for Airflow
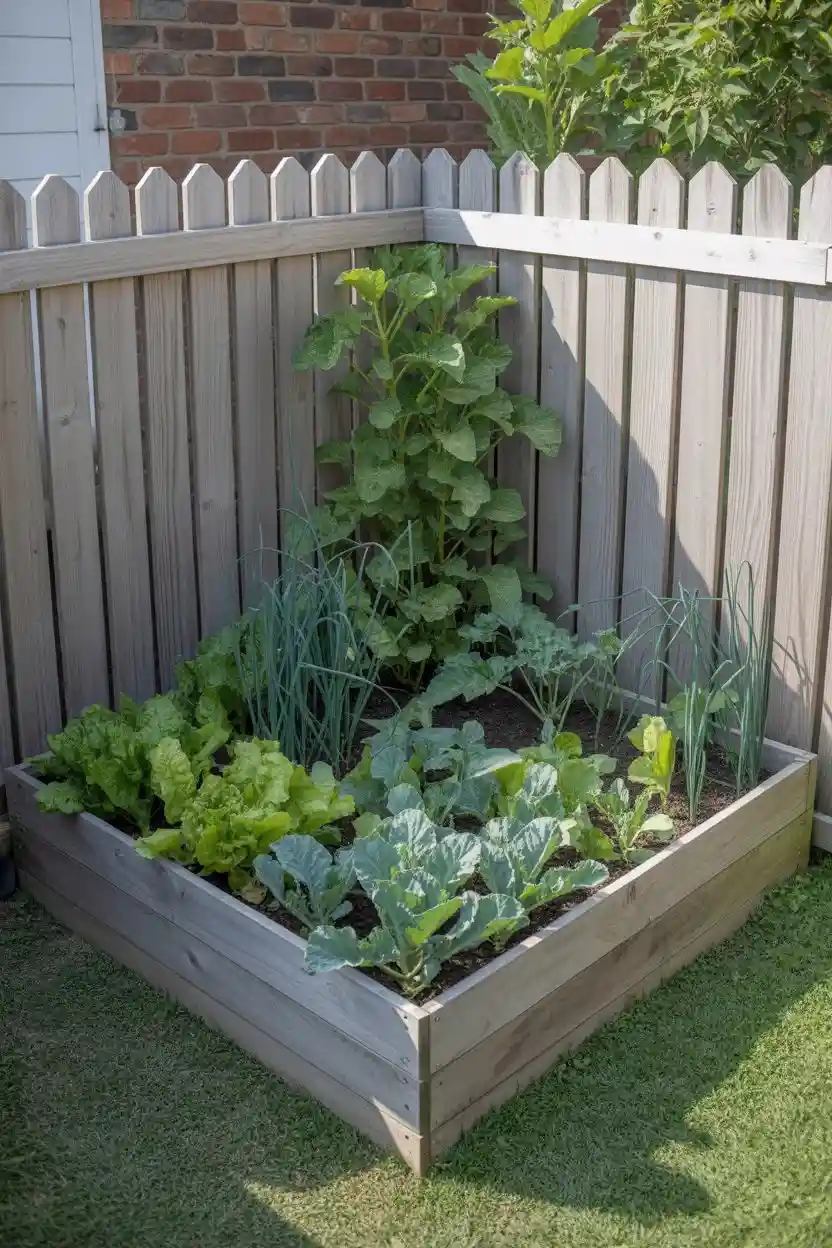
A circular bed — a galvanized ring or a round of stacked stone — gets even sun from all sides and lets you reach the center from anywhere. Plant one heavy feeder like a tomato in the middle, ringed with progressively shorter crops.
22. Raised Bed for Companion Planting
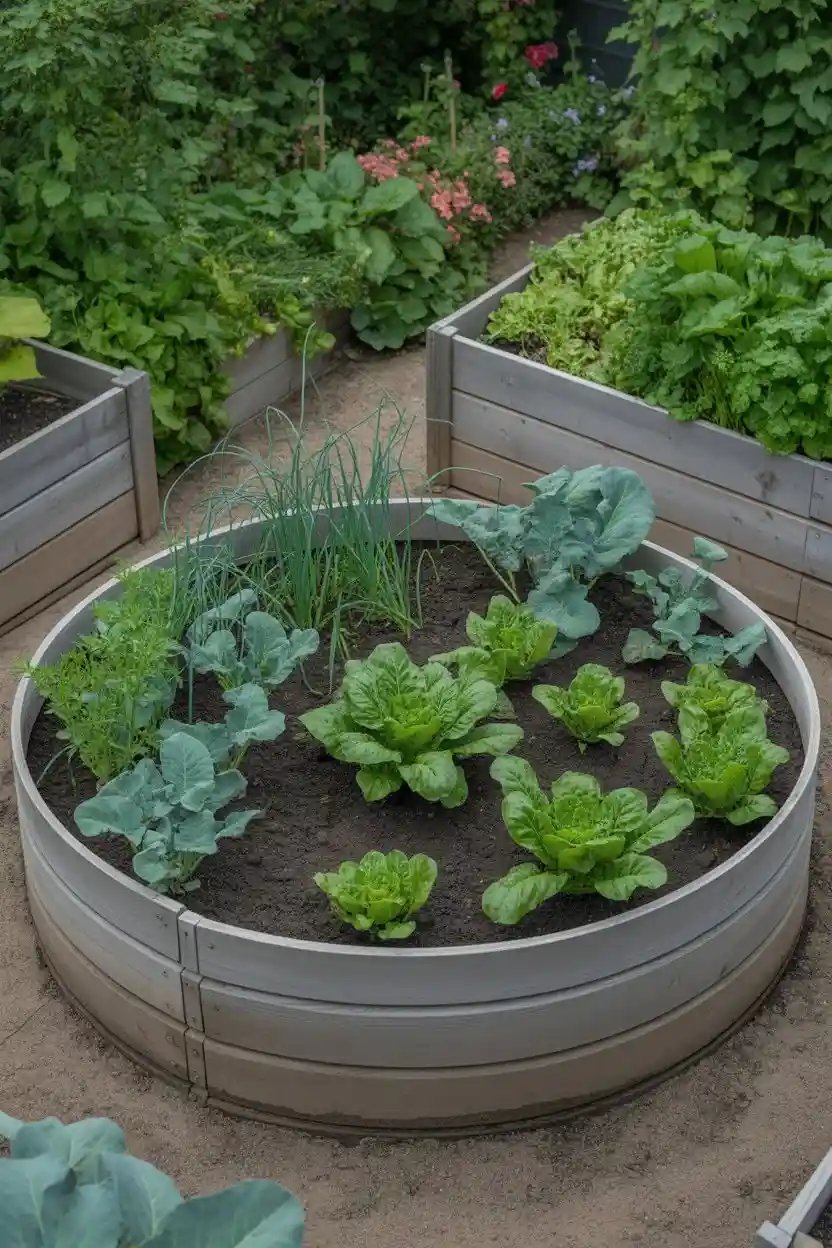
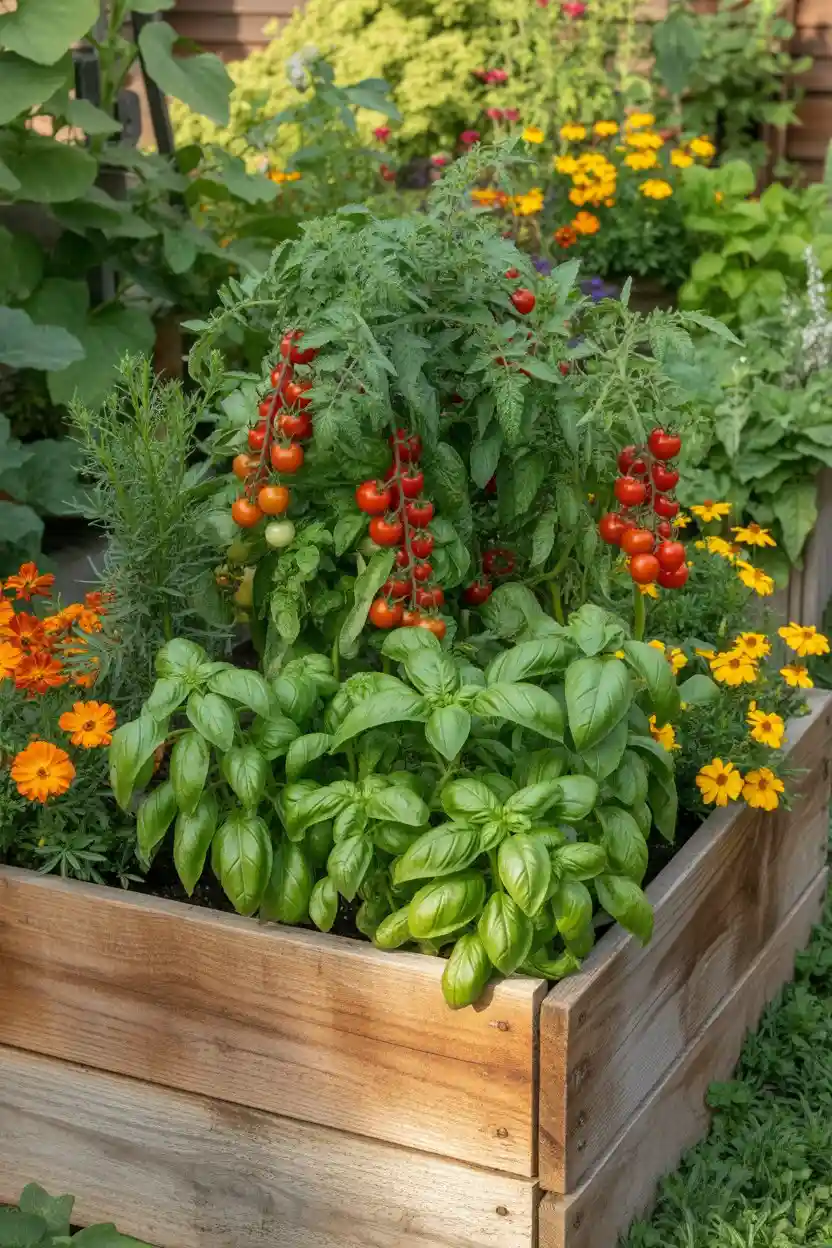
Pair crops that help each other: basil with tomatoes, onions threaded through carrot rows to confuse carrot fly, marigolds at the corners. Plan the pairings on paper before planting — companions work when they’re neighbors from day one.
23. Greenhouse Raised Bed for Year-Round Growing
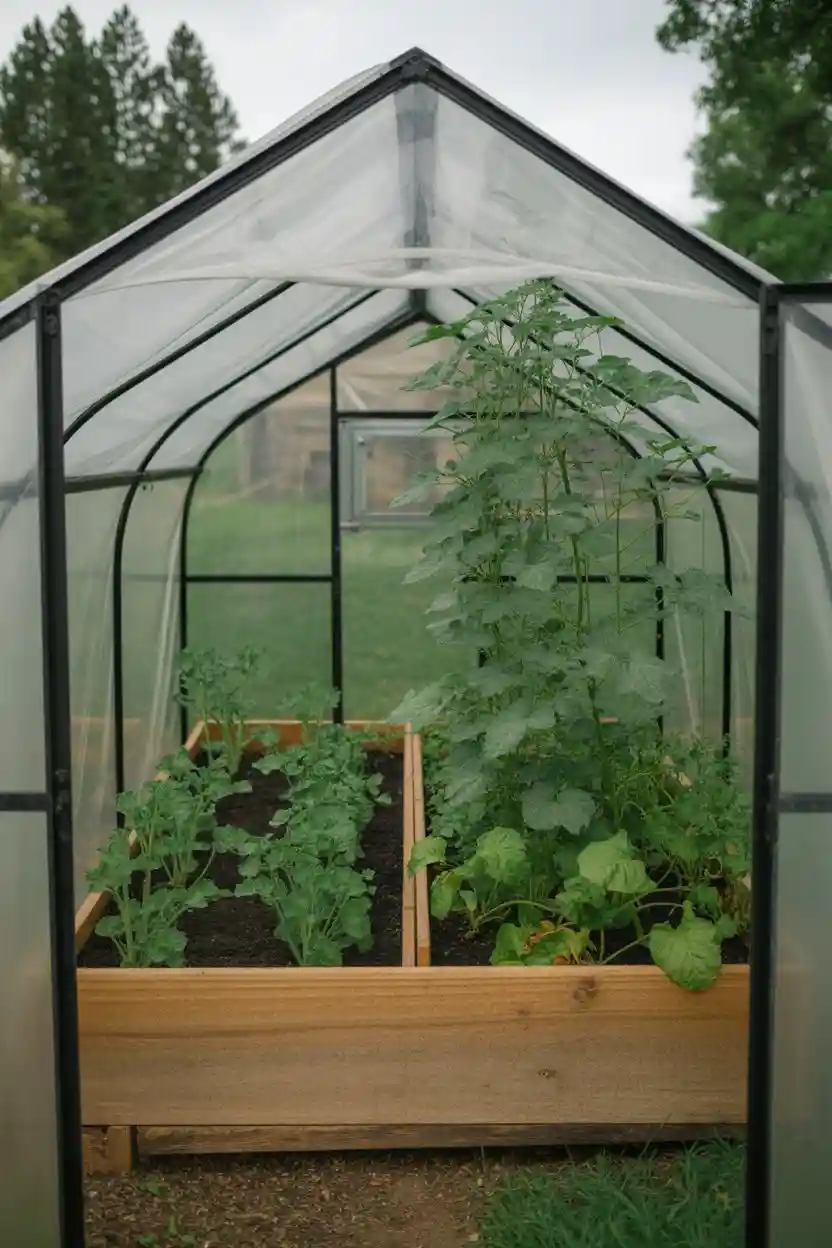
A simple hoop house or mini greenhouse over a bed buys year-round growing in mild climates: salad greens through winter, tomatoes a month early. Vent it on sunny days — a closed greenhouse hits 100°F fast and cooks everything.
24. Raised Veggie Garden for Family Harvests
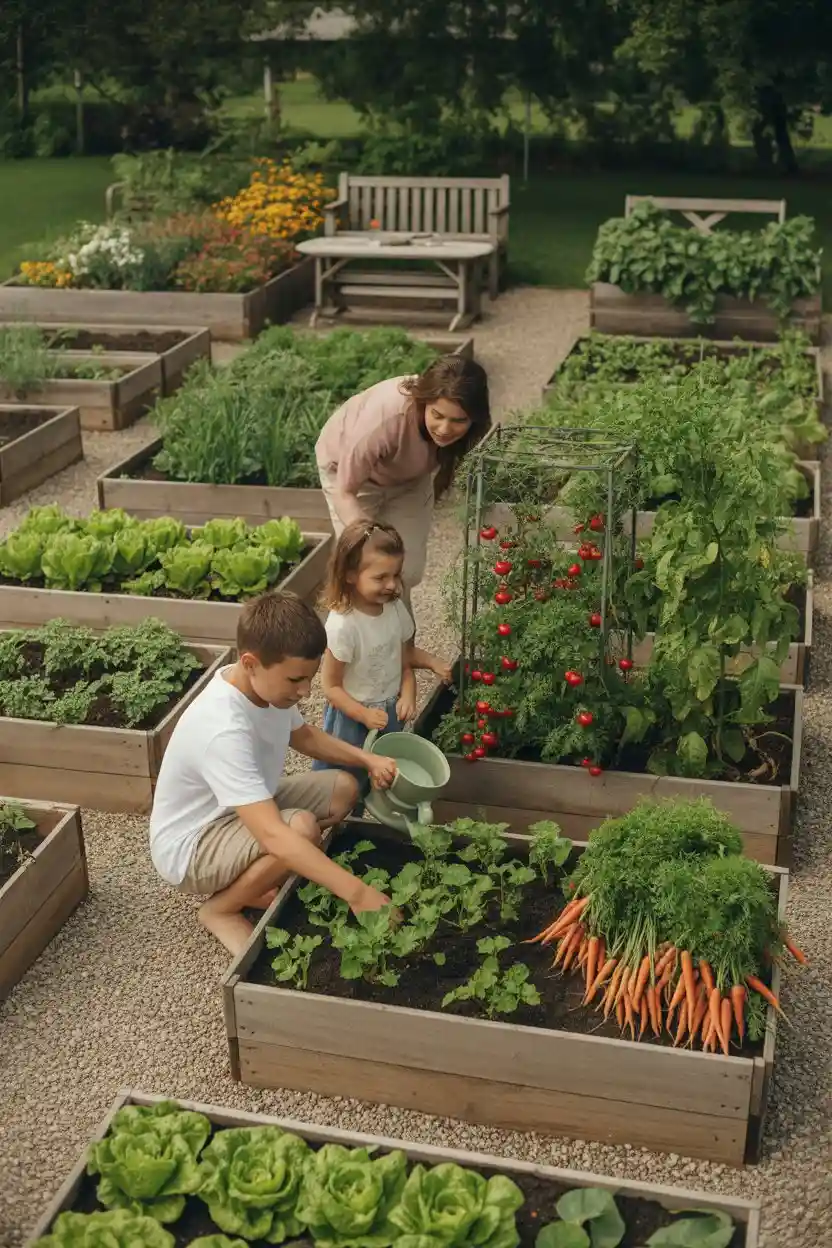
One 4×8 bed, succession-planted, can keep a family of four in salads and summer vegetables: spring lettuce becomes summer beans becomes fall kale in the same squares. Add a second bed the next year for tomatoes and peppers.
25. Large Raised Bed for High-Yield Gardening
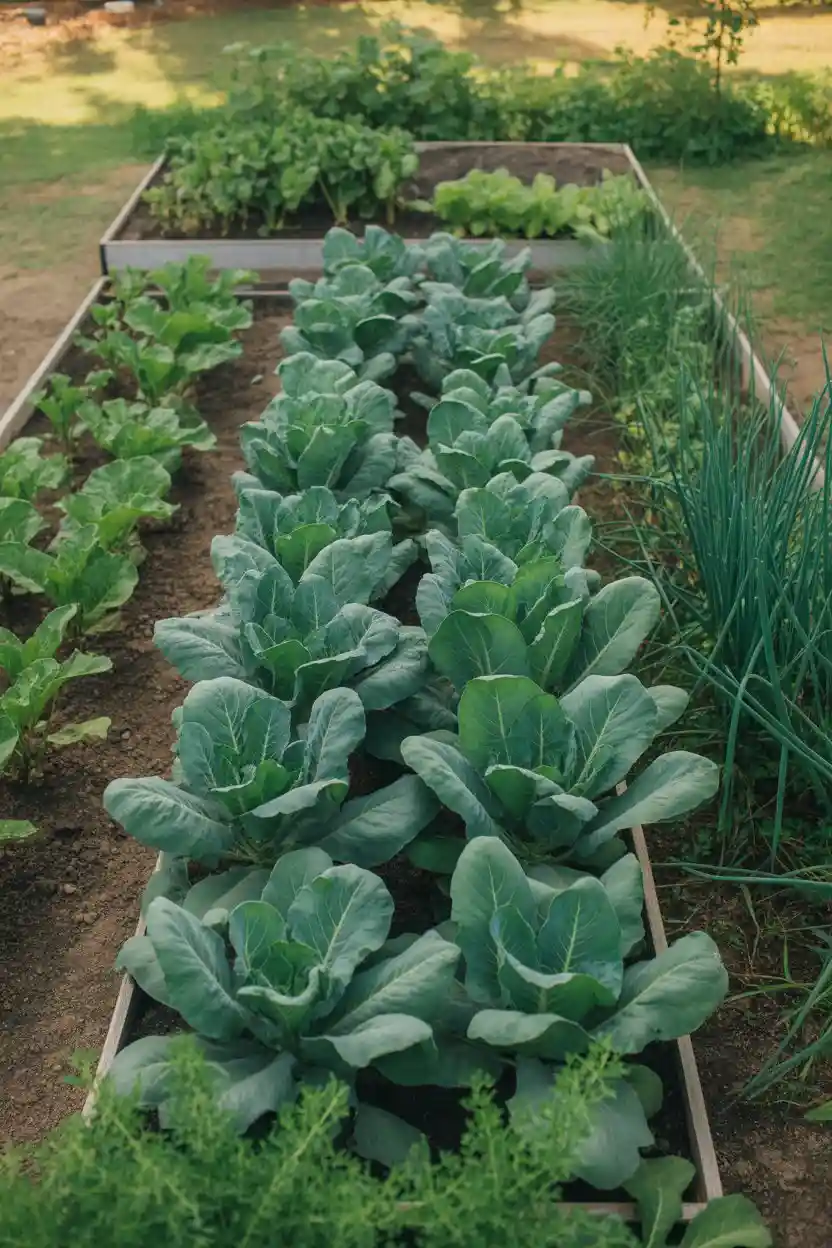
Ready for volume? Run three or four 4×8 beds and rotate crop families through them on a four-year cycle — fruiting crops, roots, legumes, greens. Diseases starve out, fertility builds, and harvests get serious.
FAQs for Beginner Raised bed Vegetable Plans