Introduction
Every December, my kitchen table disappears under cardstock, ink pads, and a truly unreasonable amount of glitter, and I wouldn’t have it any other way. A handmade card says something a store-bought one never can: I sat down, I thought about you, and I made this with my own hands. These 19 DIY Christmas card ideas are the ones I’ve actually made and mailed over the years, from the watercolor trees I paint while the kids are at school to the fingerprint reindeer cards that still make my mother cry. DIY Christmas cards don’t need to be perfect — in fact, the slightly wonky ones are usually the ones people keep on the mantel all season. Whether you’re a seasoned crafter with a Cricut or someone who just bought their first pack of blank cards, there’s a project here at your level, and every one of them is genuinely mailable with a standard stamp.
1. Watercolor Wash Christmas Tree
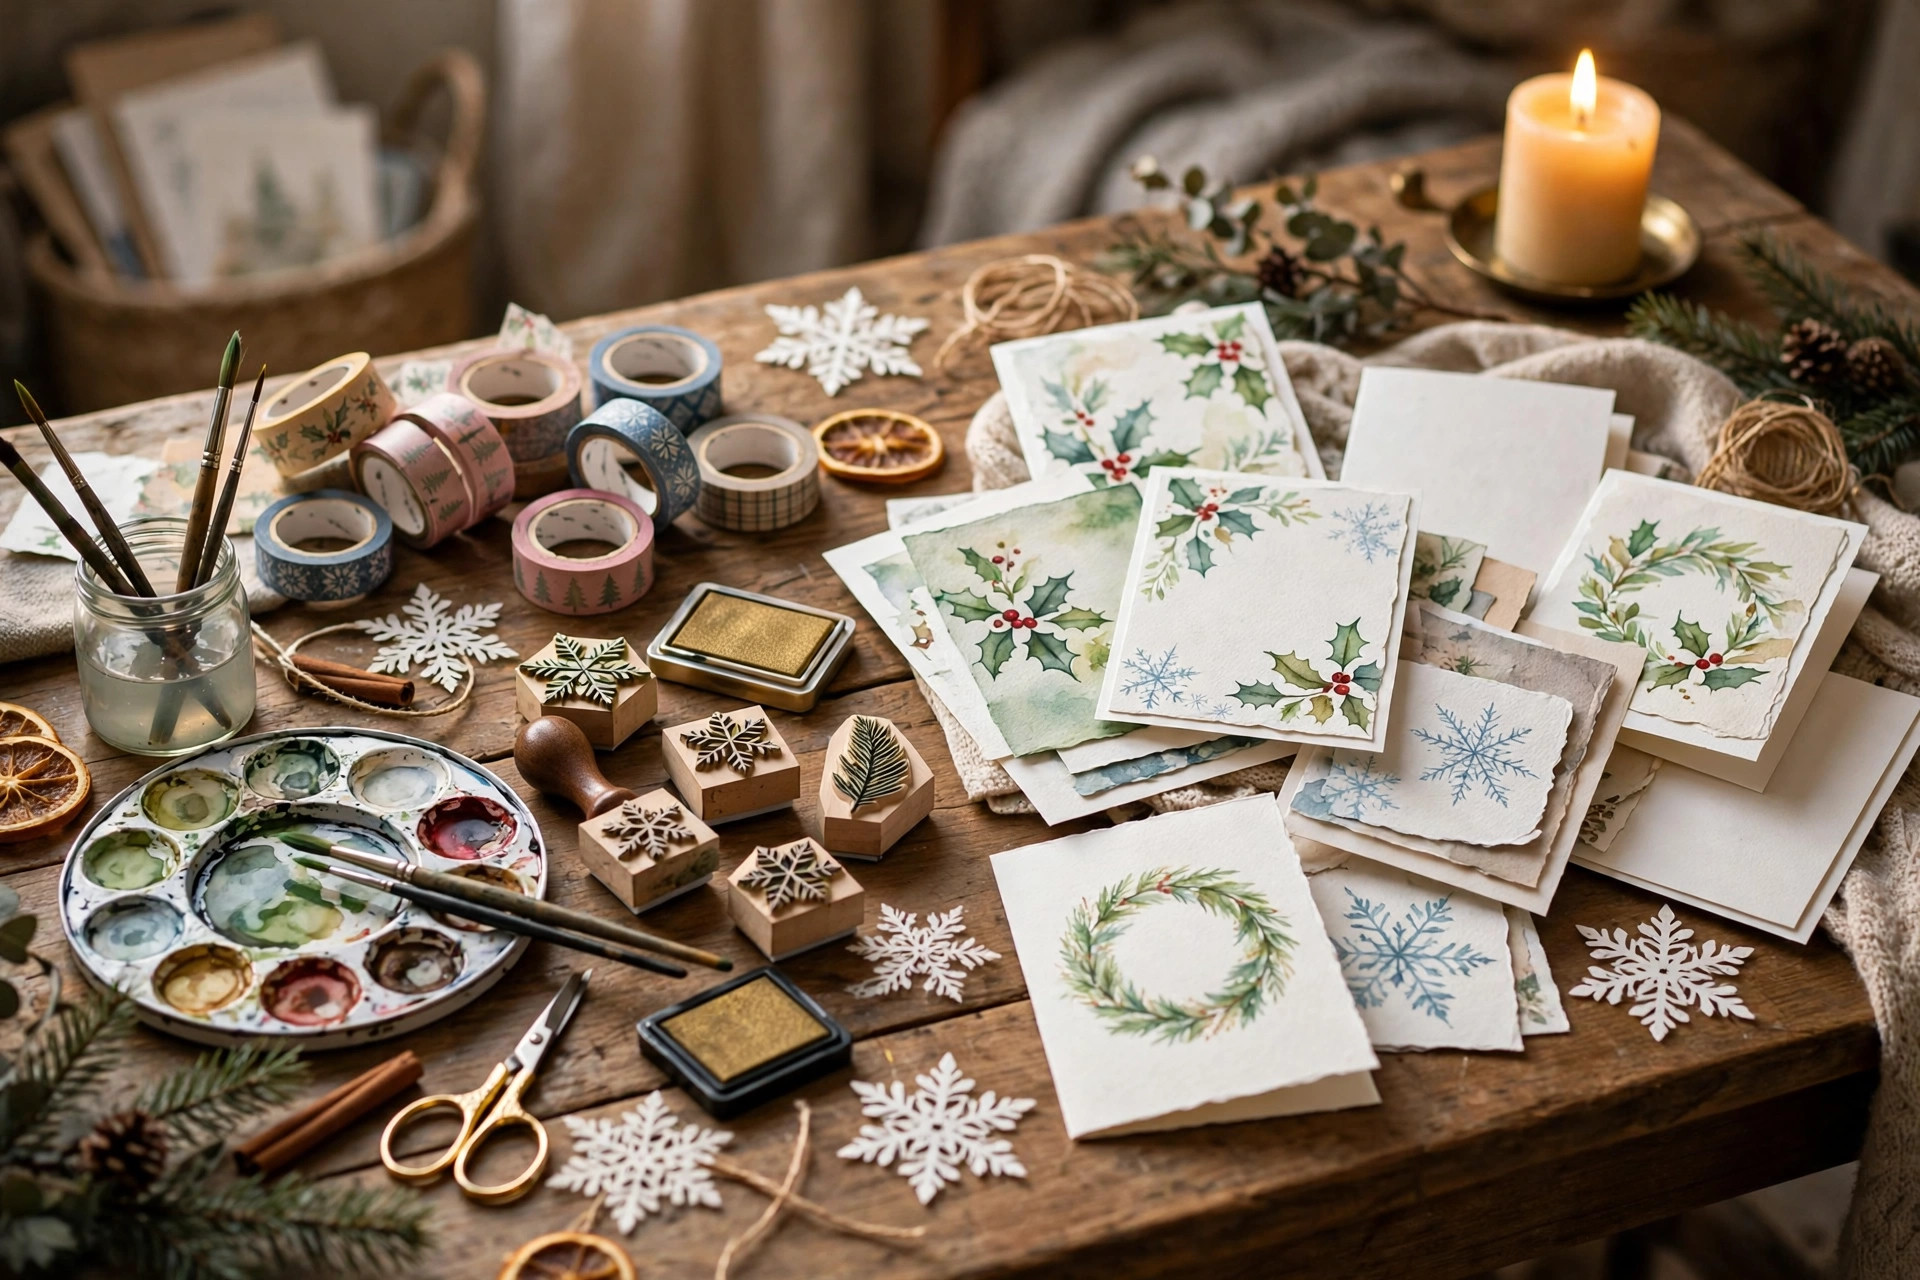
This is the card I make when I want something beautiful with almost no supplies. I paint a loose triangle wash of green watercolor on white cardstock — no outline, no perfection, just a few brushstrokes that suggest a tree — and let it dry completely before adding a tiny star sticker or a dot of gold paint at the top. The magic is in the imperfection: a slightly drippy wash looks artistic, while a carefully drawn tree looks like you tried too hard. I use a cheap set of watercolors from Michaels for this, because the expensive paints don’t make a meaningful difference at card size. My first attempt looked like a green blob, and my sister framed it anyway, which taught me that recipients see the effort, not the flaws. Make ten at once while the paint is out; assembly-line watercolor is the fastest way to a full card list.
What you need
White cardstock, a basic watercolor set, a medium round brush, gold star stickers or gold paint, and blank envelopes.
2. Fingerprint Reindeer Cards
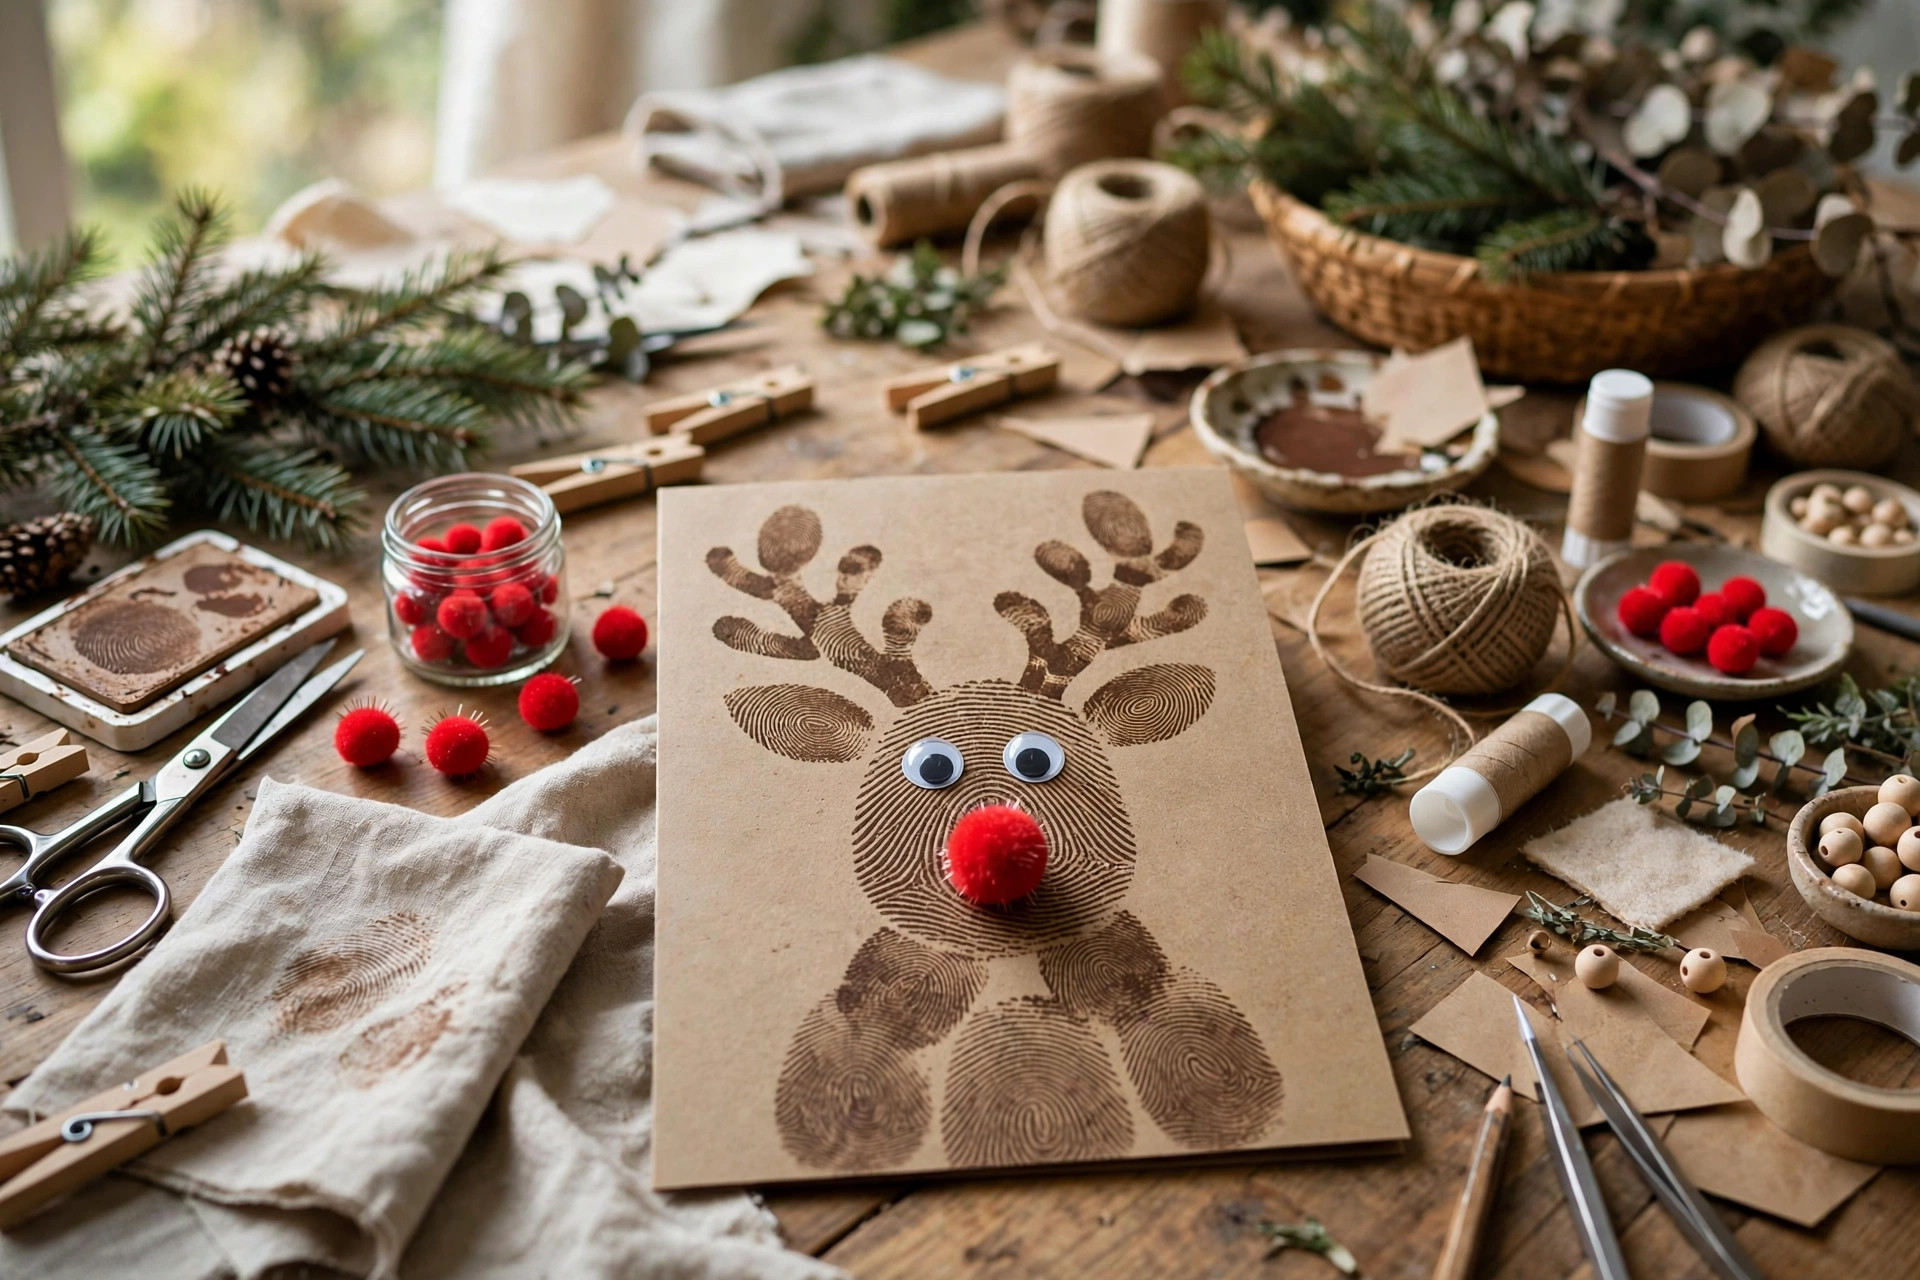
Fingerprint reindeer are the card I make with my kids every year, and they’re the ones grandparents fight over. Each reindeer is a brown thumbprint for the face, with antlers drawn on in a fine-tip marker, googly eyes, and a red pom-pom nose glued on for Rudolph. The trick is using a washable brown ink pad — the Ranger Distress Ink in Gathered Twigs is my go-to — and pressing firmly but not so hard that the print smudges. My daughter’s first reindeer had antlers that looked more like spaghetti, and it still went straight onto my mother’s fridge. Let the prints dry for ten minutes before drawing the antlers, or the marker drags the ink. These cards take about two minutes each once you’re set up, which makes them perfect for a big mailing list.
3. Pop-Up Christmas Tree Card
A pop-up card feels like a small miracle when you open it, and the tree version is easier than it looks. I cut a green cardstock tree in three graduated layers, fold each layer in the middle, and glue the folded edges to the inside of the card so the tree springs up when the card opens. The mechanism is just two folds and some careful gluing — I practiced on scrap paper twice before cutting into good cardstock, and I’d recommend the same. A star on top and a few tiny dot stickers as ornaments finish it. My nephew opened his pop-up card six times in a row the first Christmas I sent one, which is about the best review a card can get. Keep the tree shallow enough that the card still closes flat, or it won’t fit in the envelope.
4. Washi Tape Tree Cards
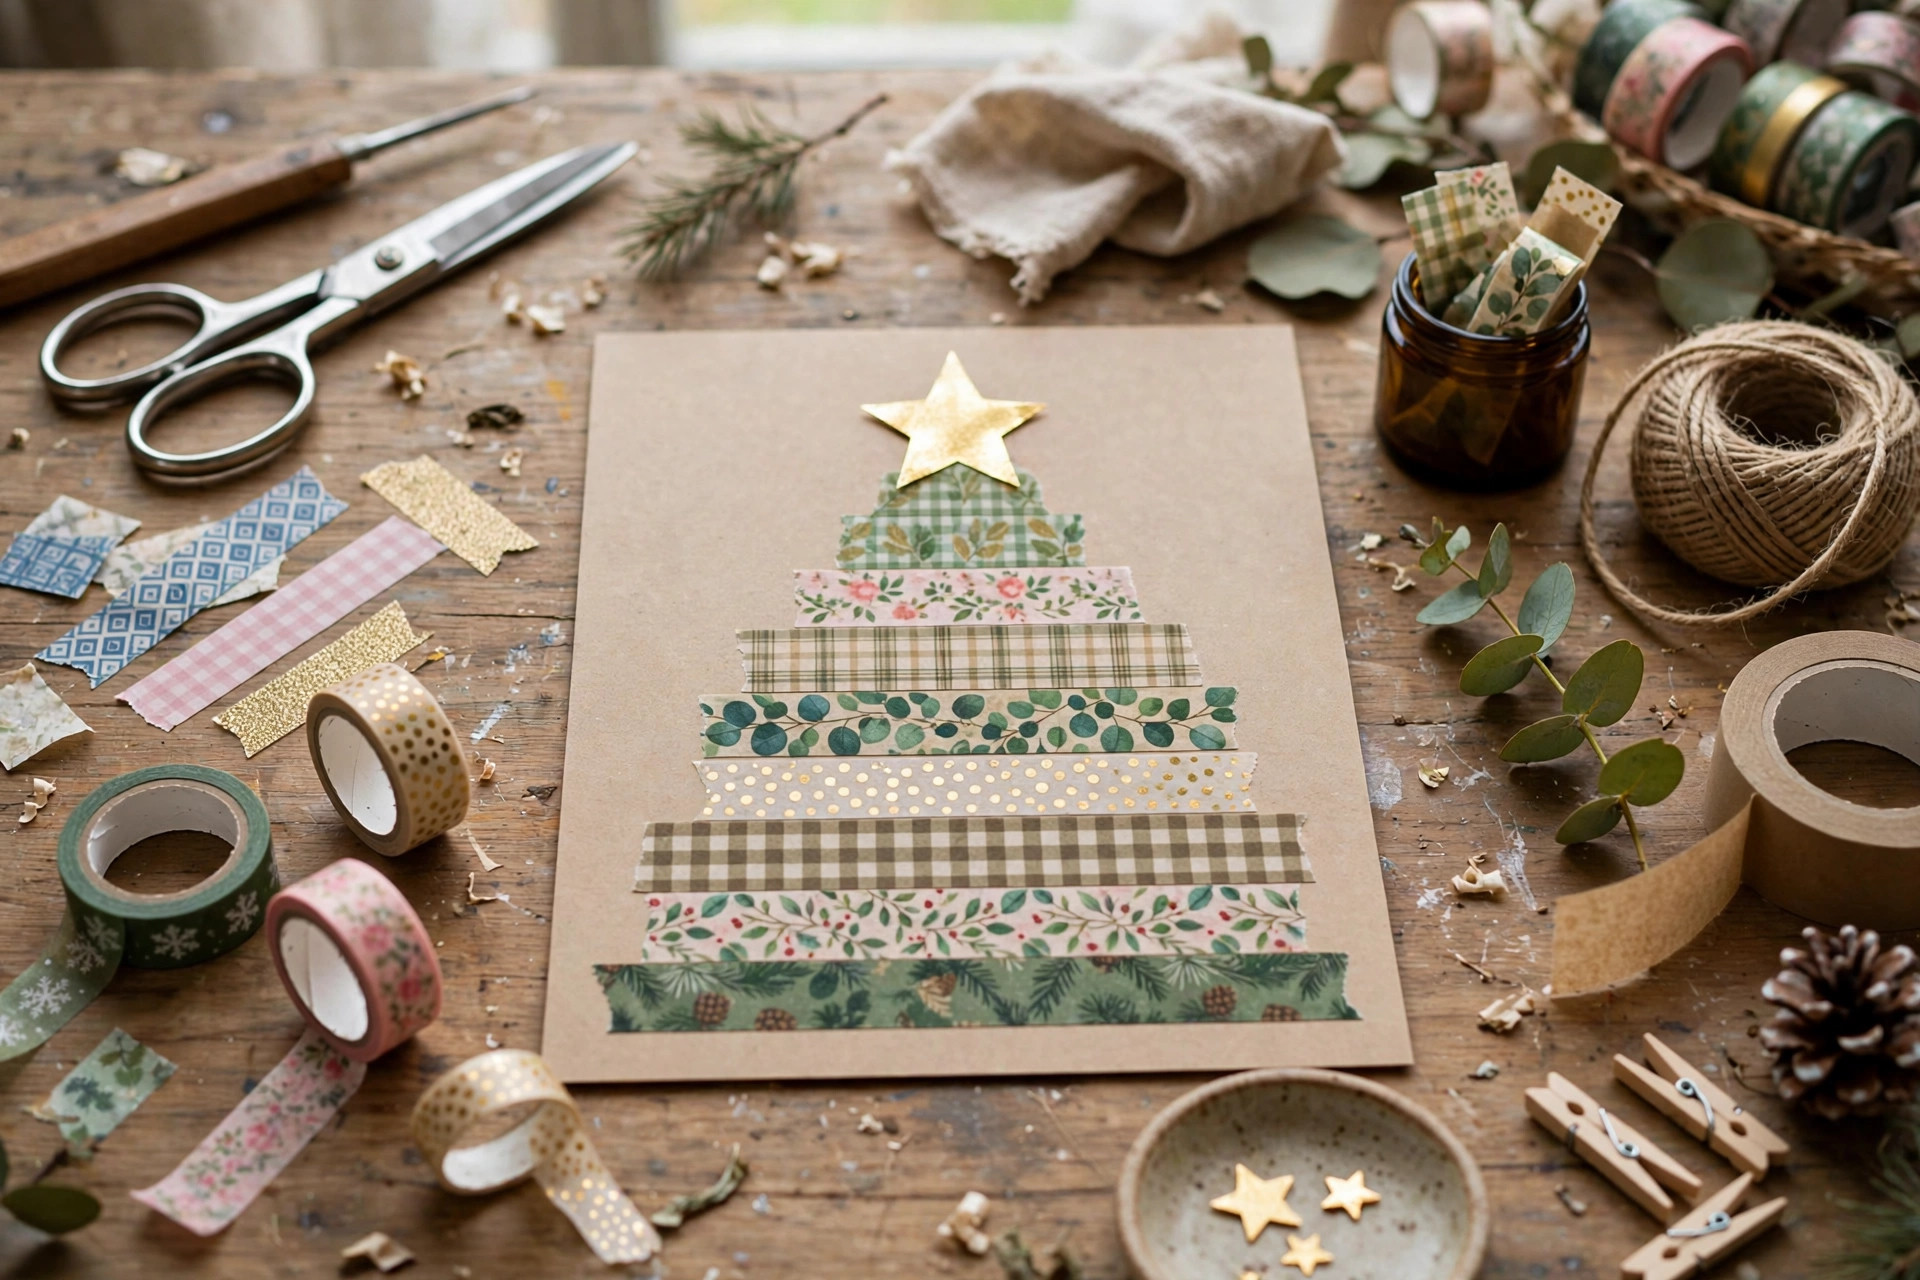
Washi tape is the lazy crafter’s best friend, and a washi tape tree is the fastest genuinely cute card on this list. I tear or cut strips of patterned washi tape in decreasing lengths and lay them horizontally on the card front to form a tree shape, finishing with a star sticker at the top and a small rectangle of brown tape as the trunk. The tapes I reach for most are from a holiday set I found at Hobby Lobby — reds, greens, and golds with tiny patterns — but any combination works as long as the colors read as festive. Torn edges look more handmade than cut ones, in my opinion, so I tear deliberately and embrace the roughness. These cards take about three minutes each, they’re flat enough to mail with a regular stamp, and kids can make them entirely unsupervised once you show them the shape.
5. Button Ornament Cards
Button ornaments turn a jar of spare buttons into something worth mailing. I draw a simple ornament outline — a circle with a little cap at the top — on the card front, then glue buttons inside the outline in a single color family, like all reds or all greens, with a loop of twine or ribbon drawn or glued as the hanger. The buttons need a strong glue; I use a hot glue gun for speed, though a good tacky craft glue works if you let it dry flat overnight. My grandmother’s button tin supplied my first batch of these, and the mismatched vintage buttons made each card one of a kind in a way no store-bought embellishment can match. Sort your buttons by color before you start, or you’ll spend more time hunting than gluing.
How I styled it
I mount the button card on a slightly larger colored cardstock mat — deep red on cream, or gold on kraft — which makes the buttons pop and hides any glue marks at the edges.
6. Stamped Pine Branch Cards
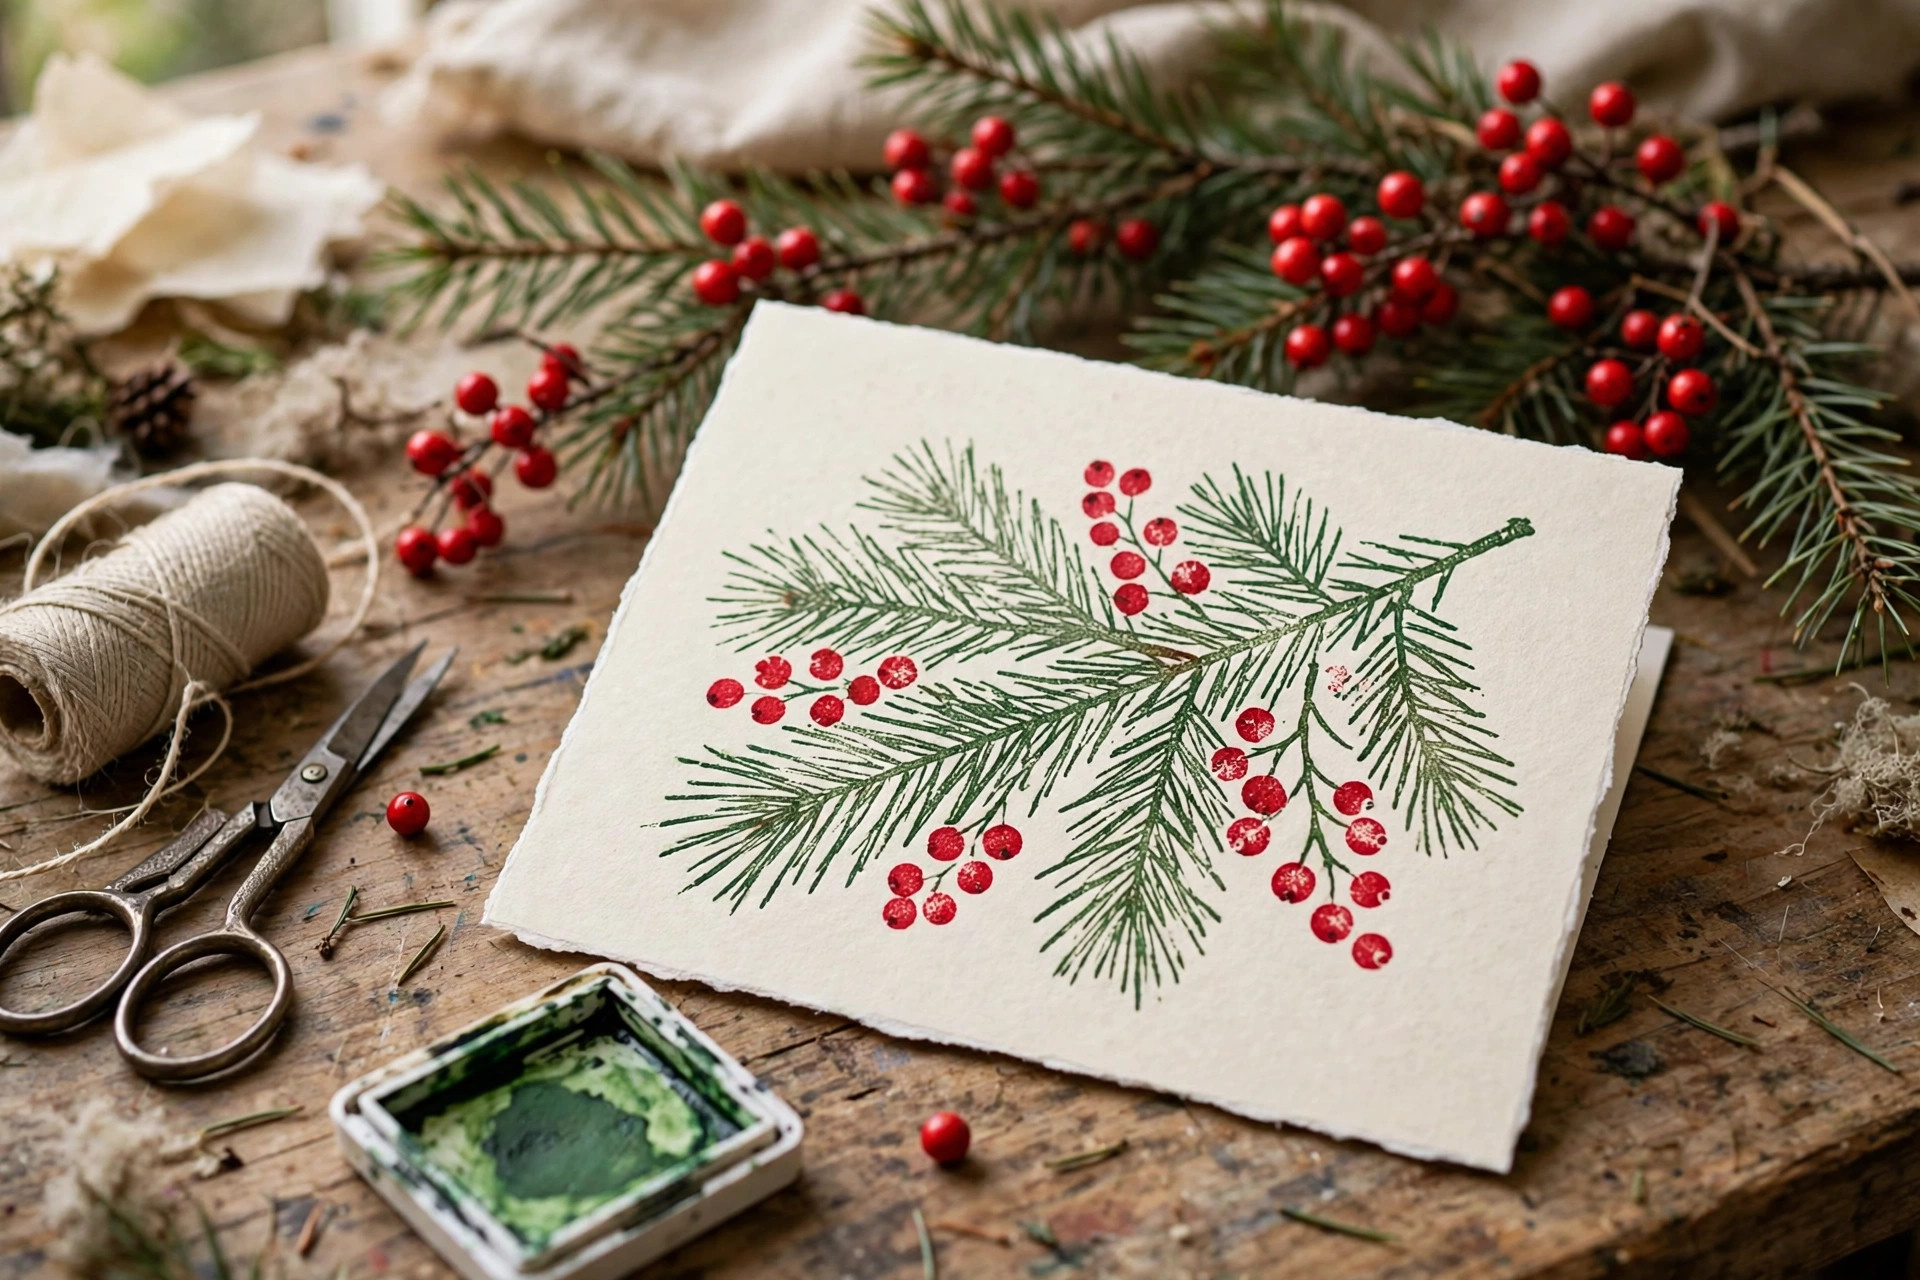
A good pine branch stamp does most of the work for you. I ink a pine branch stamp — mine is from Stampin’ Up, but any craft store version works — in deep green ink, stamp it diagonally across the card front two or three times, and add a few red dot berries with the end of a pencil eraser dipped in red ink. The result looks like a botanical print and takes about ninety seconds per card. The stamping lesson I learned the hard way: press straight down and lift straight up, because rocking the stamp smears the image, and practice on scrap paper first since the first stamp of a session is always the blotchiest. A simple “Merry Christmas” in the corner, either stamped or handwritten, finishes the card without cluttering it.
7. Paper Quilling Snowflakes
Quilling sounds intimidating, but a snowflake card only needs one technique: rolling thin strips of paper into coils. I cut white and pale blue paper strips about a quarter inch wide, roll them into tight coils with a quilling needle or a toothpick, pinch some into teardrop shapes, and glue six arms together into a snowflake on the card front. The finished snowflake is delicate and genuinely impressive — people assume it took hours, when one snowflake takes about fifteen minutes once you’ve practiced. My first quilled snowflake fell apart because I used too little glue; now I put a tiny dot at every joint and let it dry flat before mounting it. A dark navy or kraft card background makes the white coils stand out beautifully.
8. Hand-Lettered Calligraphy Cards
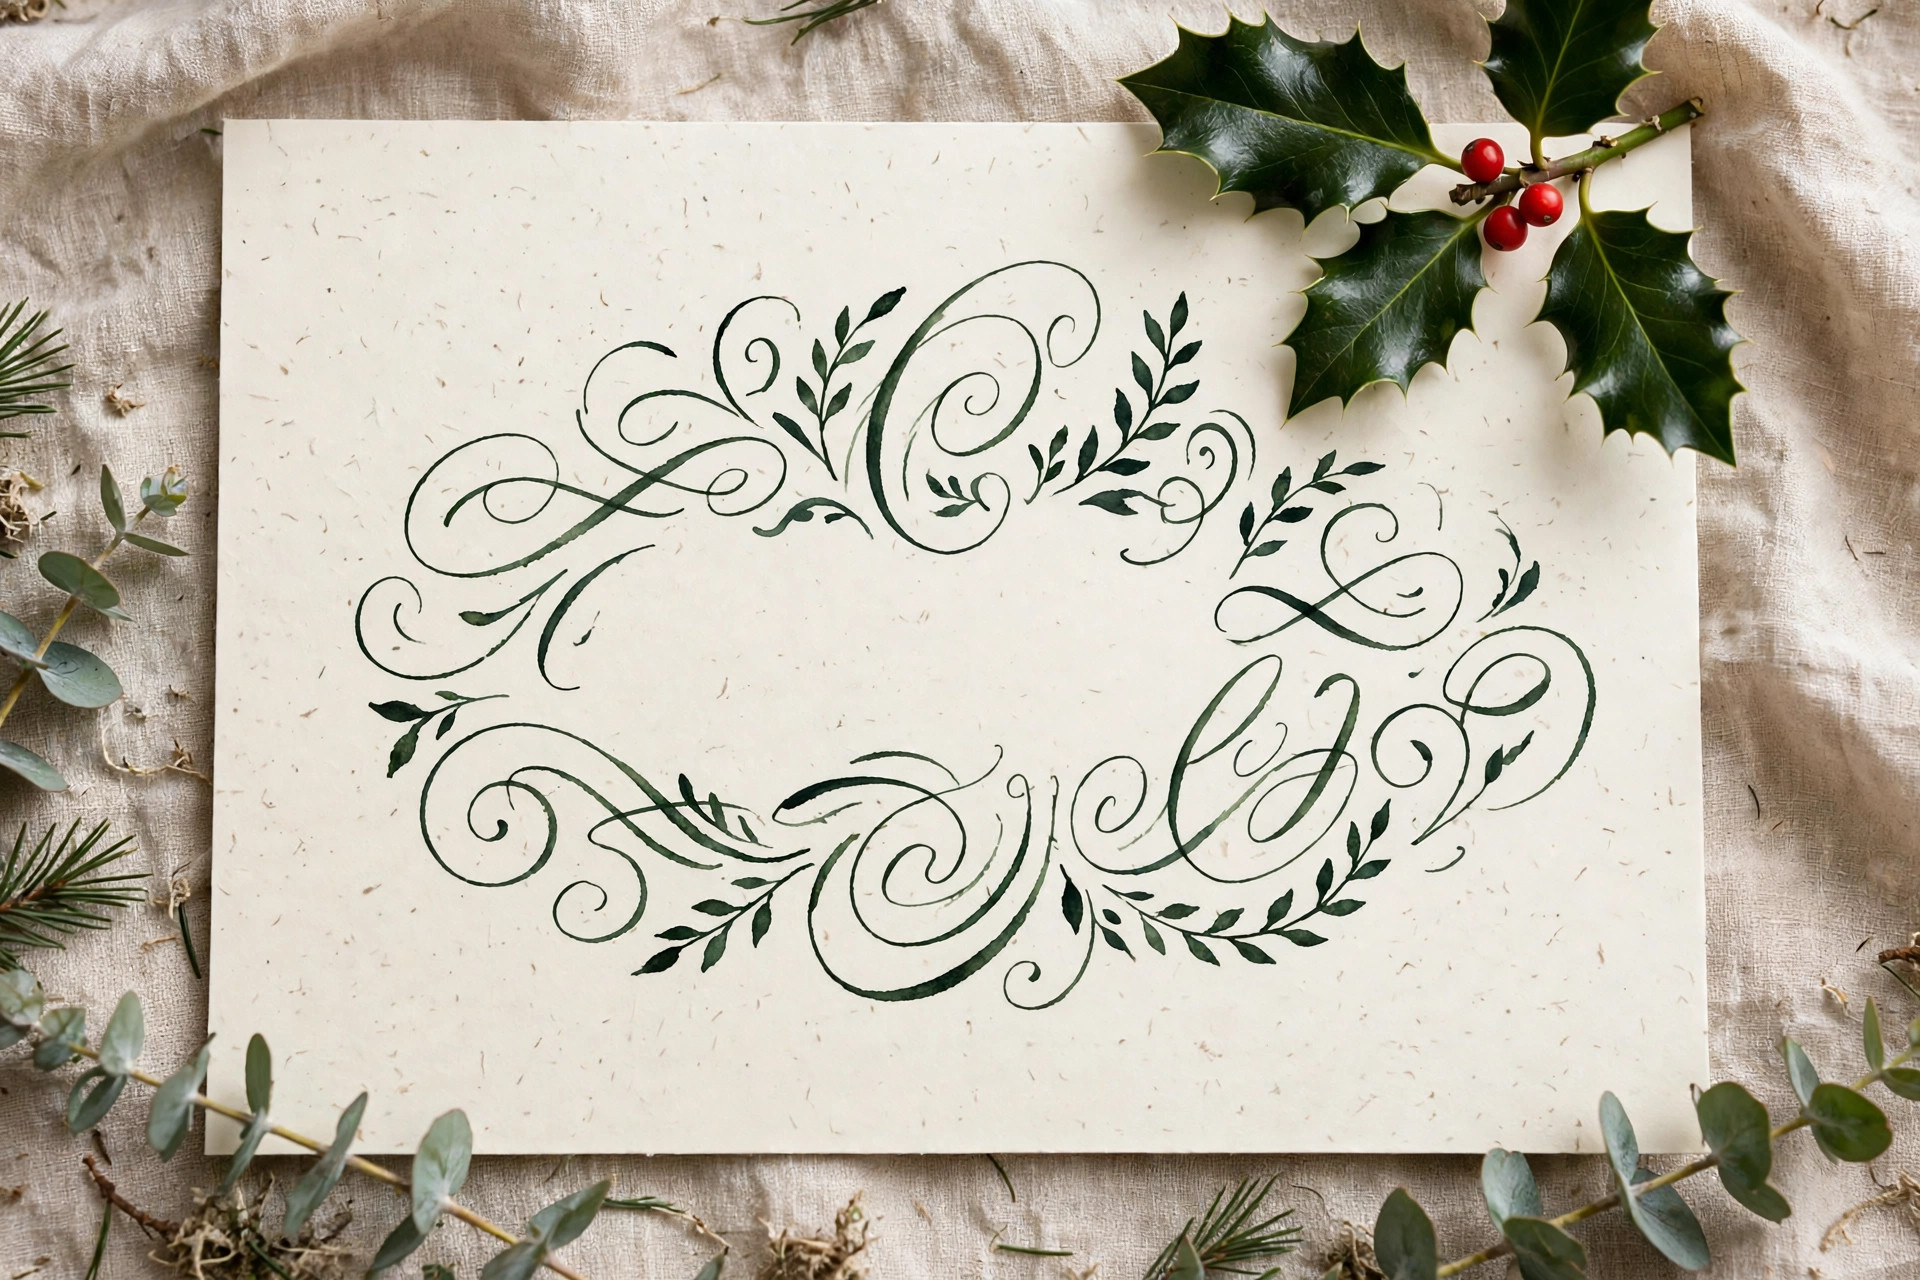
When the message matters more than the decoration, a hand-lettered card is unbeatable. I write “Merry Christmas” or the recipient’s name in brush lettering with a Tombow Dual Brush Pen on cream cardstock, then add a tiny sprig of holly or a simple border in the same pen. You don’t need formal calligraphy training — I learned from free online worksheets over one December, practicing ten minutes a night, and my lettering went from shaky to charming within a week. The key is slowing down and letting the brush do the thick-and-thin work; pressing harder on downstrokes and lighter on upstrokes creates the calligraphy effect automatically. If your handwriting worries you, practice the phrase on scrap paper five times first, then commit to the card.
9. Photo Window Cards
Photo window cards are my solution for relatives who complain they never see pictures of the kids. I cut a circle or rectangle window in the card front, mount a favorite photo behind it so it shows through, and decorate around the window with a simple border or a few stickers. A family photo from the year, a pet in a Santa hat, or even a snapshot of your decorated tree all work beautifully. I print photos at home on matte photo paper — glossy prints show fingerprints — and I always cut the window slightly smaller than the photo so the edges stay hidden. One year I used a photo of my daughter’s first snowman, and my aunt told me she kept that card on her mantel until March. That’s the power of a personal photo on a handmade card.
10. Felt Stocking Cards
Tiny felt stockings glued to a card front are irresistibly tactile — people can’t resist touching them. I cut a stocking shape from red or green felt, add a white felt cuff, and glue it to the card with a tiny pom-pom or button accent. A loop of embroidery floss at the top suggests a hanger, and a handwritten name on the cuff turns it into a personalized mini-gift. The felt cuts easily with sharp Fiskars scissors, and I cut a dozen stockings at once from one sheet of felt, which makes this an efficient batch project. My kids each get a felt stocking card with their name on it every year, and they’ve started collecting them, which was never the plan but is now a tradition I can’t break.

11. Embossed Snowflake Cards
Heat embossing gives a card a raised, professional finish that surprises people when they learn you did it at home. I stamp a snowflake image in embossing ink, sprinkle white or silver embossing powder over it, tap off the excess, and heat it with a craft heat gun until the powder melts into a smooth, raised design. The first time I tried this, I held the heat gun too close and scorched the card — keep it moving, about six inches away, and watch for the powder to turn shiny rather than timing it. Silver powder on navy cardstock is my favorite combination; it looks like frost on a winter night. One heat gun and a jar of powder will last you years of cards, so the per-card cost is tiny.
12. Thumbprint Light Garland Cards
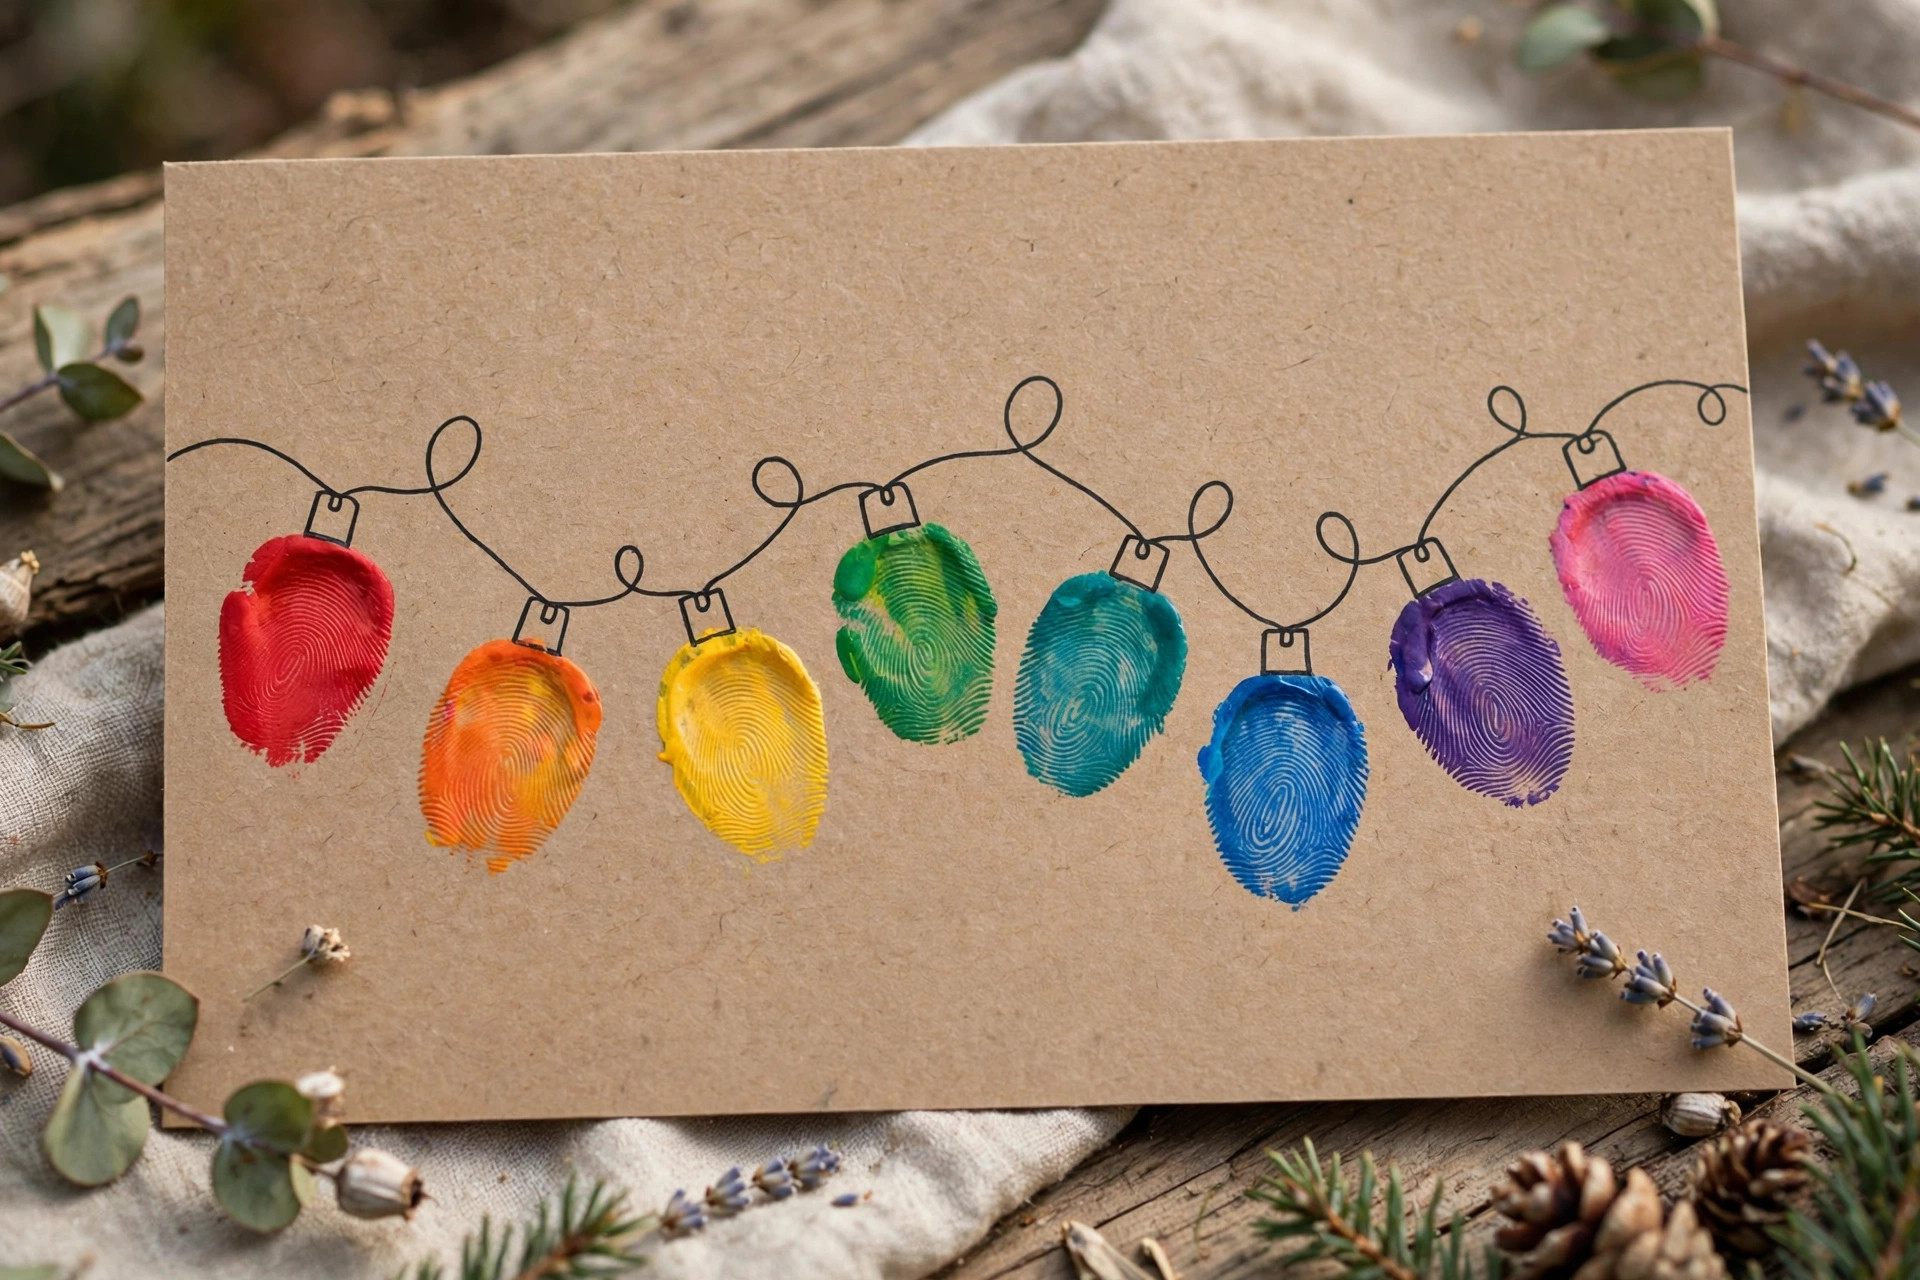
Thumbprint lights are the grown-up cousin of fingerprint reindeer, and they look like a string of holiday lights across the card. I draw a wavy line in black marker across the card front to suggest the wire, then press colored thumbprints along the line as bulbs — red, green, yellow, blue — and draw tiny lines connecting each print to the wire. The effect is cheerful and surprisingly elegant, especially on kraft cardstock where the colors pop. I use washable ink pads and keep a damp cloth nearby, because changing colors means cleaning your thumb between prints. My book club friends each get one of these, and one of them told me she strings hers along her mantel garland every December, which is a compliment no store-bought card has ever earned me.
13. Paper-Cut Snow Scene Cards
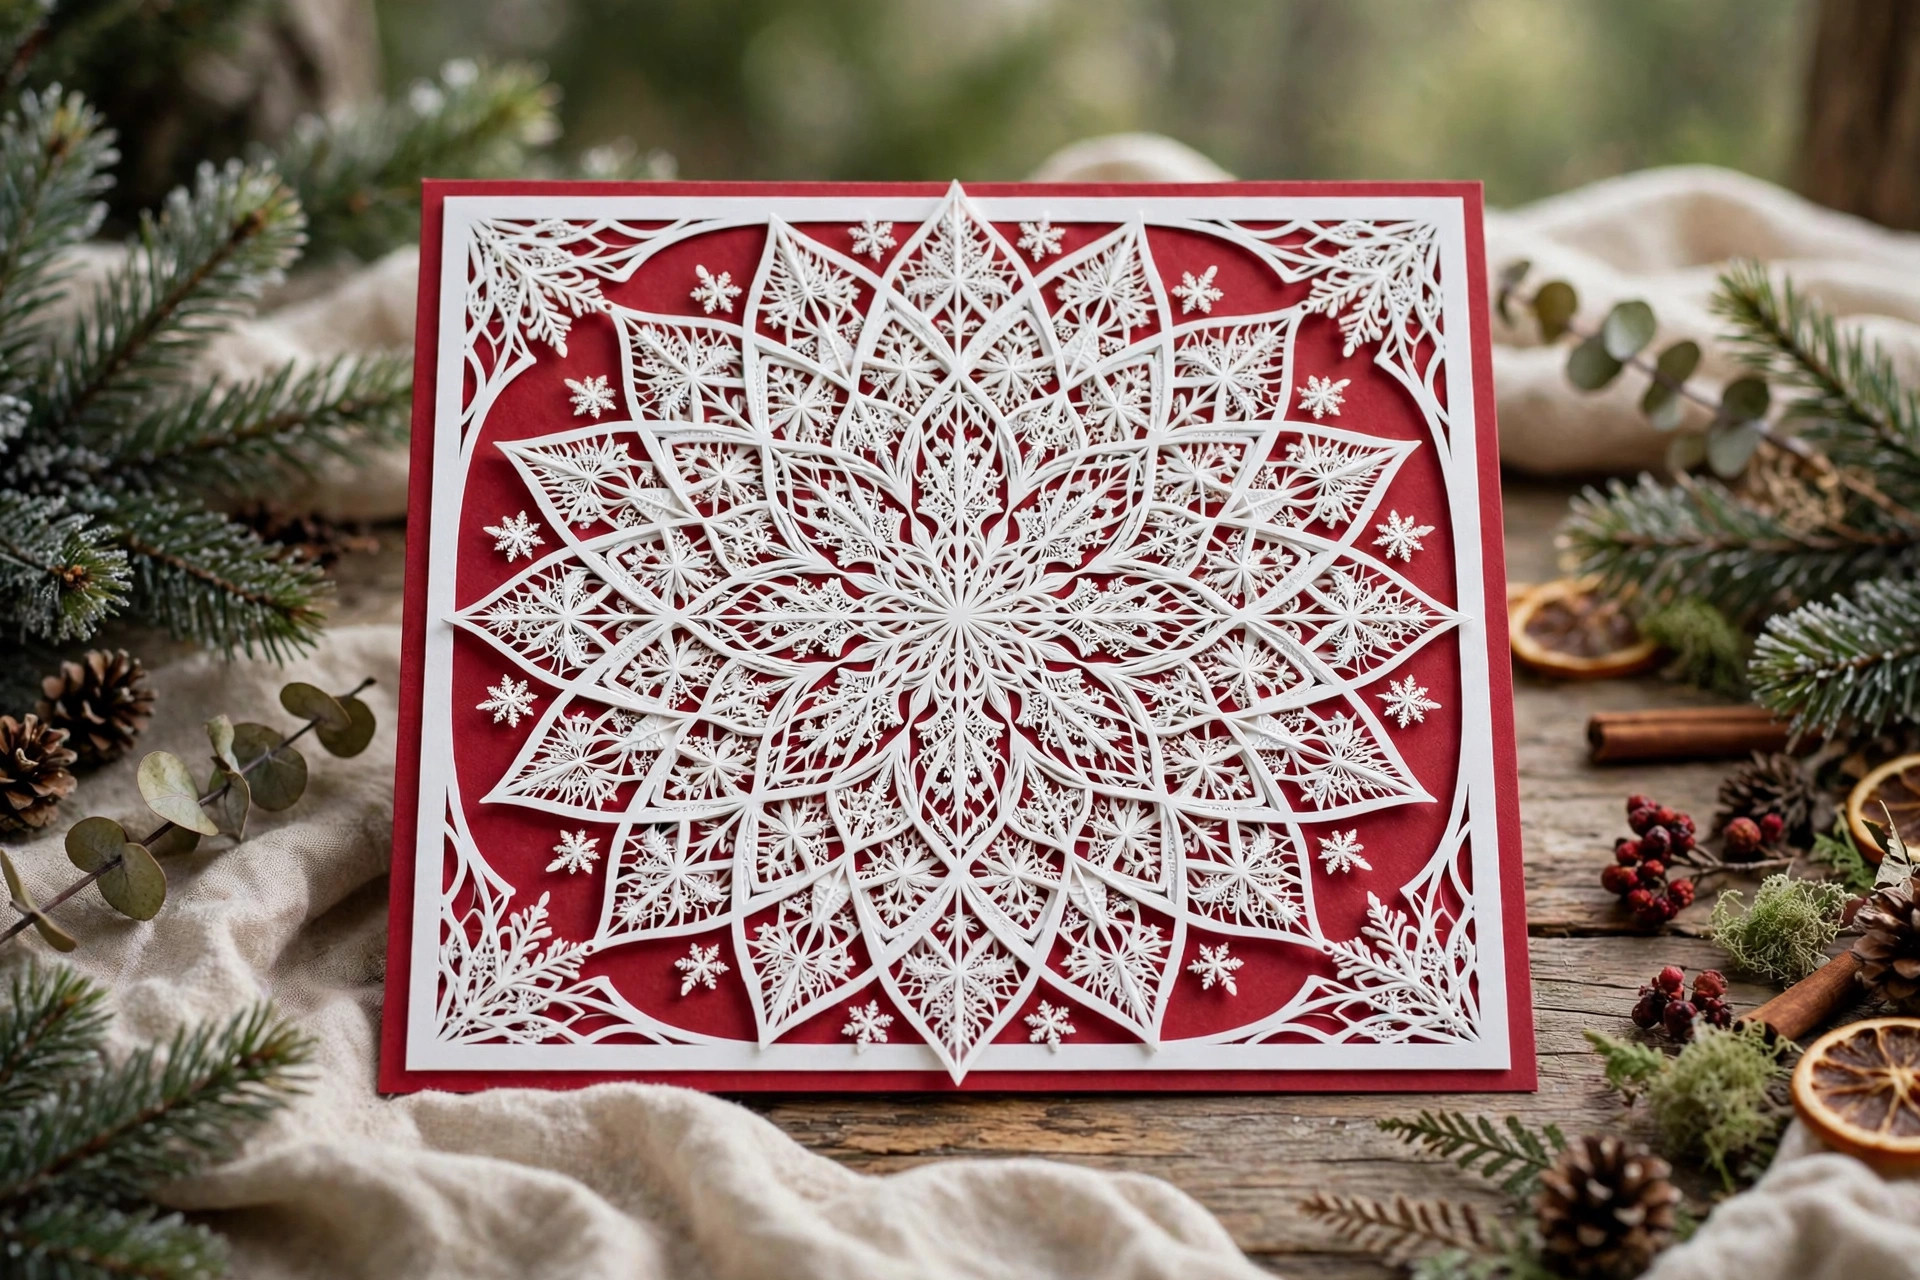
A paper-cut snow scene is the most dramatic card on this list, and it’s just careful cutting. I fold white cardstock, cut a scene of trees, a house, and falling snowflakes with a craft knife, and mount the cut layer over a pale blue backing so the scene shows through in silhouette. The craft knife work needs patience — I cut on a self-healing mat, keep the blade fresh, and never rush the curves, because a torn cut can’t be un-torn. My first attempt took an hour and looked rough; by the third, I had a clean scene in twenty minutes. This is a card for a short list of special recipients rather than a bulk mailing, but the reaction it gets is worth every careful cut. For more paper projects to pair with these, my DIY advent calendar ideas use the same cutting skills.
14. Sequin Shaker Cards
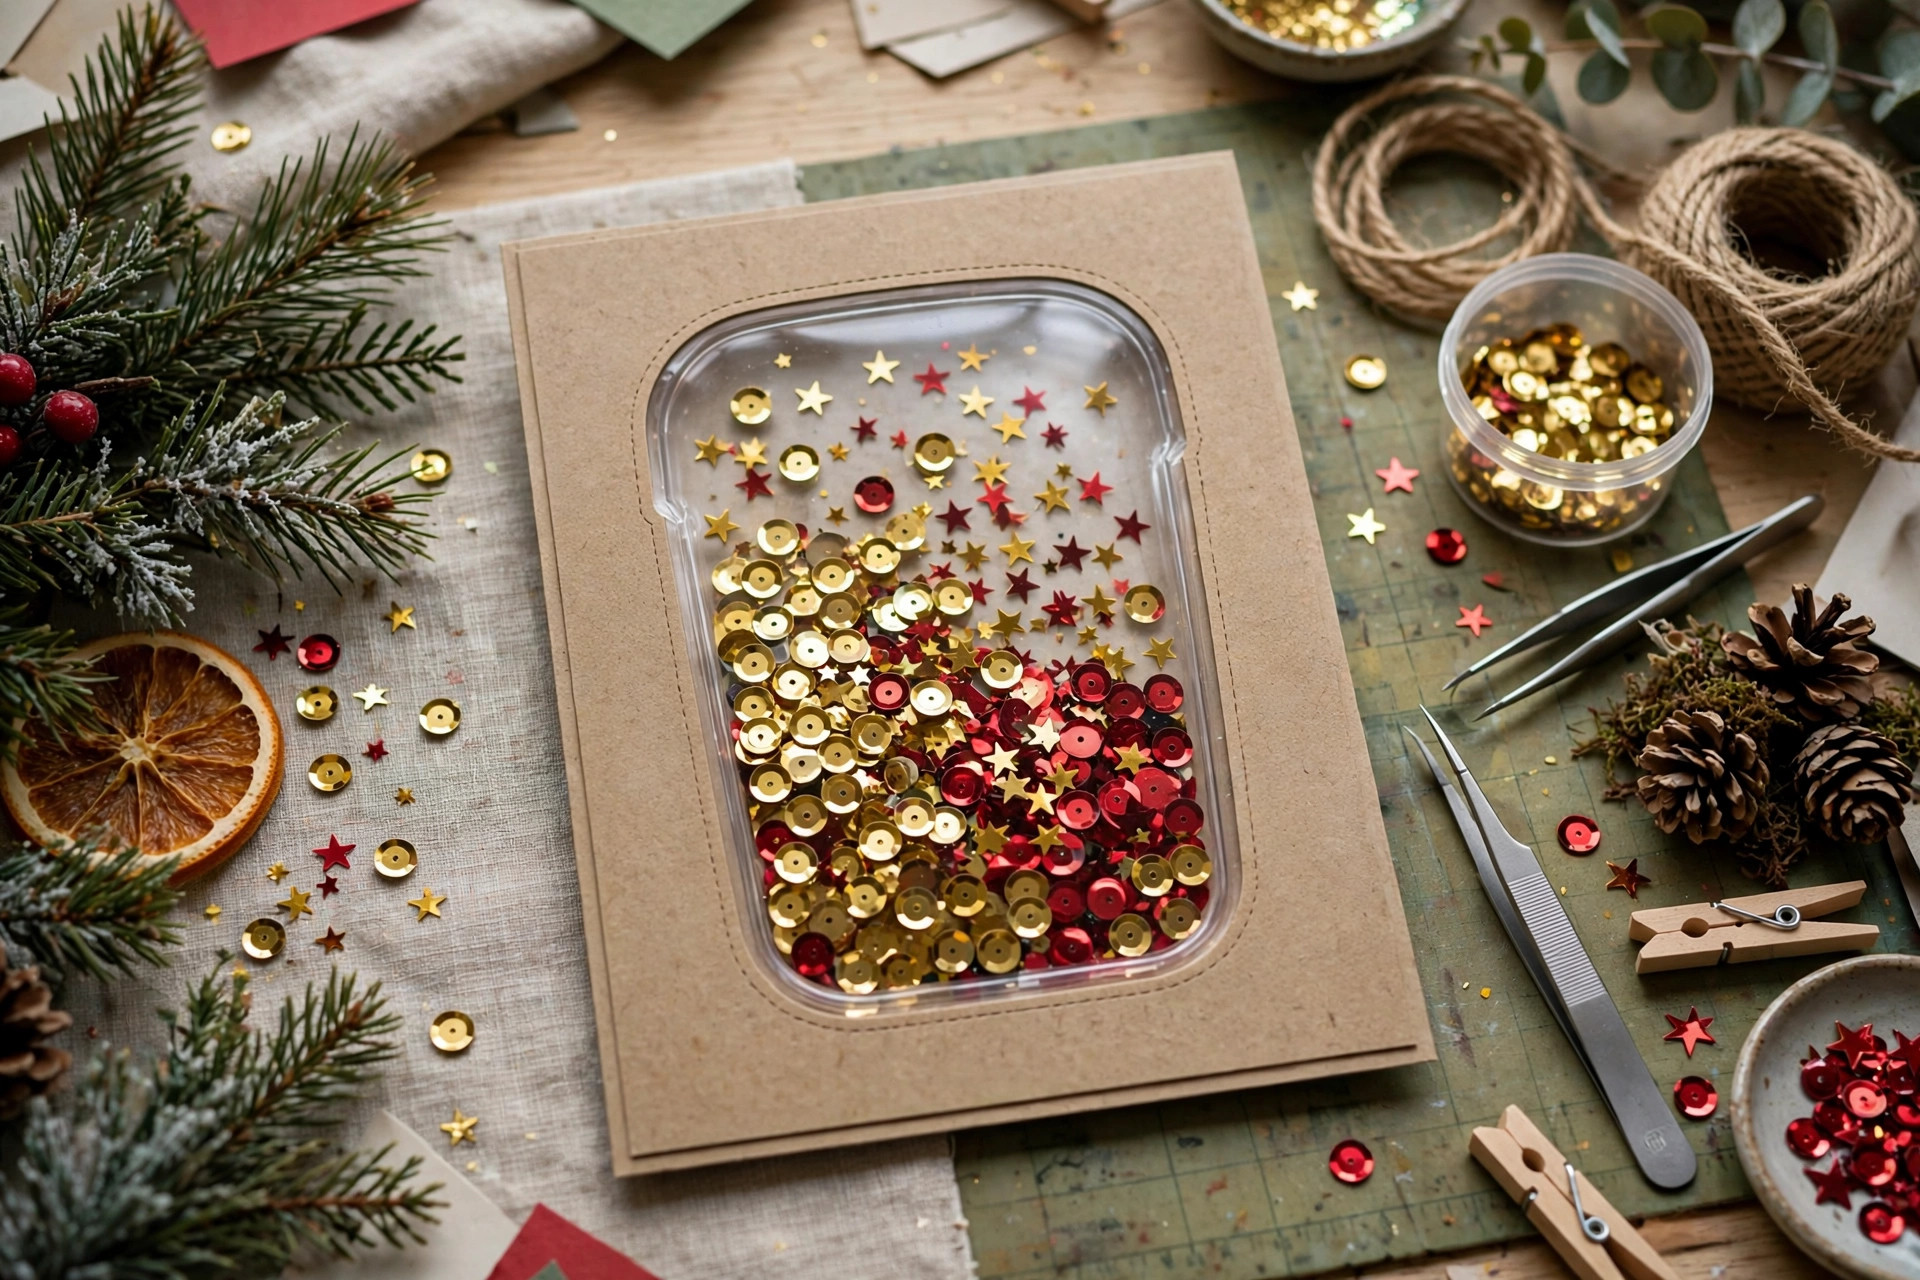
Shaker cards are pure joy — a little window full of sequins that move when you shake the card — and they’re easier than they look. I cut a window in the card front, glue a piece of clear acetate behind it, build a foam-tape frame around the window to create depth, fill the pocket with sequins and tiny star confetti, and seal it with a backing card. The foam tape depth is the critical detail: too shallow and the sequins jam, too deep and the card bulges in the envelope. I buy mixed sequin packs from Michaels in holiday colors, and I always test-shake before sealing, because a sealed card with stuck sequins is a sad thing. Kids go wild for these, and adults do too, even if they pretend otherwise.
15. Pressed Botanical Cards
Pressed botanical cards bring the outdoors into your Christmas mail, and they cost almost nothing. I press small evergreen sprigs, rosemary, or dried flowers between sheets of parchment in a heavy book for a week, then glue the pressed pieces to a card front and cover them with a thin layer of Mod Podge to seal them. The rosemary sprigs look like tiny Christmas trees and smell faintly wonderful when the recipient opens the envelope. The pressing lesson I learned early: pick flat, thin pieces, because thick stems crack and bulky flowers mold in the press. I press a big batch in November so I have plenty to choose from in December, and the leftovers go onto gift tags. If you love natural materials, my DIY Christmas decor on a budget uses the same foraged approach around the house.
16. Cricut Cut Layered Cards
If you own a Cricut, layered cut cards are where the machine earns its keep. I cut a detailed design — a reindeer, a snowflake mandala, or a Christmas tree — from one color of cardstock, layer it over a contrasting color, and mount the pair on a card base. The Cricut Design Space library has plenty of free holiday designs, and the machine cuts cleaner curves than any human hand. My Cricut Joy handles cardstock beautifully, though I always do a test cut on scrap first since blade depth varies with cardstock weight. The layered look is so polished that recipients assume these cards came from a stationery shop, and I never correct them quickly. For machine-cut gift projects to match, my DIY Christmas gift ideas include several Cricut-friendly options.
17. Vintage Sheet Music Cards
Vintage sheet music gives a card instant nostalgia, and old hymn books are cheap at thrift stores. I tear or cut a piece of aged sheet music — a Christmas carol page if I can find one — and layer it on the card front under a simple stamped tree or a small photo, letting the notes show around the edges. The torn edge matters: a deckled, torn border looks vintage, while a scissor-cut edge looks like you just cut paper. I distress the edges further with a little brown ink on a sponge, which ages the paper beautifully. A friend who plays piano told me she recognized the carol on her card before she read the message, which is exactly the kind of small delight that makes a handmade card worth the effort.
18. Pom-Pom Wreath Cards
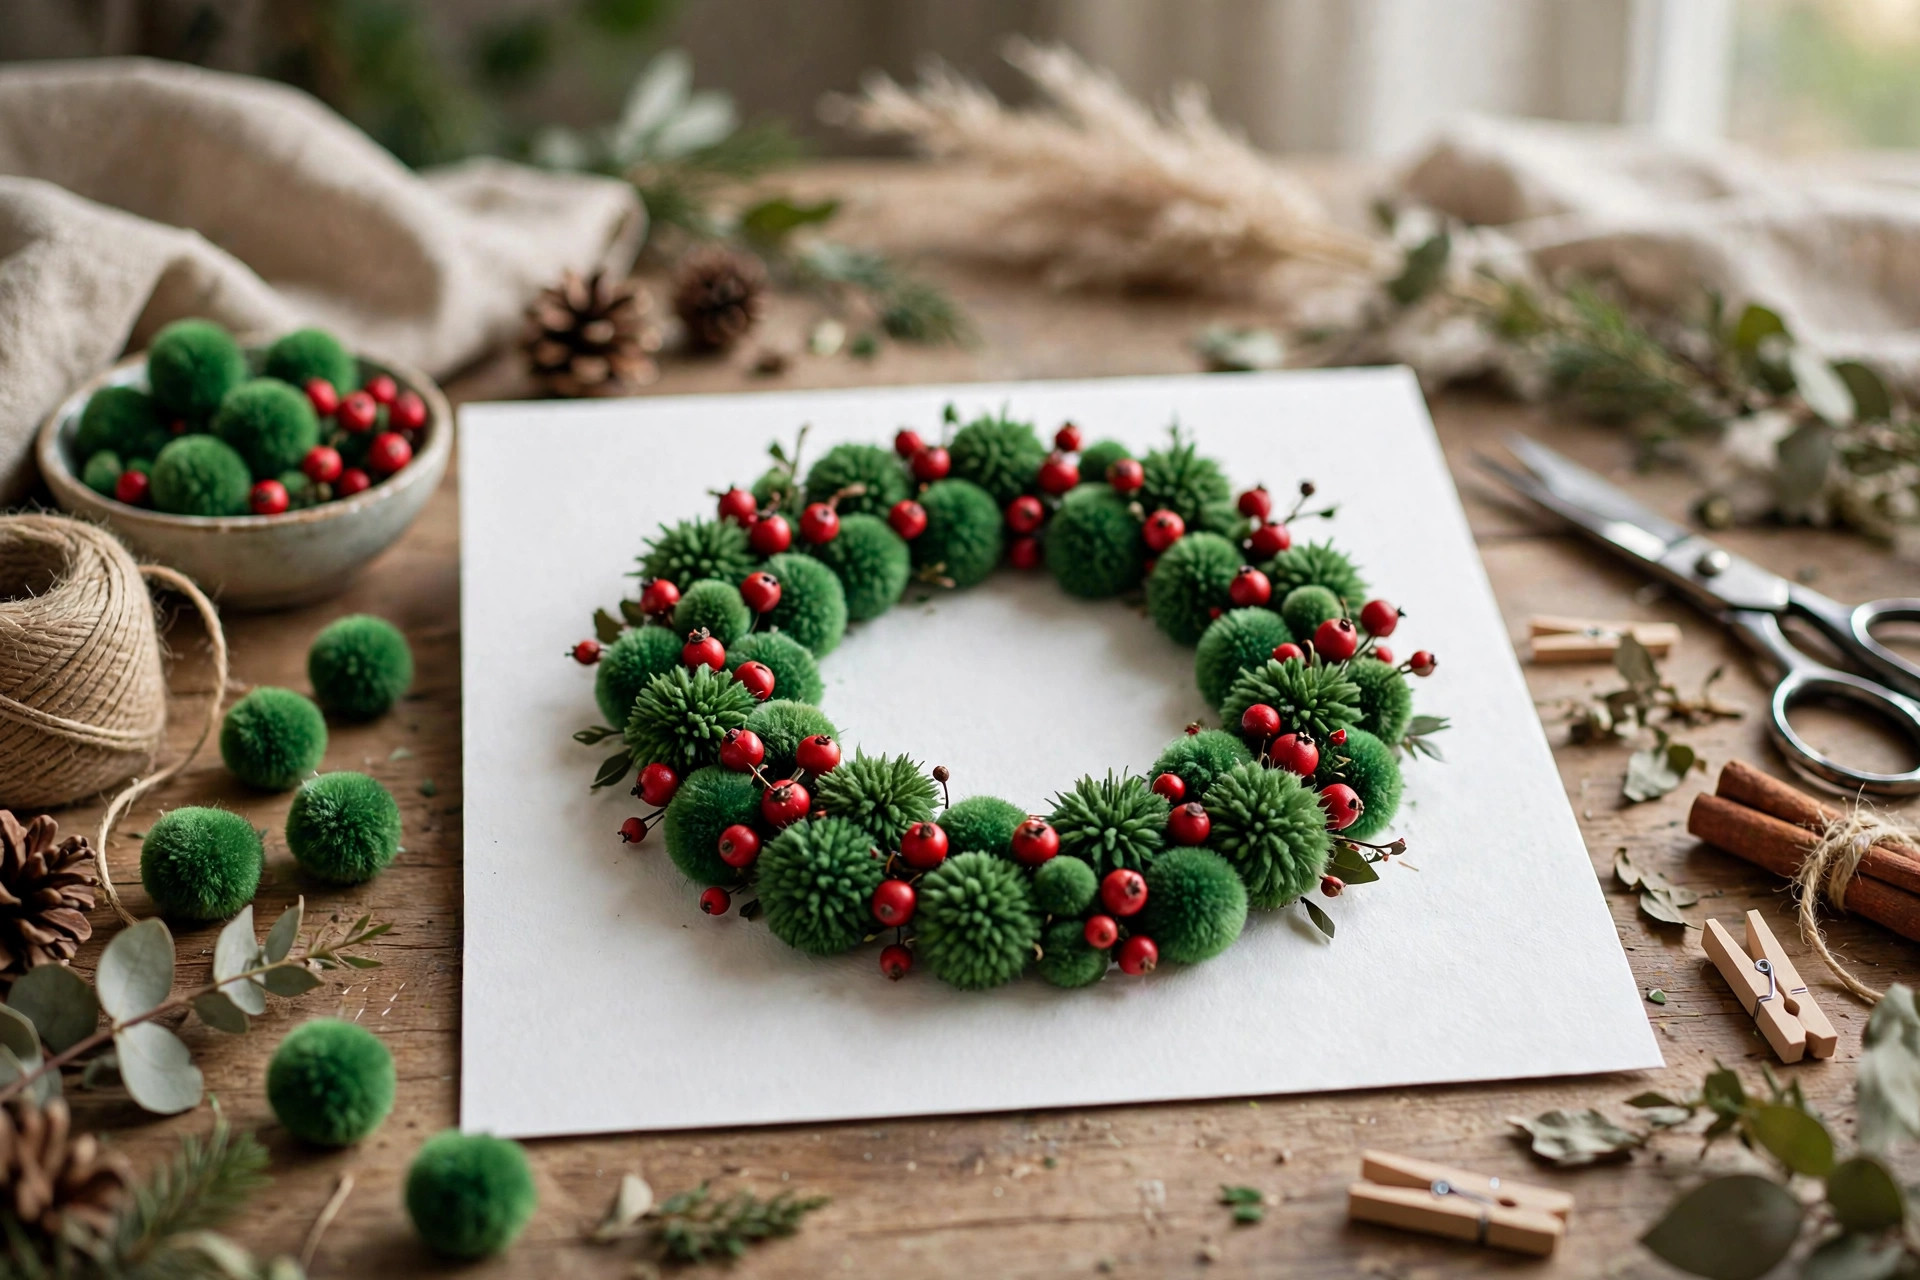
A pom-pom wreath is the most cheerful card on this list, and it’s gloriously simple. I draw a circle on the card front, then glue tiny green pom-poms around it in a ring, finishing with a few red pom-pom berries and a small ribbon bow at the top. The pom-poms need a strong tacky glue and a few minutes of undisturbed drying, or they roll off — I learned that after finding a trail of green pom-poms across my dining table one December afternoon. A white or kraft card background makes the green ring pop, and a handwritten “Joy” or “Merry Christmas” in the center completes it. These cards are slightly bulky, so I mail them in padded envelopes, which is a small extra cost for a card that makes people smile the moment they open it.
19. Mini Accordion Fold Cards
A mini accordion card is a tiny surprise: it looks like a normal card from the front, but it unfolds into a strip of four or five little panels, each with its own tiny scene. I fold a long strip of cardstock accordion-style, decorate each panel with a mini drawing, a sticker, or a stamped image — a tree, a star, a snowman, a gift — and glue one end panel to the inside of a card cover. The accordion format lets you tell a tiny story across the panels, like a snowman being built one panel at a time. My grandmother received one of these and unfolded it at the dinner table for everyone to see, panel by panel, which is the highest honor a card can receive. For more handmade ideas to fill the season, my DIY Christmas stocking ideas and my Christmas tree decorating ideas round out the holiday crafting.

Styling Tips
- Make cards in batches of ten: cut all the bases first, then decorate assembly-line style — it’s far faster than finishing one card at a time.
- Keep a dedicated card box with cardstock, ink pads, glue, and scissors so you can sit down and craft in spare half-hours all through November.
- Write the message before you decorate the front, so a smudged envelope or a spelling slip doesn’t ruin a finished card.
- Test-mail one card to yourself first to check that embellishments survive the post and the stamp covers the postage.
- Sign cards by hand, even the simplest ones — a printed message inside a handmade card feels like a contradiction.
- Photograph your favorites before mailing them; you’ll want the designs again next year, and your future self will thank you.
Frequently Asked Questions
What do you write inside a Christmas card? Keep it warm and specific: a short personal line beats a long generic message every time. Mention something real — a memory from the year, a wish for theirs, or simply that you’re thinking of them. If you’re stuck, a classic works: “Wishing you a Christmas filled with warmth, laughter, and the people you love most.” For family, add a personal note; for colleagues or neighbors, a short warm greeting and your name is plenty.
How do you make Christmas cards at home? Start with blank card bases or folded cardstock, then add one technique: stamping, watercolor, washi tape, or simple cut paper. You don’t need a craft room — a kitchen table, a few basic supplies, and an hour will produce a stack of cards. Begin with the simplest project on this list, like washi tape trees, and add techniques as your confidence grows. The supplies for most of these cards cost less than a pack of store-bought cards.
What supplies do I need to make DIY Christmas cards? The essentials are blank card bases or heavy cardstock, a paper trimmer or good scissors, a glue stick and a tacky craft glue, and a few decorative supplies: ink pads, washi tape, markers, or stickers. Beyond that, each technique adds one specialty item — a stamp, watercolors, embossing powder, or a Cricut. Buy the basics first and add supplies project by project, rather than buying an entire craft store at once.
Can kids make their own Christmas cards? Absolutely, and the fingerprint reindeer, thumbprint lights, washi tape trees, and pom-pom wreaths on this list were all designed with kids in mind. Use washable ink pads, child-safe scissors, and glue sticks rather than hot glue, and let them make a mess — the slightly imperfect cards are the ones relatives treasure most. Set up a covered table, put out the supplies, and let them choose their own designs.
Final Thoughts
Here’s the truth about handmade cards: nobody grades them, nobody compares them to the store, and the people who receive them keep them because you made them, not because they’re flawless. Pick one idea from this list, make a pot of tea, and start with five cards — by the fifth, you’ll have found your rhythm, and by the tenth, you’ll wonder why you ever bought cards at all. And if the card-making bug bites hard, my DIY Christmas gift ideas will keep your craft table busy right through the holidays. Happy crafting, and may your glitter stay mostly on the cards.