
Introduction
There is a specific kind of December magic in the smell of gingerbread baking, and an even bigger thrill in turning that humble little cookie house into something worth staring at. These 17 gingerbread house decorating ideas cover everything from classic candy-covered cottages to contest-winning showpieces, and every one of them is something I have either made myself or tried alongside a friend who knew better than me. The first gingerbread house I ever built sagged sideways like a sinking ship — my royal icing was too runny and I had not glued the walls to a base board — but even that lopsided disaster got decorated, and honestly, it was still the prettiest thing on the table. Whether you are decorating with kids, going for the village look, or secretly hoping to win the office contest, these gingerbread house decorating ideas will give you the inspiration and the honest tricks to pull it off.
1. The Classic Candy-Cottage
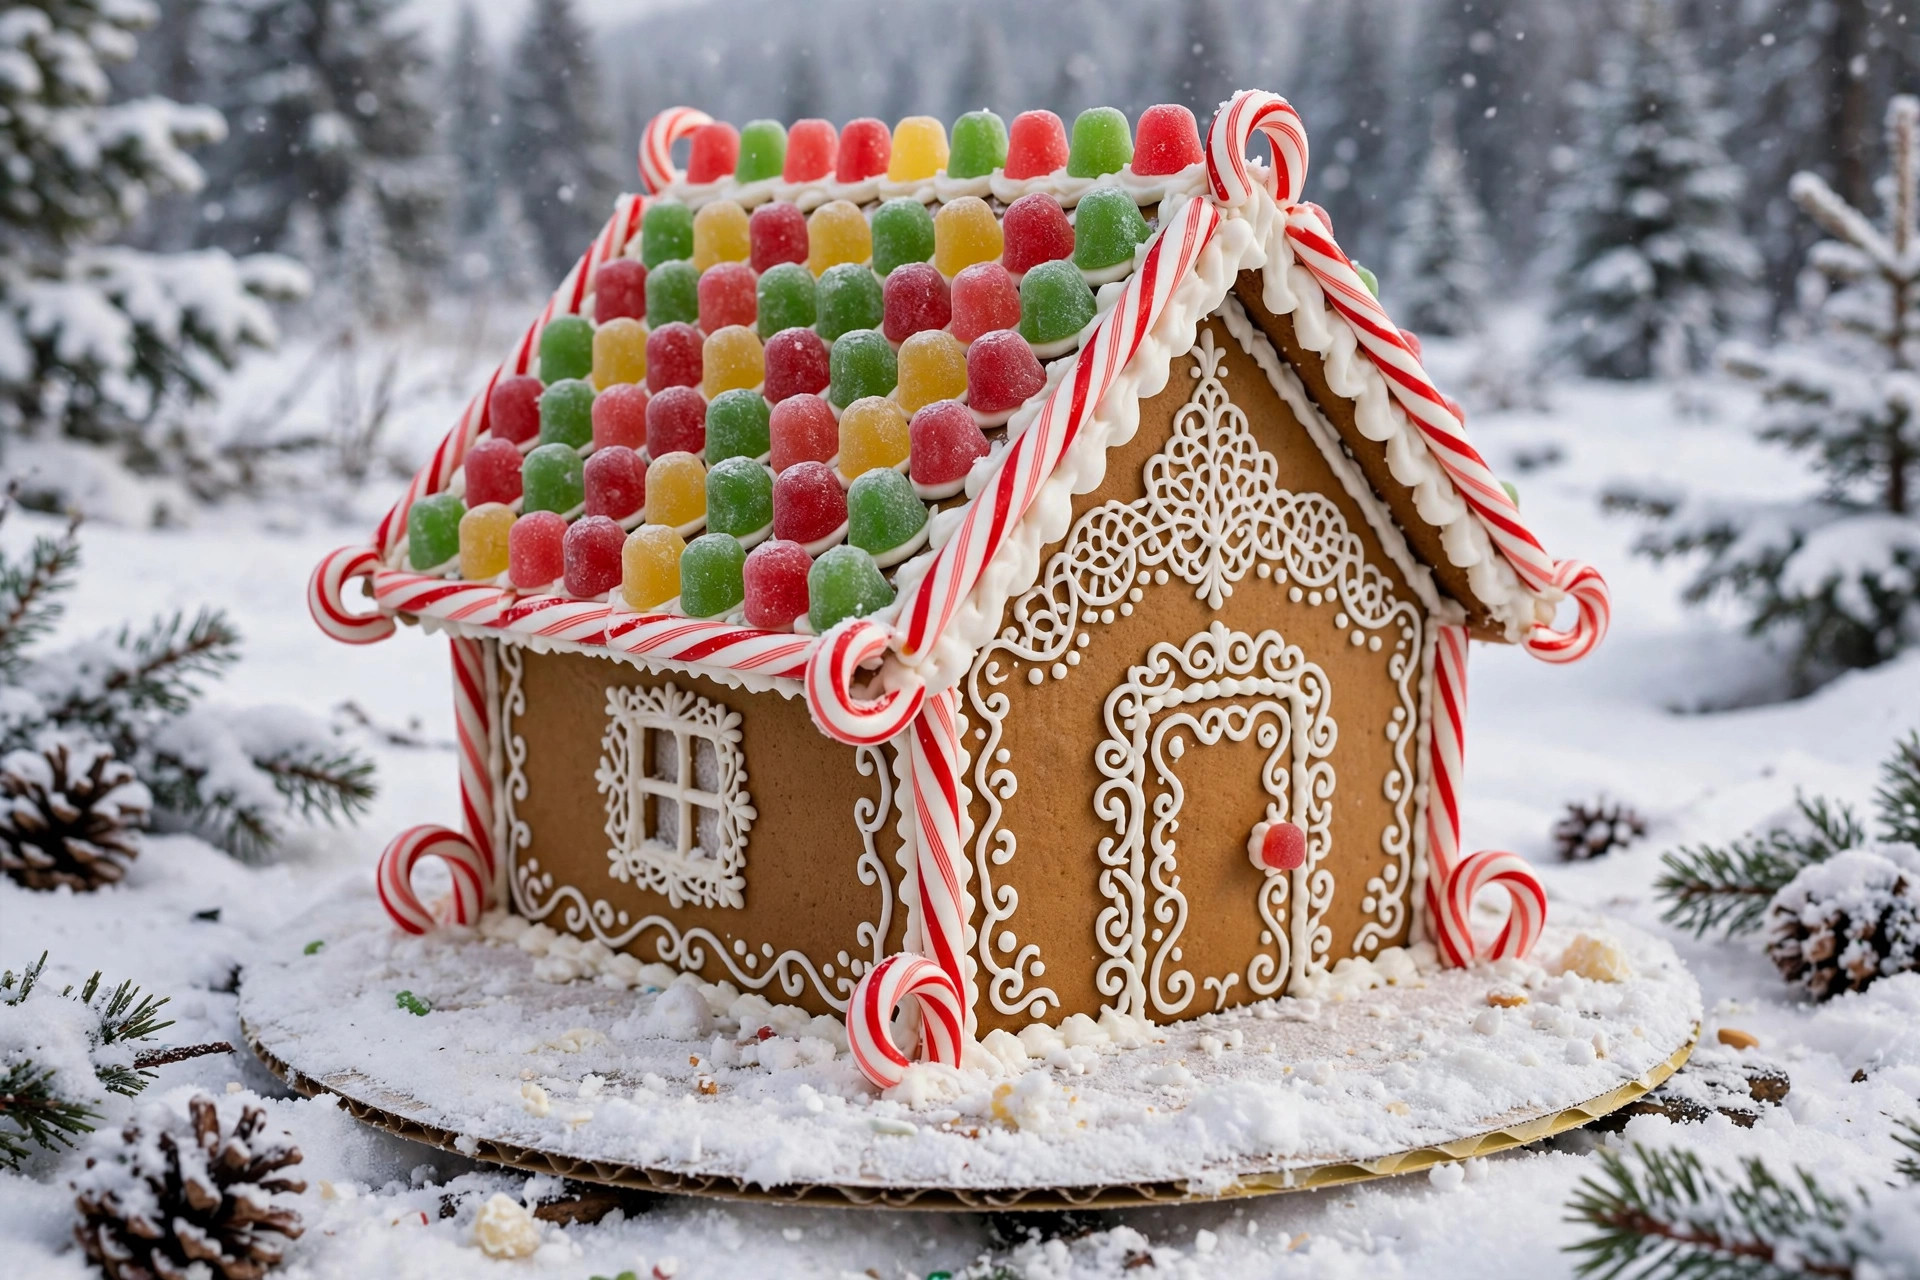
The classic candy-cottage never goes out of style for a reason: gumdrops, peppermint sticks, and piped royal icing are instantly readable as Christmas. Start by piping thick white royal icing along every roof seam — it doubles as snow and structural glue. Press gumdrops along the roof ridge in alternating colors, then run a candy cane border along the eaves with the curved ends facing inward. I like lining the door with Necco wafers for a shingled effect and dotting the yard with marshmallow snowmen. The trick here is restraint on the front facade; a sparse front with a heavily decorated roof photographs better than an overloaded front that reads chaotic. Let the base coat of icing dry fully before you touch anything heavy.
What you need
Gumdrops, mini candy canes, marshmallows, Necco wafers, one batch of thick royal icing, and a #3 piping tip for the detail work.
2. Peppermint Stick Lodge
When I wanted a house that looked impressive but took almost no skill, I reached for peppermint sticks and never looked back. Line the entire walls with vertical peppermint sticks set into a thick bed of royal icing, alternating the red-and-white direction so it reads like striped siding. The roof gets a snowfall of shredded coconut over wet icing — simple, edible, and it hides every seam mistake. Red-and-white M&Ms become the walkway, two candy canes arched together make the front door frame, and a few mint rounds become windows. This style photographs beautifully in afternoon light because the stripes catch shadows. A small bowl of extra icing on the table is mandatory, since kids will snap a stick off and eat it before the glue sets.
3. Modern White-on-White House
Not every gingerbread house needs to look like a candy explosion. The white-on-white house is the one I make when the decor on my mantel is already doing enough: every surface covered in smooth royal icing, piped in thin lines like clapboard siding, with snow-white fondant details and crystal sugar glittering on top. It looks like a Scandinavian winter cottage and it is oddly calming. The hard part is precision — white shows every drip — so I pipe onto parchment first and transfer the pieces with a palette knife. Add clear rock candy windows that catch lamplight, and finish with a dusting of edible pearl dust. I once set one of these beside my winter wreath and the two looked like they belonged in a boutique window.
4. Gingerbread Village Street
One house is a craft; three or four is a whole village, and the village is easier than it sounds because small imperfections hide among the group. Make two or three modest houses plus one tiny hut from a single batch of dough, then arrange them on a cake board dusted with powdered sugar snow. Each house gets its own color story — one red and green, one blue and silver, one pink and gold — connected by a winding candy walkway of red-hots or chocolate rocks. A row of pretzel-rod lamp posts with gumdrop lanterns ties the street together. This was the project that finally taught me to bake walls an extra two minutes for crispness, because a village of soft walls leans together by New Year.
How I arranged it
Glue every house to the same sturdy cake drum with a fat bead of icing, then build the paths between them so nothing shifts when the board gets carried to the dining table.

5. Rustic Pretzel Log Cabin
The log cabin is the answer for anyone who finds candy cottages too sweet. Pretzel rods stacked horizontally with royal icing mortar give you instant log walls — and the salty crunch against gingerbread is genuinely delicious. I leave small gaps at the corners to mimic notched logs, and the roof gets a layer of chocolate shingles made from Kit Kat bars scored and broken into squares. A marshmallow chimney with black icing trim, a pretzel fence, and some rock-candy ice complete the scene. Pro tip from my own soggy disaster: dip the cut ends of each pretzel in melted candy melts before setting them, so humidity does not soften them by day three. Pair it with a few of your favorite DIY Christmas ornaments on the mantel and the whole shelf looks like a little alpine postcard.
6. Victorian Dream House
If you have steady hands and an evening to spare, the Victorian is the most satisfying style in this list. Think gabled roofs, a wrap-around porch, lace-like piped icing trim along every edge, and windows framed with tiny wafer cookie mullions. I use a #1 tip for the scrollwork and a #2 for the dots-and-dashes border that runs along the eaves. Gumdrop finials on each gable peak give it that architectural finish. This is not a kid project — mine took three sittings — but the payoff is enormous. A friend entered hers in a local contest and came in second to a working carousel, which tells you how competitive this category is. Keep a damp cloth over the icing bowl so it never skins over mid-scroll.
Kid-friendly tweak
Hand kids the simpler jobs: sorting candies into bowls and pressing gumdrops along the porch railing while you handle the fine piping.

7. Cozy Fireplace Interior Scene
Most people only decorate the outside, but a house with a lit-up inside is pure magic. Build your house without a back wall, then furnish a tiny scene inside: a graham-cracker fireplace with a pretzel mantel, marshmallow armchairs, and a string of battery fairy lights coiled through the rafters for the glow. I frost the floor with white icing and add a tiny marshmallow tree. This one needs to be assembled near an outlet or with a discreet battery pack tucked behind the house — I learned that the hard way after running a wire across the whole dessert table. The open back means you glue the walls to the base extra firmly, since there is no rear wall for bracing. It pairs beautifully with a decorated Christmas mantel behind it, lights answering lights.
8. Winter Woodland Cabin
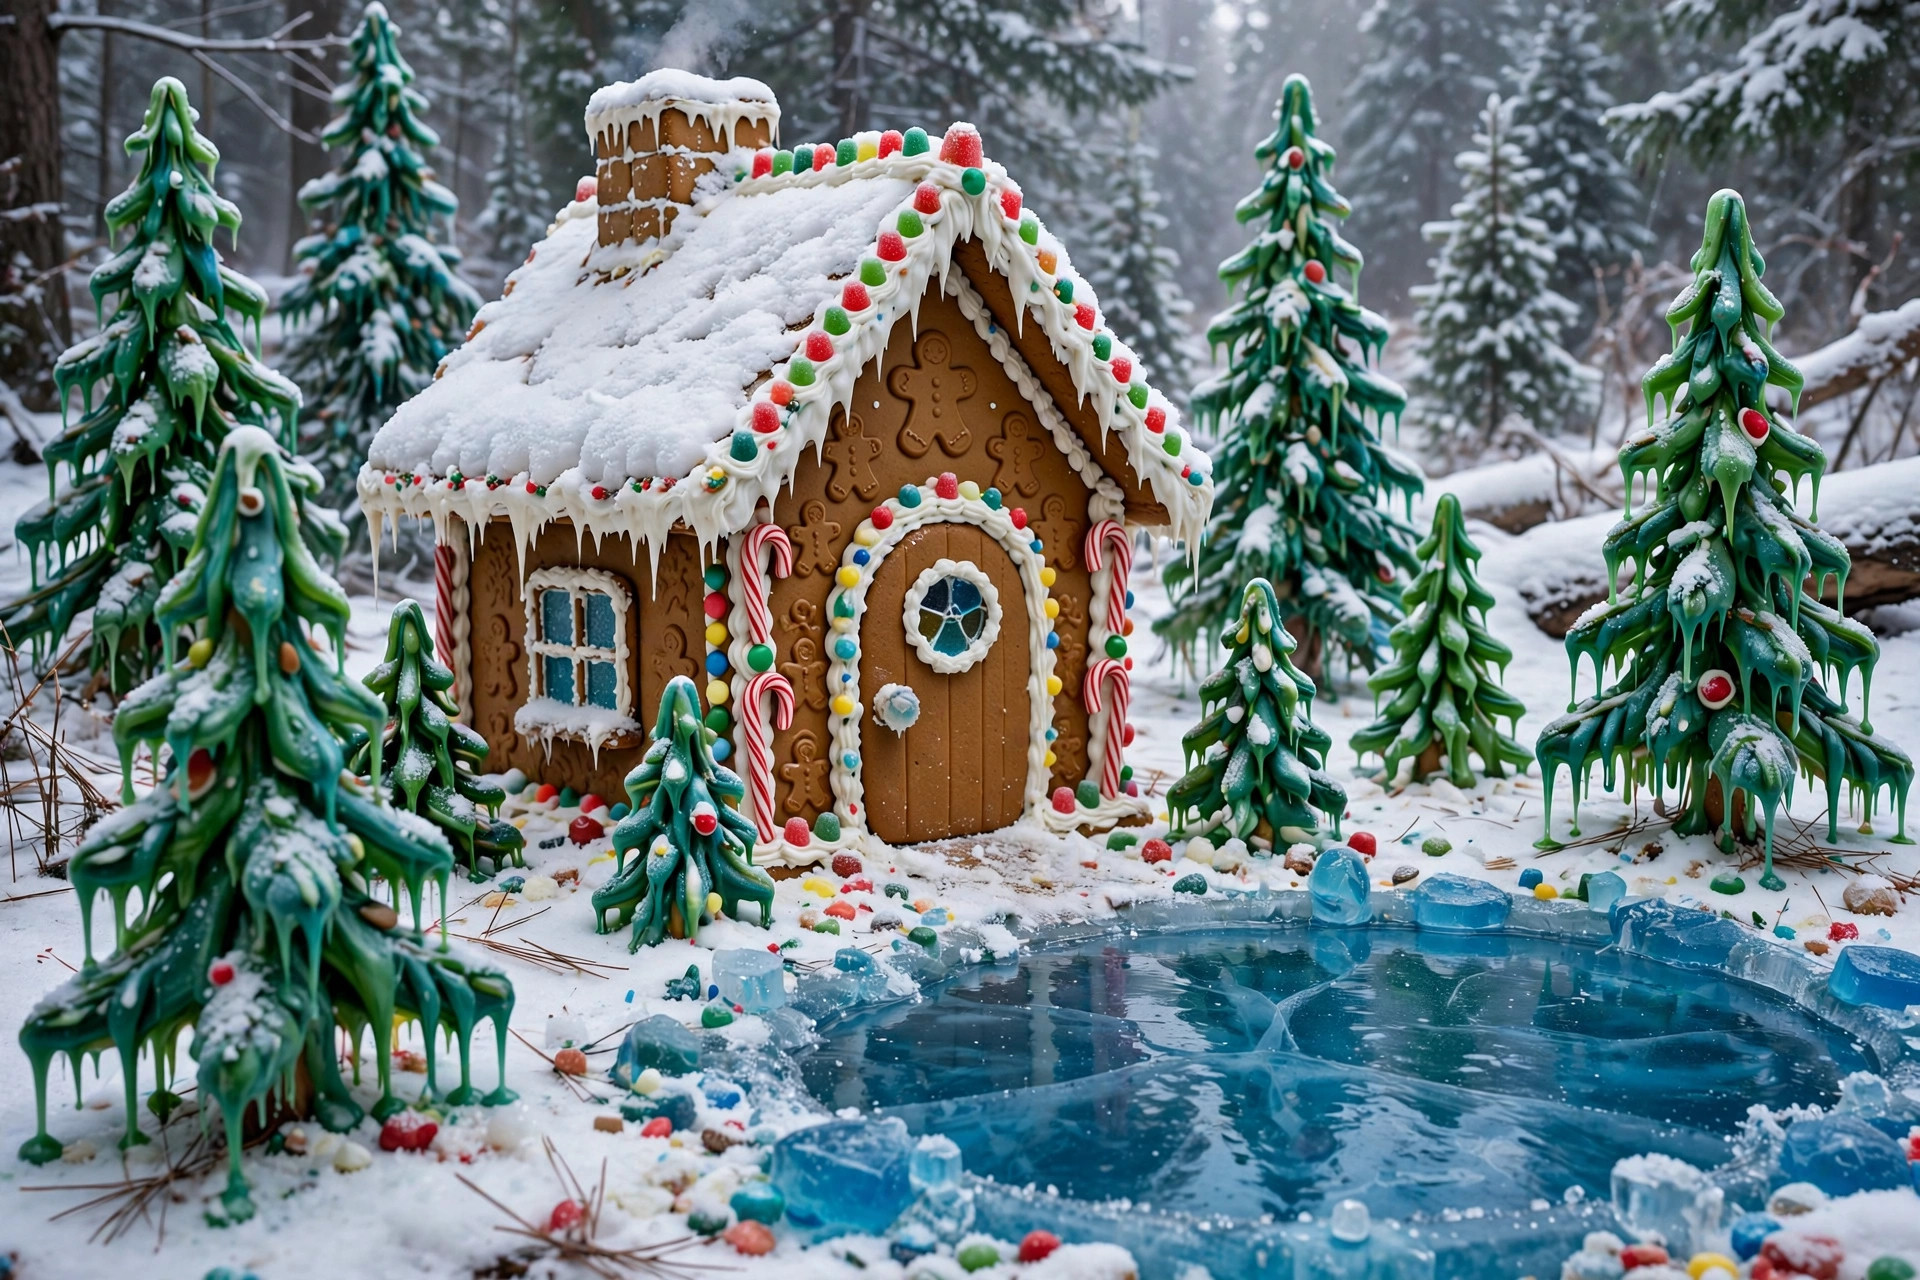
Trade the candy for nature and you get a cabin that looks like it belongs in a snow-globe. Frost the whole structure with pale green-tinted icing, then press broken-up cone sugar — ice cream cones crushed and re-set — into the walls for a pine-bark texture. Snow caps of white chocolate get piped along the roof edges, and a cluster of mini Christmas trees (ice cream cones dipped in green candy melts, dusted with powdered sugar) crowds the yard. Add a frozen pond: spread blue-tinted piping gel on the base board and surround it with rock candy ice. My woodland cabin always gets the most questions from guests, probably because it does not look like dessert at first glance. Keep it away from the kitchen radiator — tinted icing melts faster than you would expect.
9. Mini Gingerbread Cookie Village
Skip the big house entirely and make a fleet of tiny ones. Mini houses — two inches tall, built from a single cookie rectangle folded like a tent — are the perfect project when you want variety without commitment. I baked a dozen from scraps after cutting my main walls, decorated each one differently (one with sprinkles, one with a single gumdrop door, one left plain with white icing lines), and scattered them across the mantel like a village that grew by itself. They make great place cards, too: pipe a guest’s name on the roof in white icing. Because they are small, kids can each decorate their own in about fifteen minutes, which makes this the birthday-party version of the gingerbread project. They are also the perfect size for tucking into handmade gift bags alongside a sachet of hot cocoa mix.
What you need
Scrap gingerbread dough, a small square cutter, royal icing, sprinkles, and patience for piping names with a toothpick instead of a tip.
10. Pink and Gold Pastel House
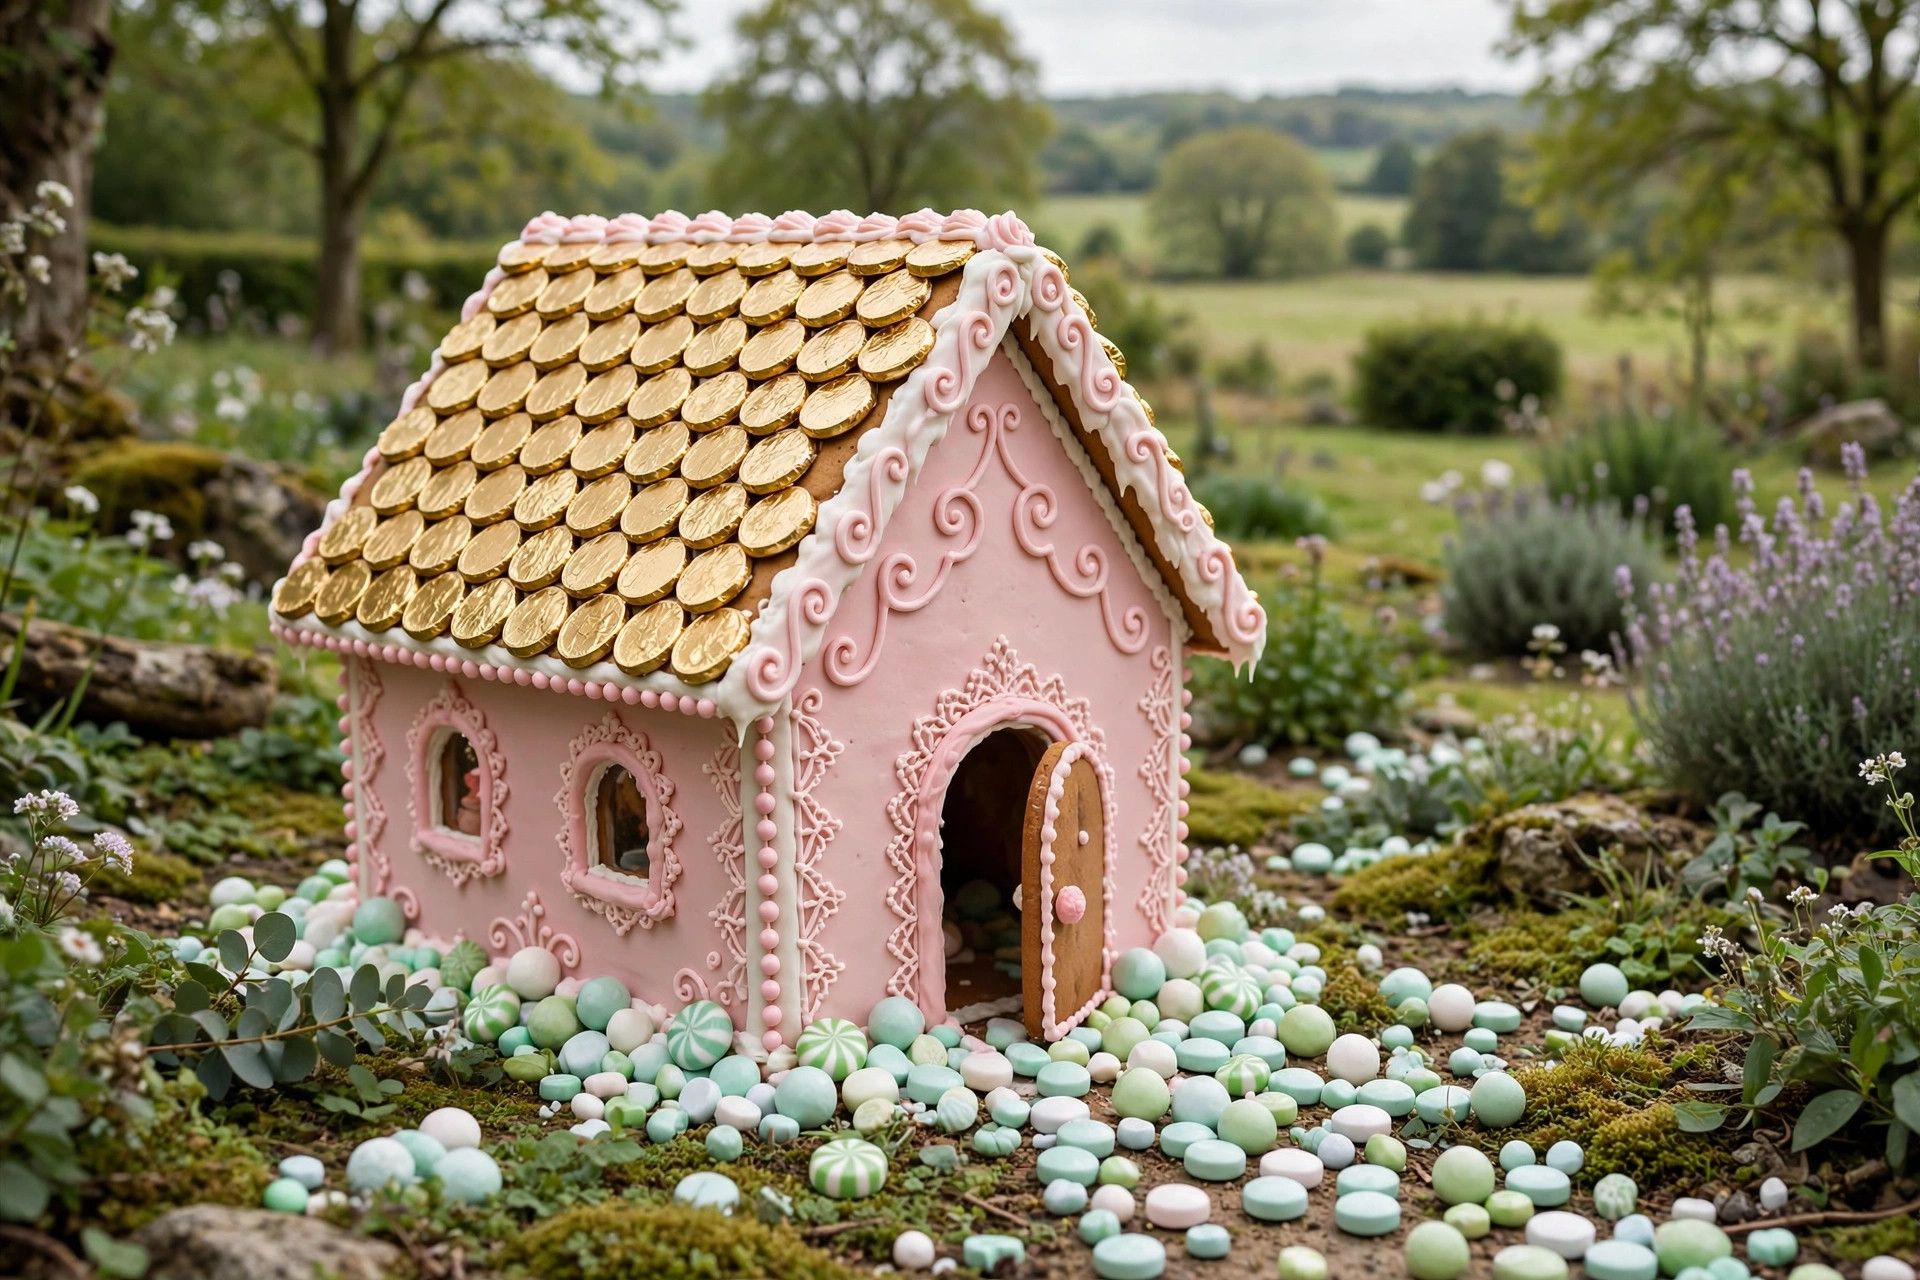
The pastel house is the one that stops the scroll. Blush-pink tinted icing, gold-wrapped chocolate coins as roof tiles, pastel mints for the door, and a champagne-gold gumdrop border that looks almost jewelry-like. I add white chocolate drizzle instead of traditional snow icing because the pale gold-on-blush effect is softer. This style is huge on social right now — the pink gingerbread trend pops up every December — so it is a strong choice if you want a house that photographs well. The trick is using gel food coloring rather than liquid, so the icing stays thick enough to pipe. One warning: pink icing stains fingers for hours, so keep wet wipes at the table if you are decorating with company.
11. Haunted Gingerbread House (Halloween Crossover)
Who says gingerbread is only for Christmas? Bake the dough a little darker, skip the snow, and you have a haunted house that steals Halloween. Black-tinted icing for the roof, crushed Oreo dirt in the yard, candy-bone fence posts, and a couple of gummy spiders dangling from pretzel webs. I pipe broken-window Xs on the windows and leave one shutter crooked on purpose. The first time I made one, my kids were so delighted they asked for a haunted house every year, and now it is our October tradition while Christmas gets the classic cottage. If you saved any of your fall decor, a few dried branches stuck behind the house make the spookiest backdrop.

12. Beach Cottage Gingerbread
If your family escapes winter rather than embracing it, make the house that matches your holiday: a beach cottage with blue candy waves, crushed graham-cracker sand, and a palm tree made from a pretzel trunk and green fruit-leather fronds. I pipe blue frosting curls for surf along the yard edges and dot the roof with white icing foam like sea spray. Mini drink umbrellas — the paper cocktail kind — planted in the sand are the detail everyone remembers. This was my solution the year we spent Christmas at the coast, and the kids argued it was the best house ever because they could eat the palm trees. Keep it far from the fireplace; the fruit leather curls in heat.

13. Nordic Minimalist Cottage
Two ingredients, one philosophy: restraint. The Nordic cottage is a simple A-frame with smooth white royal icing, one row of red dots piped down the roof ridge, and a single sprig of fresh rosemary tied to the door. That is the whole decoration. The fresh rosemary is my favorite cheat in this list — it smells like winter and costs nothing if you have a pot in the kitchen. The challenge is the smooth icing finish, which means flooding the walls with thinned icing and letting them set overnight before assembly. It looks like the little houses in Scandinavian Christmas market stalls, and it takes up so little visual space that it works even on a crowded mantel display. I make one of these every year now, no matter what else is on the table.
14. Lighthouse Gingerbread
A gingerbread lighthouse turns the whole concept sideways — literally. Build a tall cylinder from curved cookie panels (bake them over a rolled foil mold so they keep the curve), then stack rings of red-and-white icing for the classic striped tower. The light at the top is a clear gumdrop over a battery tea light, which glows through the candy at night and looks incredible. Surround the base with rock-candy waves and a graham-cracker dock with a tiny candy boat. The curved walls were the fiddliest part of any project I have made — I taped the panels together with icing and propped them with mugs while they set. Once it stands, though, it stands. Guests always assume this one came from a kit. It did not.
How I made it
Roll the dough around a greased soup can, bake until firm, then slide the can out while still warm so the curve holds without cracking.

15. Storybook Hansel-and-Gretel House
Lean into the fairy tale that started it all. The storybook house should look edible enough to lure someone off the path: extra-deep walls, a sagging thatched roof of shredded wheat biscuits, windows glowing with yellow icing, and every candy you own pressed into the facade. I add a lollipop forest in the yard — sticks of all heights with swirl lollipops on top — and a winding path of rainbow sprinkles leading to the door. This is the maximalist end of the spectrum and the most fun to build with kids, because there is no such thing as too much. The year I made this one, my daughter decorated a second path in a different color and announced it was the one the witch preferred. I kept her version.
16. Contest-Winning Showpiece
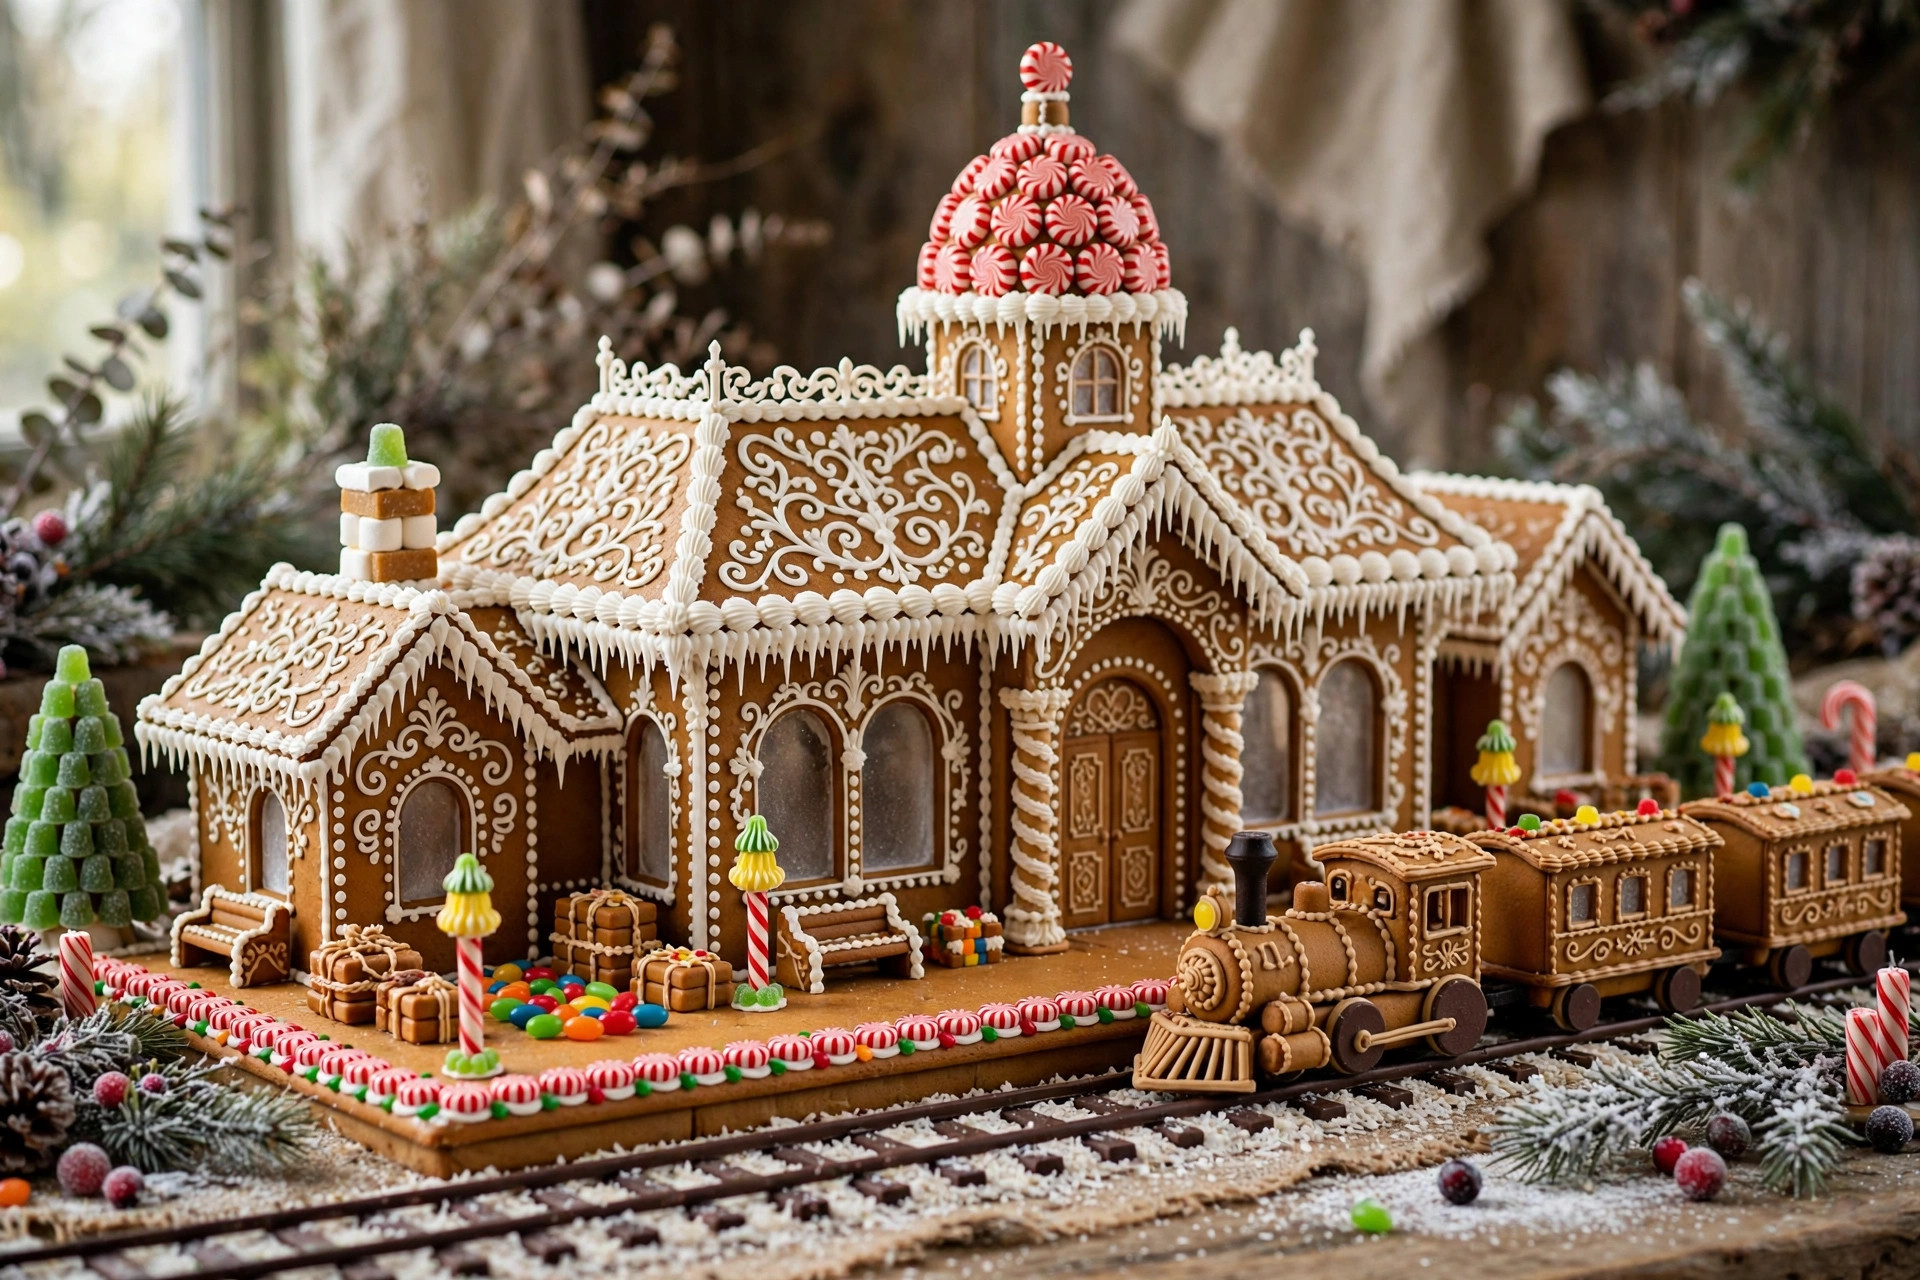
So you want to win. A true showpiece means planning like an architect: sketch the design first, make a paper template for every panel, and bake spare walls because one will crack. Contest judges look for three things — clean construction (no visible seams, no leaning), originality (something nobody else built), and technique range (piping, molding, structural work). My best result came from a gingerbread train station with a piped timetable and a platform of crushed peppermint. I lost the grand prize to a working carousel, but I took best construction, which I will take to my grave. Give yourself a full weekend, keep the humidity low while icing dries, and transport the finished piece in a box with a non-slip mat. And glue everything to the board — judges dock for houses that slide.
Kid-friendly tweak
Skip the contest pressure with little ones — let them build the “candy graveyard” of broken pieces, which is honestly the funniest part of the day.
17. Cookie-Cutter Window House
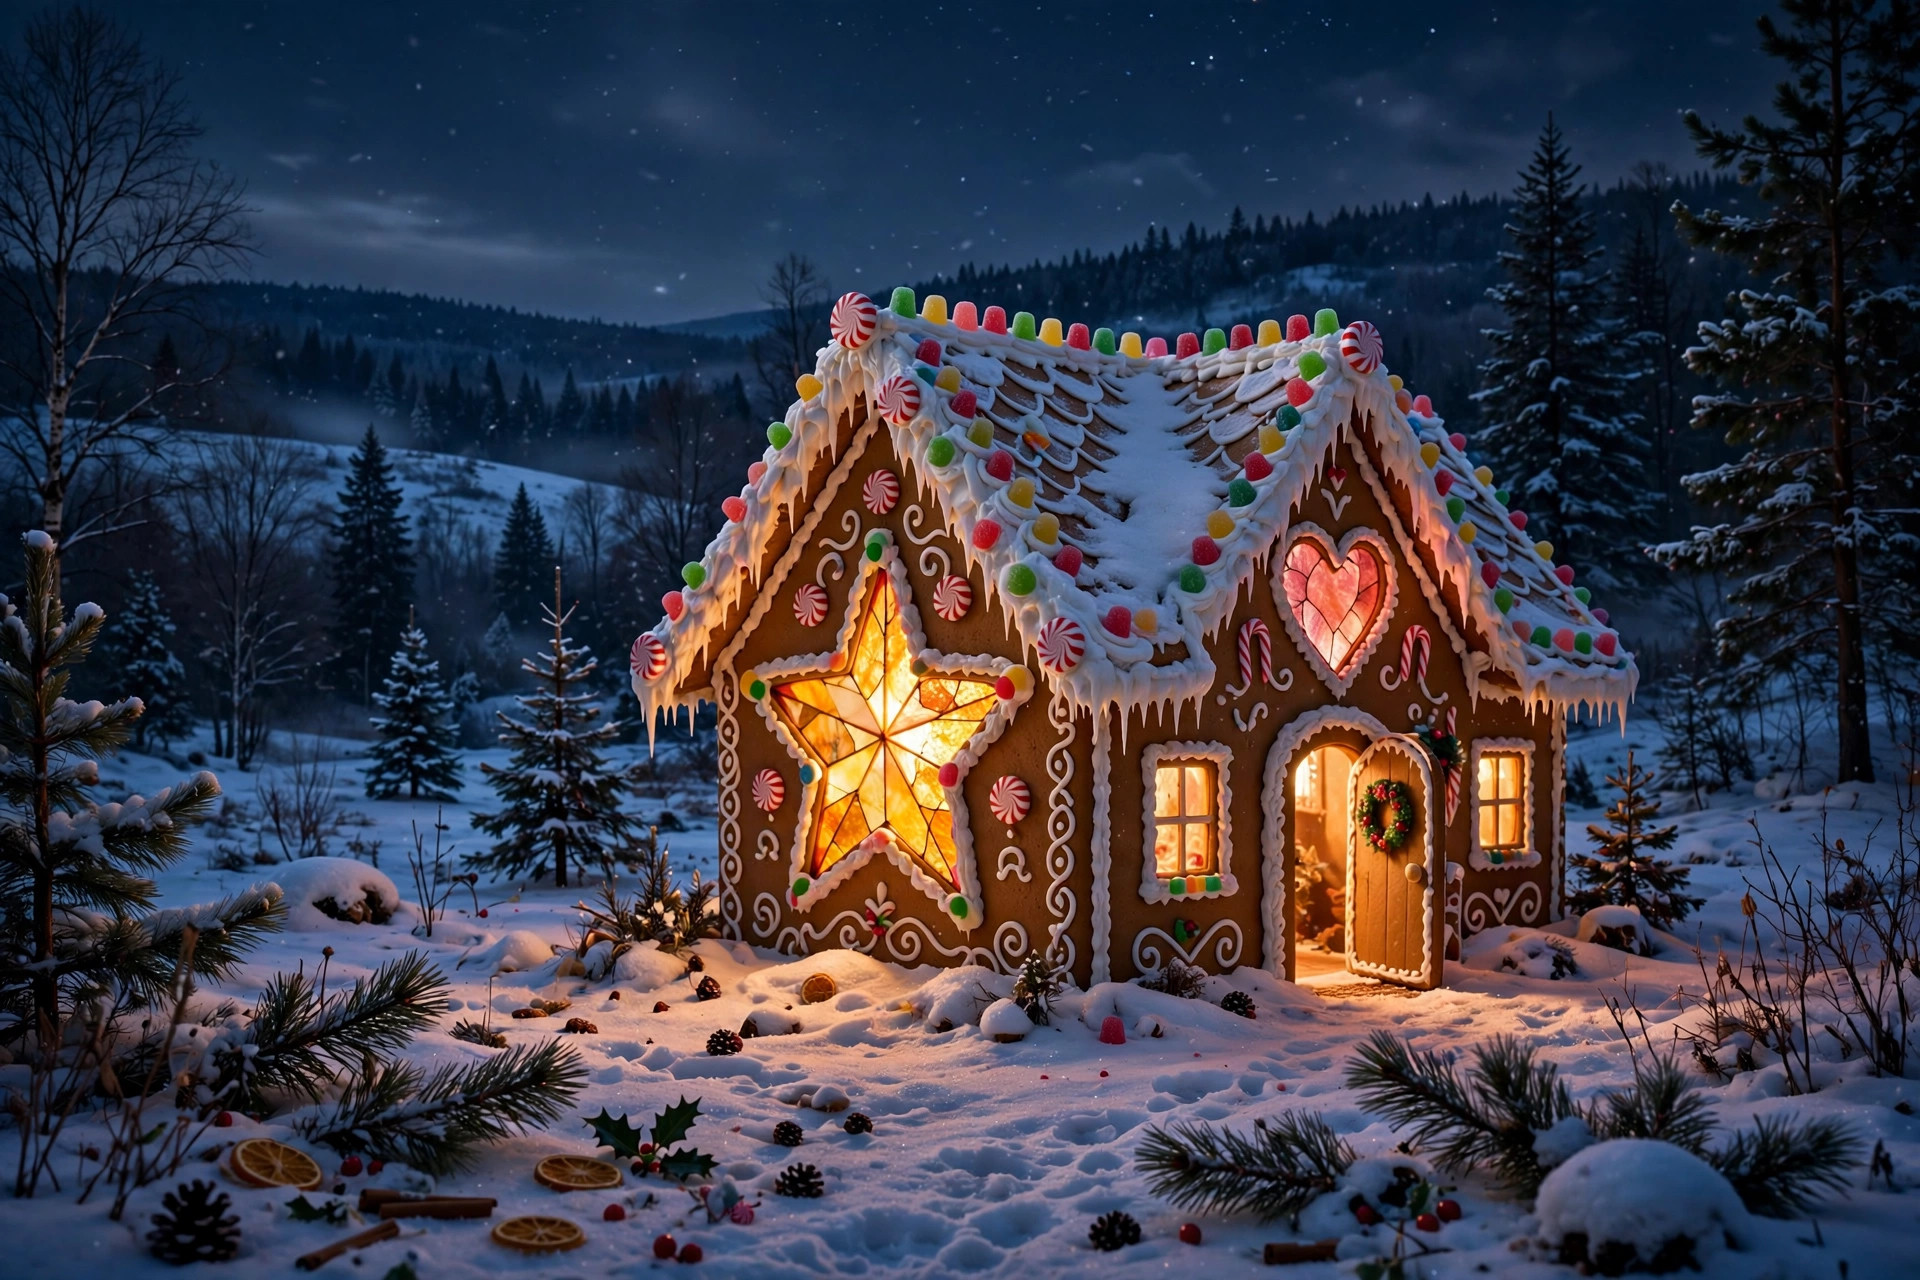
End the list with the simplest idea here, and maybe the loveliest. Cut windows straight through the gingerbread walls with small cookie cutters before baking, then fill each opening with crushed hard candy and bake again — the candy melts into stained glass that glows when a tea light sits behind it. I use stars and hearts for the cutters, and the melted candy windows turn the whole house into a lantern at night. Decorate the rest of the house minimally — white icing trim is enough — because the windows are the show. This technique also works for flat cookie ornaments you can hang in the real tree. It is the only idea on this list I have made in every single year since I started, and I am not stopping now.
Styling Tips
- Bake walls an extra two to three minutes past the recipe time — slightly overdone gingerbread is stronger gingerbread, and nobody tastes the structure.
- Make royal icing thick enough to hold a stiff peak; runny icing is the number-one reason houses collapse mid-decorating.
- Glue every house to a foil-covered cake drum or board before decorating — it is the difference between a centerpiece and a tragedy in transit.
- Pipe the icing details before adding heavy candies, and work from the roof down so falling crumbs land on unfinished areas.
- Keep icing bowls covered with a damp cloth between uses; skinned-over icing will clog every tip you own.
- Photograph the house in soft afternoon window light before the party — it will never look this perfect again once guests arrive.
Frequently Asked Questions
How do you decorate a gingerbread house? Start by assembling the walls with thick royal icing and letting the structure dry for at least two hours. Then pipe icing details first — trim, windows, snow lines — and press candies into the wet icing from the roof down. Work in sections so the icing does not dry before the candies stick, and keep the heaviest pieces near the bottom of the structure.
How do you build a gingerbread house? Pipe a thick line of royal icing along the bottom edges of the wall panels and stand them on a foil-covered board, holding each corner for a minute or two. Brace the corners with cans or mugs while the icing sets, add the roof panels with another heavy bead of icing, and do not decorate until the whole structure has dried for at least two hours — overnight is better for anything tall.
How do you make a gingerbread house from scratch? Bake a sturdy gingerbread dough rolled about a quarter-inch thick, cut the wall and roof panels using a paper template, and bake until firm and lightly browned. Let the panels cool completely — warm panels are soft and will sag — then assemble with royal icing, which hardens like mortar as it dries.
How do you put a gingerbread house together? The secret is a thick, mortar-like royal icing and patience. Ice the edges, stand the walls, and prop them with household objects while they set; do not rush to the roof. Many bakers assemble the four walls first, let them dry an hour, then add the roof and let the whole thing dry overnight before a single candy goes on.
Final Thoughts
My lopsided first house taught me the most important thing about this craft: the decorating is the fun part, and a house with personality always beats a perfect one. Pick the idea that made you smile reading it, gather your candies and your piping tips, and give yourself a whole unhurried afternoon. The icing might slide. A gumdrop might roll under the table. It will still be the prettiest thing on the dessert spread — because you made it.